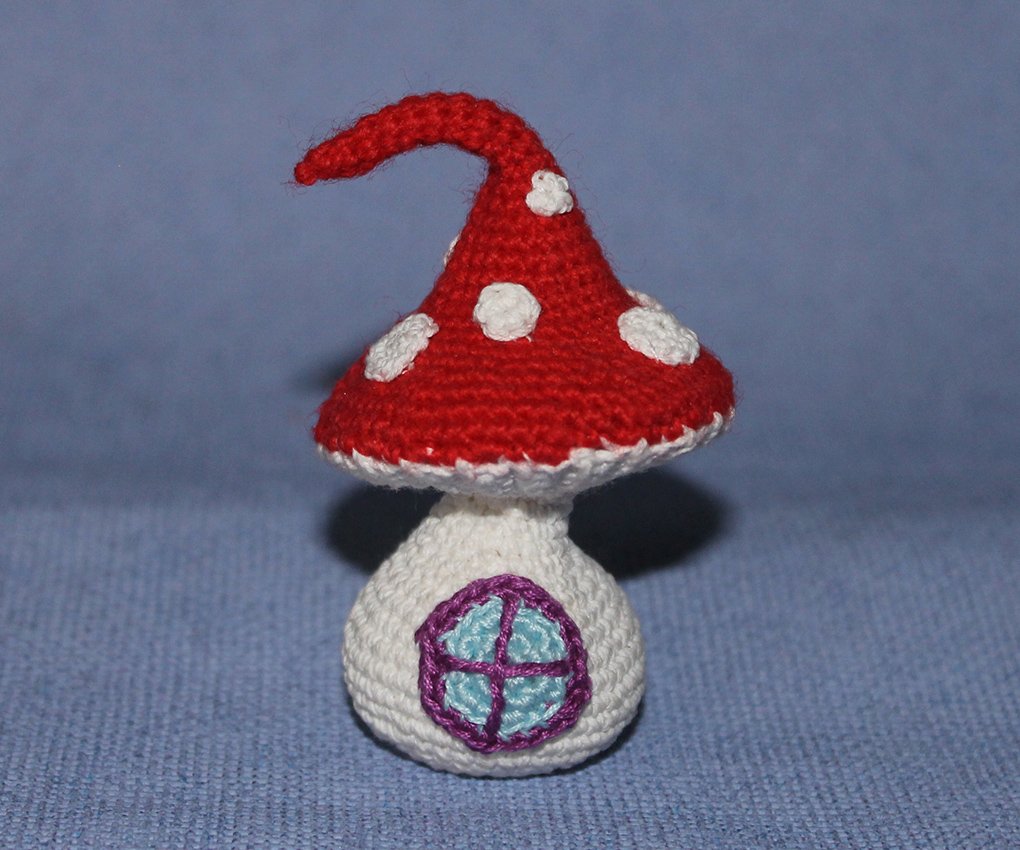
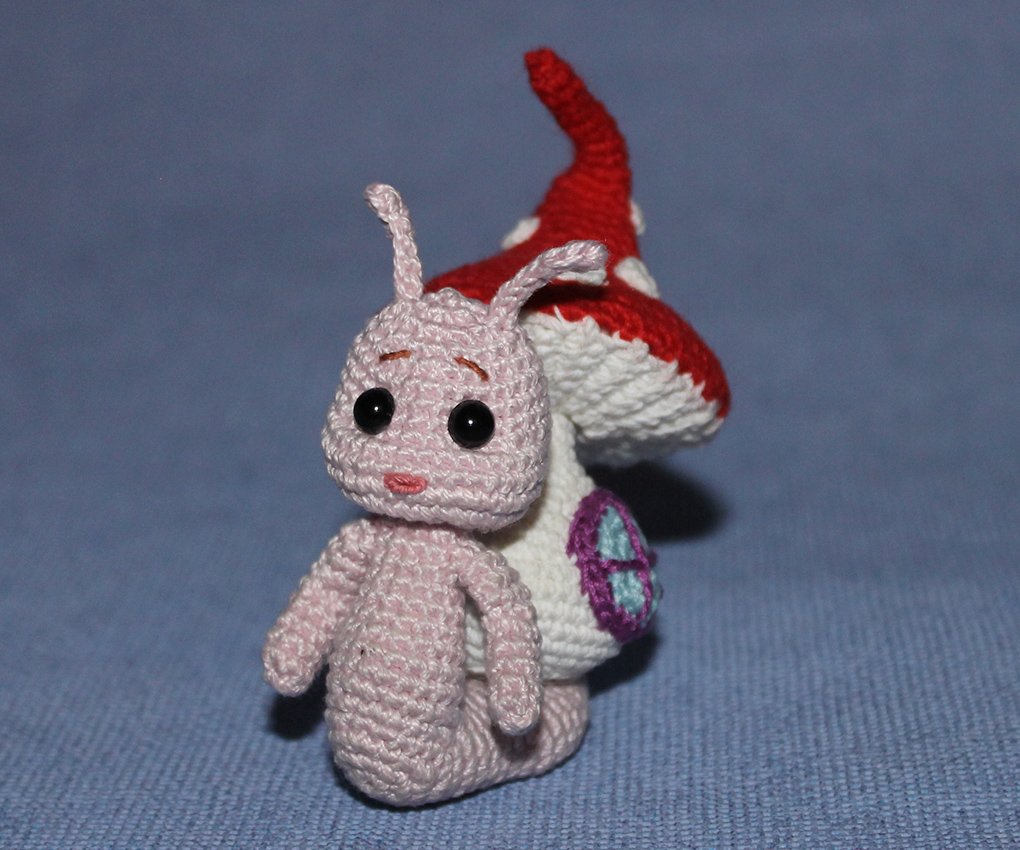
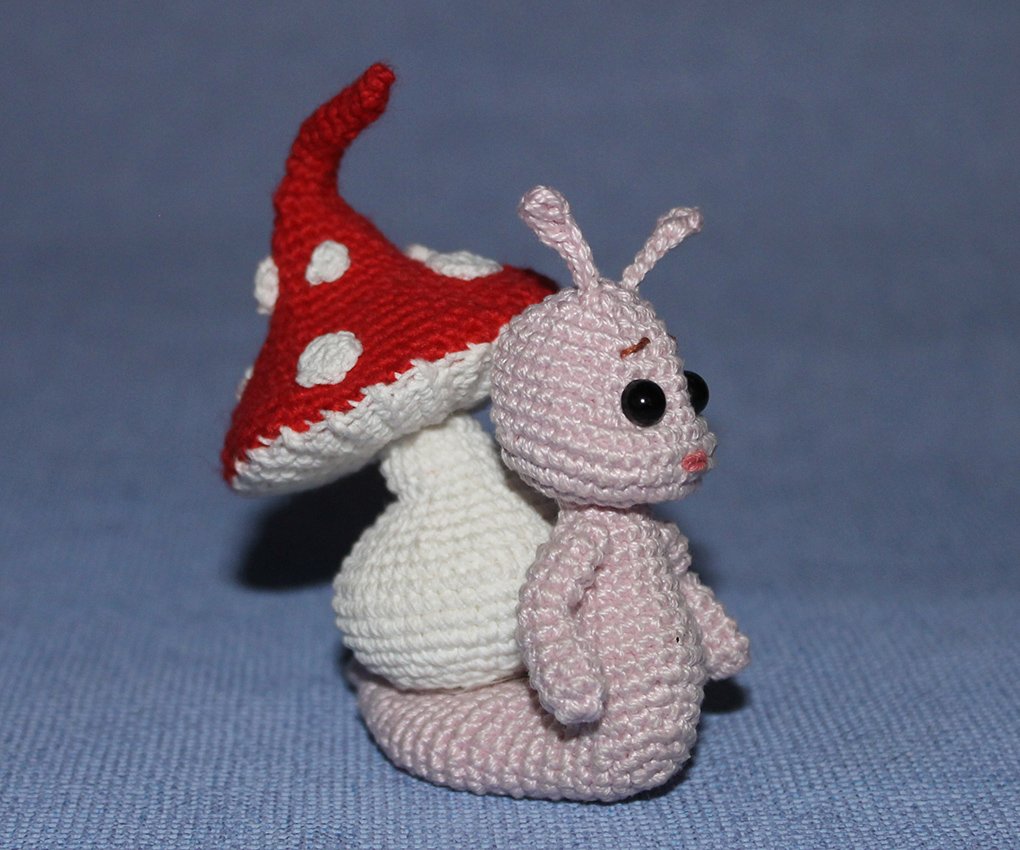
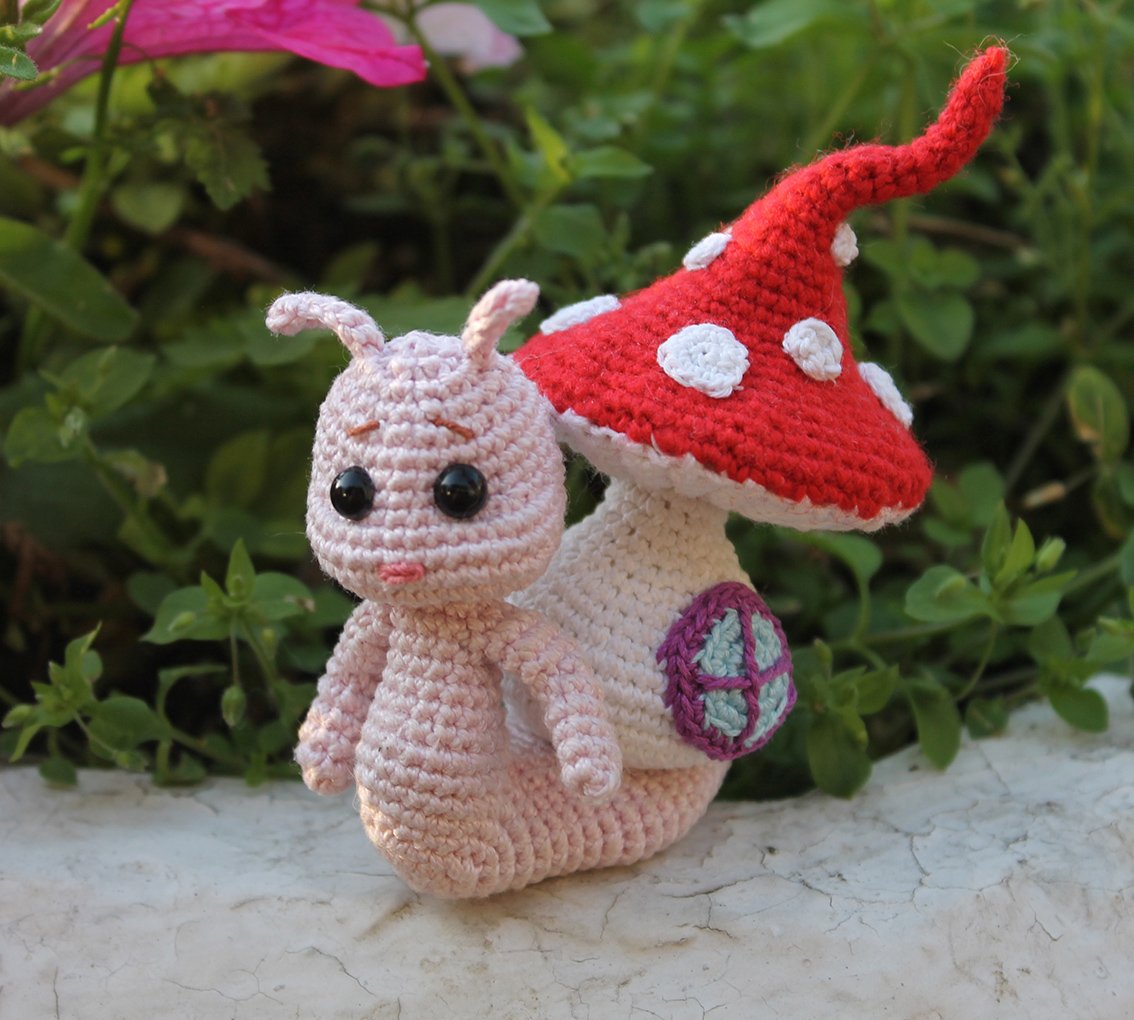
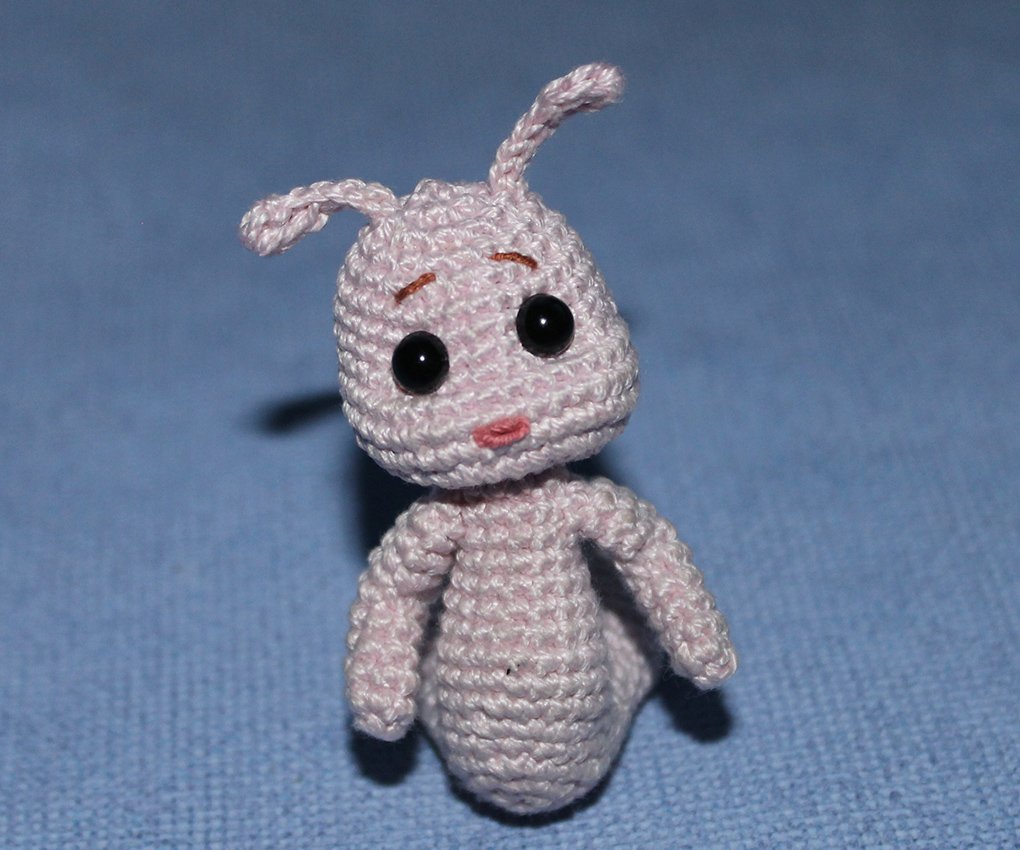
The height of my snail is 9 cm.
Materials:
- yarn (acrylic, cotton) of same thickness: pink, red and white colours, 10-15 g of each. A little blue and purple yarn. I used cotton 450 m/100 g.
- a crochet hook
- hollow fiber
- eyes - ready made eyes or beads
- glue
- a sewing needle
- wire 1,5 mm in diam. - 30 cm
- strong thread for sculpting (for example a tooth floss)
- adhesive fabric tape (for example first aid adhesive fabric tape)
Abbreviations:
ch – chain
st - stitch
sl st – slip stitch
sc – single crochet
hdc – half double crochet
inc – increase (2 sc in 1 st)
dec – decrease (single crochet two stitches together)
3 in 1 - 3 sc in 1 loop
(...) x N times – repeat instructions in brackets N times
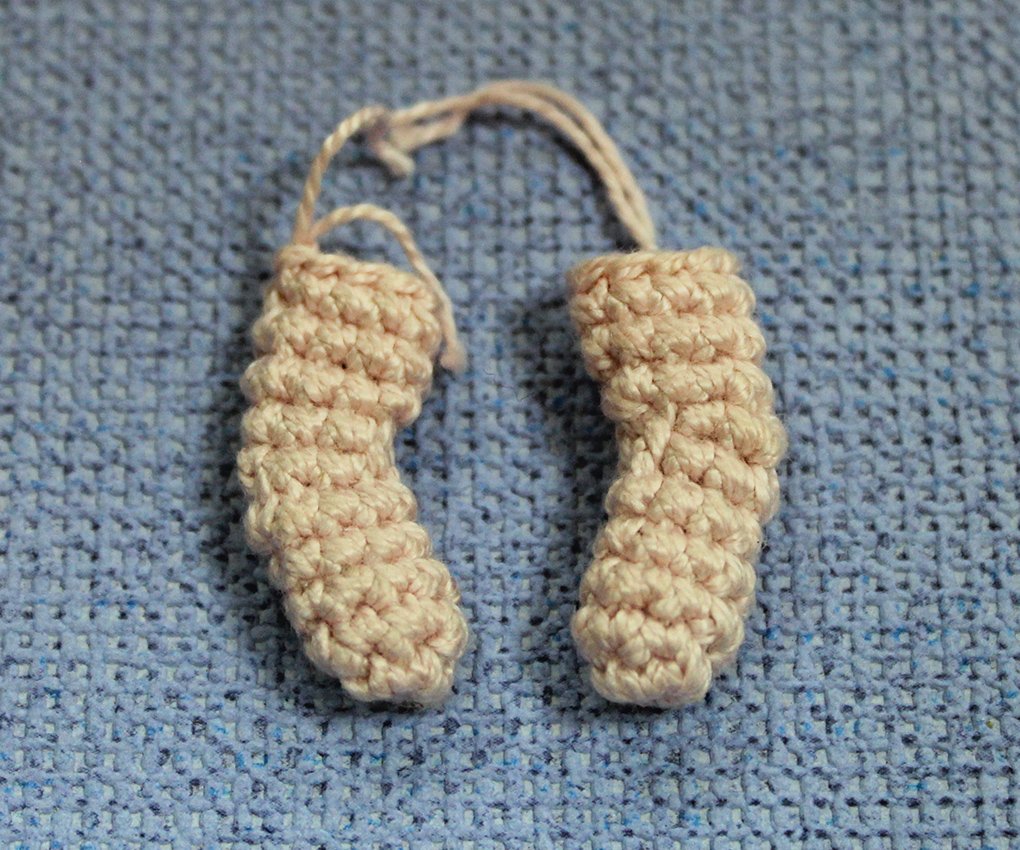
Arm (make 2)
Crochet with pink colour yarn.
Rnd 1. 6 sc in a Magic Ring
Rnd 2. (2 sc, inc)х 2 times (8)
Rnd 3-4. 8 sc
Rnd 5. 6 sc, 2 inc (10)
Rnd 6. 2 sc, 2 sl st, 2 sc, 2 dec (8)
Rnd 7. 2 sc, 2 sl st, 4 sc (8)
Rnd 8. 3 sc, inc, 4 sc (9)
Rnd 9. 9 sc
Mark 9th stitch of arm no.1– this will be the left arm, mark 5th stitch of arm no.2 – this will be the right arm.
Body
Crochet with pink colour yarn.
Rnd 1. 6 sc in a Magic Ring
Rnd 2. (inc)х 6 times (12)
Rnd 3. (2 sc, 3 in 1)х 4 times (20)
Rnd 4. 20 sc
Rnd 5. (3 sc, 2 inc)х 4 times (28)
Rnd 6. 4 sc, 3 inc, 5 sc, inc, 5 sc, 3 inc, 5 sc, inc, 1 sc (36)
Rnd 7. 36 sc.
Rnd 8. 8 sc, skip 16 stitches, 6 sc, (inc, 2 sc )х 2 times (22)
The part is now divided into 2 parts. Do not cut off yarn.
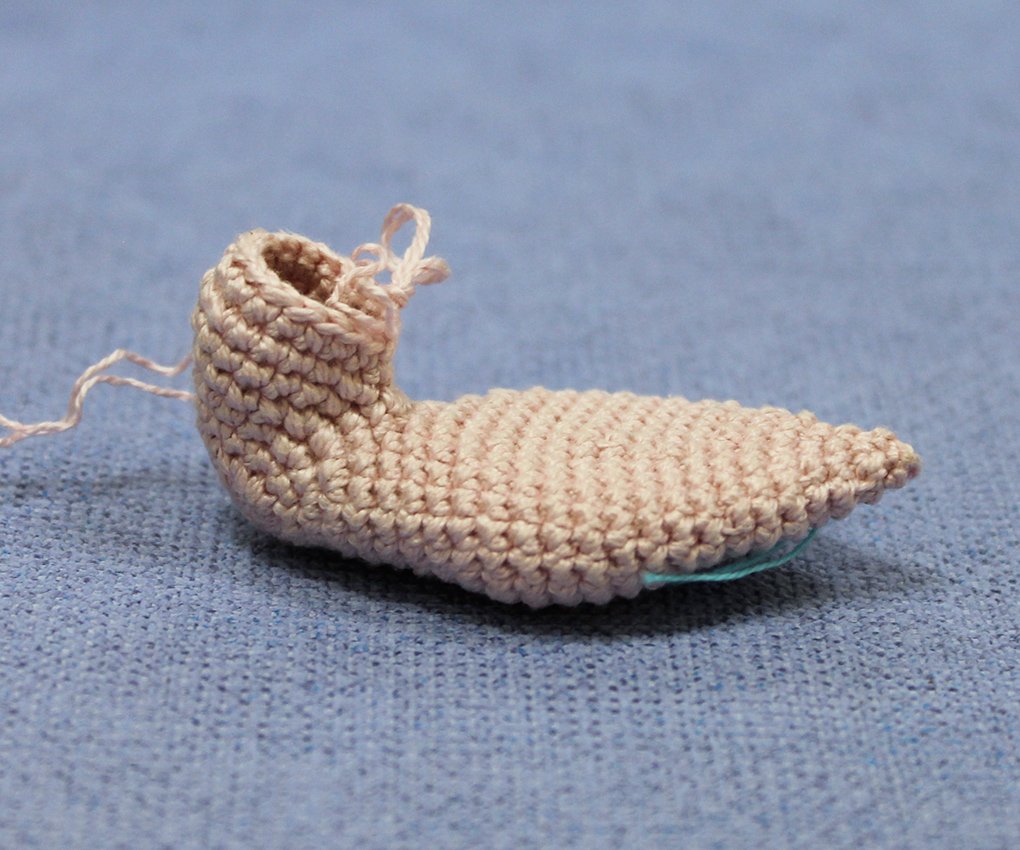
Crochet the lower part of the body.
Rnd 9. inc, 21 sc (23)
Rnd 10. 14 sc, (inc, 2 sc)х 3 times (26)
Rnd 11. (inc, 2 sc)х 2 times, 20 sc 28)
Rnd 12-15. 28 sc
Rnd 16. (5 sc, dec)х 4 times (24)
Rnd 17. 24 sc
Rnd 18. (4 sc, dec)х 4 times (20)
Rnd 19. 20 sc
Add some hollow fiber to make the part flat.
Rnd 20. (dec, 3 sc)х 4 times (16)
Rnd 21. 16 sc
Rnd 22. (2 sc, dec)х 4 times (12)
Add hollow fiber.
Rnd 23. (1 sc, dec)х 4 times (8)
Rnd 24. 8 sc
Rnd 25. (dec)х 4 times (4)
Cut off. Bind off.
Upper part of the body
Attach pink colour yarn into the spot where the body divides itself into two parts. See the picture for guidance, the spot is marked with the red dot.
Rnd 1. inc, 14 sc, inc (18)
Rnd 2. 8 sc, dec, 8 sc (17)
Rnd 3. 17 sc
Rnd 4. 3 sc, dec, 7 sc, dec, 3 sc (15)
Rnd 5. 15 sc
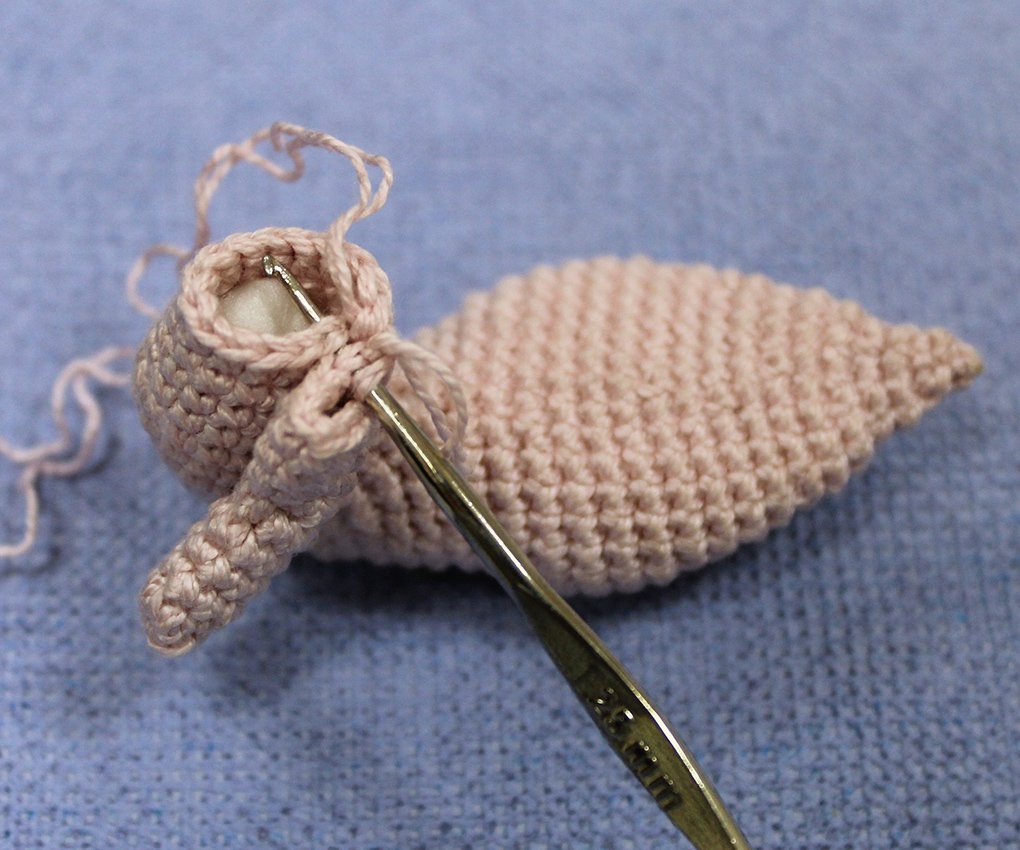
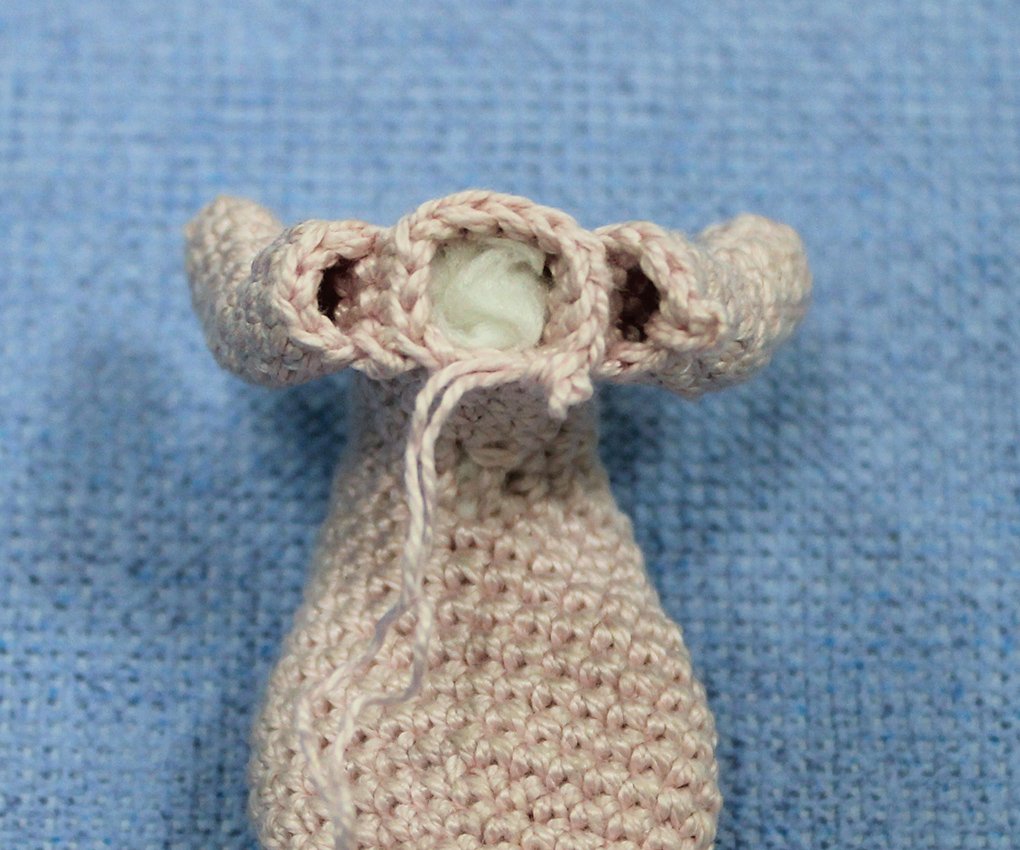
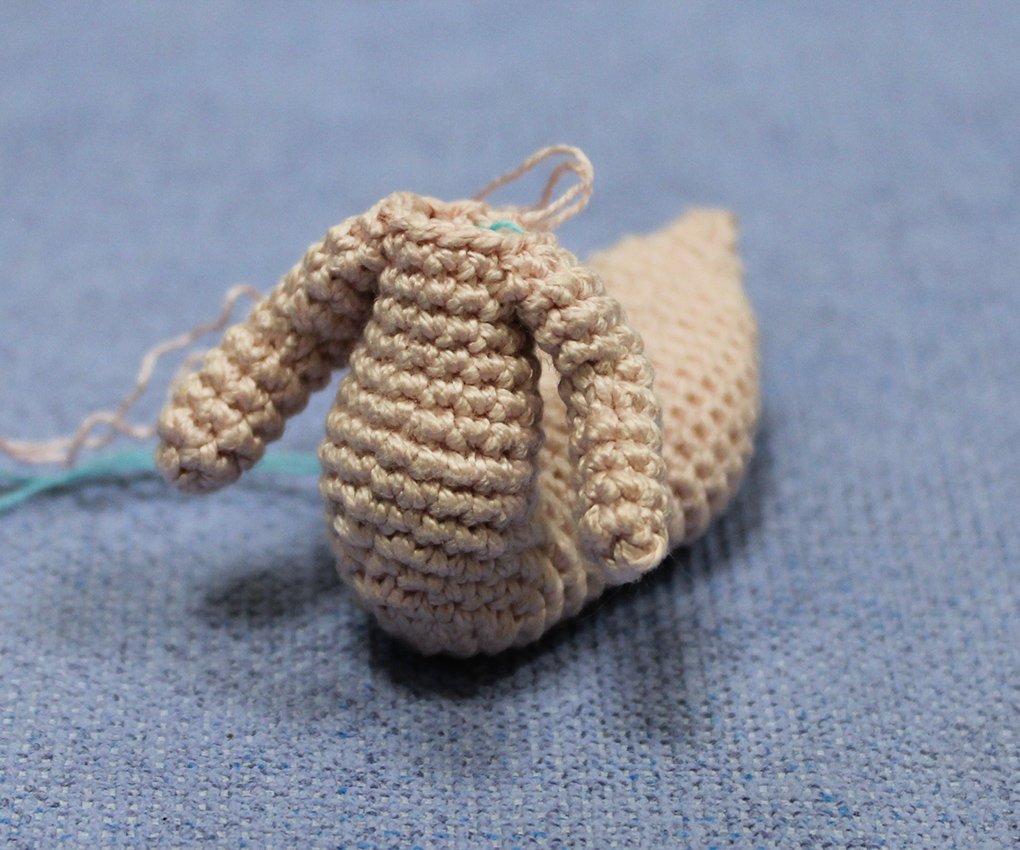
Rnd 6. 2 sc, attach the left arm, work 4 sc, work the stitches of the arm and body together, 4 sc, attach the right arm, work 4 sc, work the stitches of the arm and body together, 1 sc (15)
Rnd 7. 2 sc, work along the stitches of the left arm: 2 sc, dec, 1 sc, work along the stitches of the body: 4 sc, work along the stitches of the right arm: 1 sc, dec, 2 sc, work along the stitches of the body: 1 sc (15)
Add hollow fiber.
Rnd 8. (dec, 3 sc)х 3 times (12)
Rnd 9. 12 sc
Do not cut off yarn, crochet the head.
Rnd 10. Work into the front loops only: (inc)х 12 times (24)
Rnd 11. ( 3 sc, inc)х 6 times (30)
Rnd 12. (2 sc, inc, 2 sc) х 6 times (36)
Rnd 13-15. 36 sc
Work 1 sc, place a round marker here.
Rnd 16. 10 sc, 3 dec, 4 sc, 3 dec, 10 sc (30)
Rnd 17-19. 30 sc
Rnd 20. (dec, 3 sc)х 6 times (24)
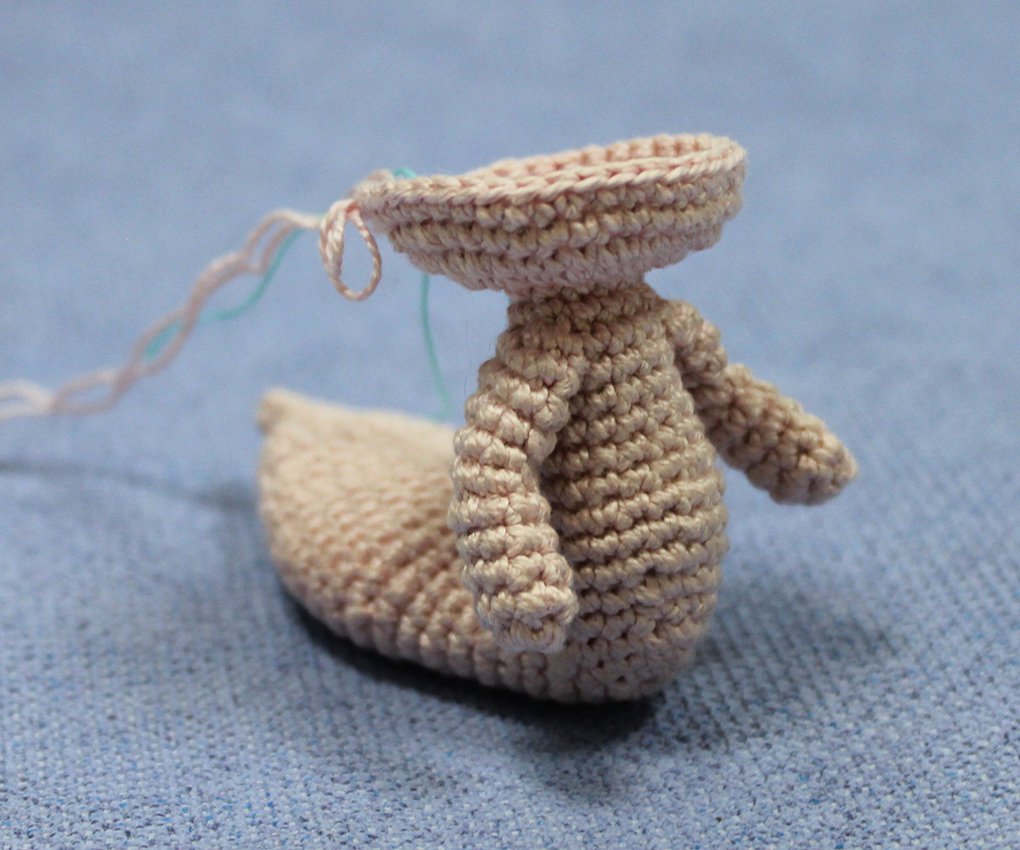
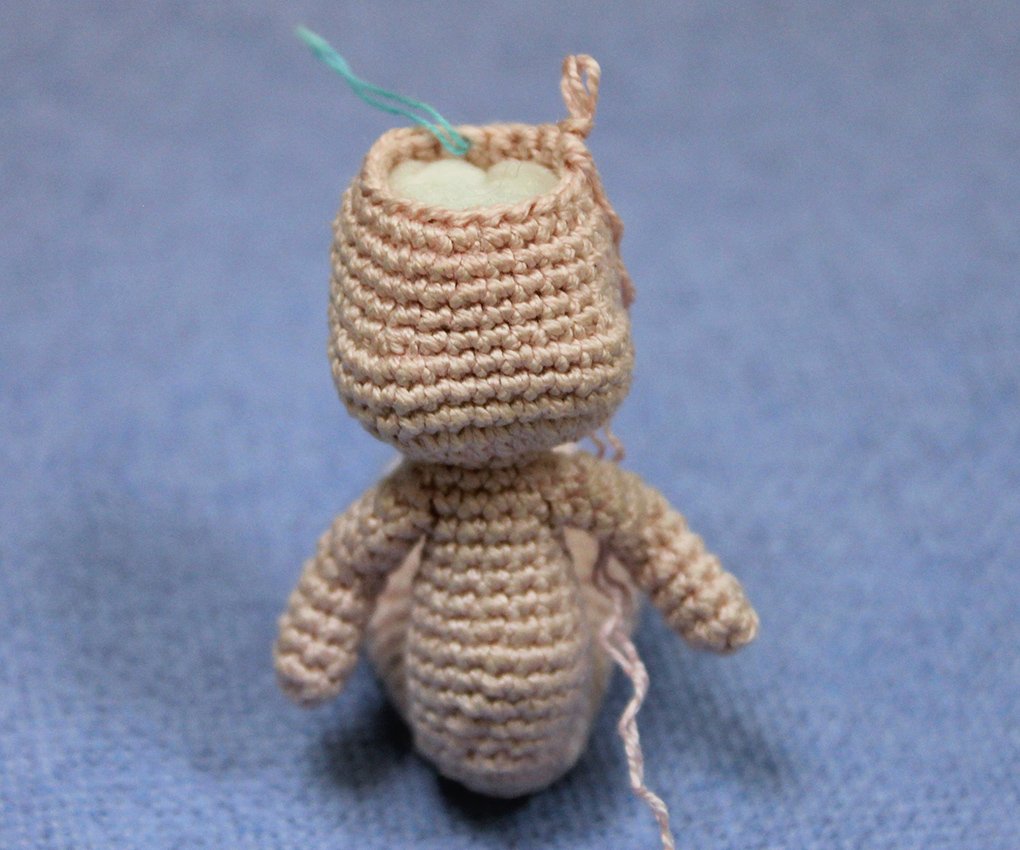
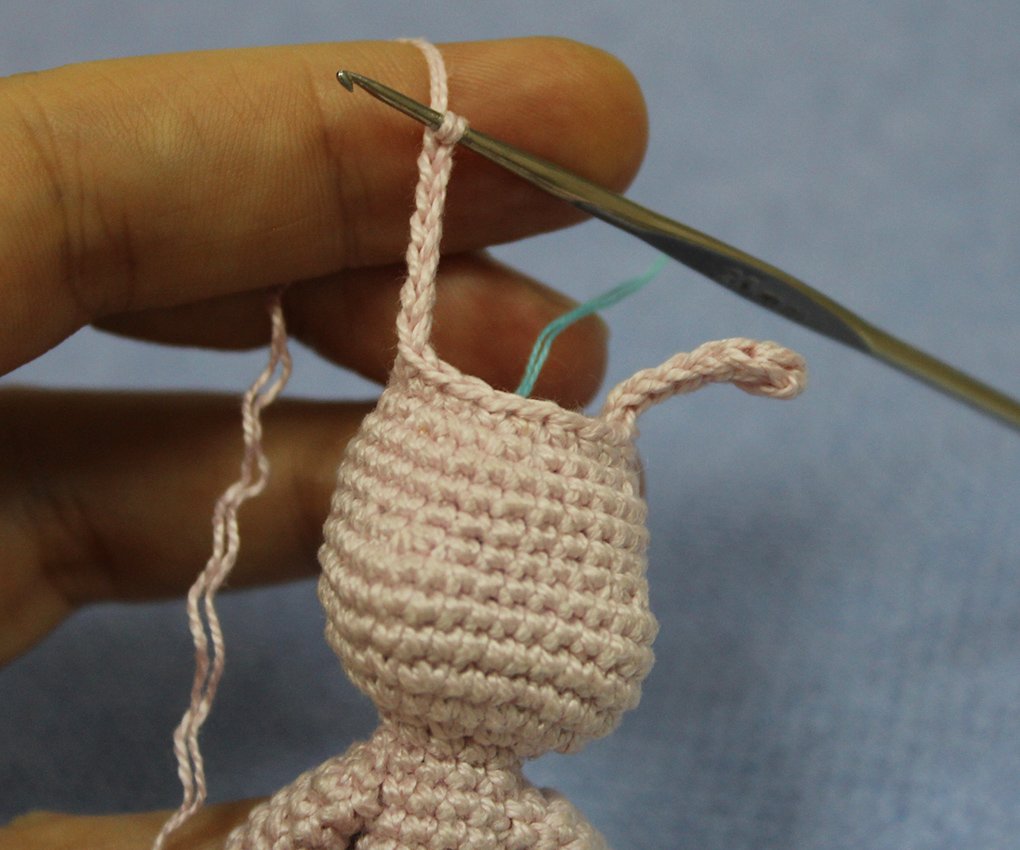
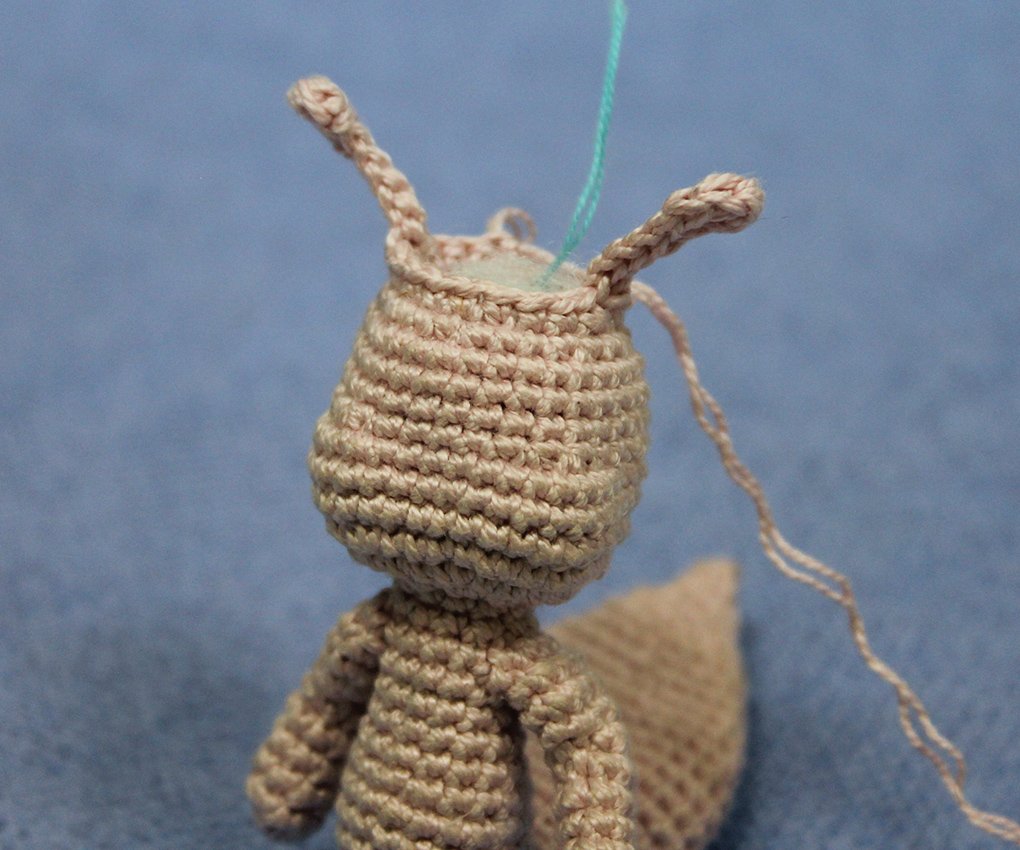
Crochet horns in the next round.
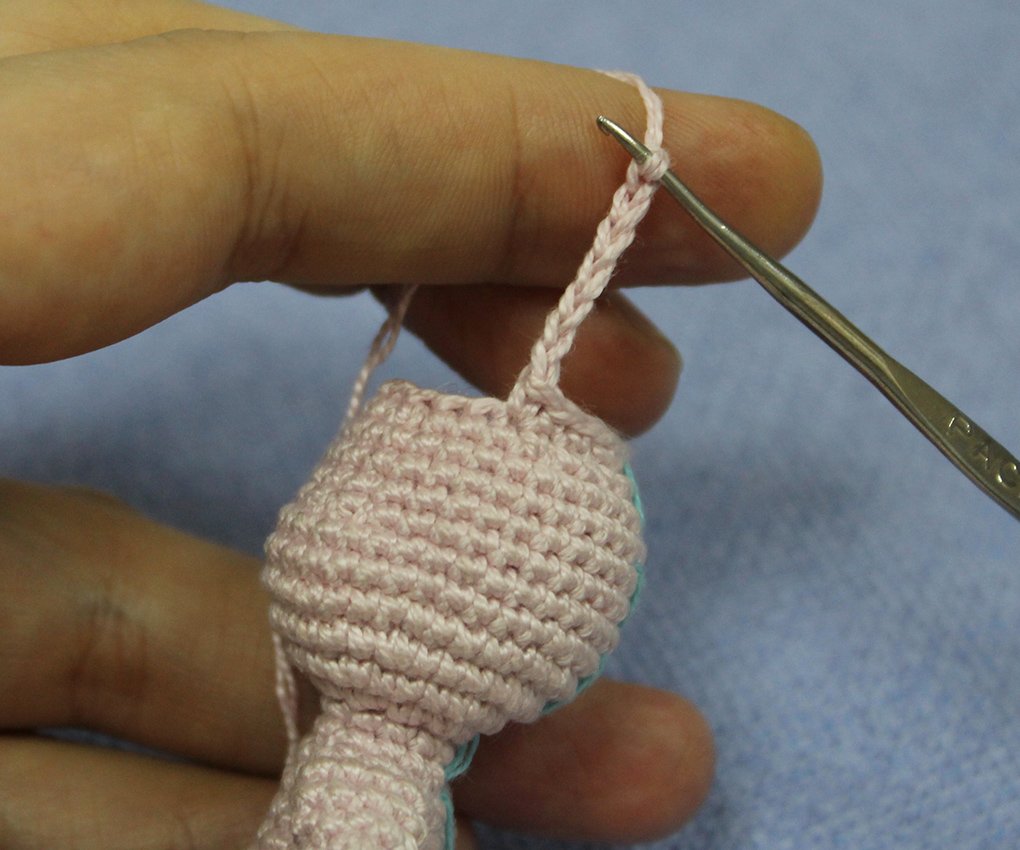
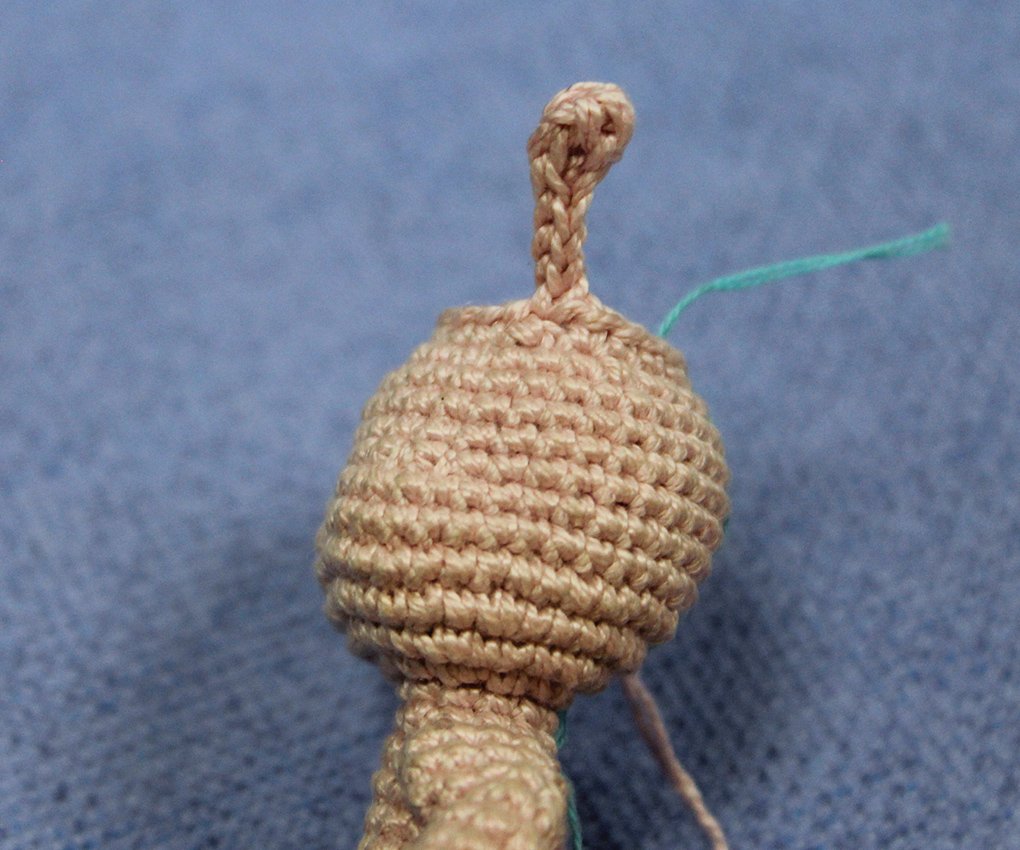
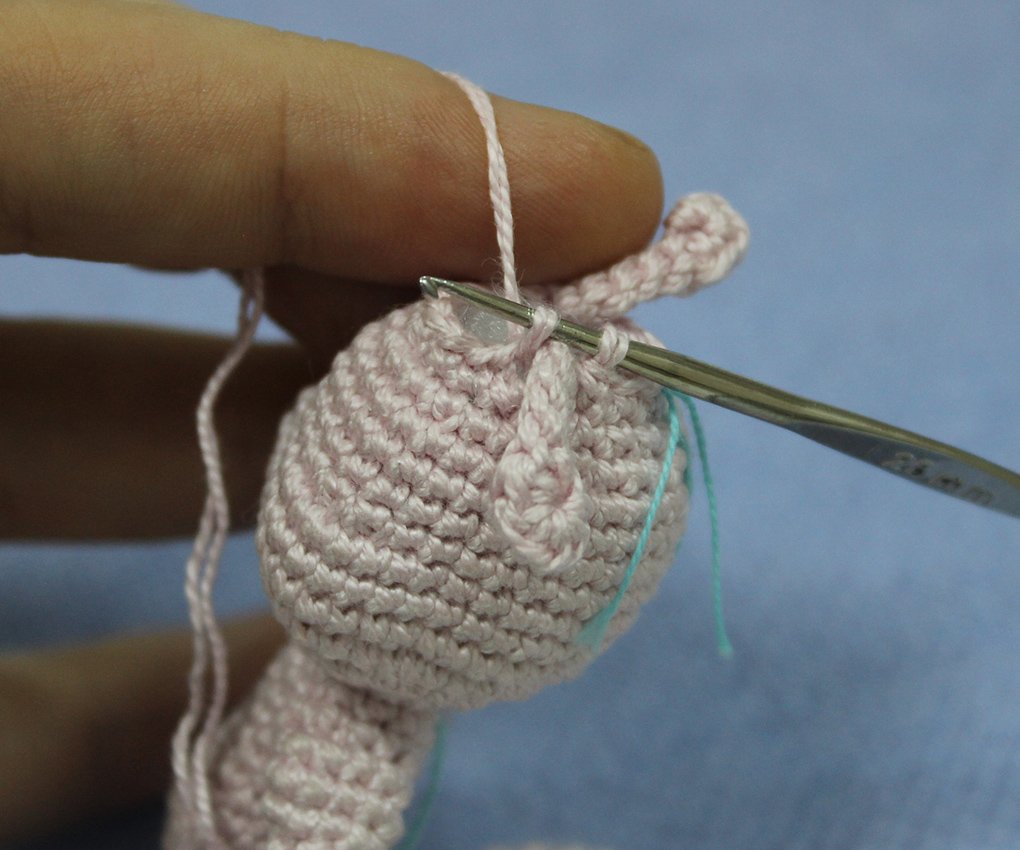
Rnd 21. 2 sc, dec, 2 sc, 7 ch, starting from 2nd ch from hook: 3 hdc in 1 stitch, 5 sl st, continue along the stitches of the head: (dec, 2 sc)х 3 times, 7 ch, starting from 2nd ch from hook: 3 hdc in 1 stitch, 5 sl st, continue along the stitches of the head: dec, 2 sc, dec (18)
Add hollow fiber.
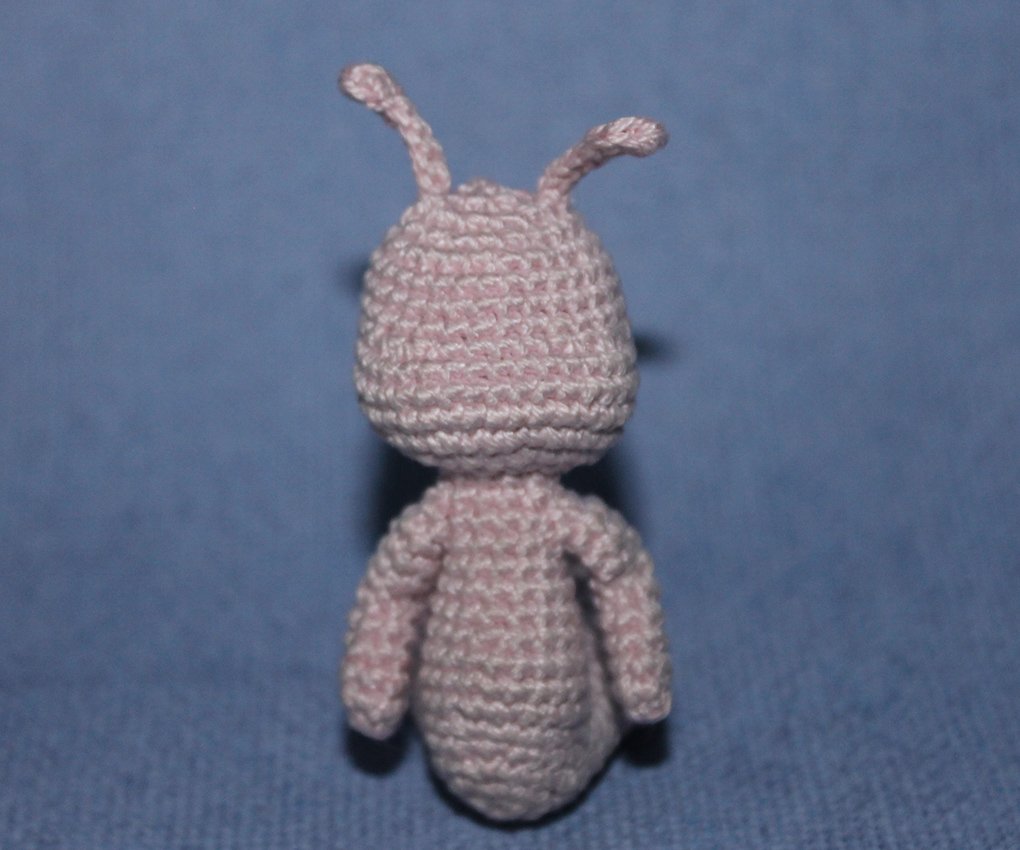
Rnd 22. (dec, 1 sc)х 6 times (12) turn the horns outwards and to the sides as shown.
Rnd 23. (dec) х 6 times (6)
Cut off, bind off. Hide the end of the yarn inside.
To sculpt the eyes: attach a strong thread at the bottom in spot 0, take the needle out in spot 1. Insert the needle into spot 2 and take it out in spot 0. Repeat the process for eye 2. Follow spots 0 - 3 - 4 - 0.
Bind off.
Glue the eyes and eyelashes on.
Embroider the eyebrows and smile.
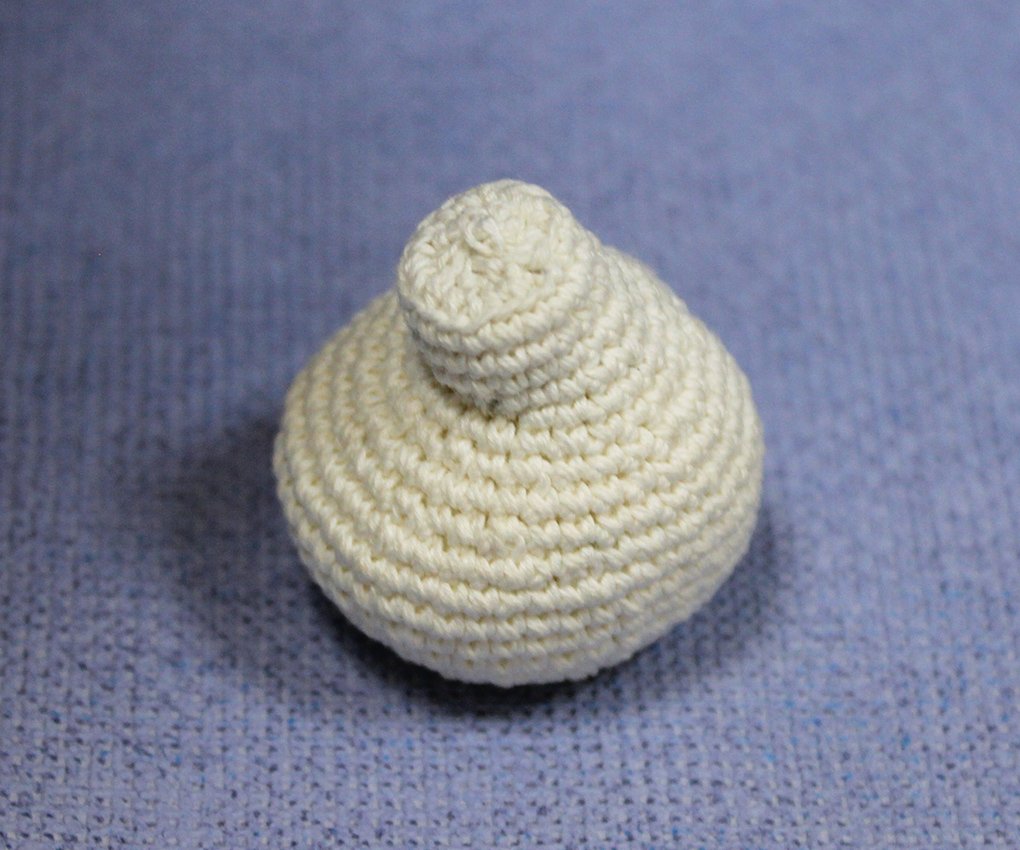
Fly-agaric house (snail shell)
Work with white colour yarn.
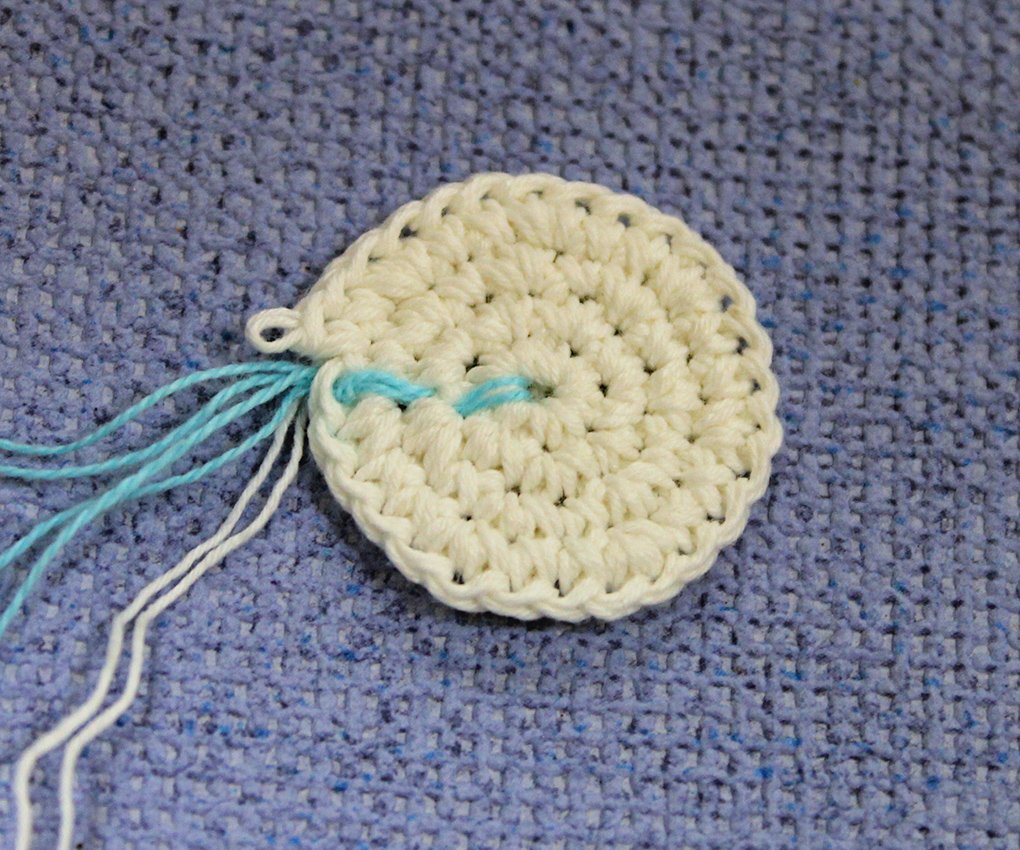
Rnd 1. 7 sc in a Magic Ring
Rnd 2. (inc)х 7 times (14)
Rnd 3. (inc, 1 sc)х 7 times (21)
Rnd 4. (inc, 2 sc)х 7 times (28)
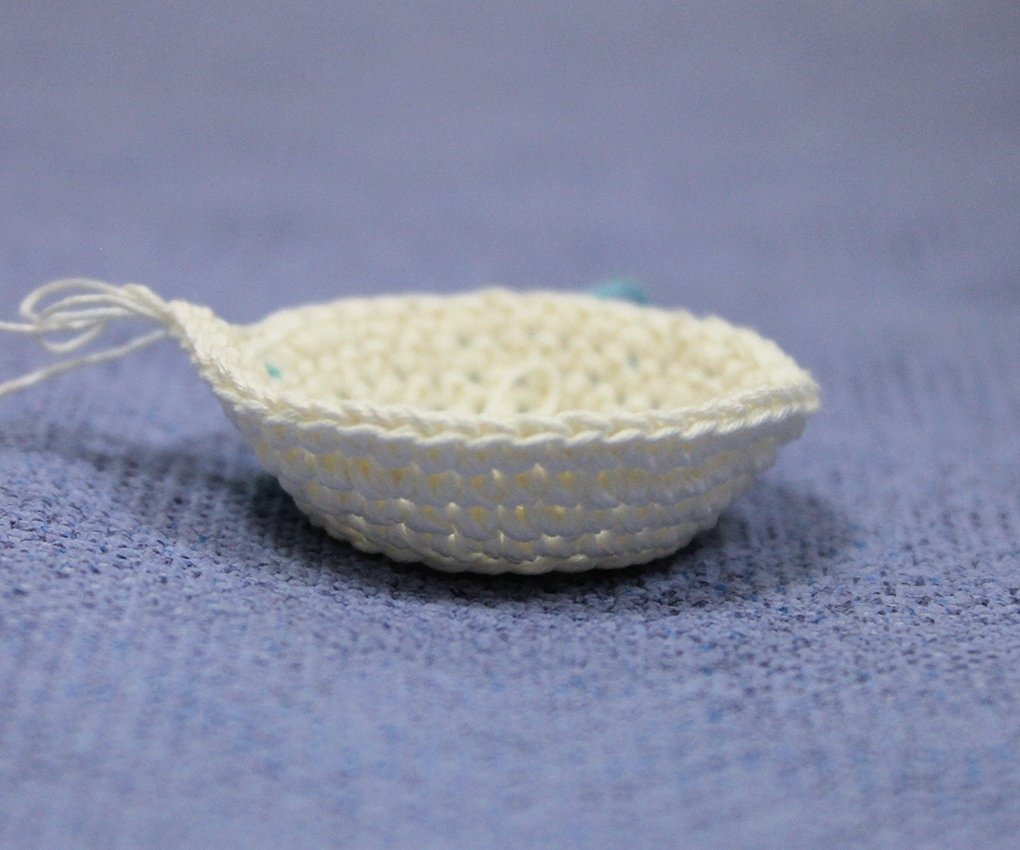
Rnd 5. Work 28 sc into the back loops only
Rnd 6.(inc, 3 sc)х 7 times (35)
Rnd 7. (2 sc, inc, 2 sc)х 7 times (42)
Rnd 8. 42 sc
Rnd 9. (6 sc, inc)х 6 times (48)
Rnd 10-11. 48 sc
Rnd 12. ( dec, 6 sc)х 6 times (42)
Rnd 13. ( 2 sc, dec)х 6 times, 18 sc (36)
Rnd 14. 20 sc, ( dec, 4 sc)х 2 times, dec, 2 sc (33)
Rnd 15. (1 sc, dec)х 5 times, (2 sc, dec) х 4 times, 2 sc (24)
Rnd 16. 24 sc
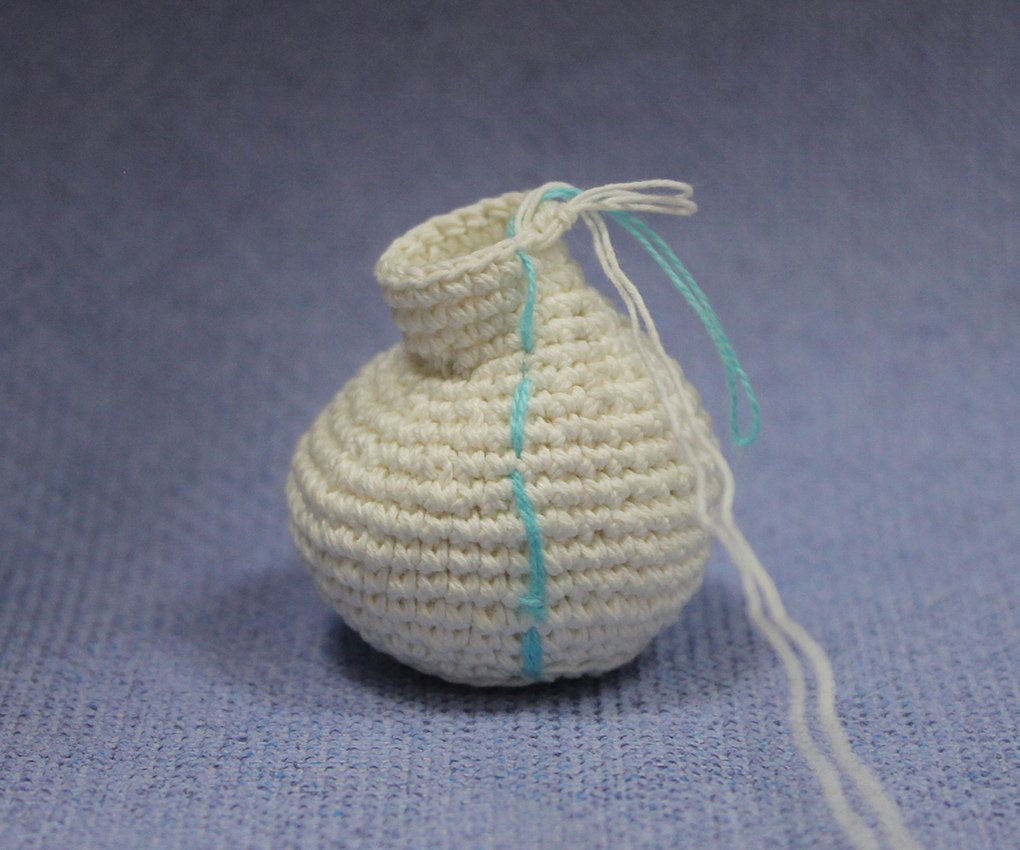
Rnd 17. 2 sc, 8 sl st, 2 sc, ( dec, 2 sc)х 3 times (21)
Rnd 18. 3 sc, 6 sl st, 12 sc (21)
Rnd 19. 12 sc, (dec, 1 sc)х 3 times (18)
Rnd 20. 18 sc
Rnd 21. 17 sc, 1 sl st (18)
Add hollow fiber.
Rnd 22. Work into the back loops only: (skip 1 loop, 2 sc)х 6 times (12)
Rnd 23. (dec) х 6 times (6)
Cut off. Bind off. Hide the end of the yarn inside.
Lower part of the hat
Crochet with white colour yarn
Ch 8
Row 1. Starting from 2nd ch from hook 5 sc, 2 sl st, ch, turn (7)
Work all remaining rows into the back loops only.
*row 2. into the back loops only: 2 sl st, 5 sc, ch, turn (7)
Row 3. into the back loops only: 5 sc, 2 sl st, ch, turn* (7)
Repeat rows 2 and 3 from * to * 21 times.
Connect the beginning and the end of the part. Sew together. Sew to the upper part of the mushroom. See the picture for guidance .
Hat
Crochet with red colour yarn. Attach yarn next to the seam on the lower part of the hat. Ch 1.
Rnd 1. Work 60 sc along the edge of the lower part of the hat.
Rnd 2-3. 60 sc
Rnd 4. ( 8 sc, dec)х 6 times (54)
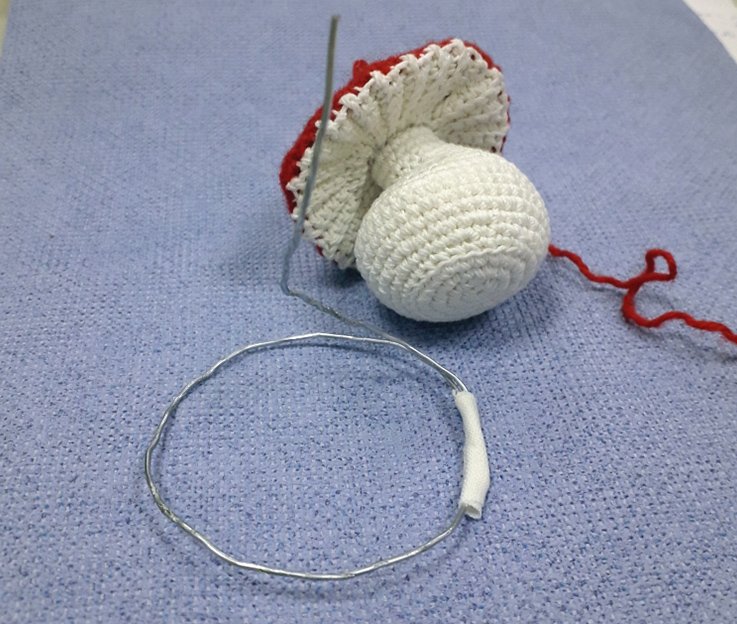
Bind wire to form a circle, secure it with some adhesive fabric tape, leave bare wire end as shown on the picture. Ensure the circle is equal to the diameter of the hat. Place it inside the hat.
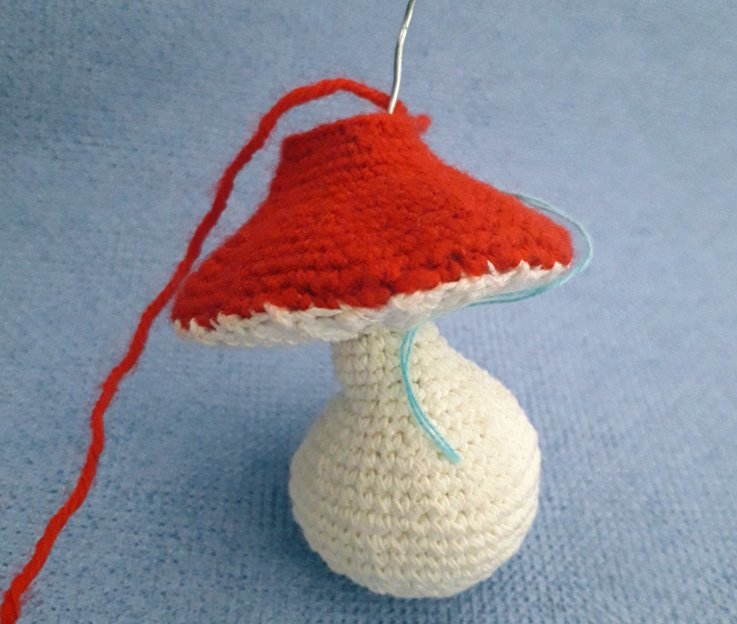
Rnd 5. ( 7 sc, dec)х 6 times (48)
Rnd 6. ( 4 sc, dec)х 8 times (40)
Rnd 7. 40 sc
Rnd 8. ( 3 sc, dec)х 8 times (32)
Rnd 9. 32 sc
Rnd 10. ( dec, 6 sc)х 4 times (28)
Rnd 11. 28 sc
Add hollow fiber.
Rnd 12. ( dec, 5 sc)х 4 times (24)
Rnd 13. ( dec, 4 sc)х 4 times (20)
Rnd 14. 20 sc
Rnd 15. ( dec, 3 sc)х 4 times (16)
Rnd 16. ( dec, 2 sc)х 4 times (12)
Rnd 17. 12 sc
Add hollow fiber.
Rnd 18. ( dec, 1 sc)х 4 times (8)
Rnd 19. 8 sc
Rnd 20. dec, 6 sc (7)
Rnd 21. 7 sc
Rnd 22. dec, 5 sc (6)
Rnd 23-24. 6 sc
Rnd 25. dec, 4 sc (5)
Rnd 26-27. 5 sc
Cut off. Bind off. Hide the end of the yarn inside.
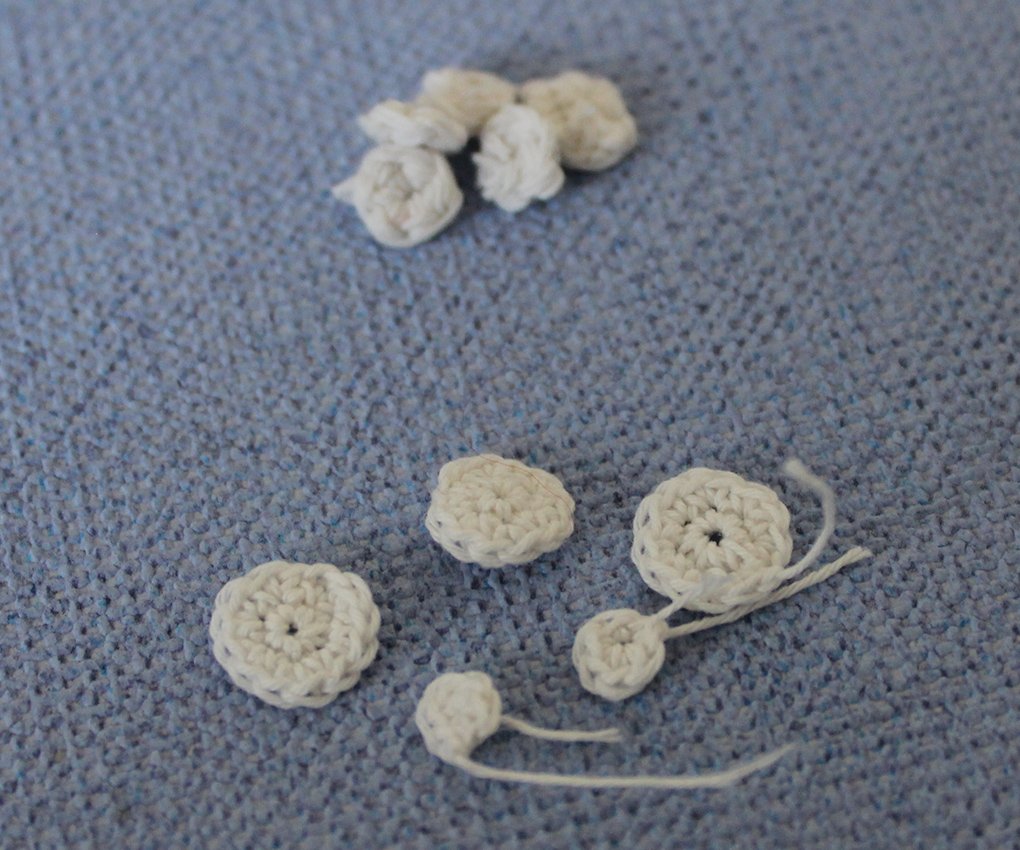
Fly-agaric spots
Crochet with white colour yarn.
Little spots: 6 sc in a Magic Ring
Big spots: Rnd 1. 6 sc in a Magic Ring
Rnd 2. 6 inc(12)
Sew spots onto the hat.
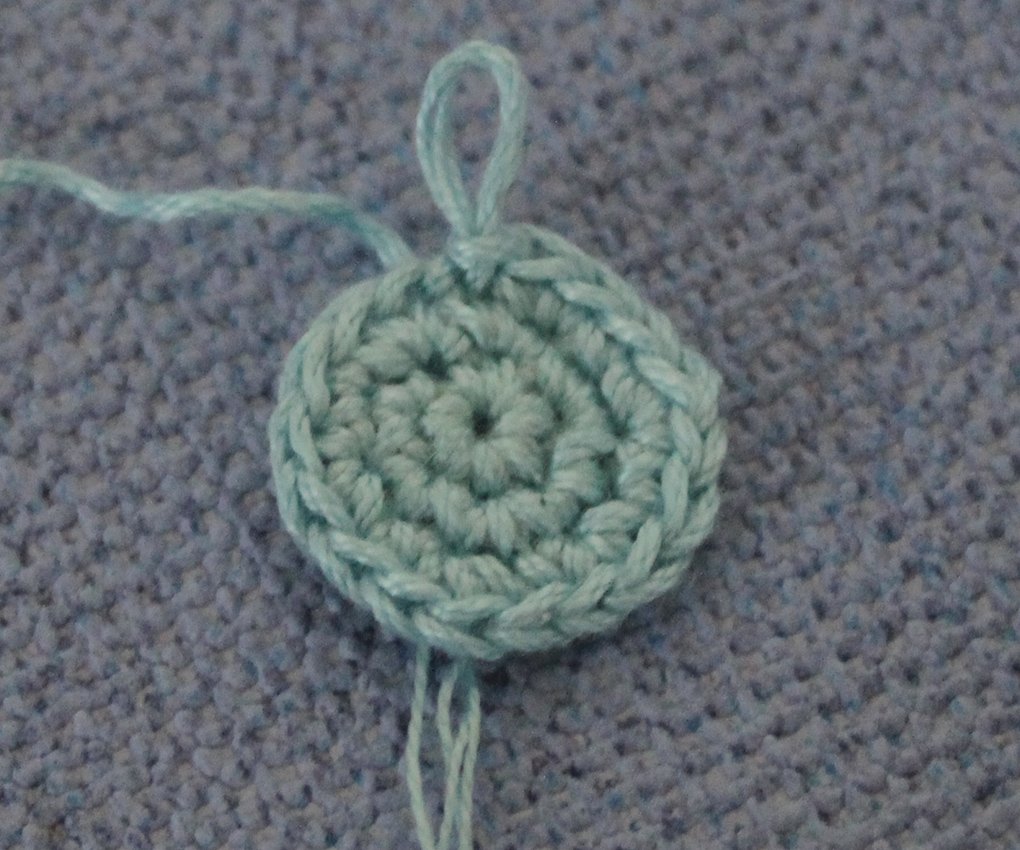
Window
Start with blue colour yarn.
Rnd 1. 6 sc in a Magic Ring (6)
Rnd 2. (inc)х6 times (12)
Rnd 3. (inc, 1 sc)х5 times, inc, 1 sl st (18)
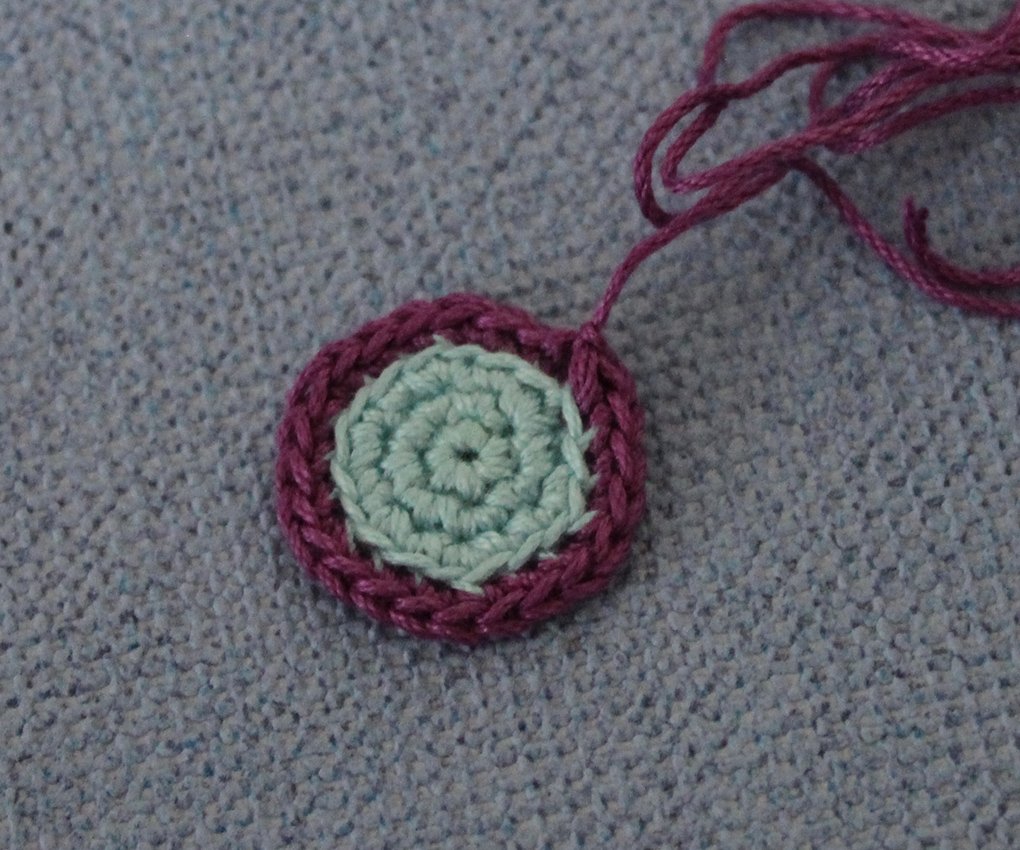
Change to purple colour yarn.
Rnd 4. Work into the back loops only: (2 sc, inc)х6 times (18)
Cut off, bind off leaving a long end for sewing.
Sew the window on. Embroider a window frame.
Sew the house to the snail's body.
Fairy snail is now completed!
New in my store - Crochet pattern Raccoon and Fox Brooches 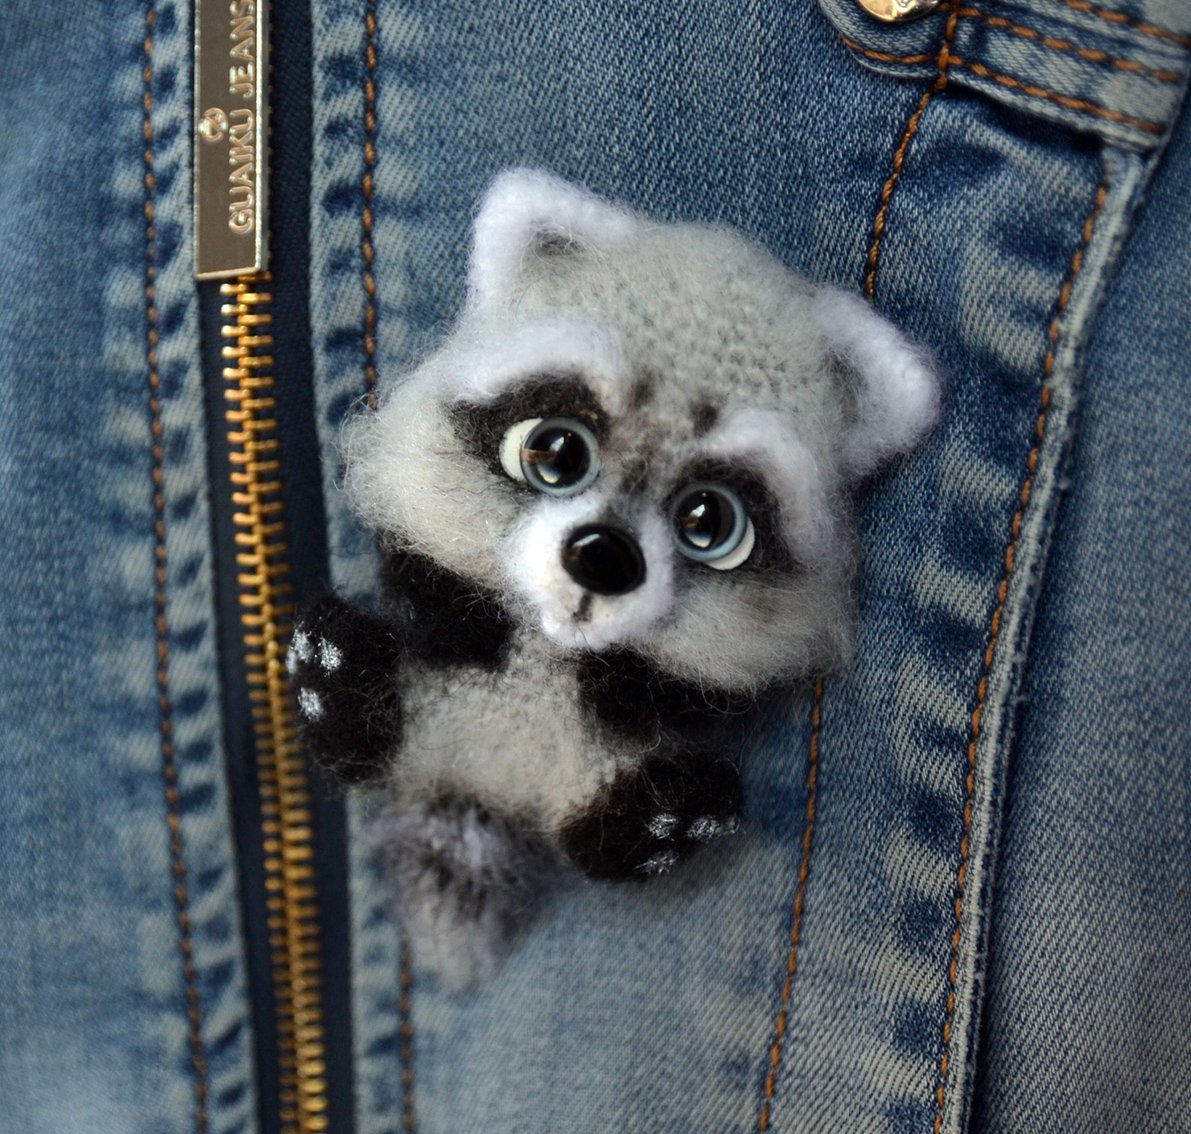
.JPG)
.JPG)
.JPG)
.JPG)
.JPG)
.JPG)

.JPG)
.JPG)
.JPG)
.JPG)
.JPG)
.JPG)
.JPG)
.JPG)
.JPG)
.JPG)
.JPG)
.JPG)
.JPG)

.JPG)
.JPG)
.JPG)
.JPG)
.JPG)
.JPG)
