Materials:
Acrylic yarn, wool or cotton. Colour of your choice. I used acrylic yarn, 400 m/100 g. The consumption is minimal, approx. 15-20 gr
- A small amount of pink yarn
- A crochet hook, I used 1,25 mm crochet hook
- Hollow fiber for stuffing
- A piece of wire approx . 2mm thick and 30cm long
- A sewing needle, matching sewing threads
- All purpose transparent glue
- For eyes: 2 half-beads or ready - made eyes
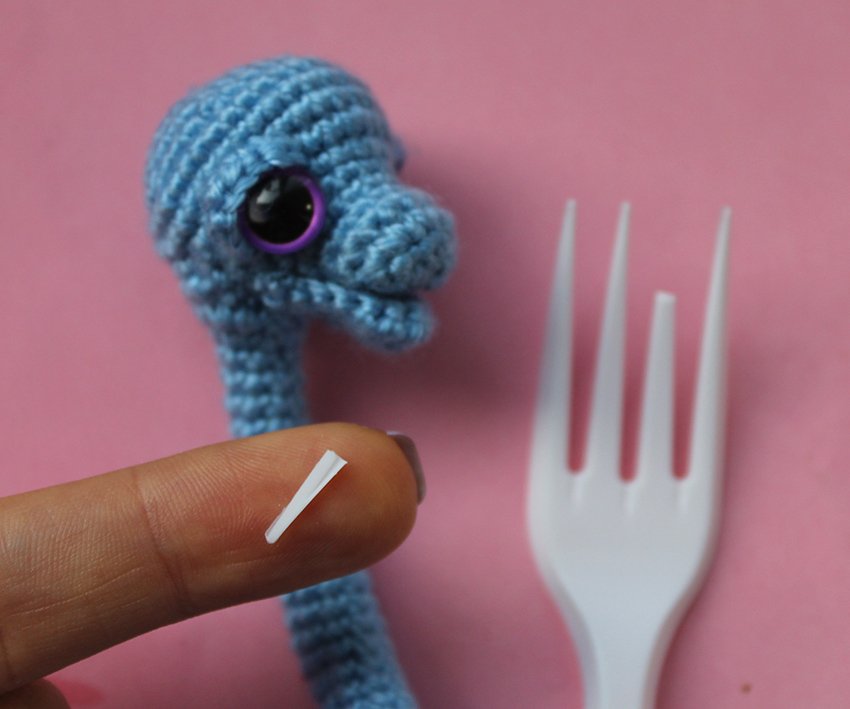
- For teeth – a disposable plastic fork
Abbreviations:
ch – chain
sl st – slip stitch
sc – single crochet
hdc – half double crochet
inc – increase (2 sc in 1 st)
dec – decrease (single crochet two stitches together)
(...) x N times – repeat instructions in brackets N times
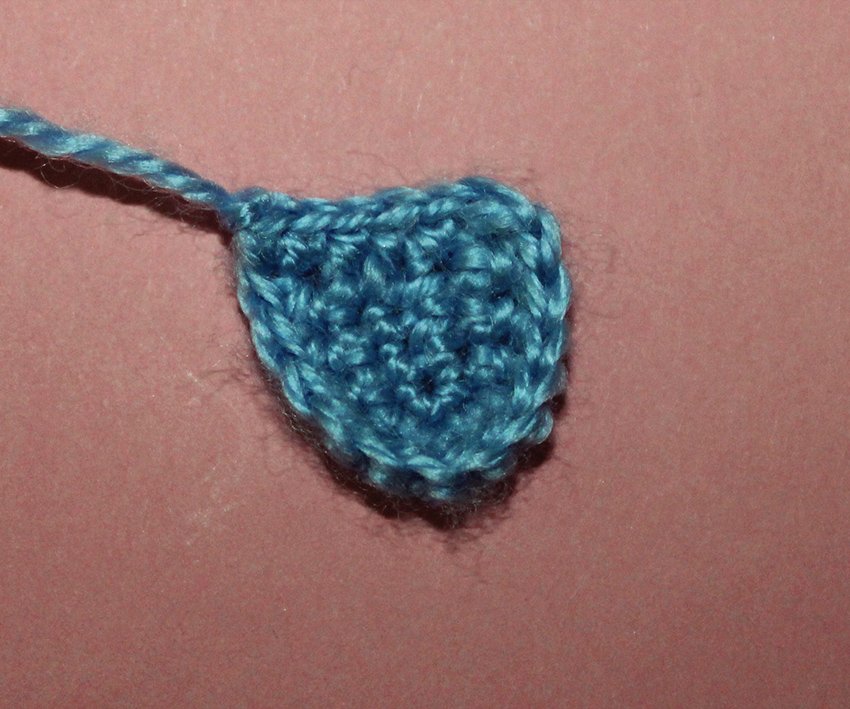
Lower lip
5 ch
1) starting from 2nd ch from hook: 3 sc, 3 sc in the last stitch, continue along the other side of chain: 3 sc, ch, turn (9)
2) 3 sc, 3 inc, 3 sc, ch, turn (12)
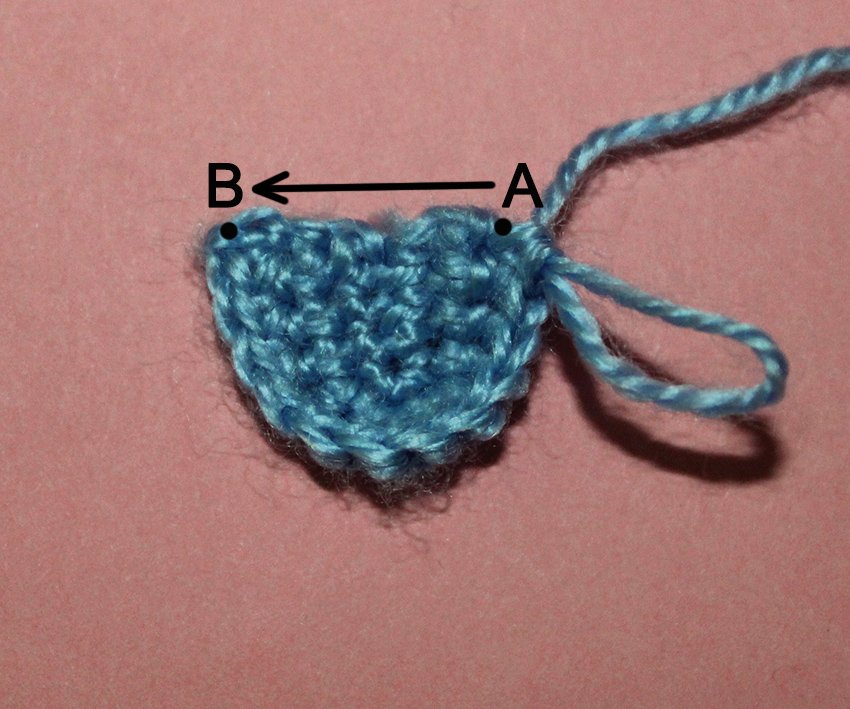
3) 12 sc, work into the edge (from point A to point B): 6 sc.
Fasten off, cut off.
Head
4 ch
1) starting from 2nd ch from hook: 2 sc, 3 sc in the last stitch, continue along the other side of chain: 1 sc, inc (8)
2) inc, 1 sc, 3 inc, 1 sc, 2 inc (14)
3) 14 sc
4) (6 sc, inc)× 2 times (16)
5) 1 sc, inc, 3 sc, inc, 1 sc, inc, 7 sc, inc (20)
6) 9 sc, inc, 2 sc, dec, skip 1 loop, dec, 2 sc, inc (19)
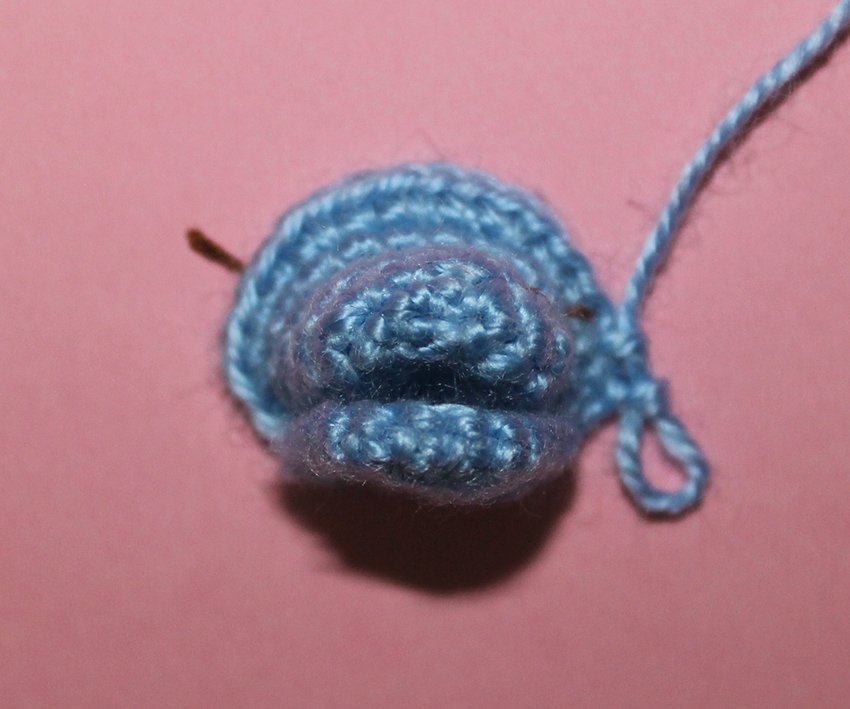
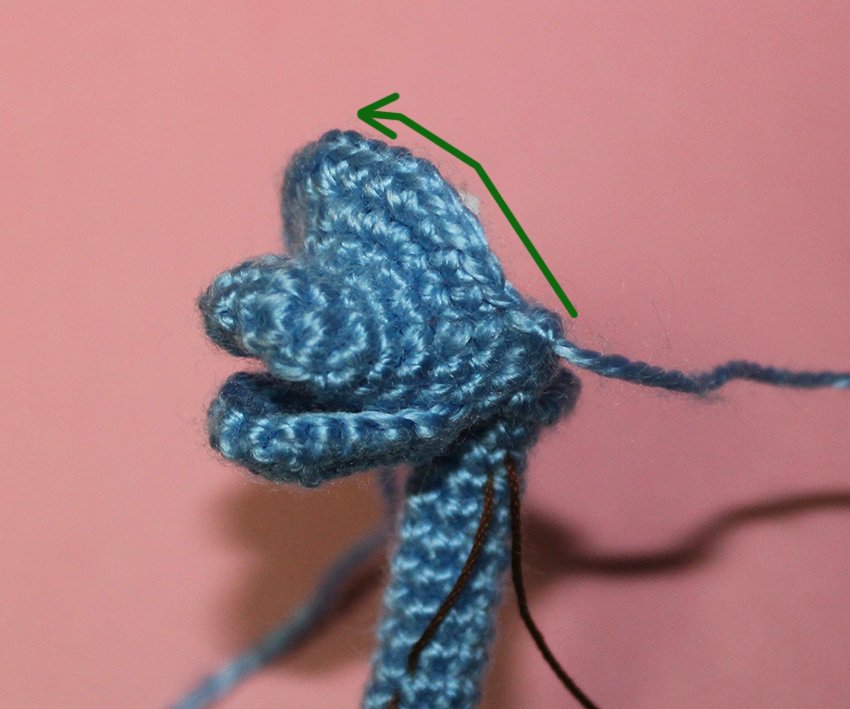
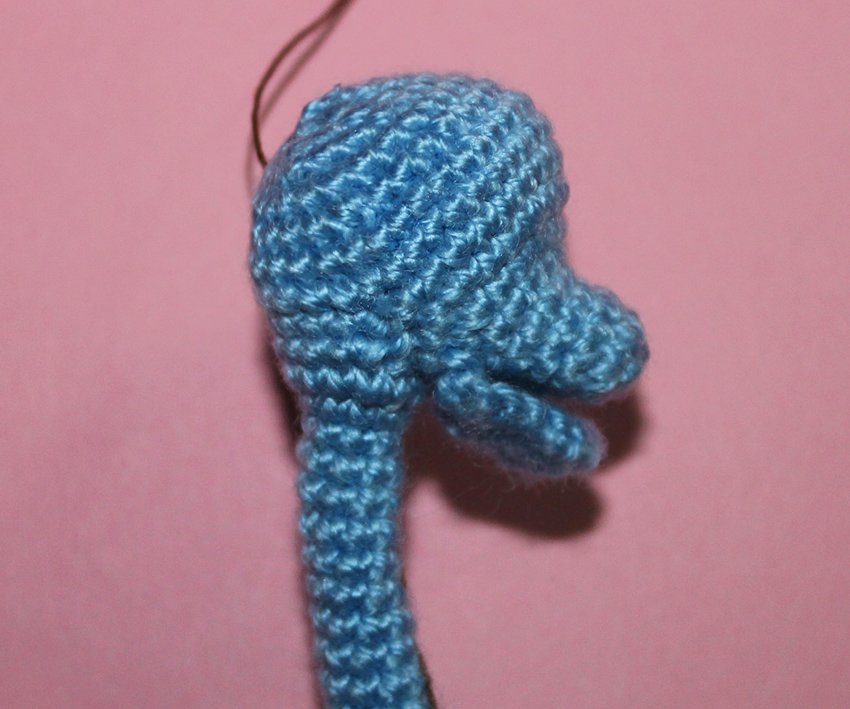
7) 2 sc, inc, (1 sc, inc)х 2 times, 2 sc, inc, 1 sc, attach the lower lip, work the loops of the head and lip together: 6 sc, work along the head: 1 sc, inc (24) See the photo for guidance.
8) 3 sc, (inc, 2 sc)х 3 times, inc, 10 sc, inc (29)
Mark the 26th loop. Fasten off, cut off.
Body
Stuff as you go. Prepare the wire and insert it into the body.
1) 4 sc in a Magic Ring
2) inc, 3 sc (5)
3-4) 5 sc
5) inc, 4 sc (6)
6-8) 6 sc
9) inc, 5 sc (7)
10-13) 7 sc
14) inc, 6 sc (8)
15-18) 8 sc
19) inc, 7 sc (9)
20-23) 9 sc
24) 4 sc, inc, 4 sc (10)
25-28) 10 sc
29) 9 sc, inc (11)
30-35) 11 sc
36) 10 sc, inc (12)
37-51) 12 sc
52) dec, 10 sc (11)
53-60) 11 sc
61) dec, 9 sc (10)
62-69) 10 sc
70) dec, 8 sc (9)
71-77) 9 sc
78) dec, 7 sc (8)
79-85) 8 sc
86) (1 sc, inc)×4 times (12)
87) (2 sc, inc)×4 times (16)
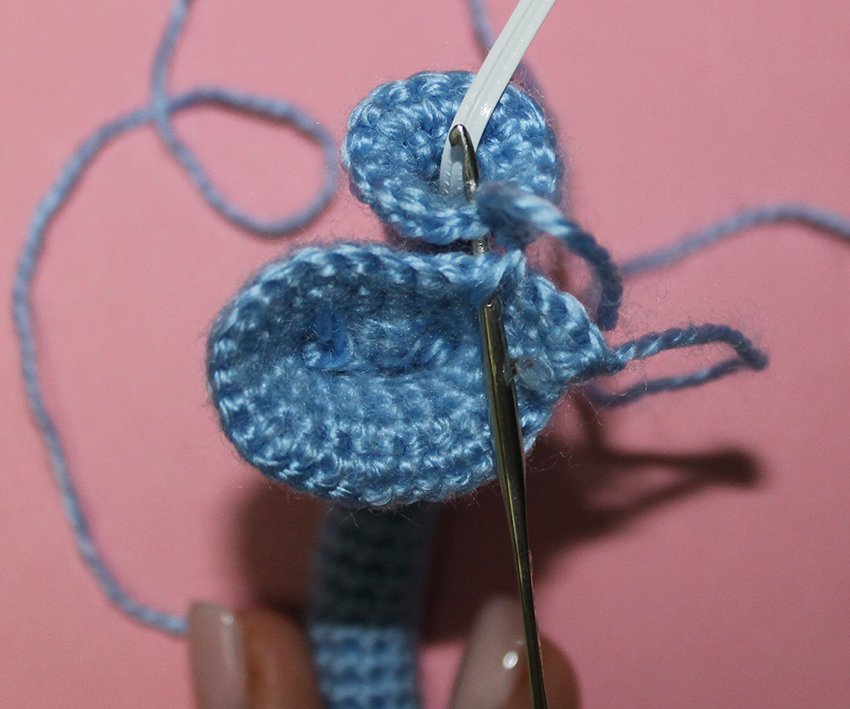
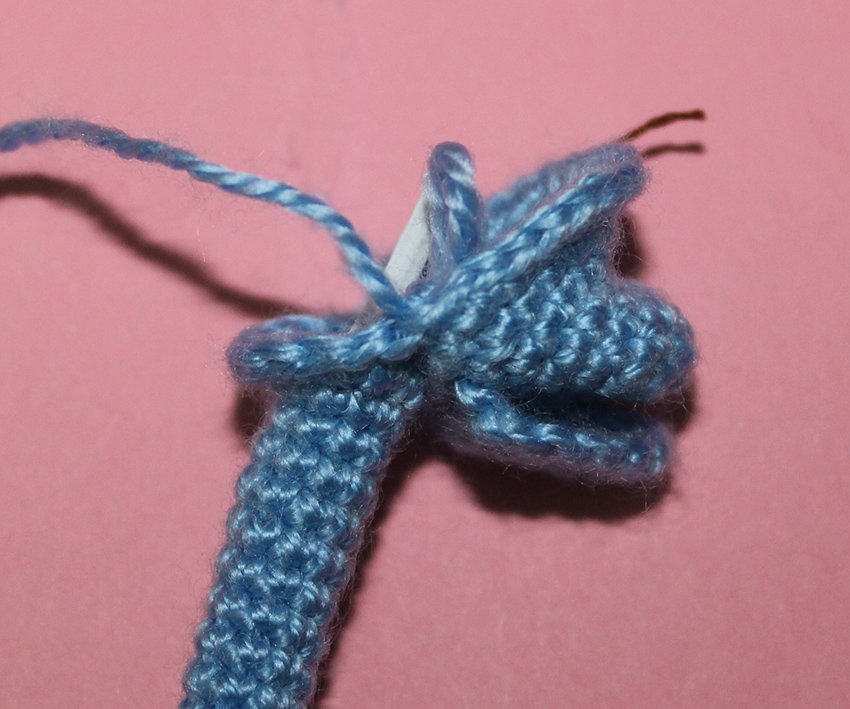
88) attach the head, work the loops of the head and body together, start from the loop with a marker on: 8 sc, 8 sc along the body (16) See the photo for guidance.
89) work into the loops of the head: inc, 1 sc, inc, 15 sc, inc, 1 sc, inc, continue: (2 sc, inc)х 2 times, 2 sc (35)
90-91) 35 sc
92) (3 sc, dec)× 7 times (28)
93) 28 sc
Add hollow fiber.
94) (dec, 2 sc)× 7 times (21)
95) 21 sc
96) (dec, 1 sc)× 7 times (14)
97) 7 dec (7)
Cut off, bind off. Hide the end of the yarn inside.
Eyelid (make 2)
7 ch
1) starting from 2nd ch from hook: 1 sl st, 1 sc, 2 hdc, 1 sc, 1 sl st.
Cut off yarn, fasten off. Leave the tip for sewing.
Assembly and Decoration
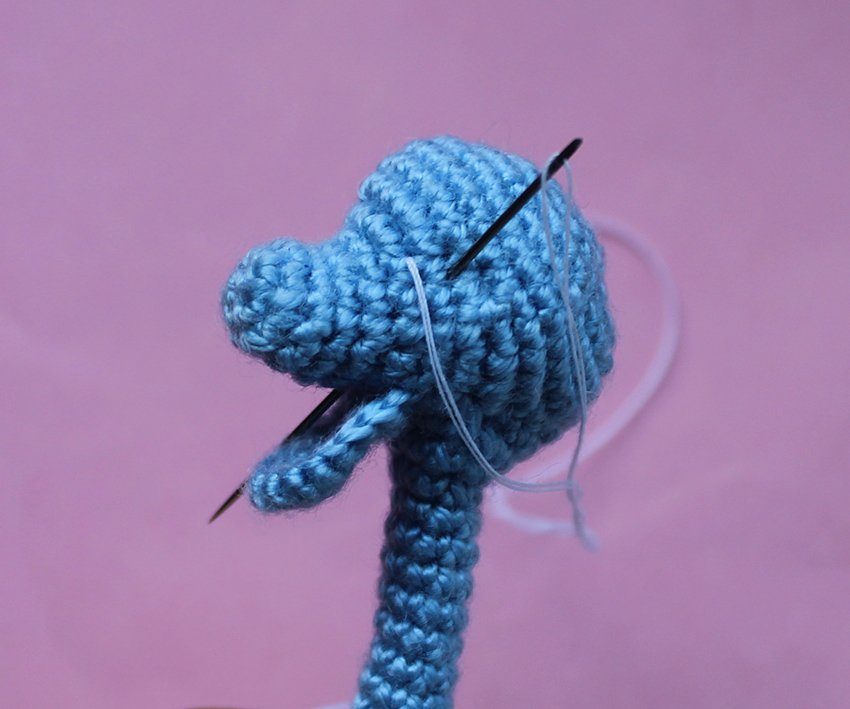
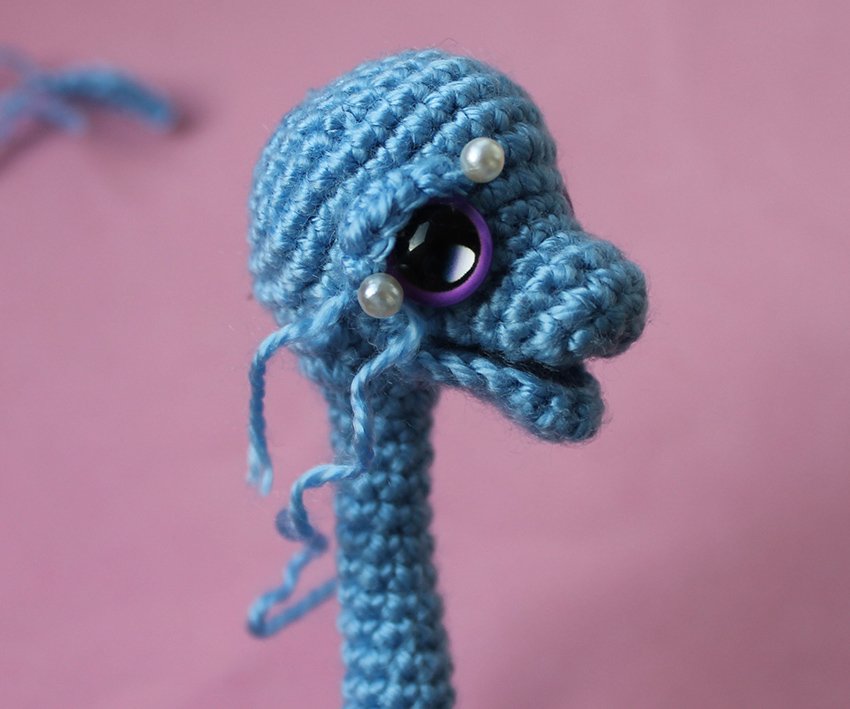
Look at the photo and find points 1,2,3, 4 and 5.
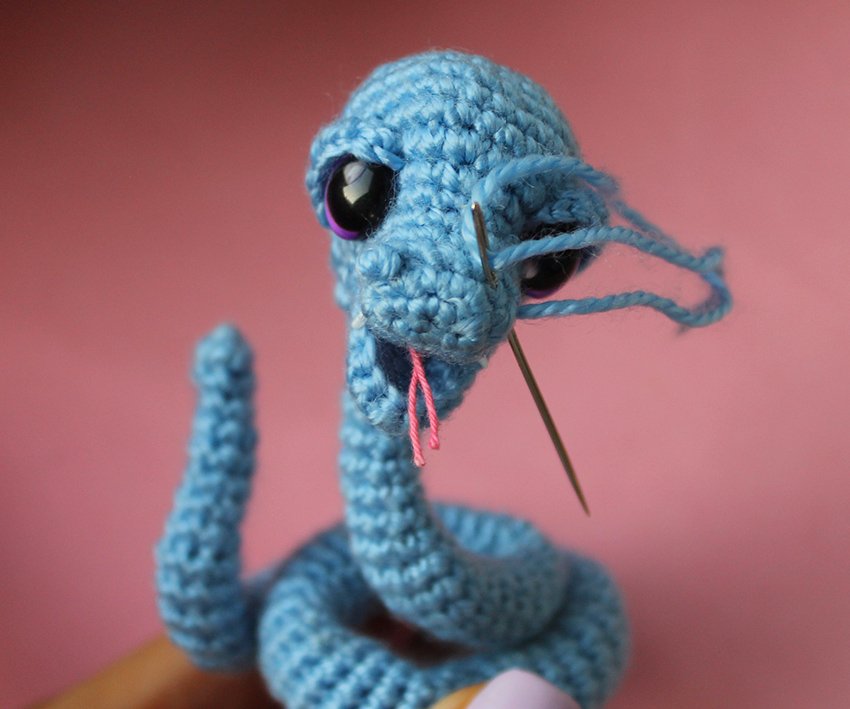
To sculpt the eyes: take some strong sewing thread and fasten it below in point 1, take the needle out in point 2. Insert the needle in point 3 and back intopoint 1. Sculpt the second eye. Points 1 - 4 - 5 - 1.
Fasten the thread.
Glue the eyes on. Sew on the eyelids.
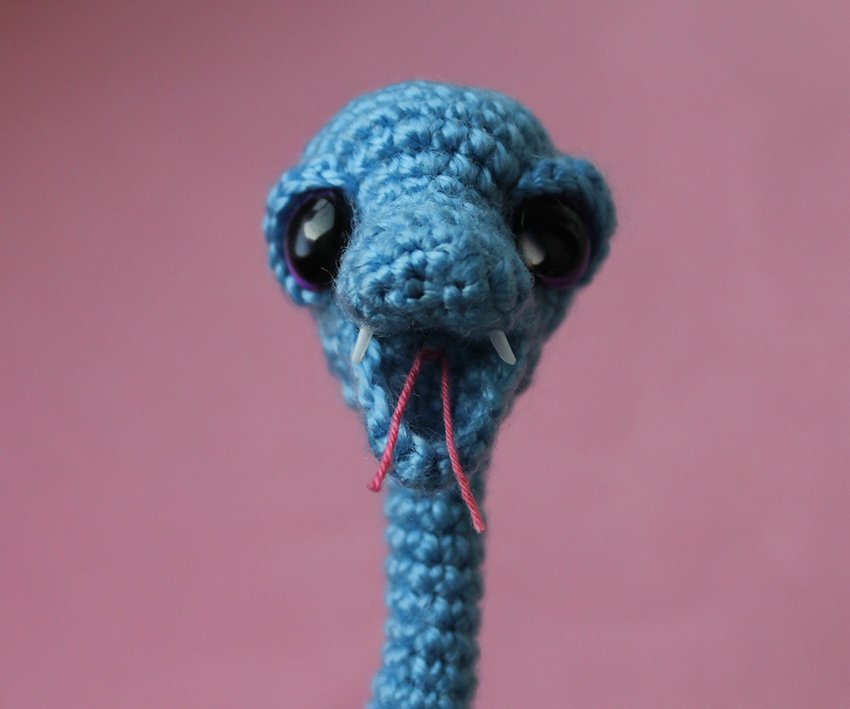
Tie a piece of pink thread inside the mouth, this will be the snake's tongue. Make teeth from a disposable plastic fork. Use a thick knitting needle or a sewing needle to expand the hole for each tooth. Glue on the teeth.
Embroider nostrils. Optional: tint the snake with a marker pen.
The snake is ready!
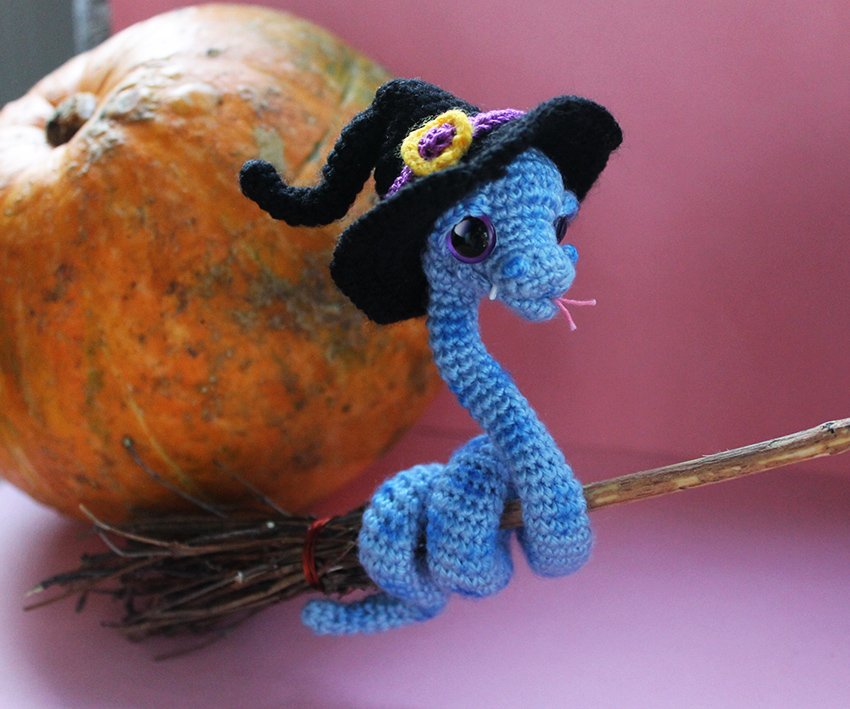
Decorate the snake with a witch's hat. Place it on a broom! This is a great decor for Halloween!
Pattern of such a hat at this link https://www.crazypatterns.net/en/blog/2039/witch-s-hat-halloween-decor

.JPG)
.JPG)

.JPG)
.JPG)
.JPG)
.JPG)
.JPG)
.JPG)
.JPG)
.JPG)
.JPG)
