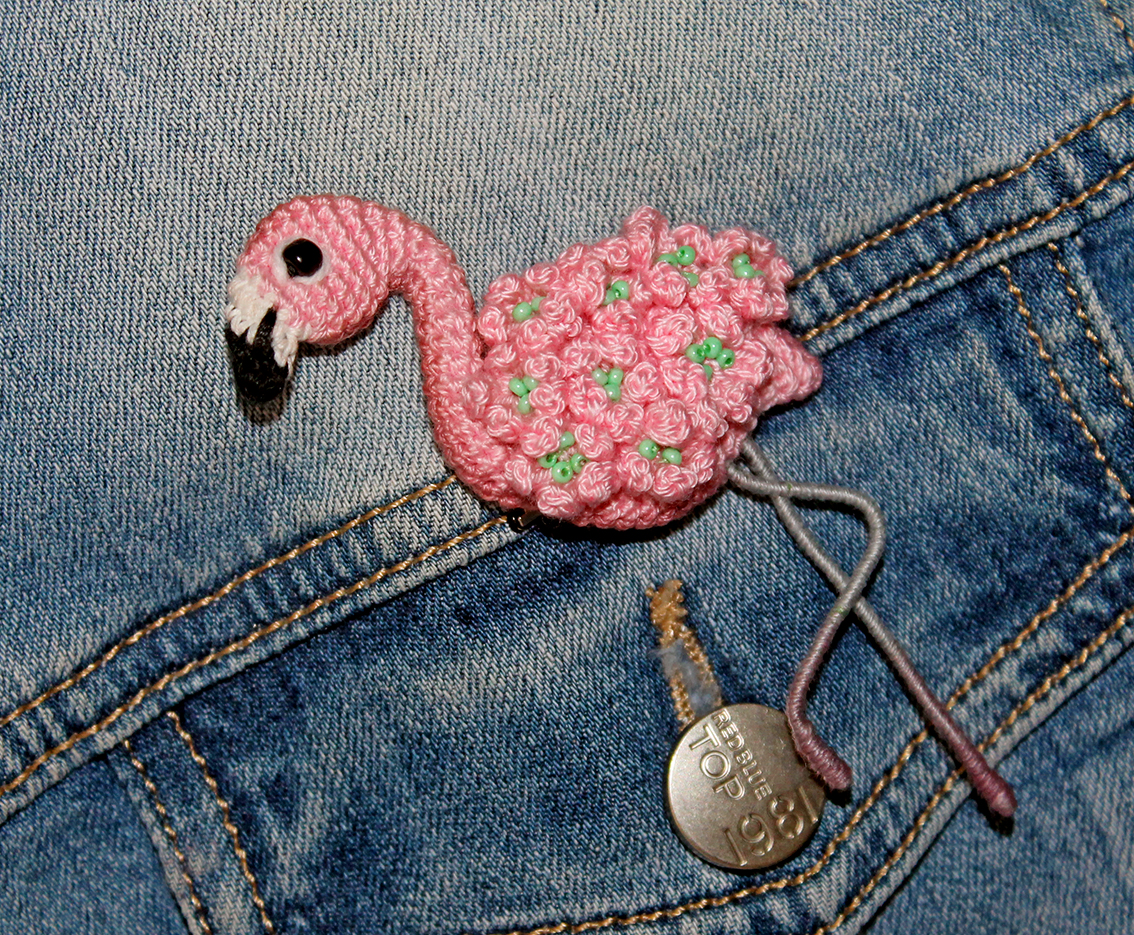
Materials:
Cotton yarn. Colours: pink, a small amount of white, black and grey.
To make a brooch choose thinner yarn. To make a beautiful statuette choose thicker yarn.
I used mercerized cotton, 330 m/ 50 g. The size of my brooch is 6 cm wide, 5 cm high + 5 cm legs. The consumption is minimal, about 5 g
- A crochet hook, I used 1,0 mm crochet hook
- Hollow fibre
- A piece of wire approx. 1,0 mm thick and 30-35cm long
- A sewing needle
- Transparent glue
- For the eyes - a small bead
- Seed beads for decoration (colour of your choice, I used mint green colour)
- Sewing threads to match the colour of the seed beads
- Brooch base (fastener)
Abbreviations:
ch – chain
sl st – slip stitch
sc – single crochet
hdc – half double crochet
inc – increase (2 sc in 1 st)
dec – decrease (single crochet two stitches together)
(...) x N times – repeat instructions in brackets N times
Start with black colour yarn.
1) 4 sc in a Magic Ring
2) 3 sc in 1 loop, 3 sc (6)
3) 1 sc, 3 sc in 1 loop, 2 sc, change to white colour yarn: 2 sc (8)
4) 2 sc, inc × 2 times, 2 sc, dec (9)
5) 3 sc, inc × 2 times, 2 sc, dec (10)
Change to pink colour yarn. Fasten off and cut off the white and black colour yarns.
6) 4 sc, inc × 2 times, 2 sc, inc × 2 times (14)
7) inc × 2 times, 4 sc, inc, 7 sc (17)
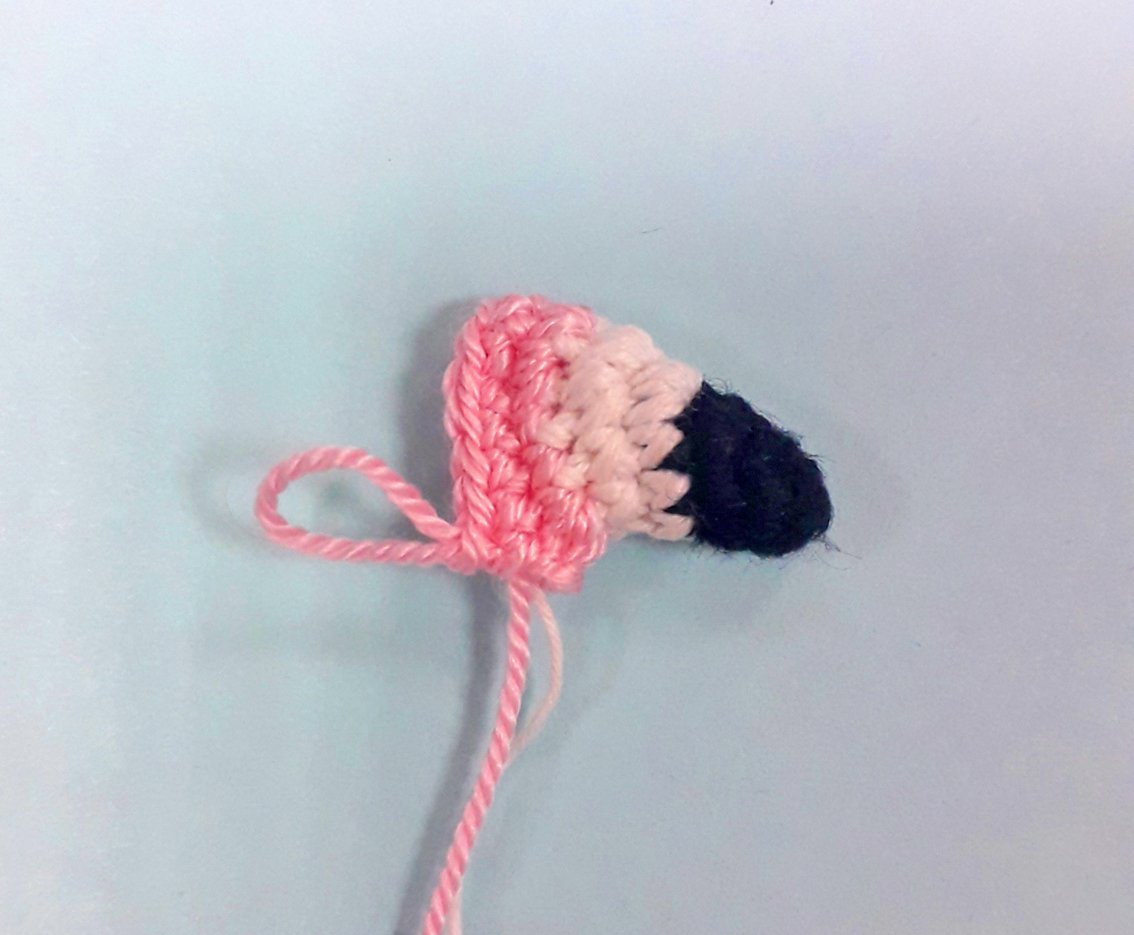
8-9) 17 sc
10) 15 sc, dec (16)
11) dec, 6 sc, dec, 4 sc, 2 sl st (14)
12) 2 sl st, 3 sc, dec, 1 sc, dec, 2 sc, 2 sl st (12)
13) 2 sl st, 2 sc, dec, 1 sc, dec, 3 sc (10)
14) inc, 2 sc, dec, 1 sc, dec, 2 sc (9)
Add some hollow fibre.
Work 1 sc, transfer your place marker here.
15) 4 sc, dec, 3 sc (8)
16) inc, 3 sc, 2 dec, 1 sc (7)
17-26) 7 sc
Align the marker. It should be in the centre at the back of the neck. If required make additional stitches to align it.
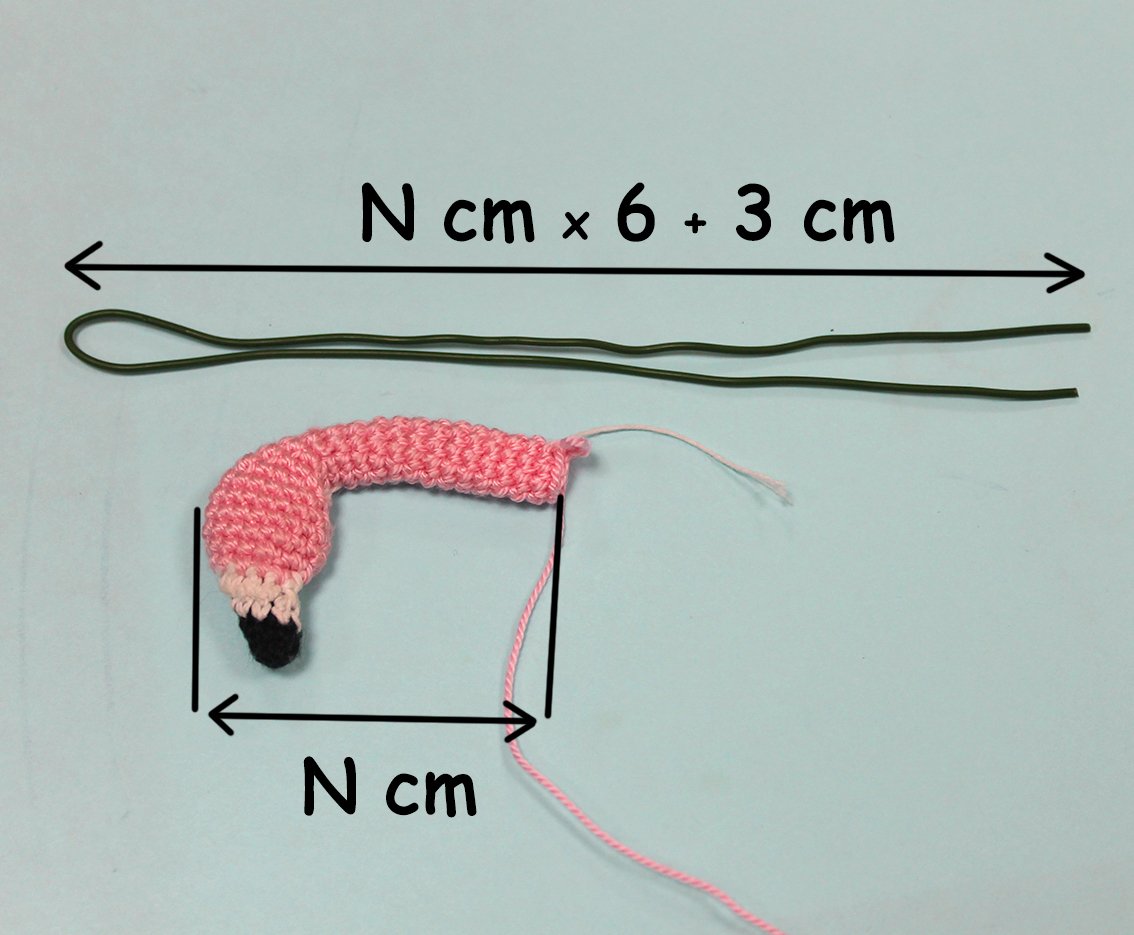
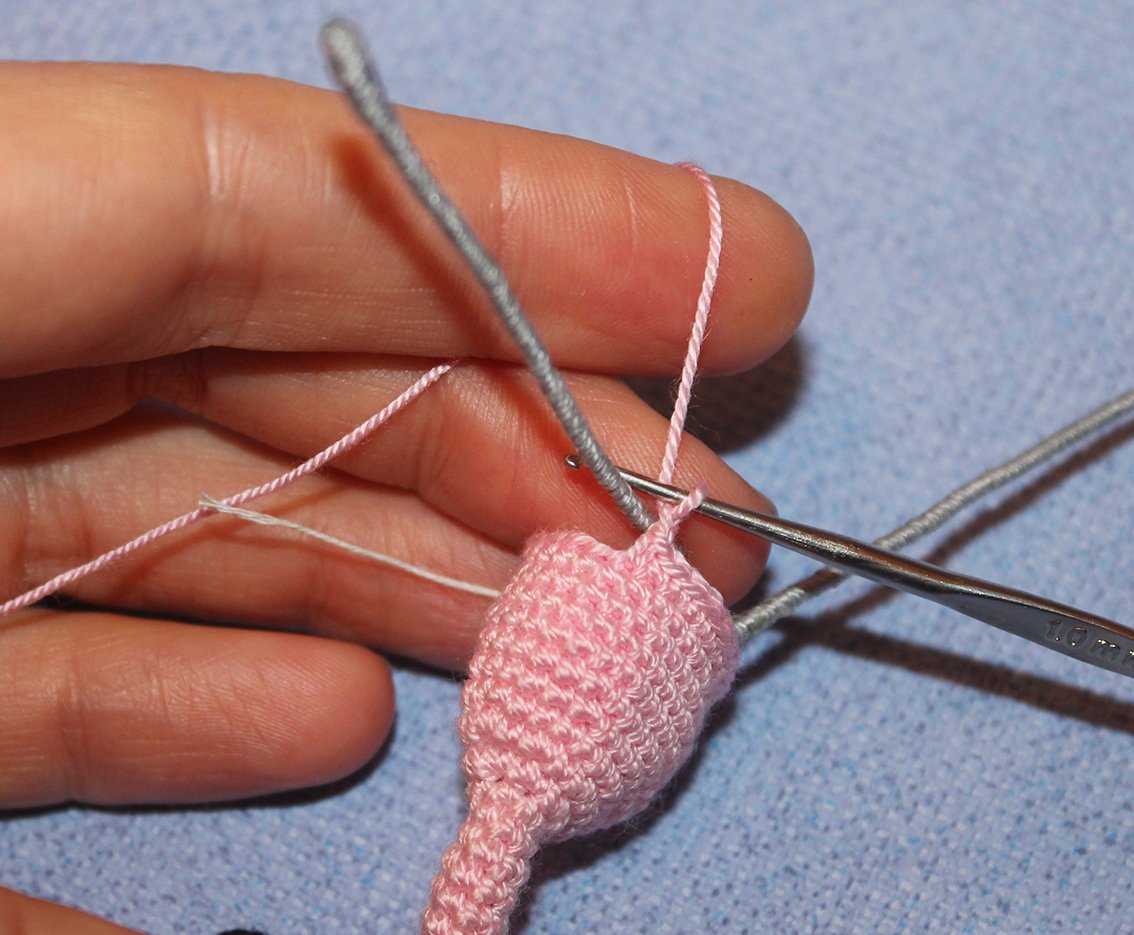
Measure the part. Take a piece of wire that’s 6 times longer than the part plus add and additional 3cm. The part I made is 5cm long, the piece of wire is 5 x 6 +3 = 33cm.
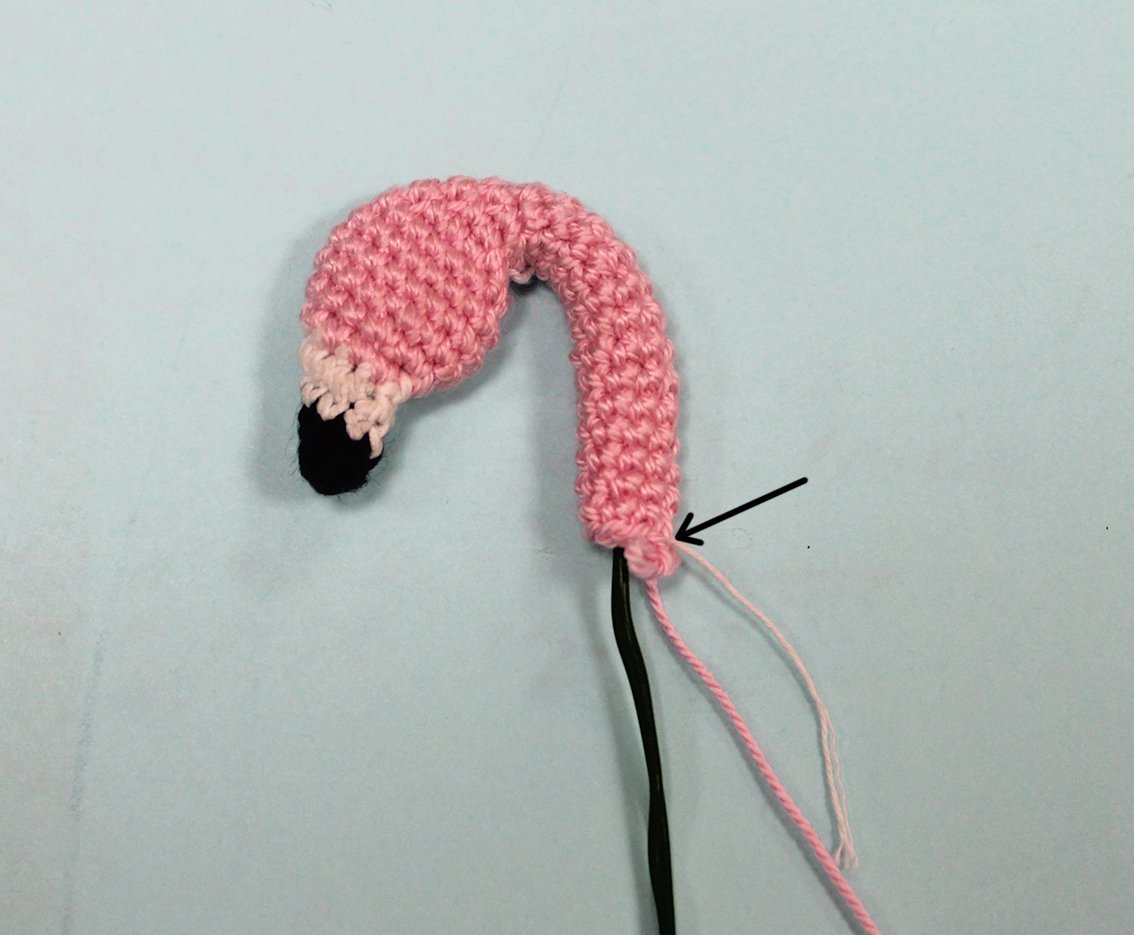
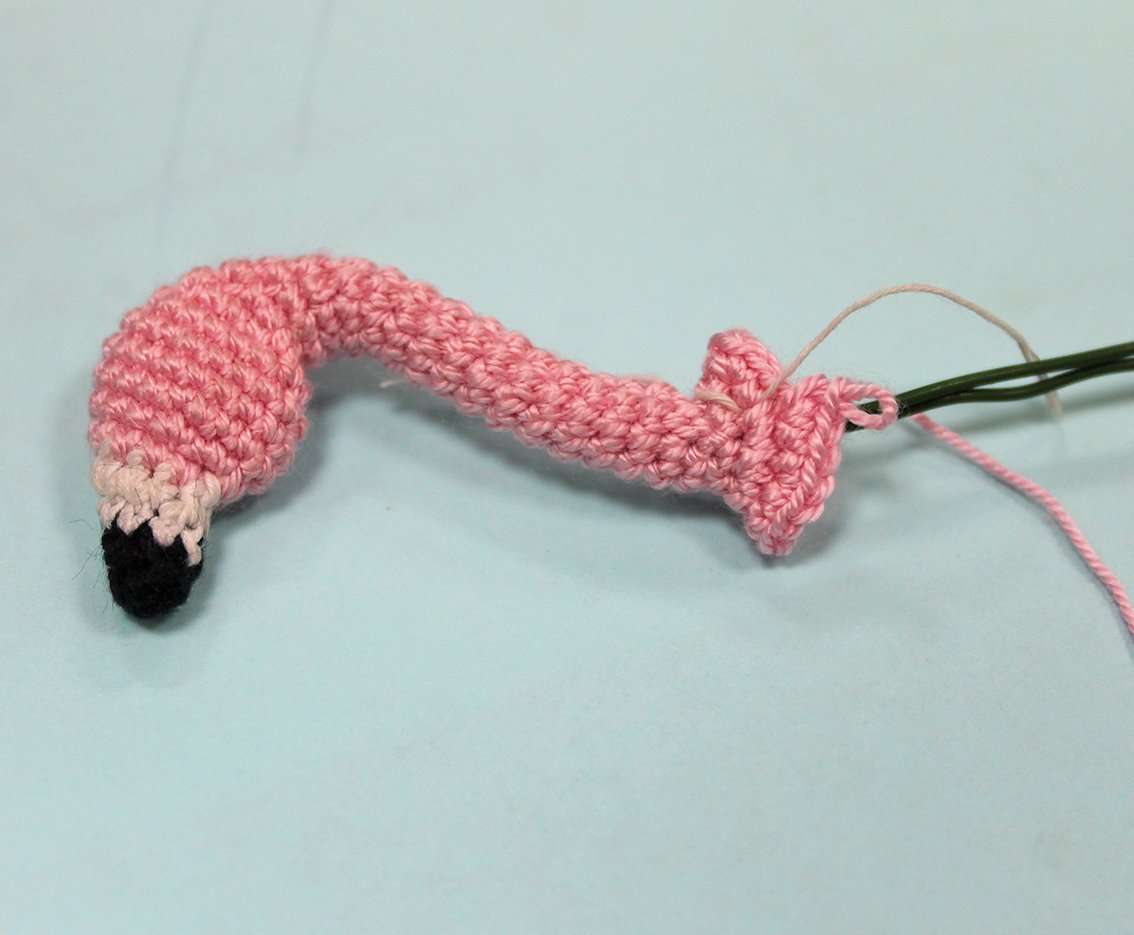
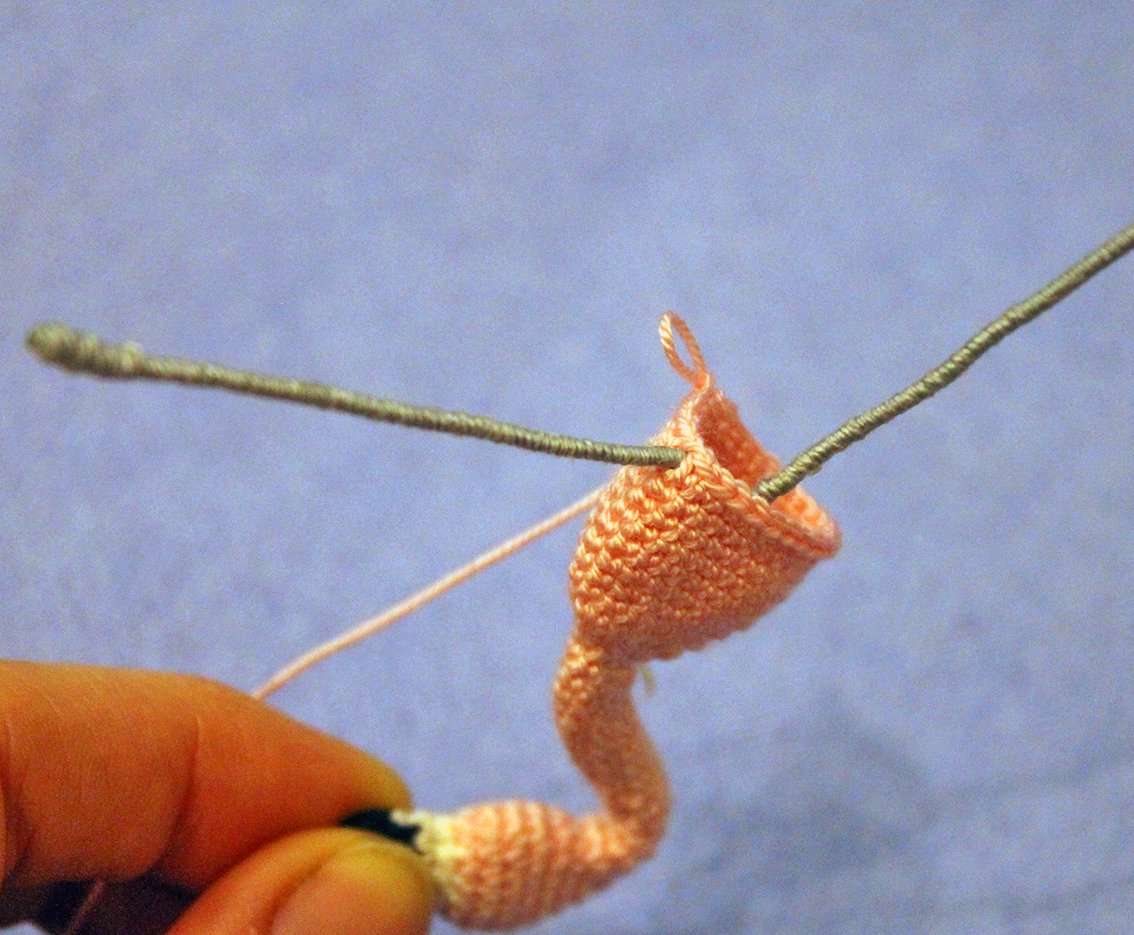
Fold the wire in half. Insert it into the neck and head. Bend the neck.
Continue crocheting.
27) 5 sc, 2 sl st (7)
28) 2 sl st, 3 sc, 2 sl st (7)
29) 2 sl st, 5 sc (7)
30) inc х 7 times (14)
31) (1 sc, inc)× 7 times (21)
32) 21 sc
33) (6 sc, inc)× 3 times (24)
34) (7 sc, inc)× 3 times (27)
35-38) 27 sc
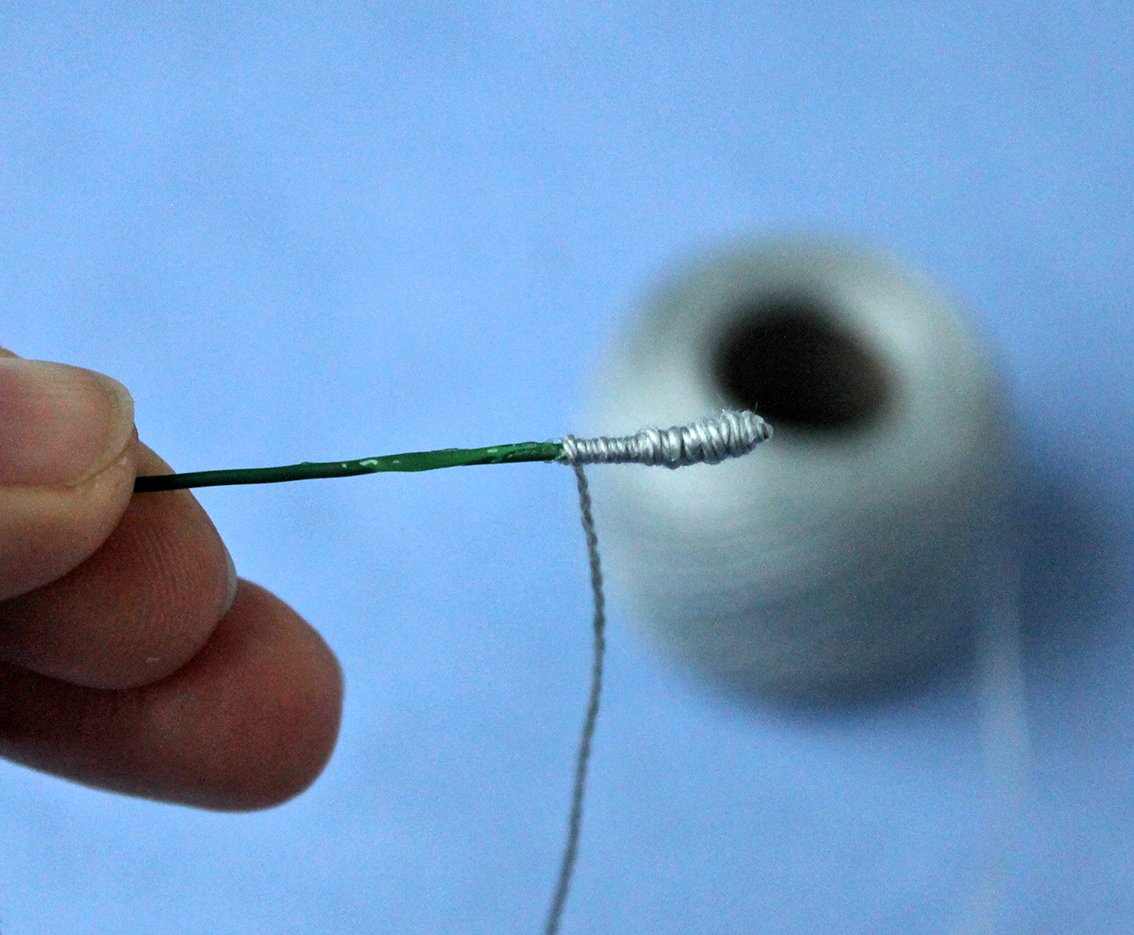
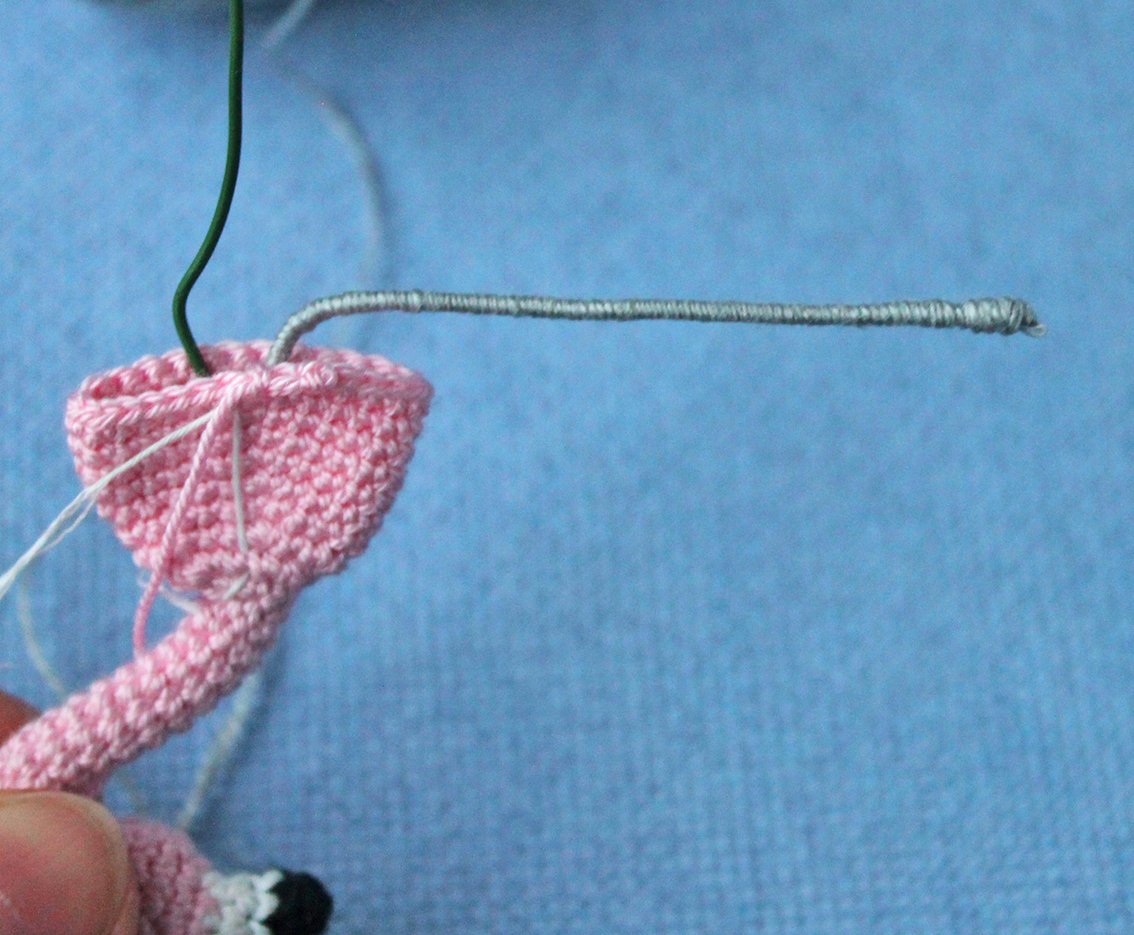
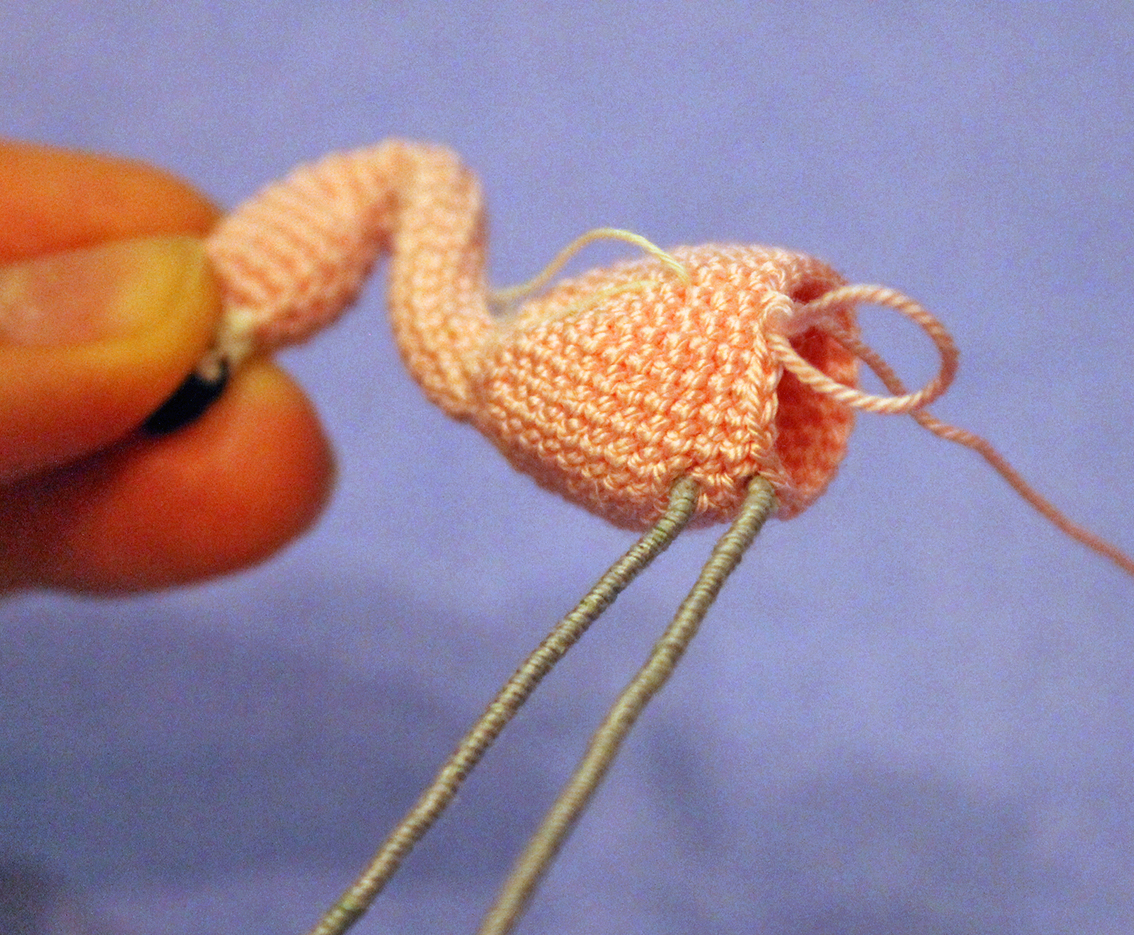
Apply some transparent glue onto the wire and make neat wraps around it with grey colour yarn. These will be flamingo’s legs. Make additional wraps on the ends of the wire to make the feet.
39) 20 sc, 1 ch, skip 1 loop– bend the right leg at a right angle and insert it into the opening, 6 sc (27)
40) (dec, 7 sc)× 2 times, dec, work into the chain of the previous round: 1 sc, further: 6 sc (24)
41) 17 sc, 1 ch, skip 1 loop – bend the left leg at a right angle and insert it into the opening, 6 sc (24)
42) 2 sc, (dec, 4 sc)× 2 times, dec, 1 sc, work into the chain of the previous round: 1 sc, further: 2 sc, dec, 2 sc (20)
43) 2 sc, (dec, 3 sc)× 3 times, dec, 1 sc (16)
44) 1 sc, dec, 2 sc, dec, 4 sc, (3 sc in 1 loop)× 2 times, 3 sc (18)
45) (2 sc, dec)× 2 times, 4 sc, 3 sc in 1 loop, 3 sc, dec (17)
46) dec× 4 times, 3 sc, inc, 2 sc, 3 stitches together (12)
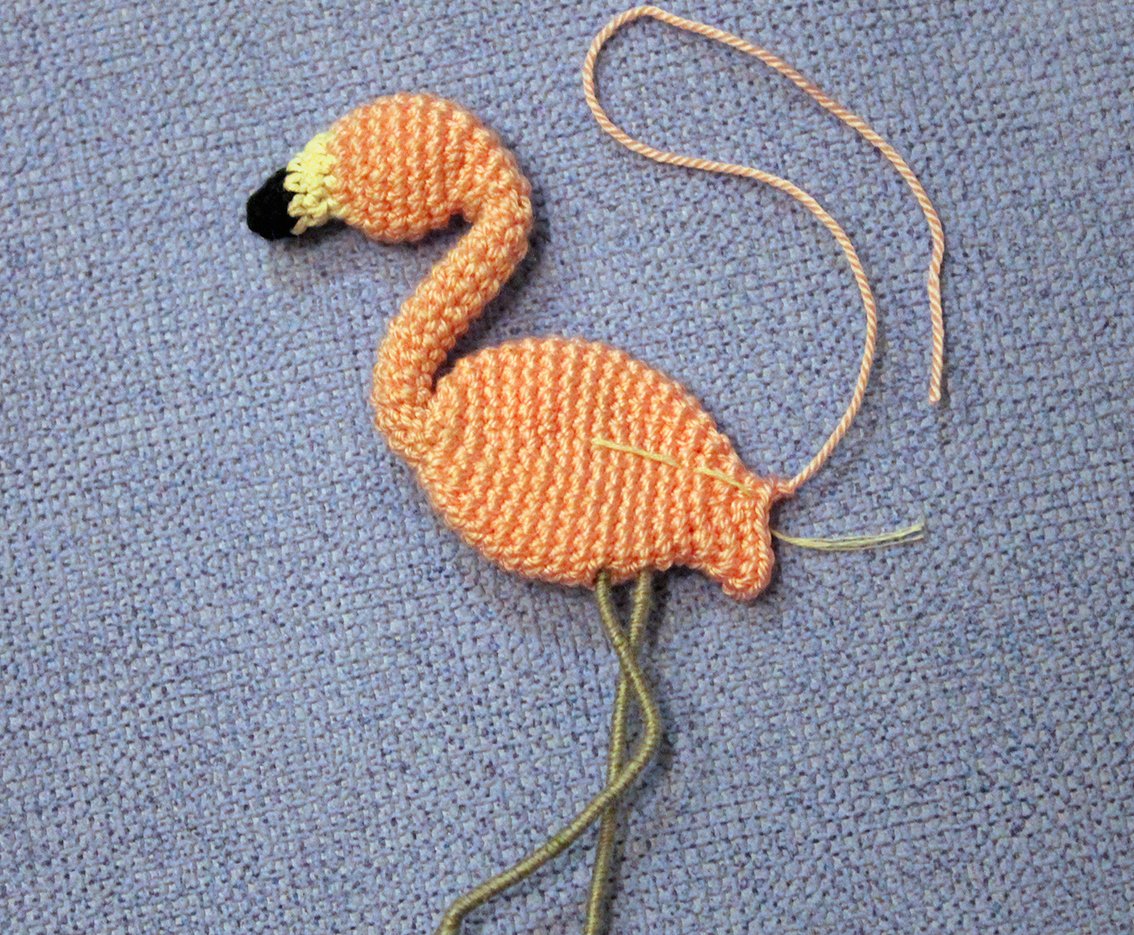
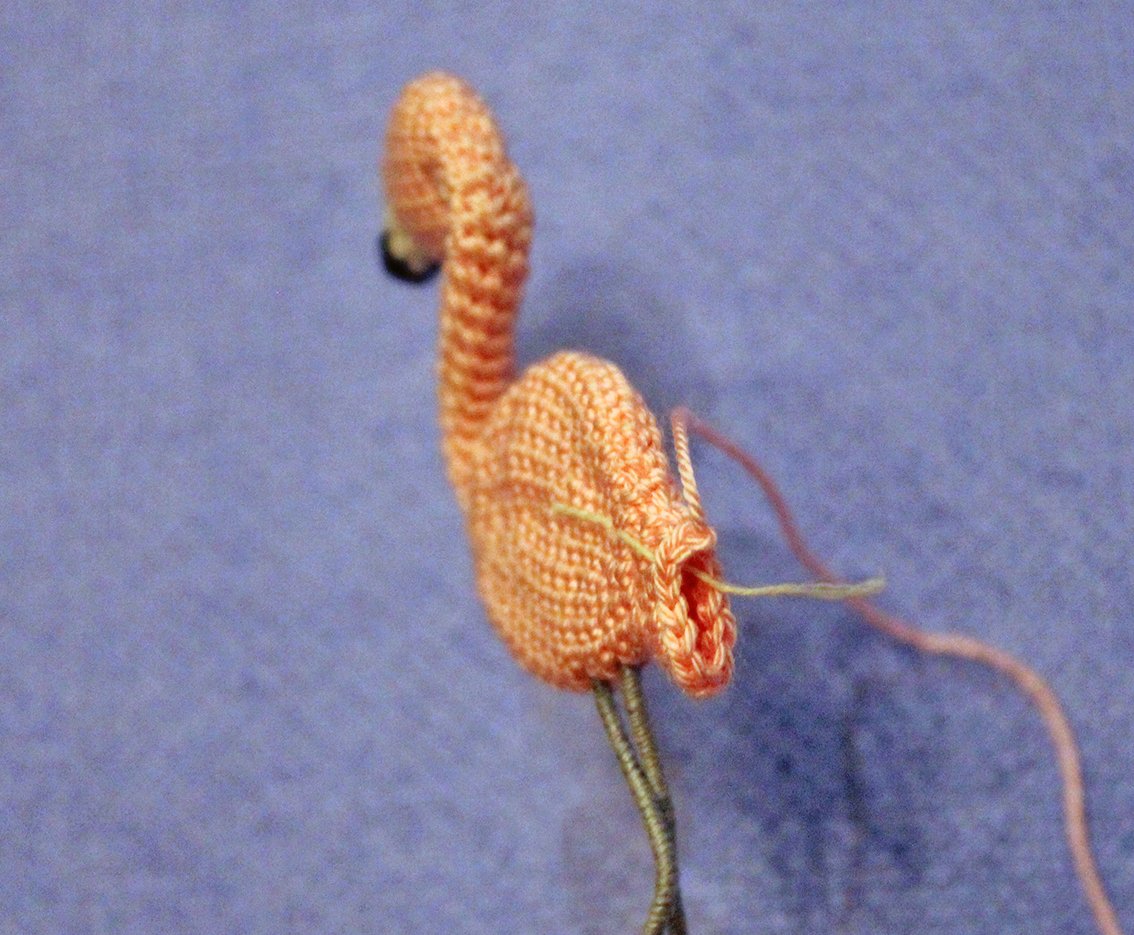
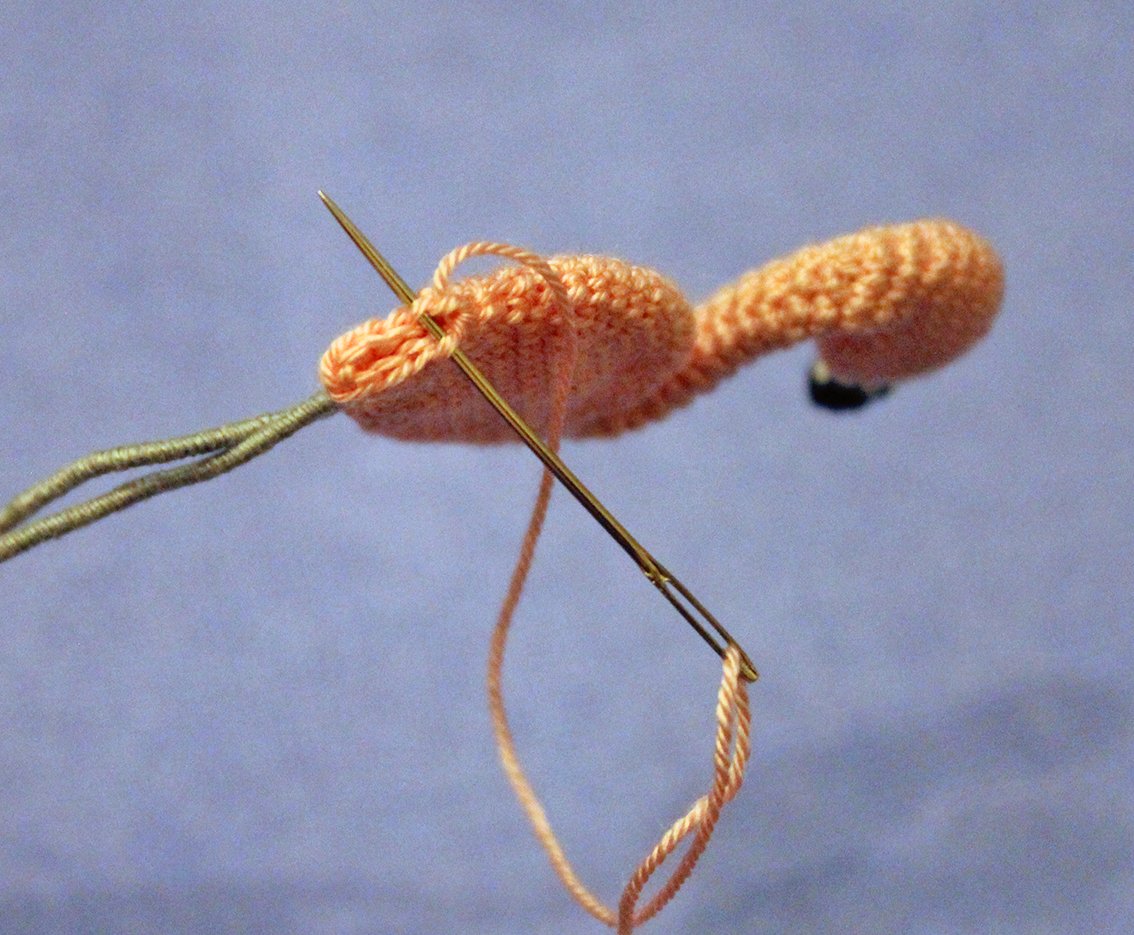
Cut off yarn, leave a tail for further operation.
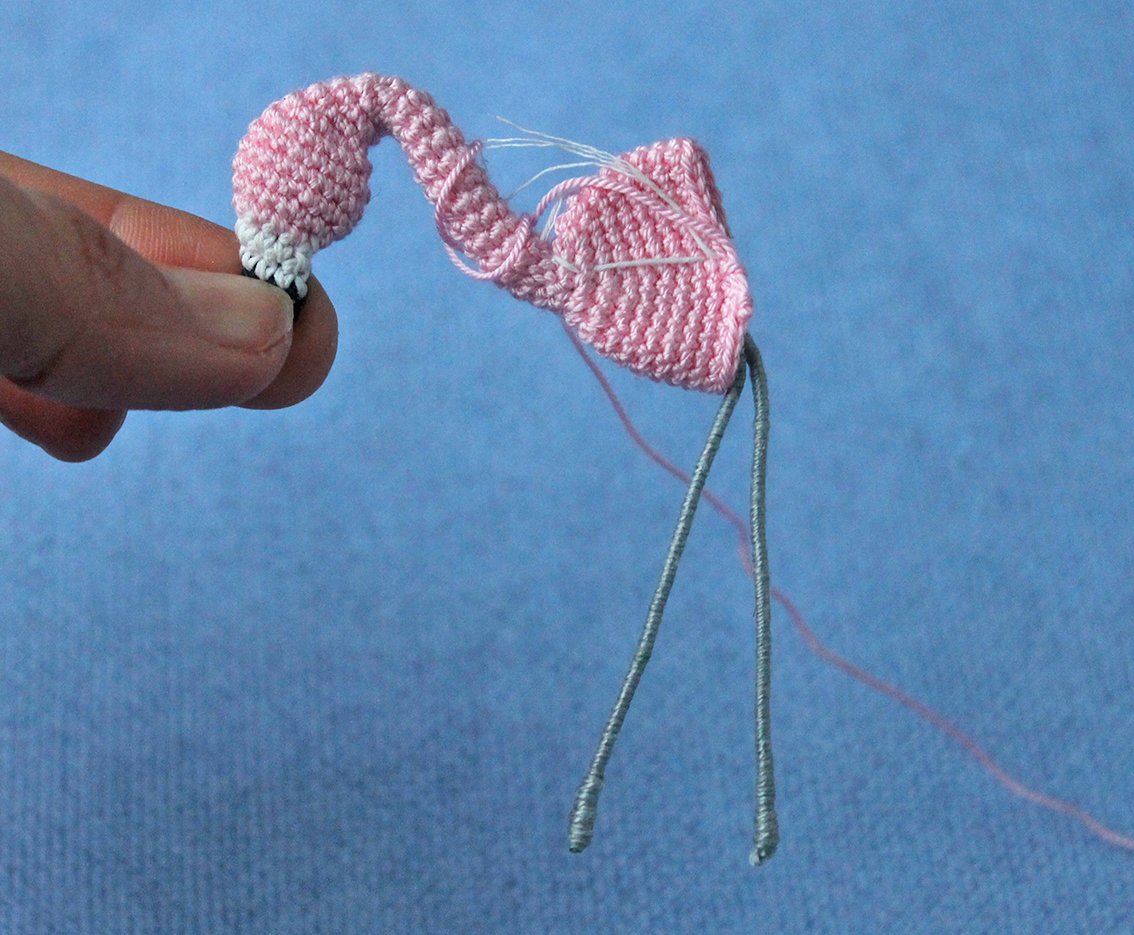
Fold in half. Sew the remaining loops together with one neat seam.
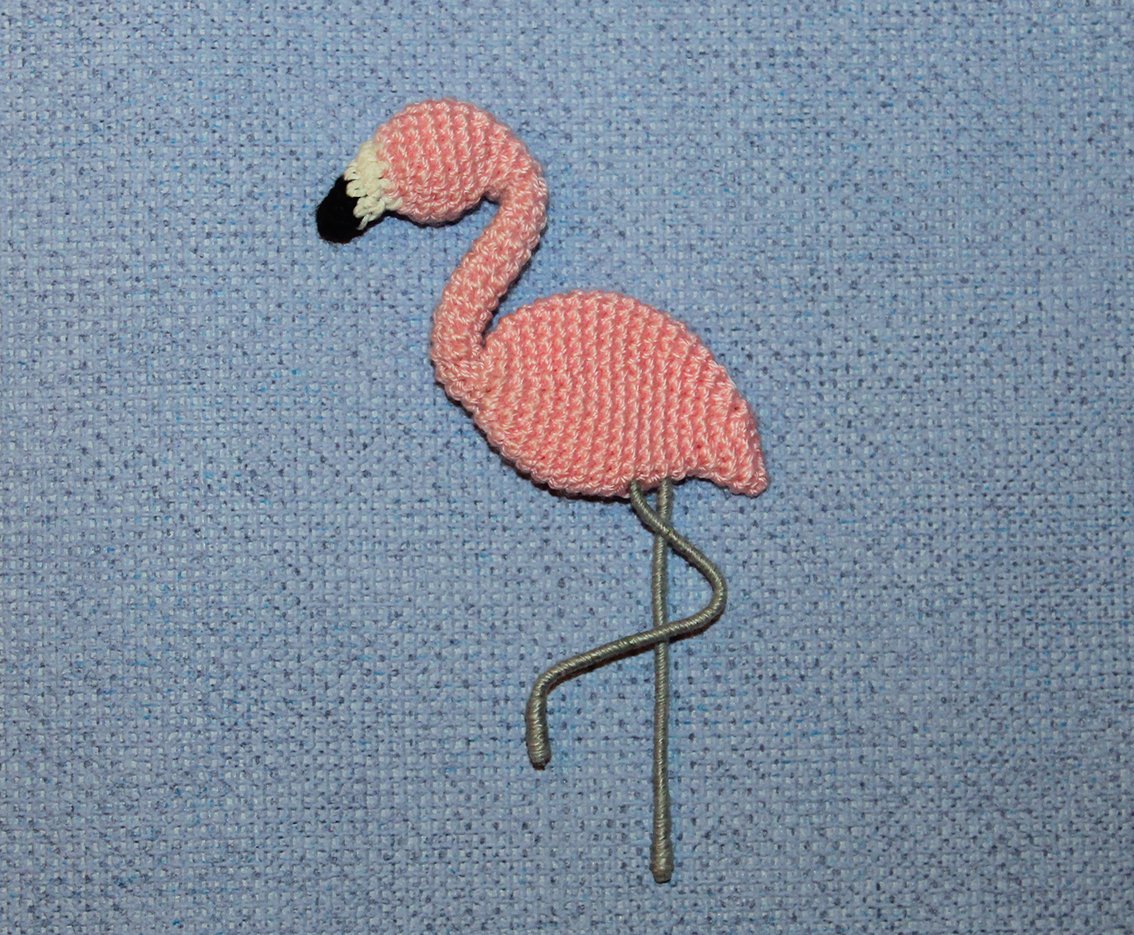
Bend one leg, as in the photo.
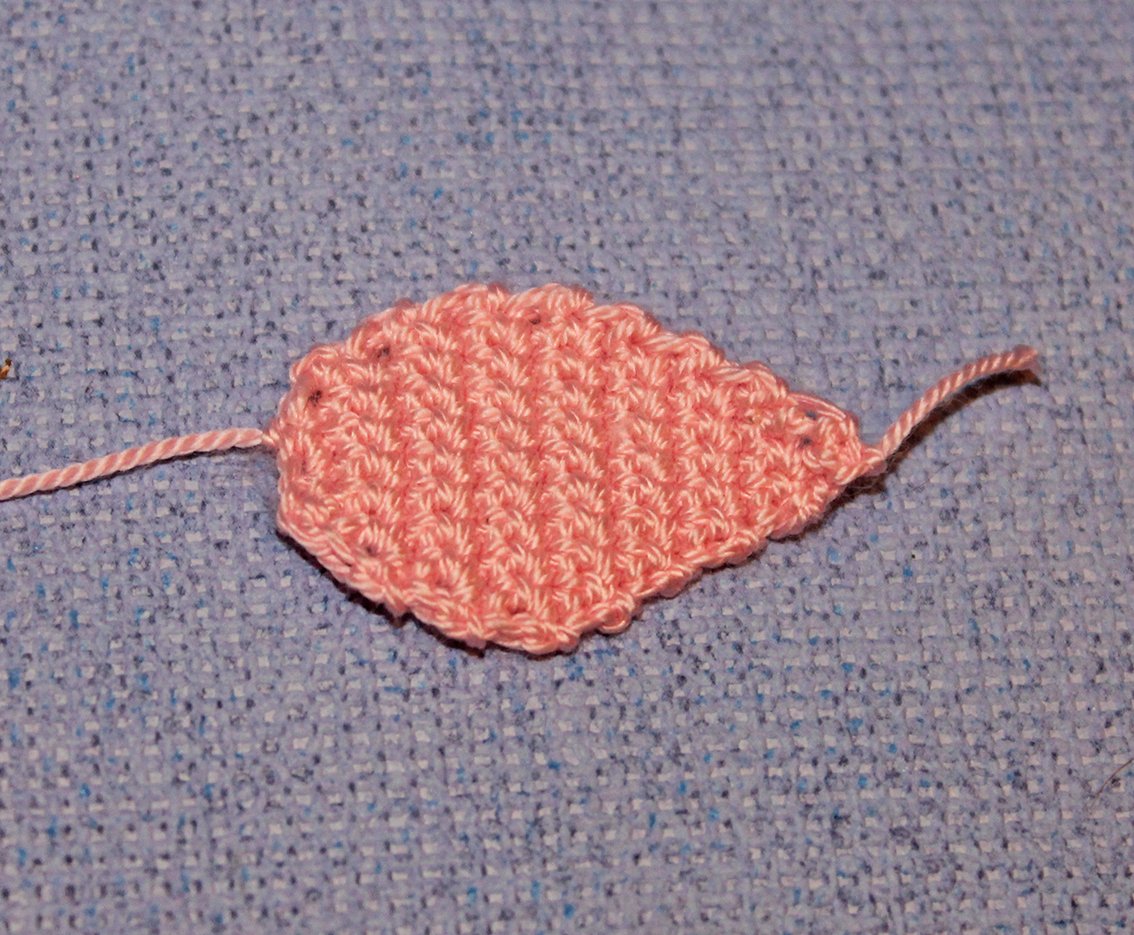
Wing
4 ch
1) starting from 2nd ch from hook: inc × 3 times, ch, turn (6)
2) inc, 5 sc, ch, turn (7)
3) inc, 6 sc, ch, turn (8)
4) inc, 7 sc, ch, turn (9)
5) inc, 8 sc, ch, turn (10)
6-8) 10 sc, ch, turn (10)
9) skip 1 loop, 9 sc, ch, turn (9)
10) skip 1 loop, 8 sc, ch, turn (8)
11) skip 1 loop, 7 sc, ch, turn (7)
12) skip 1 loop, 6 sc, ch, turn (6)
13) skip 1 loop, 5 sc, ch, turn (5)
14) skip 1 loop, 4 sc, ch, turn (4)
15) skip 1 loop, 1 sc, dec, ch, turn (2)
16) dec (1)
Bind off, cut off any excess yarn.
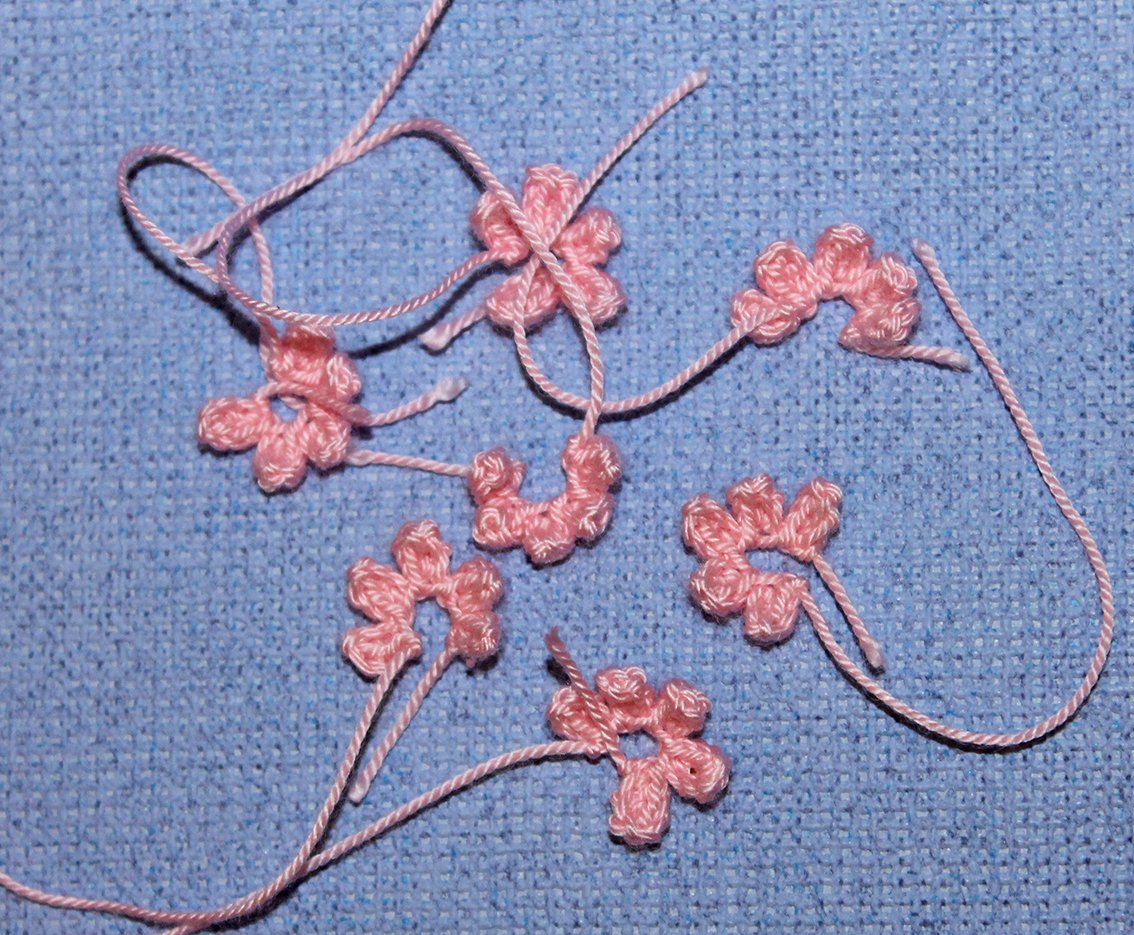
Flowers (make 9-10)
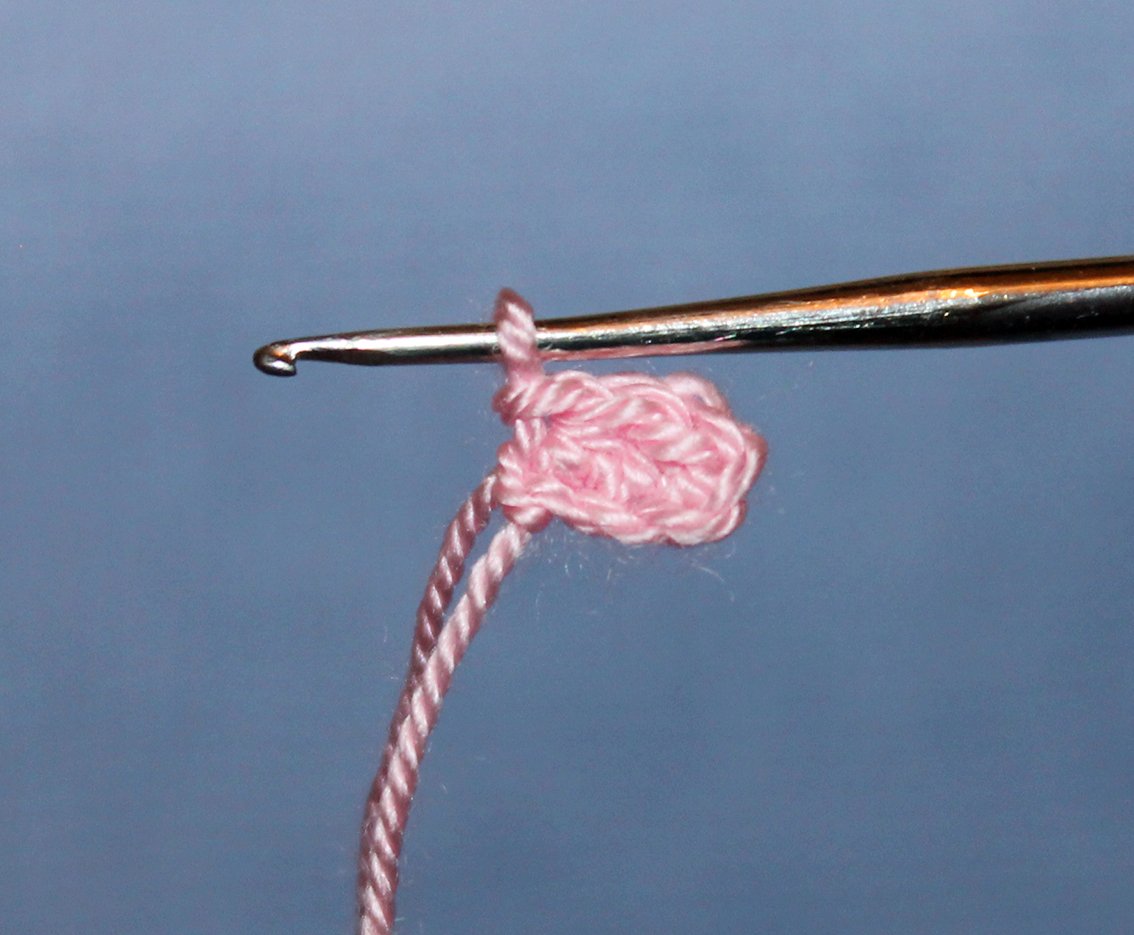
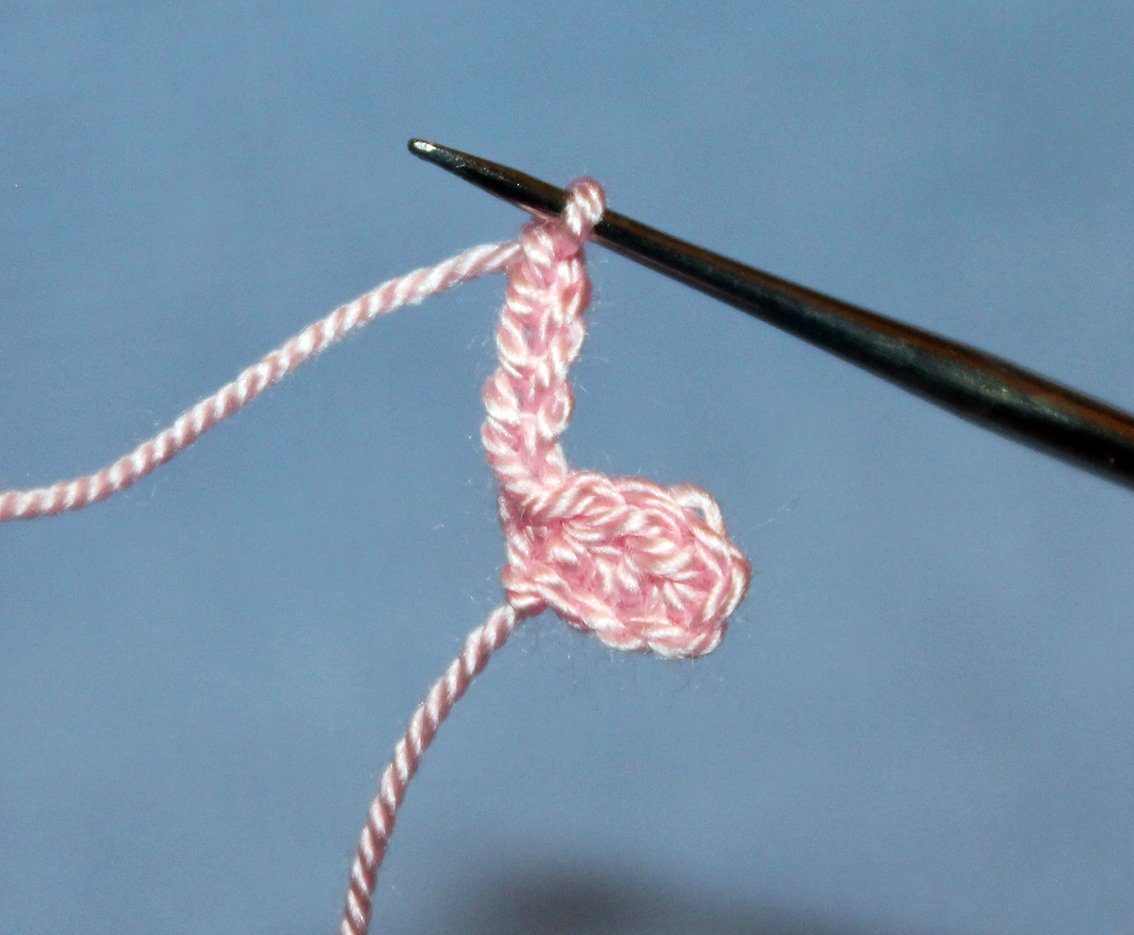
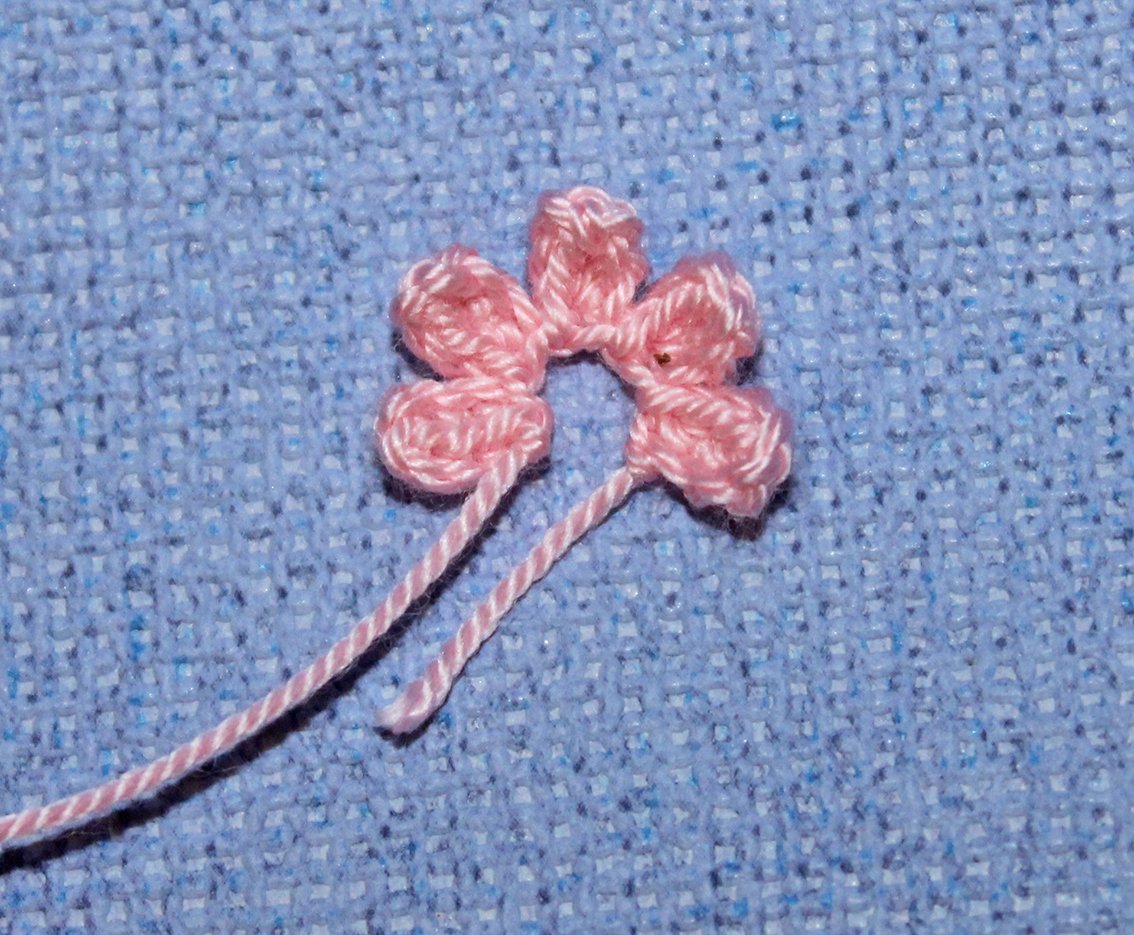
1) (5 ch, starting from 3rd ch from hook: 2 hdc, 1 sl st)х 5 times
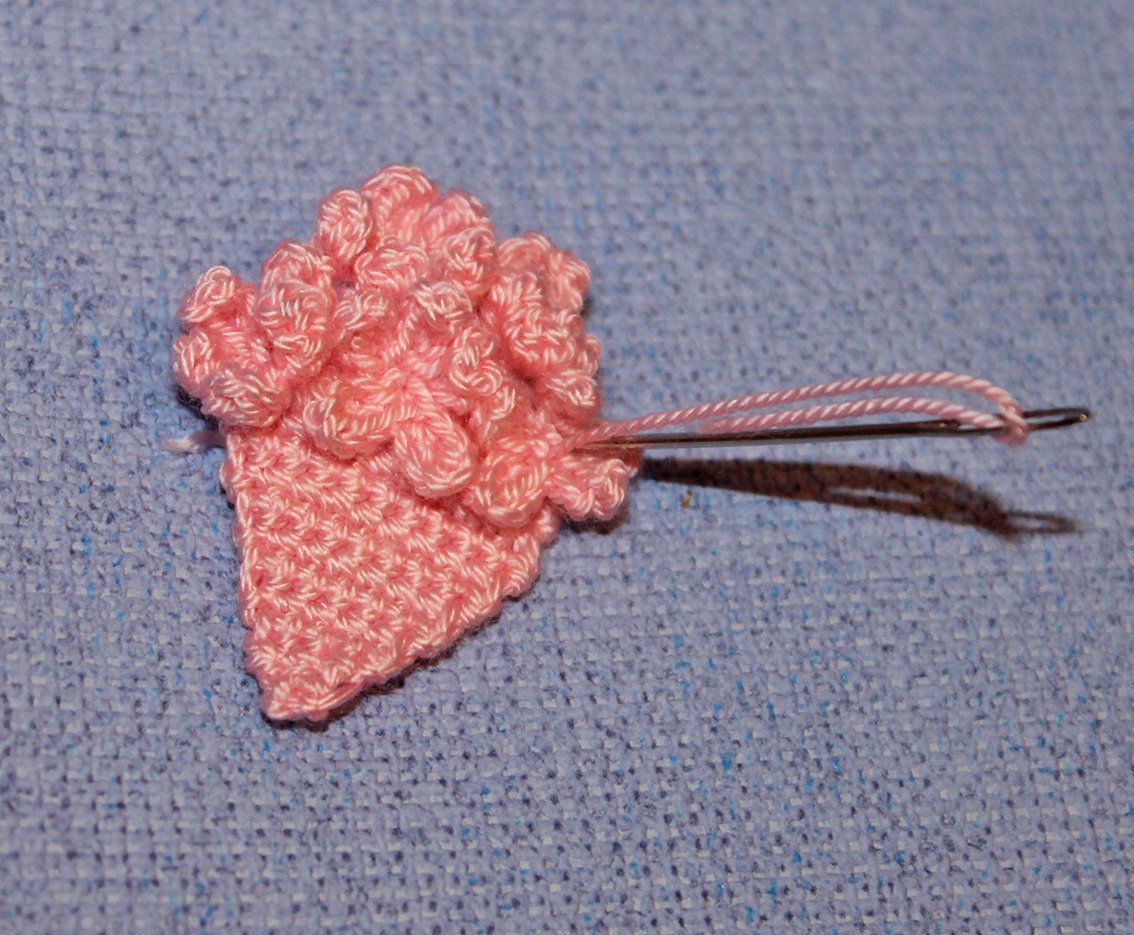
Join the 1st and the last leaf into a circle. Thread the centre and pull it tight.
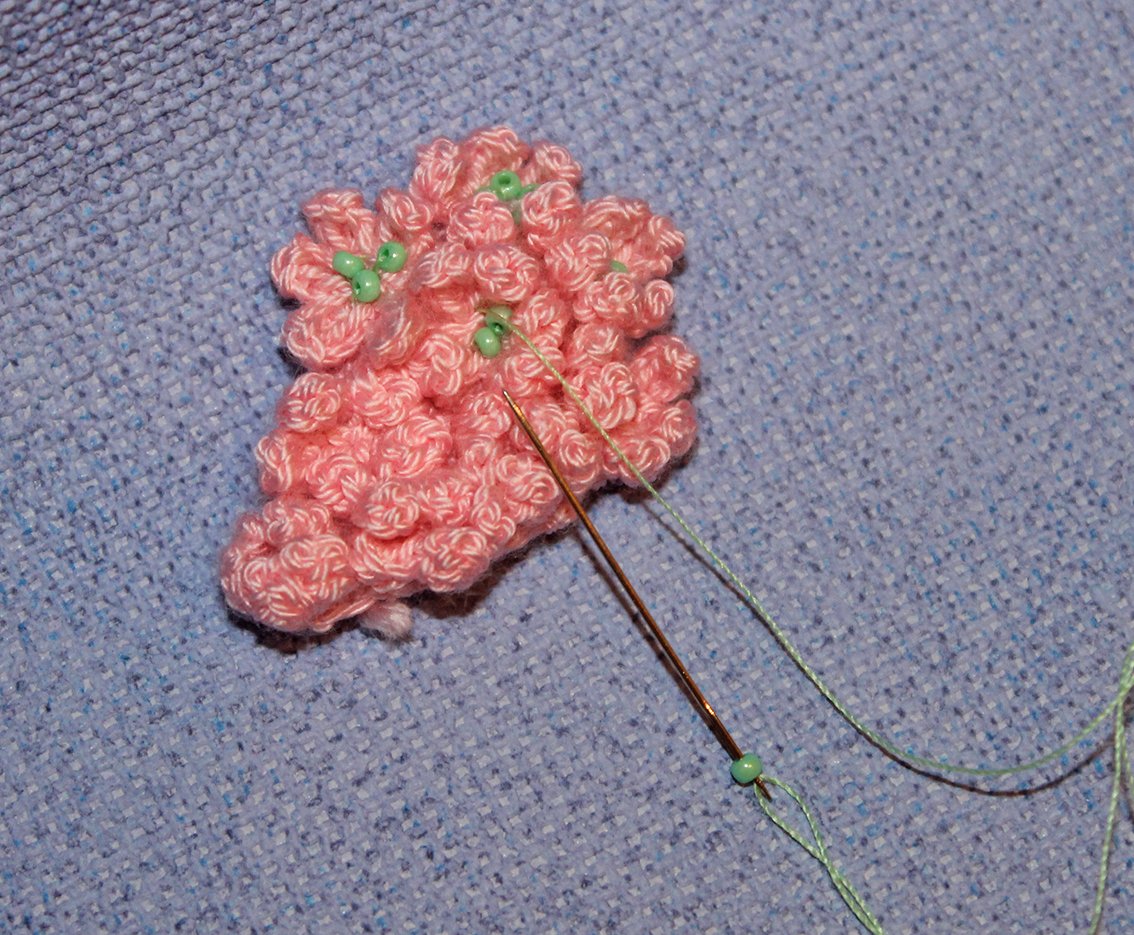
Sew flowers onto the wing.
Decorate with seed beads.
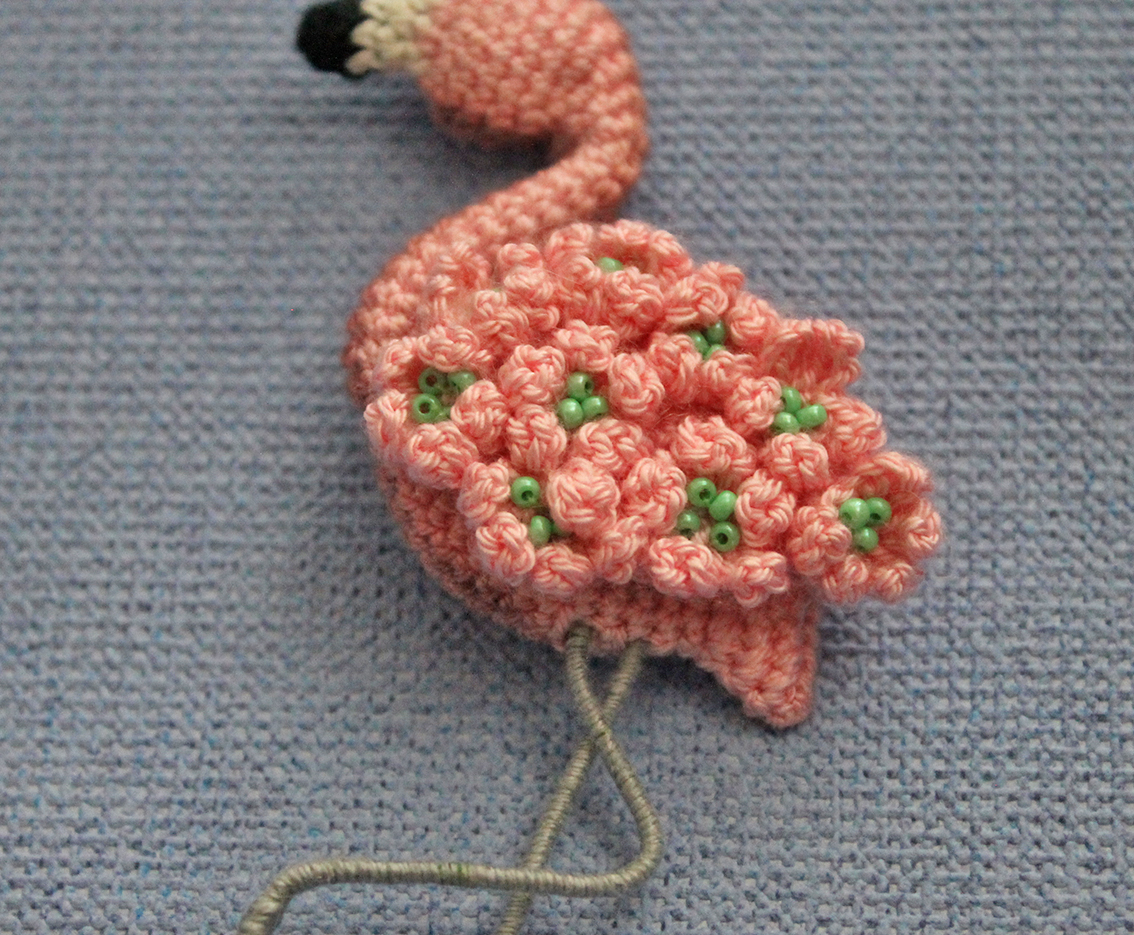
Sew the wing on.
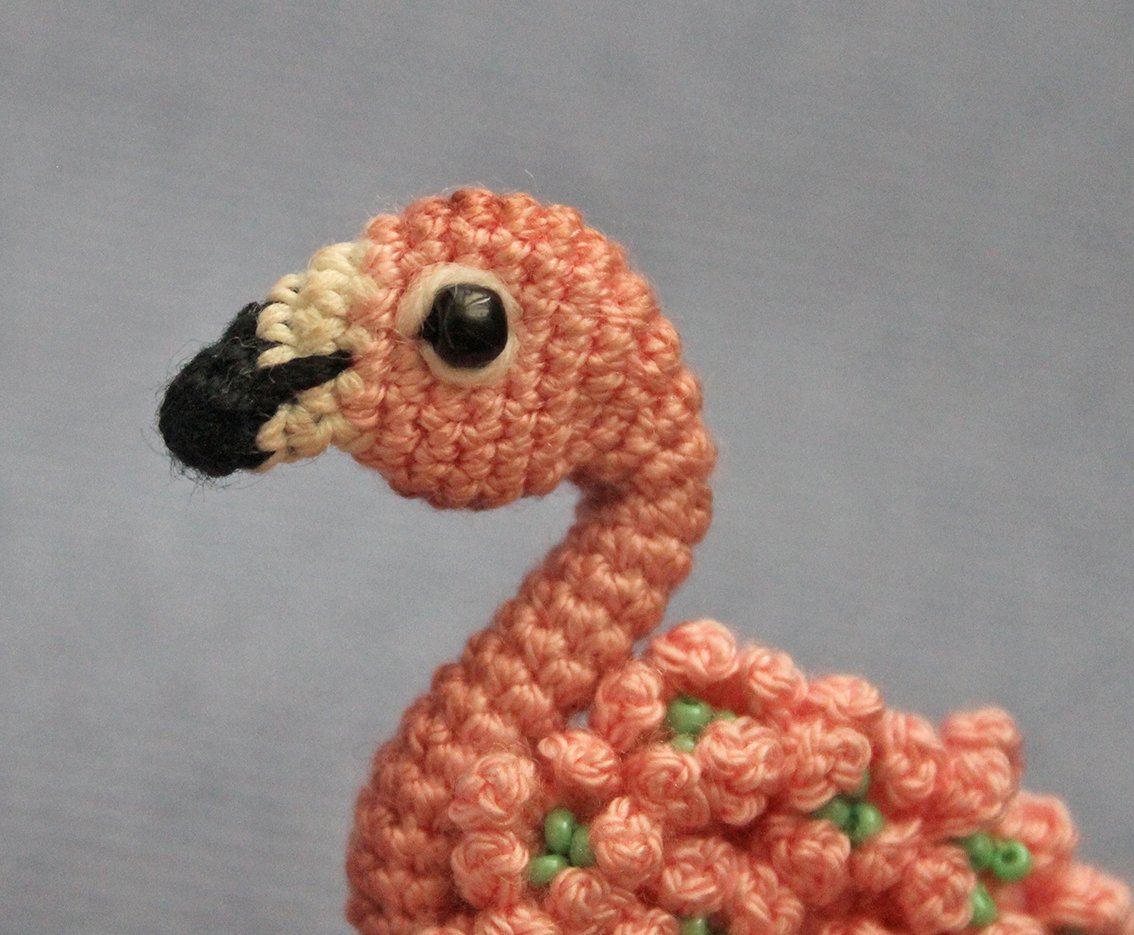
Embroider a black strip on the beak.
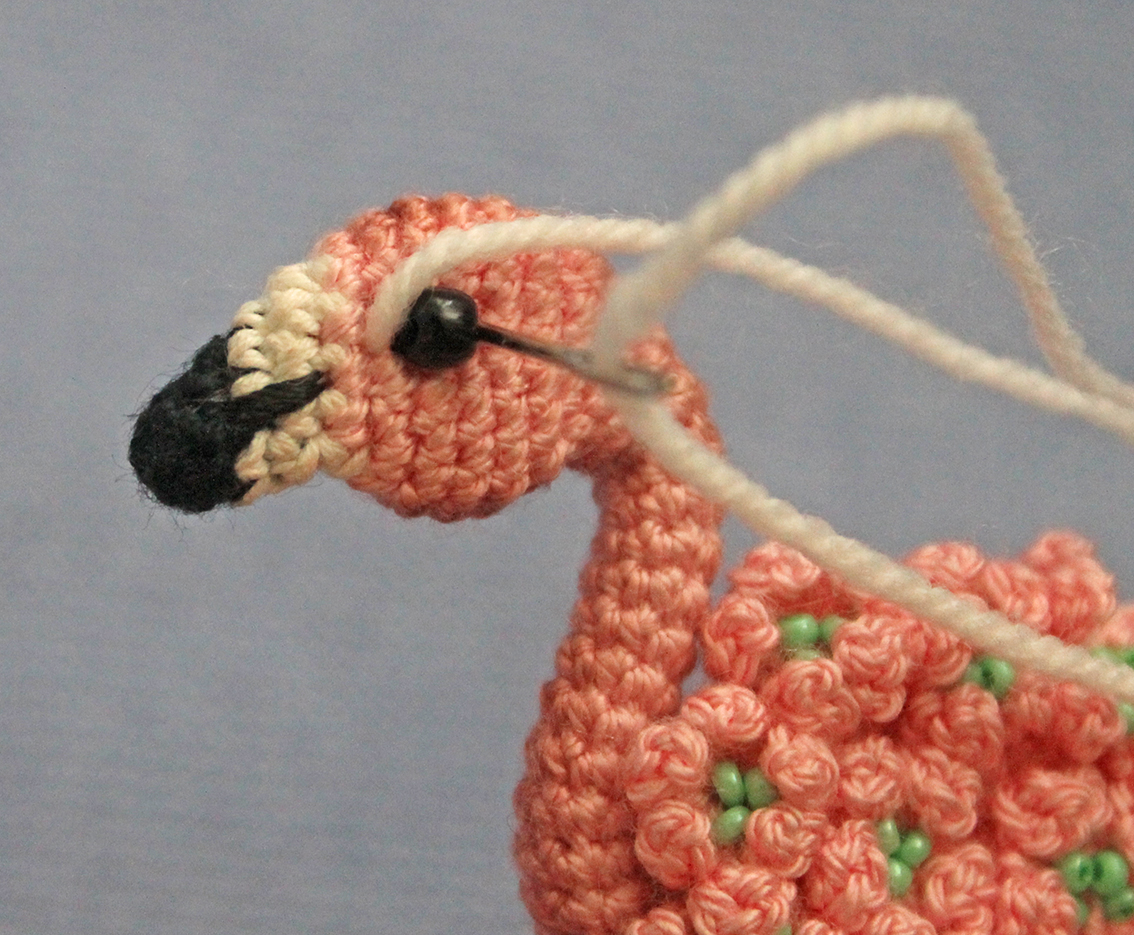
Glue or sew on a bead for the eye. Embroider the eyelids with white colour yarn.
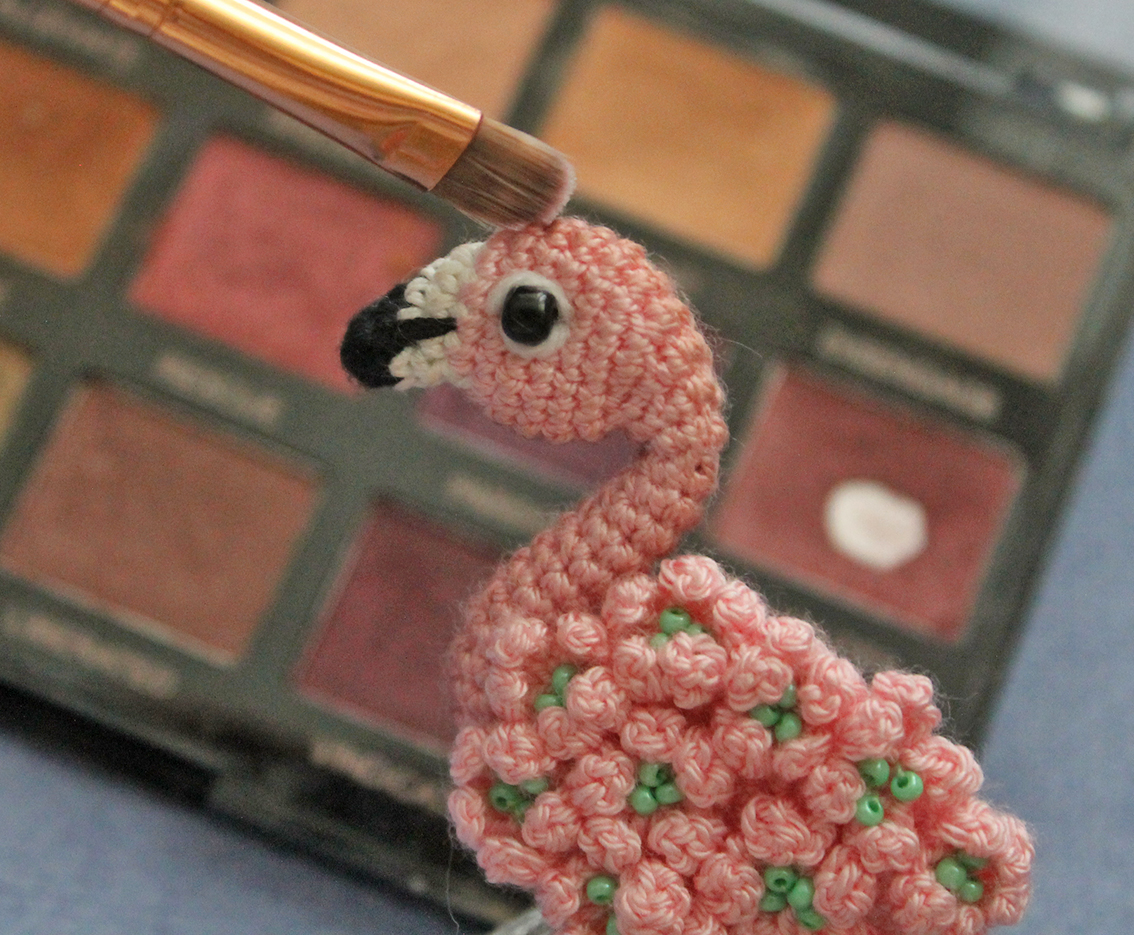
Optional: tint and shade the fold of the brooch.
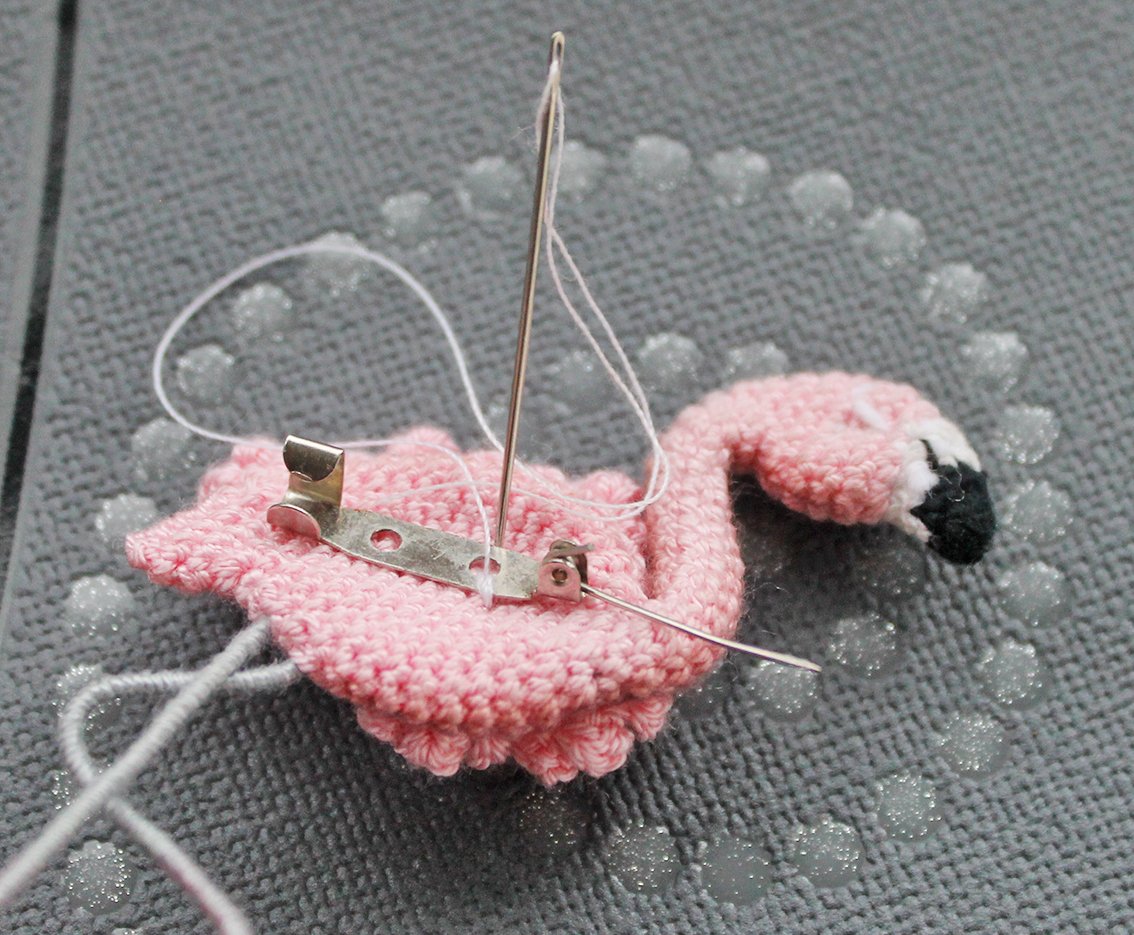
Sew a fastener on the back. The brooch is completed!
.JPG)
.JPG)
.JPG)
