Materials:
- Yarn of your choice. Cotton, acrylic will do.
- Colour: yellow, white, a small amount of red and blue. The consumption of yarn is small
My duckling is crocheted from 200m / 50gr "Baby" yarn. The height of the duckling is 8.5cm
- A crochet hook, I have 1.25 mm crochet hook
- Hollow fibre for stuffing
- A sewing needle, matching sewing threads
- A long needle for sculpting, strong thread for sculpting
- 1 pair of ready-made eyes
- Transparent glue
- For embroidery: a few threads of black, white
- 1 piece of doll join(14mm) - optional. You may choose to make the head solid sewn to the neck.
Abbreviations:
ch – chain
sl st – slip stitch
sc – single crochet
hdc – half double crochet
dc - double crochet
tr - treble crochet
inc – increase (2 sc in 1 st)
dec – decrease (single crochet two stitches together)
(...) x N times – repeat instructions in brackets N times
Work with yellow colour yarn.
Body
1) 8 ch, starting from 2nd ch from hook: 6 sc, 3 sc in the last stitch, continue along the other side of chain: 5 sc, inc (16)
2) inc, 5 sc, 3 inc, 5 sc, inc, 3 sc in 1 st (23)
.jpg)
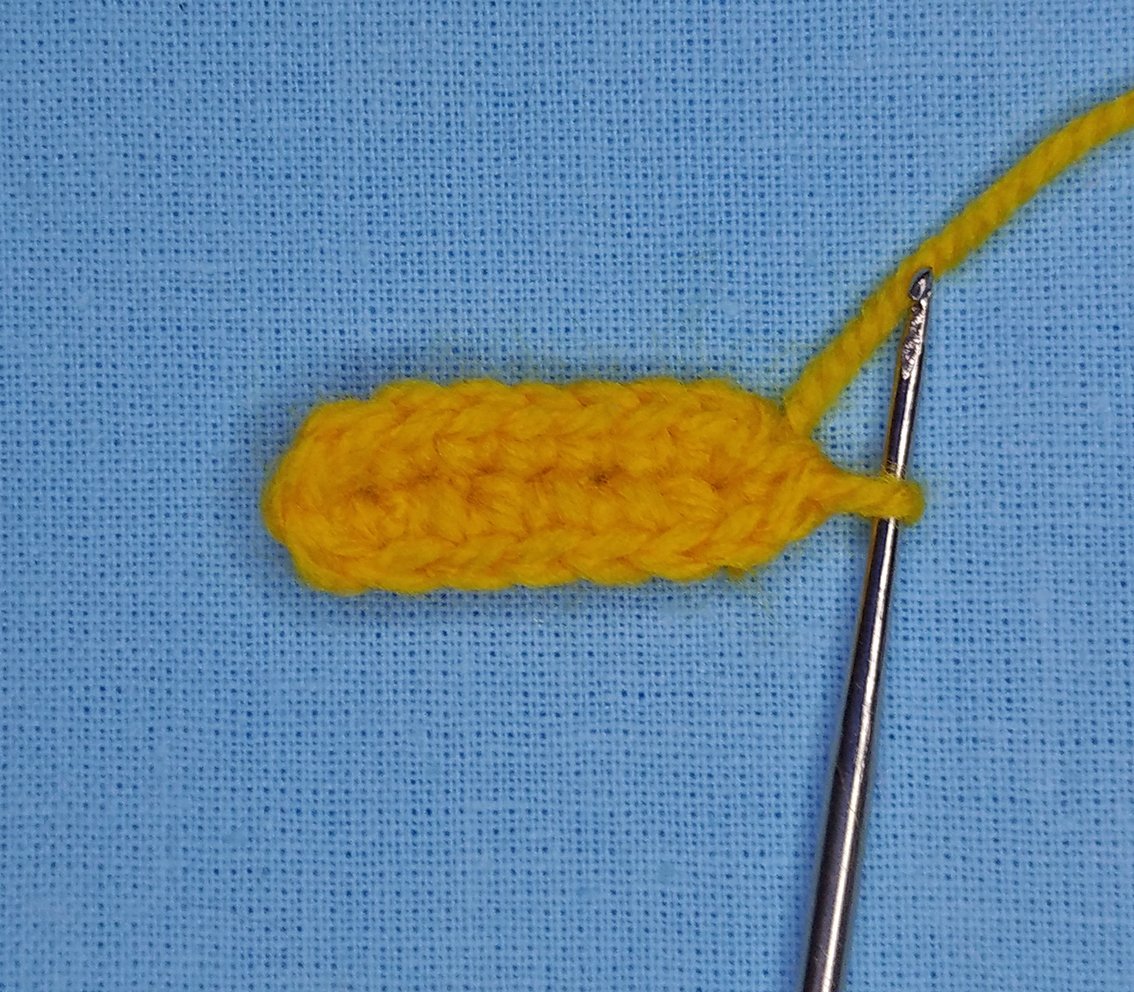
3) inc, 3 sc, inc, 2 sc, (inc,1 sc)х 3 times, 2 sc, inc, 3 sc, 2 inc, 1 sc, inc (32)
Cut a cardboard or thin plastic oval of the same size.
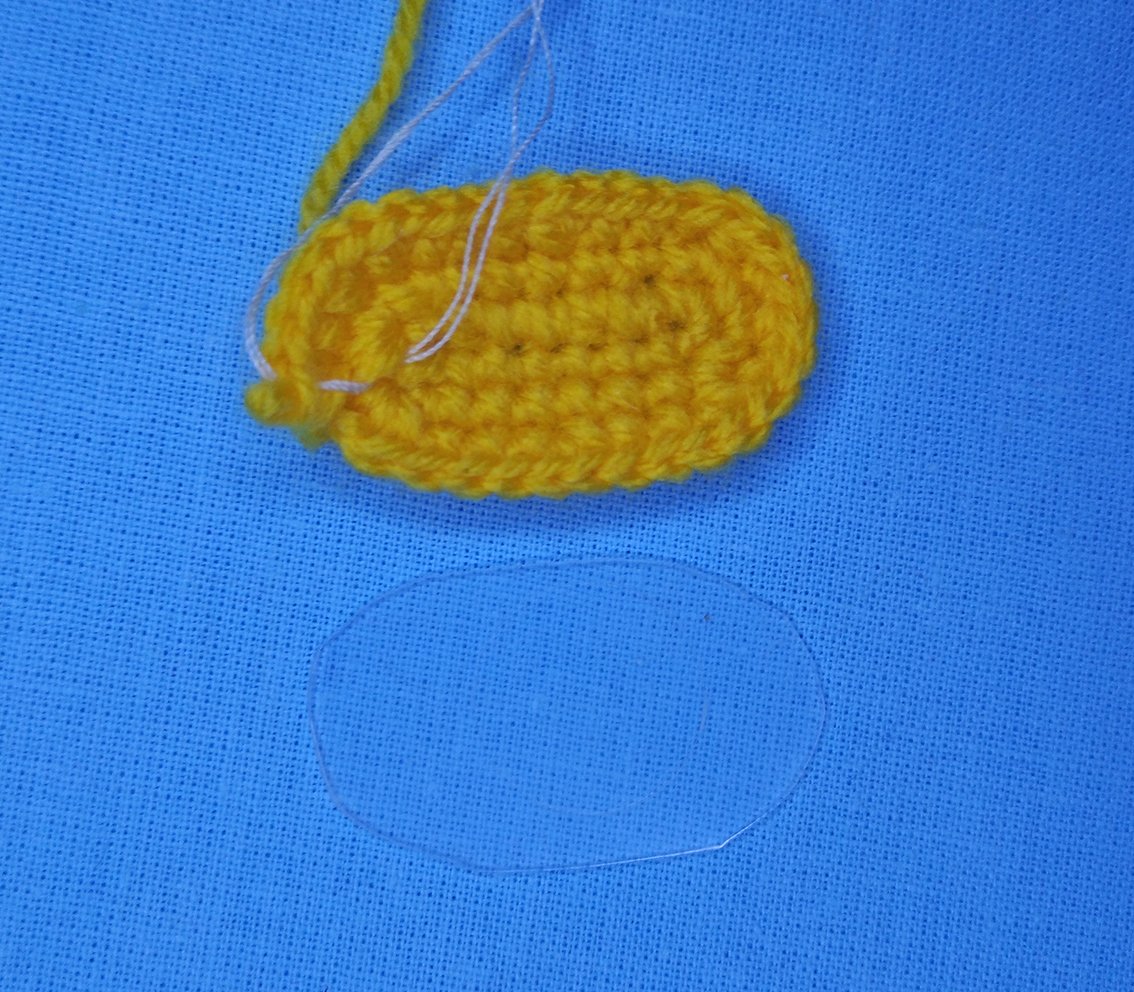
4) 1 sc, inc, 5 sc, (inc, 2 sc)х 5 times, 5 sc, inc, 4 sc (39)
5) 39 sc
6) 37 sc, 3 sc in 1 st,1 sc (41)
7) 41 sc
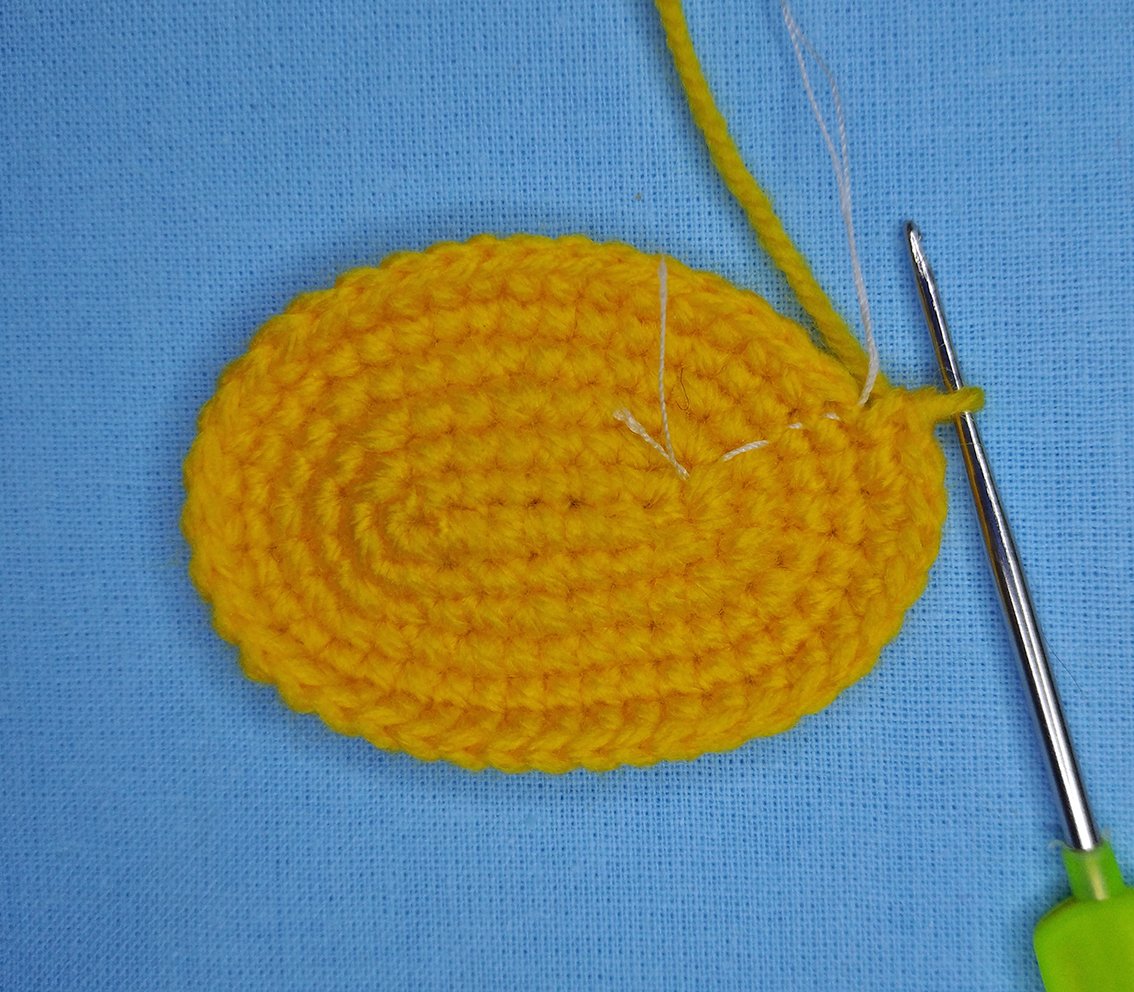
8) 38 sc, 3 sc in 1 st, 2 sc (43)
9) 39 sc, 5 псн in 1 st, 3 sc (47)
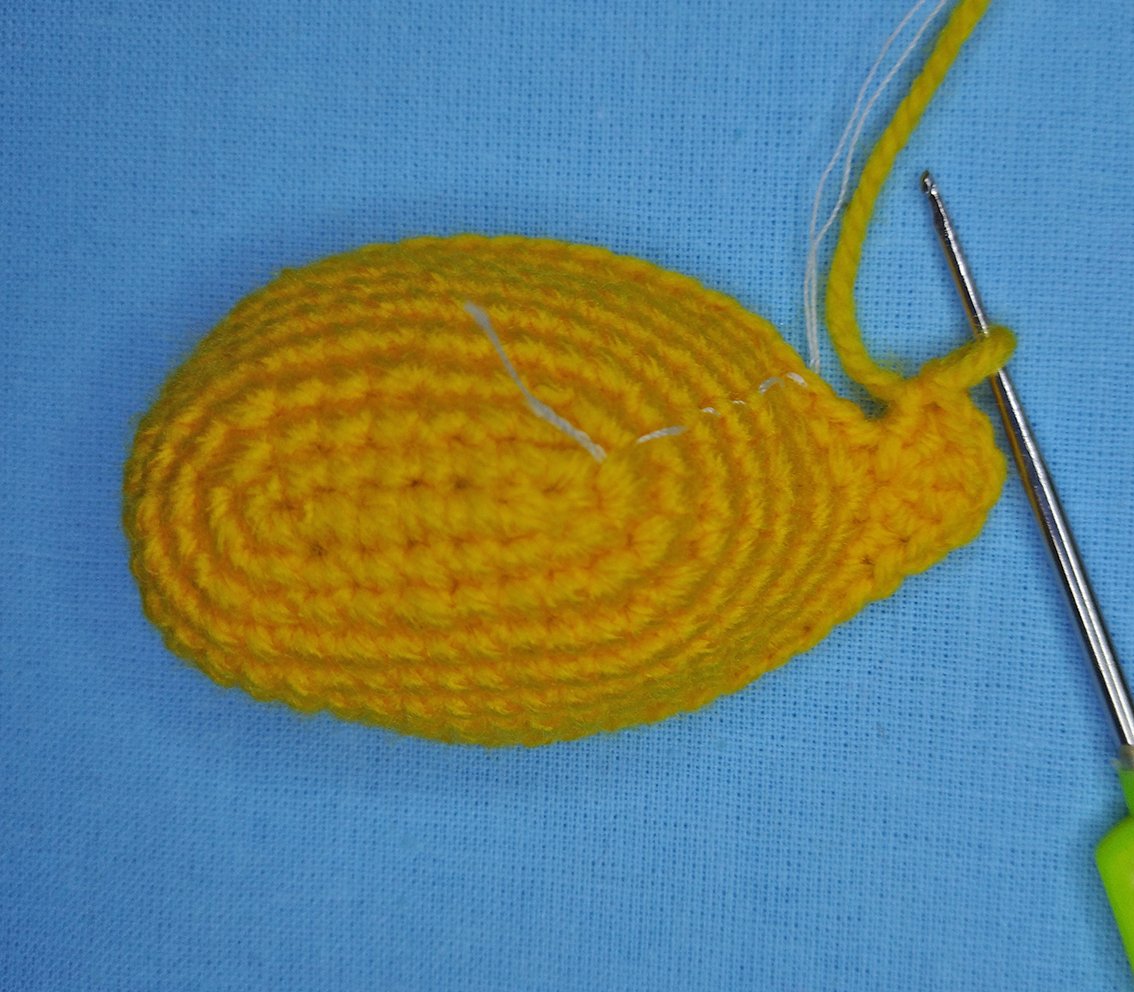
10) 12 sc, (dec, 4 sc)х 2 times, dec, 13 sc, 5 hdc crochet together, 3 sc (40)
11) 2 dec, 9 sc, dec, 4 sc, dec, 9 sc, 2 dec, 4 sc crochet together, dec (30)
Put the cardboard detail inside. Stuff as you go.
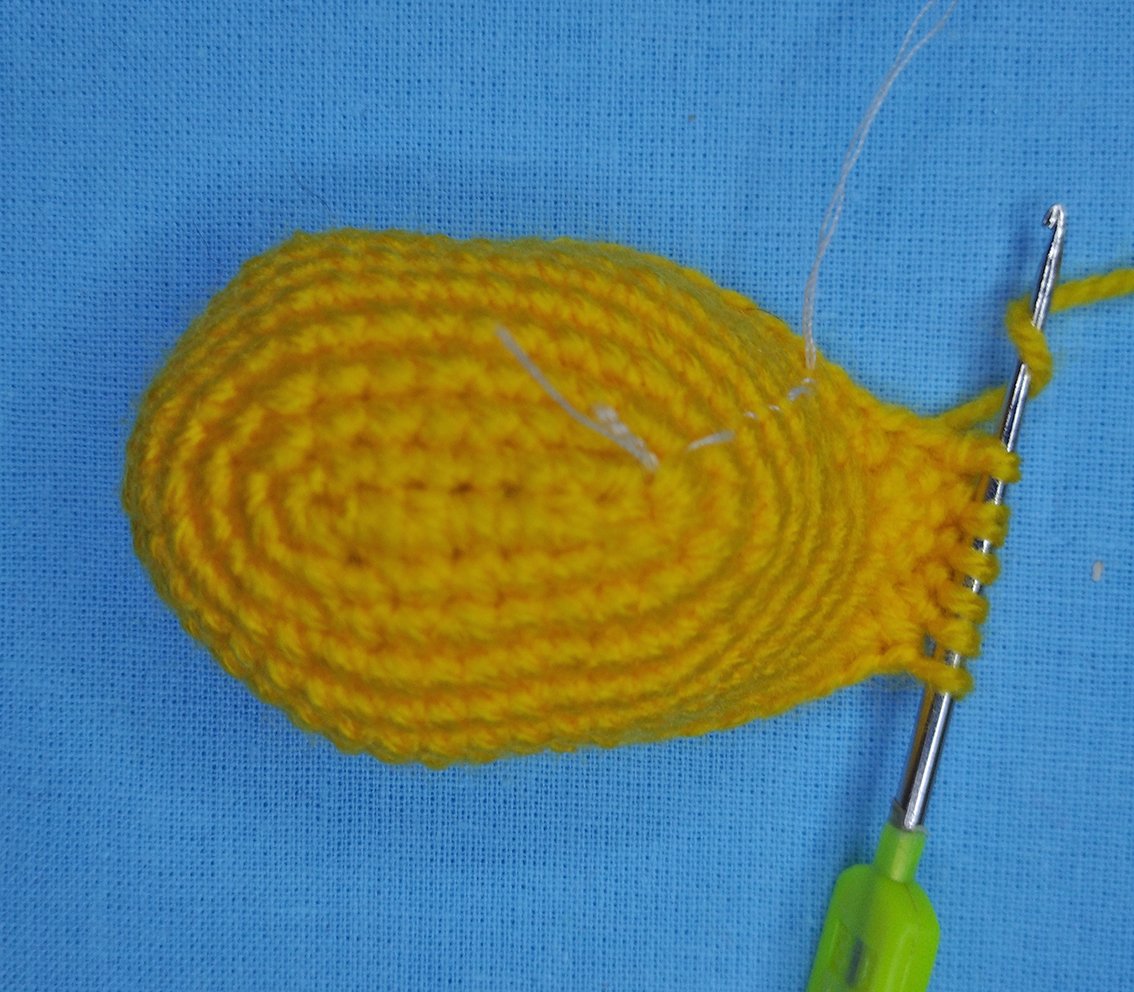
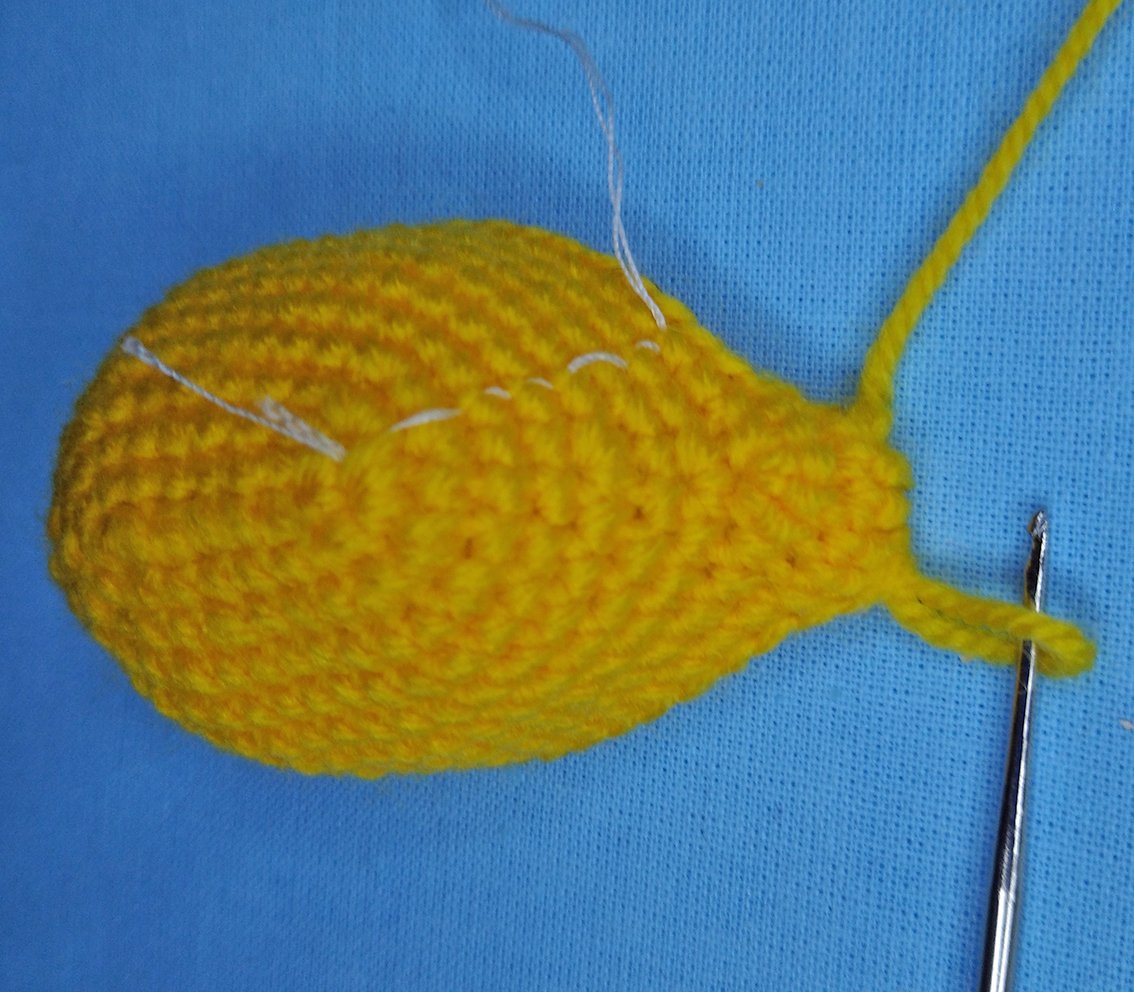
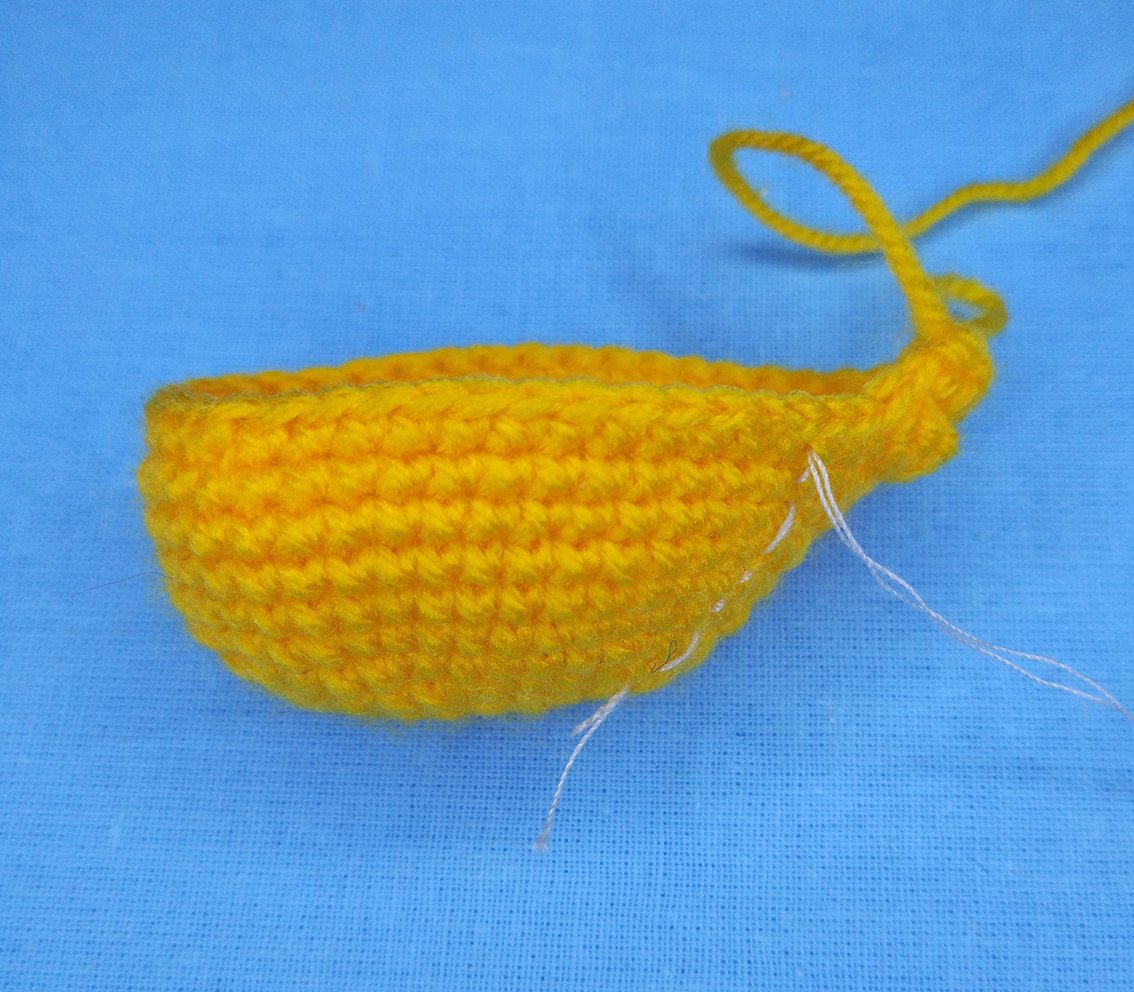
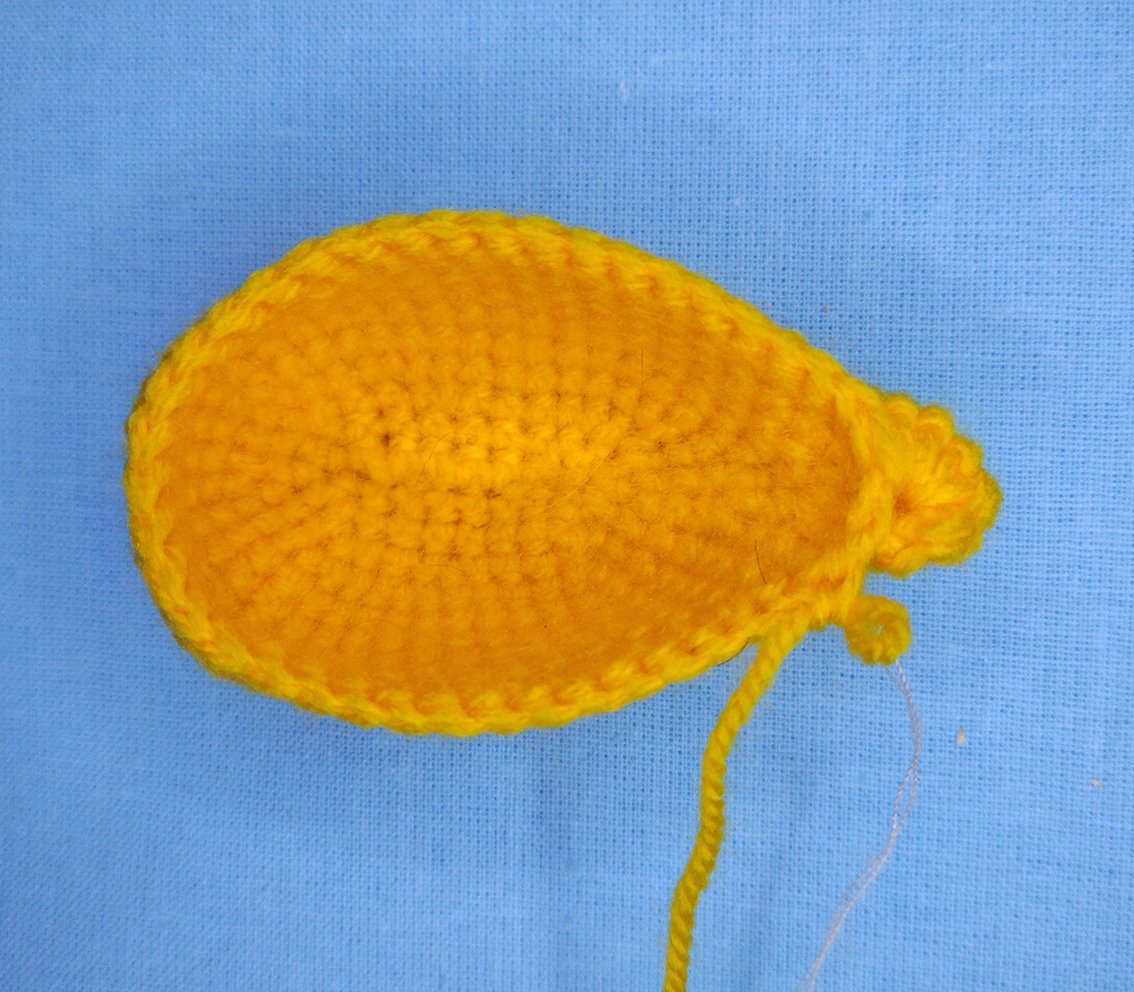
12) 3 dec,18 sc, 3 dec (24)
13) 3 dec, 14 sc, 2 dec (19)
14) dec, 17 sc (18)
15-16) 18 sc
Add some hollow fibre. Insert the first part of the joint- a disk with a screw.
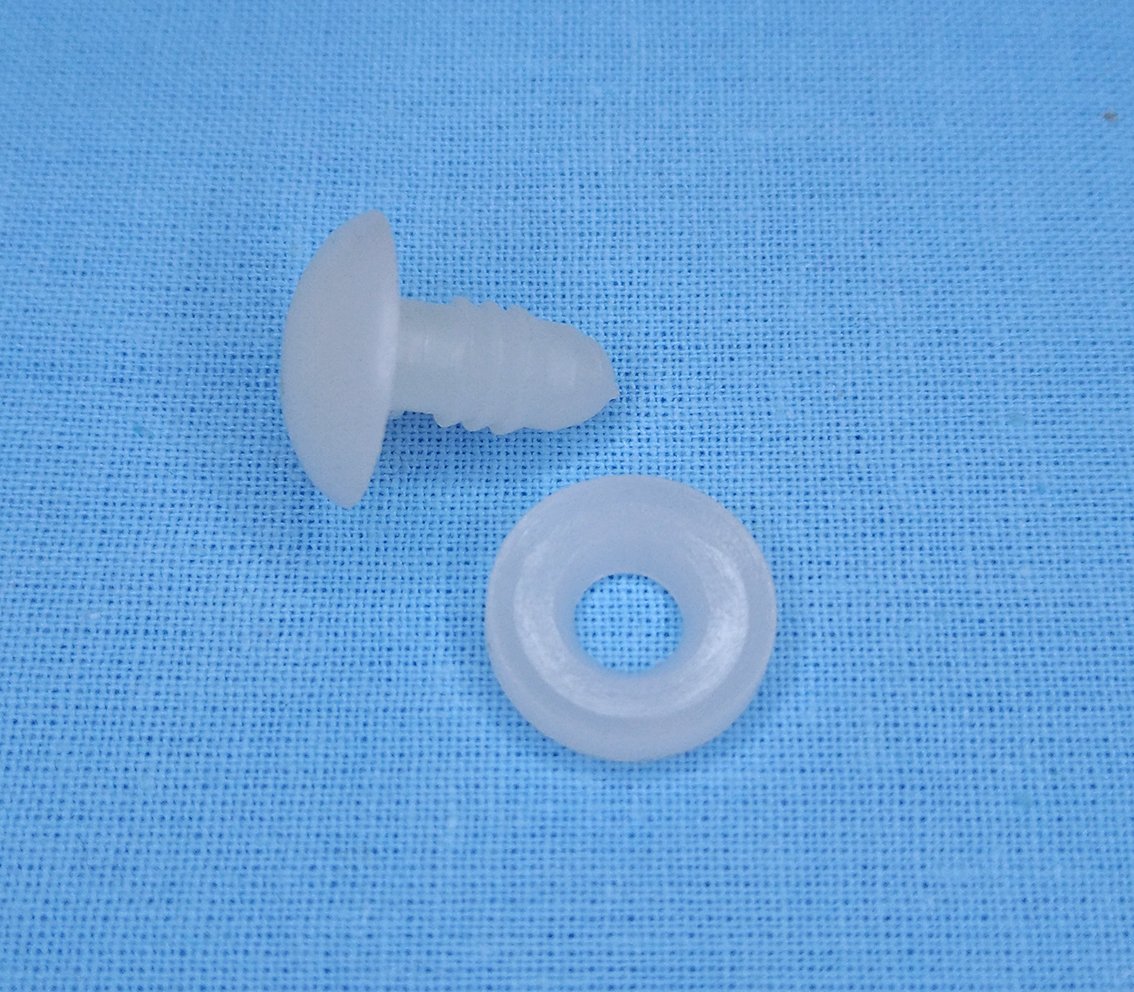
17) 9 dec (9)
Cut off yarn. Tighten the loops well around the joint screw.
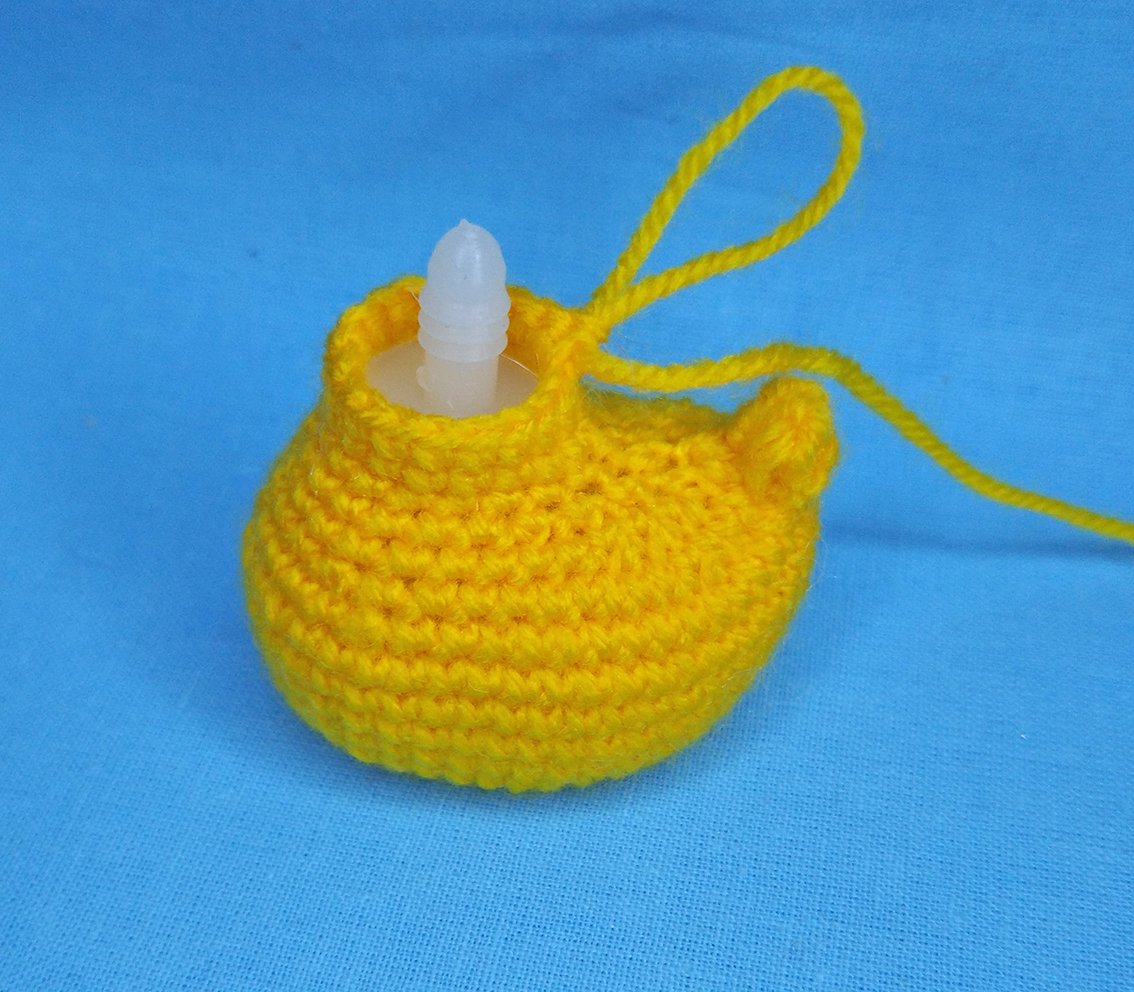
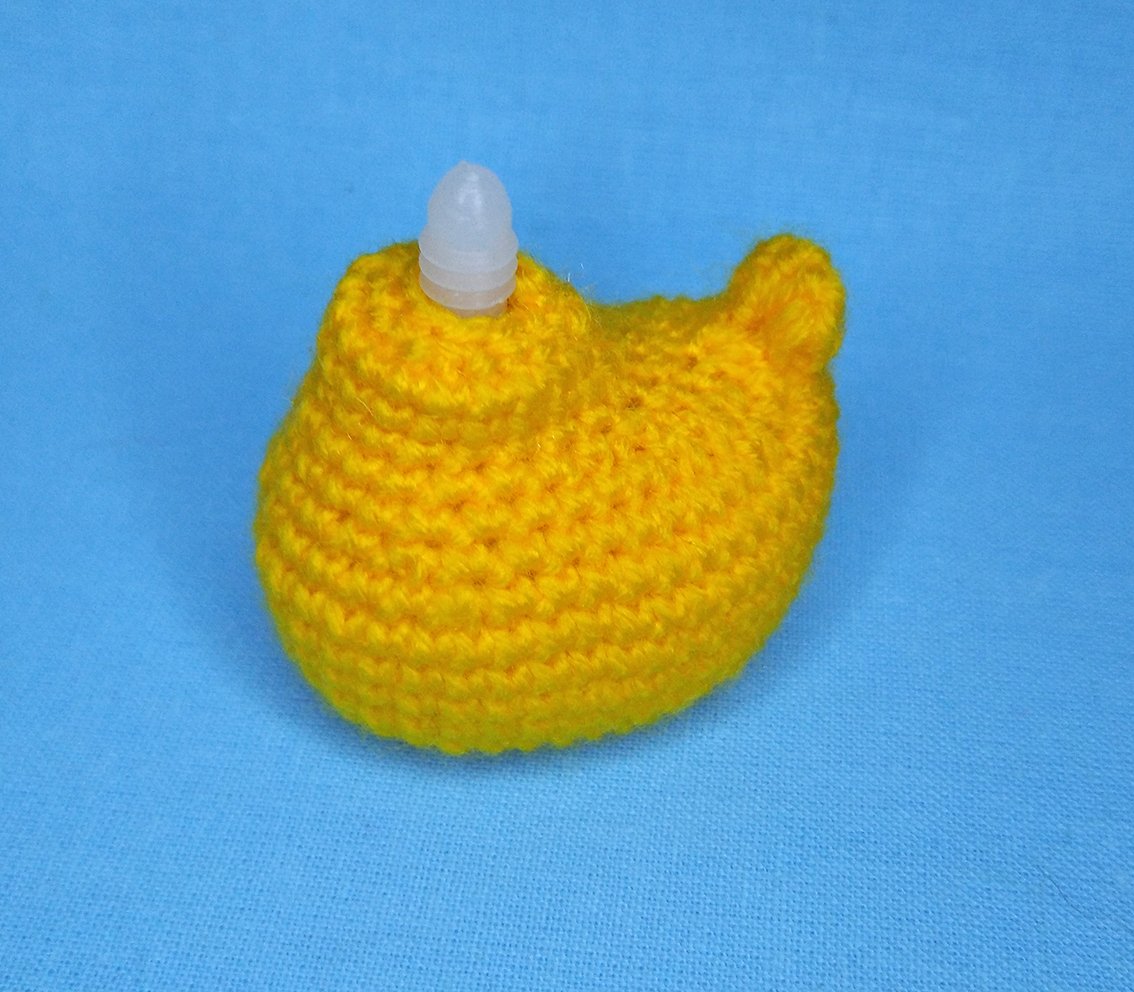
Head
1) 12 sc in a Magic Ring – do not tighten the loops, there should be a hole through which the joint screw passes.
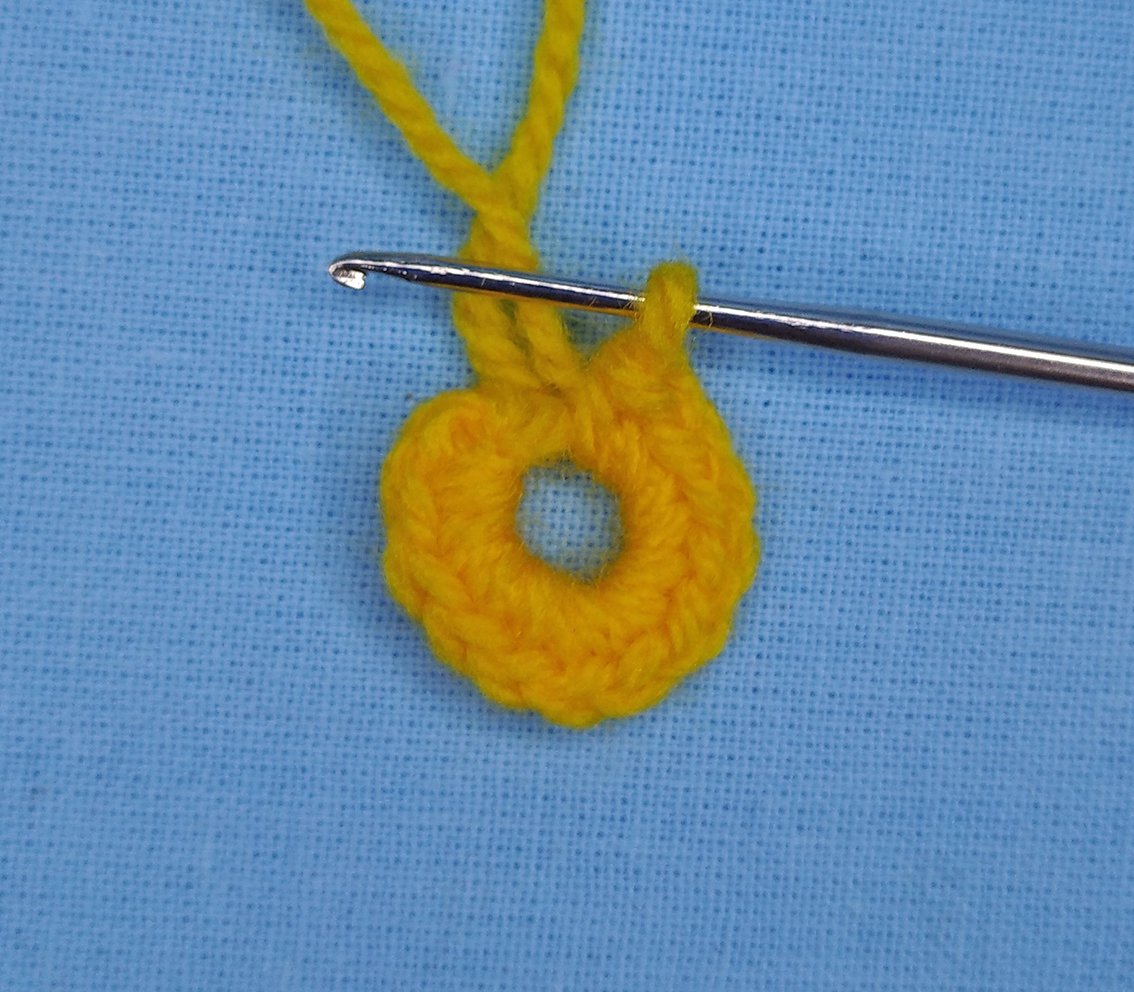
2) (1 sc, inc)х 6 times (18)
3) 18 inc (36)
4) (2 sc, inc)х 12 times (48)
5-8) 48 sc
Put the head on the neck, insert the joint screw into the hole in the head. Press the plug tightly from above until it stops. To make it easier to snap into place hold it in hot water or heat it with a hairdryer.
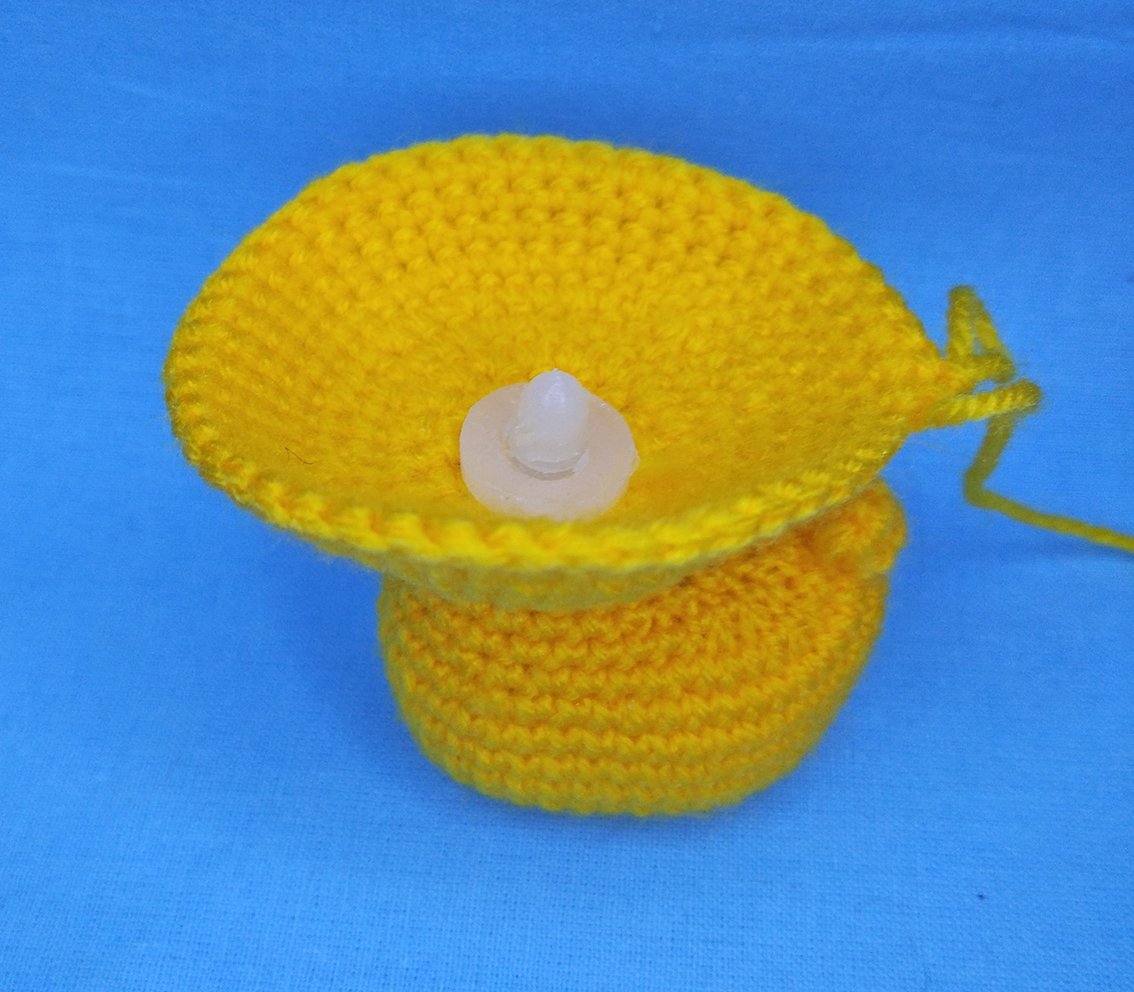
9) 4 sc, dec, 10 sc, dec, 2 sc, dec, put a marker for the eye, 4 sc, put a marker for the eye, dec, 2 sc, dec, 10 sc, dec, 4 sc (42)
10) 16 sc, dec, 6 sc, dec, 16 sc (40)
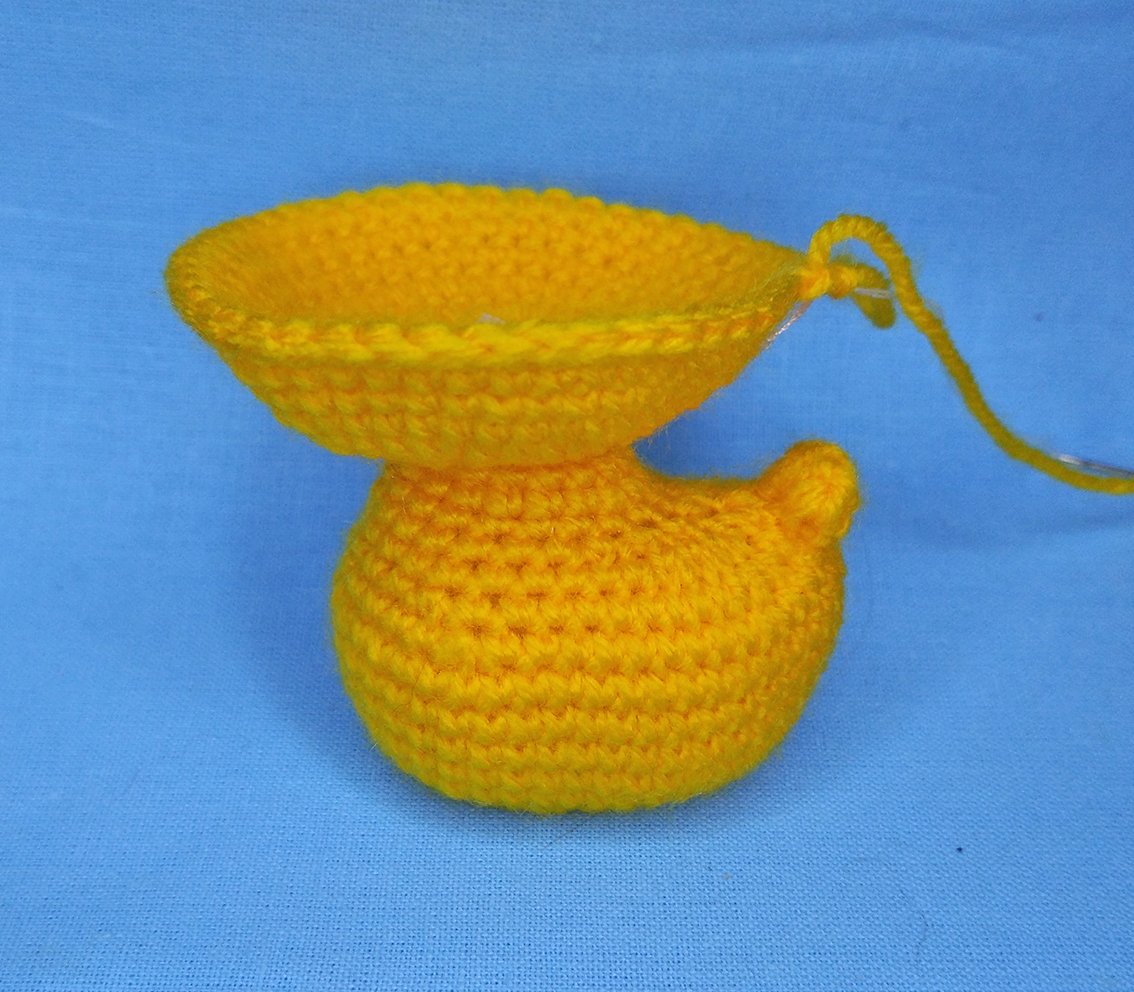
11) 27 sc, dec, 6 sc, dec, 3 sc (38)
12) 3 sc, dec, 6 sc, dec, 25 sc (36)
13) 36 sc
14) (2 sc, dec, 2 sc)х 6 times (30)
15) 30 sc
16) (dec, 3 sc)х 6times (24)
17) (1 sc, dec, 1 sc)х 6 times (18)
18) (1 sc, dec)х 6 times (12)
Add some hollow fibre.
19) 6 dec (6)
Cut off yarn. Do not close off the loops of the last round just yet, you will do it later!
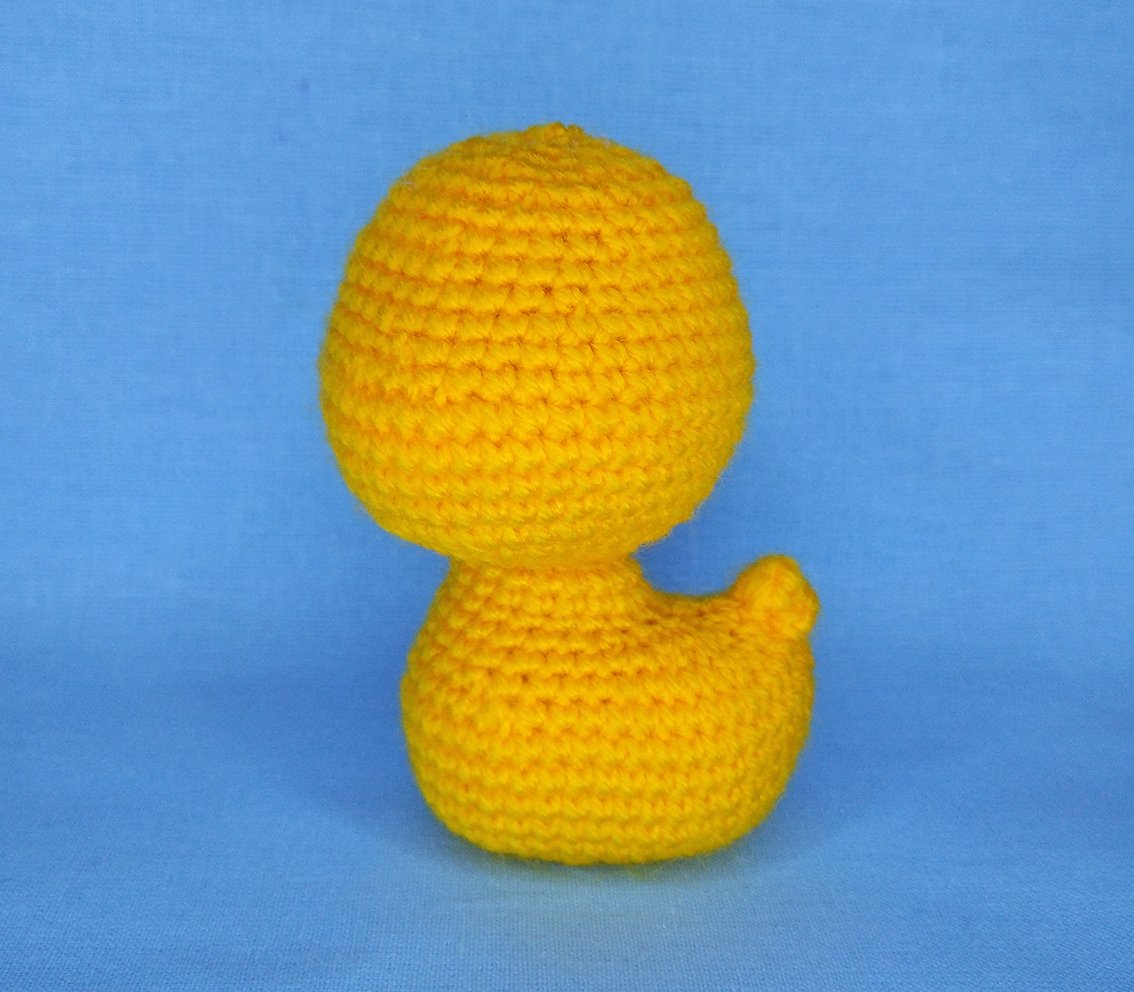

Wings (make 2)
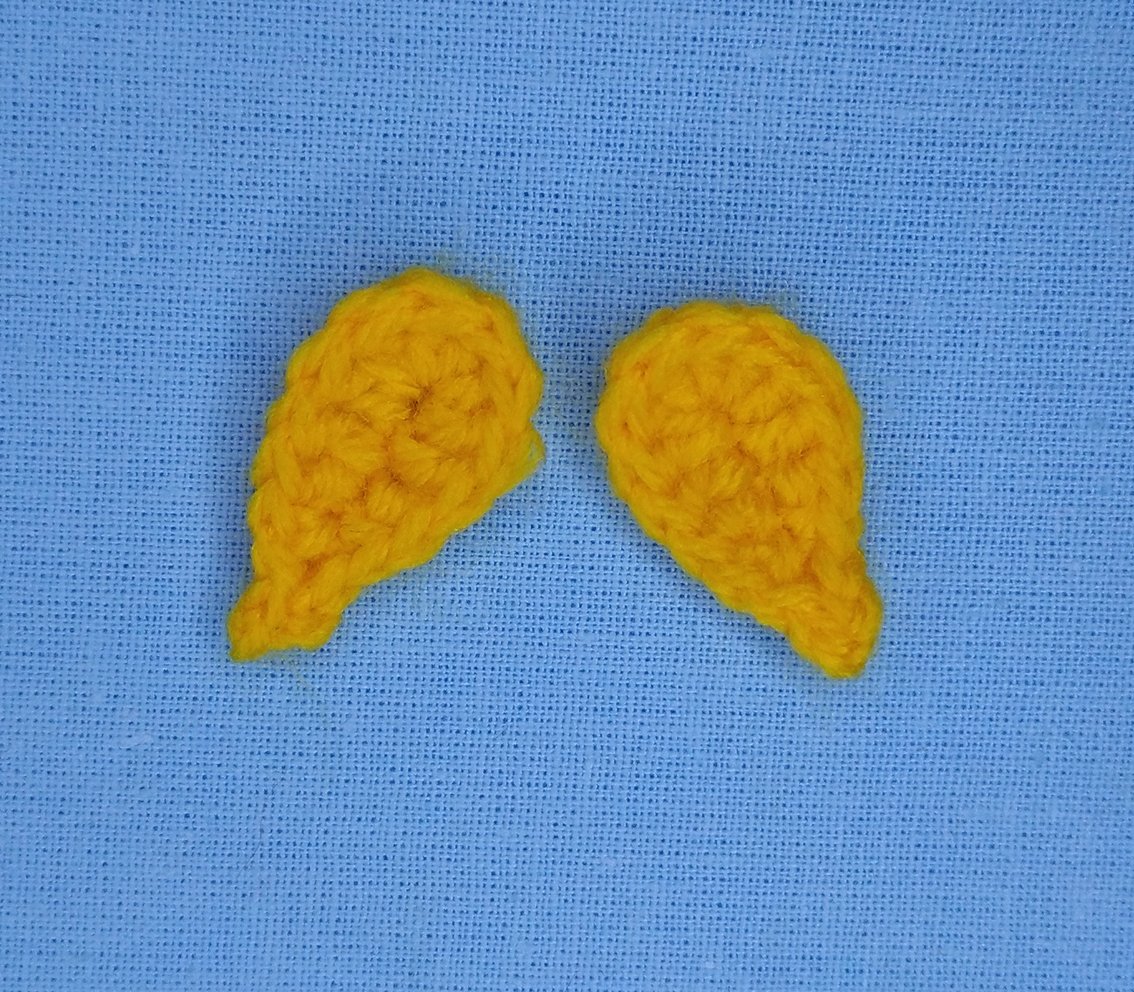
1) 7 ch, starting from 2nd ch from hook: 2 sl st, 1 sc, 1 hdc, 1 dc, into the last loop 6 dc, continue along the other side of the chain: 1 dc, 1 hdc, 1 sc, 2 sl st (16)
Fasten off, cut off.
Beak
Work with red colour yarn
1) 4 ch, in 1st ch: 3 dc, 1 ch, 1 tr, 1 ch, 4 dc, 2 hdc, 1 dc, 2 hdc, join into a ring with a sl st.
Fasten off, cut off.
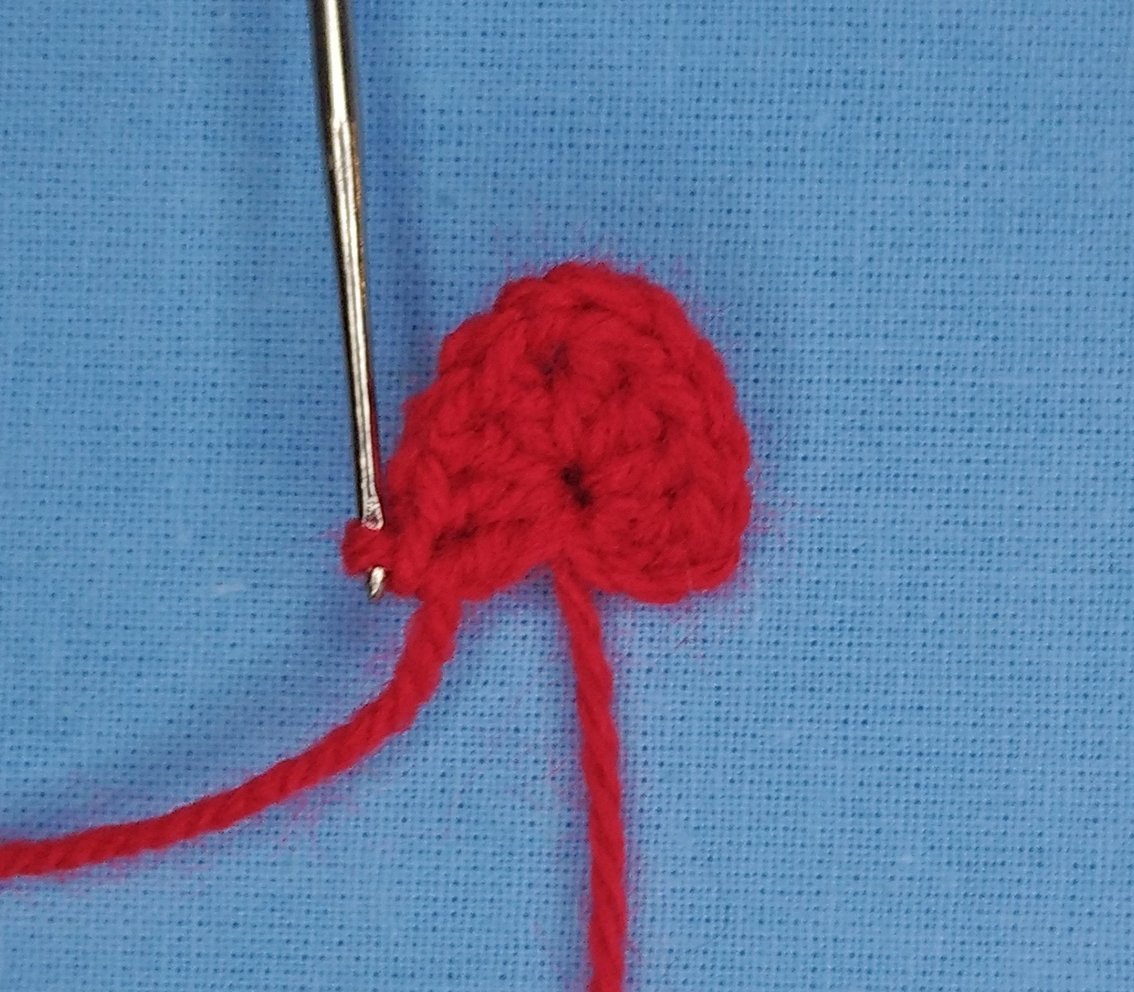
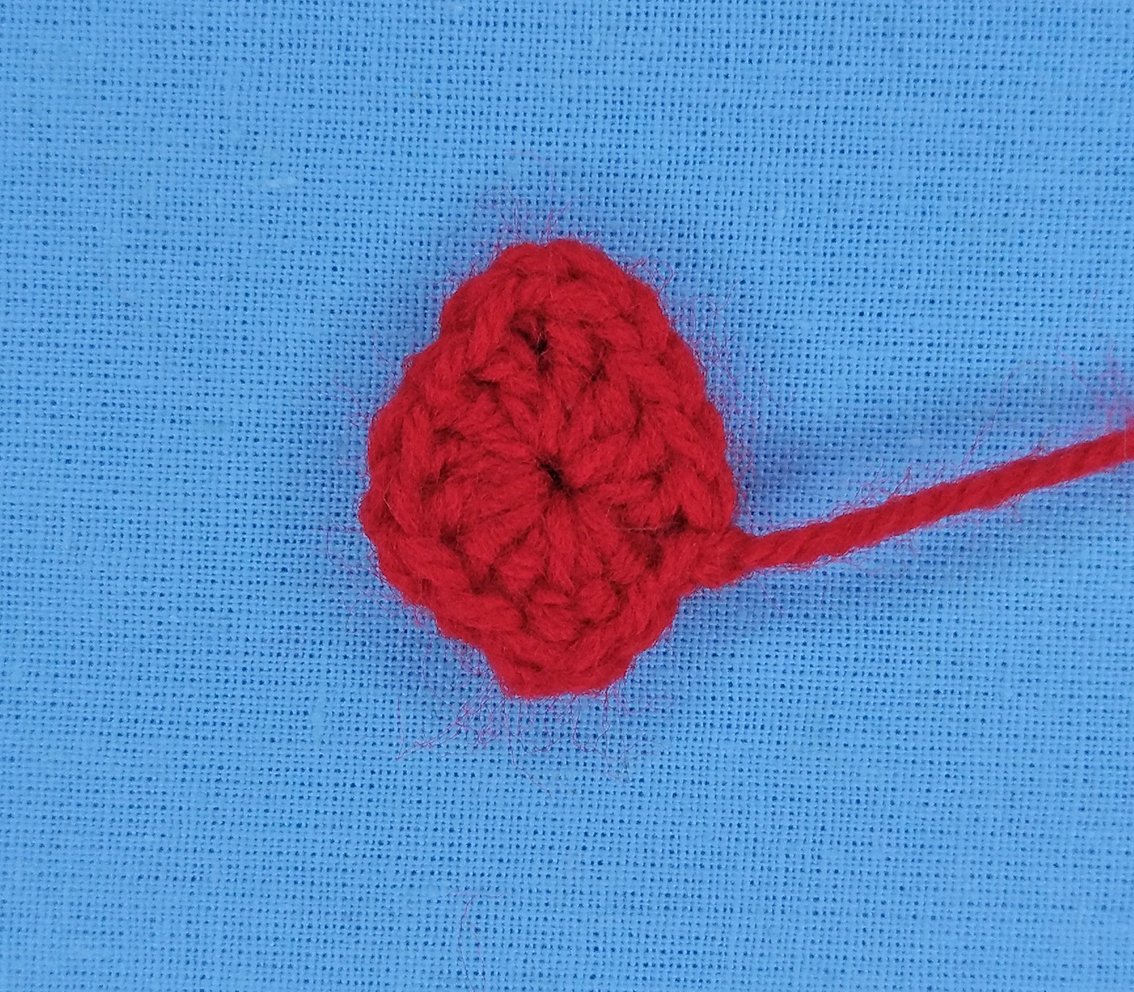
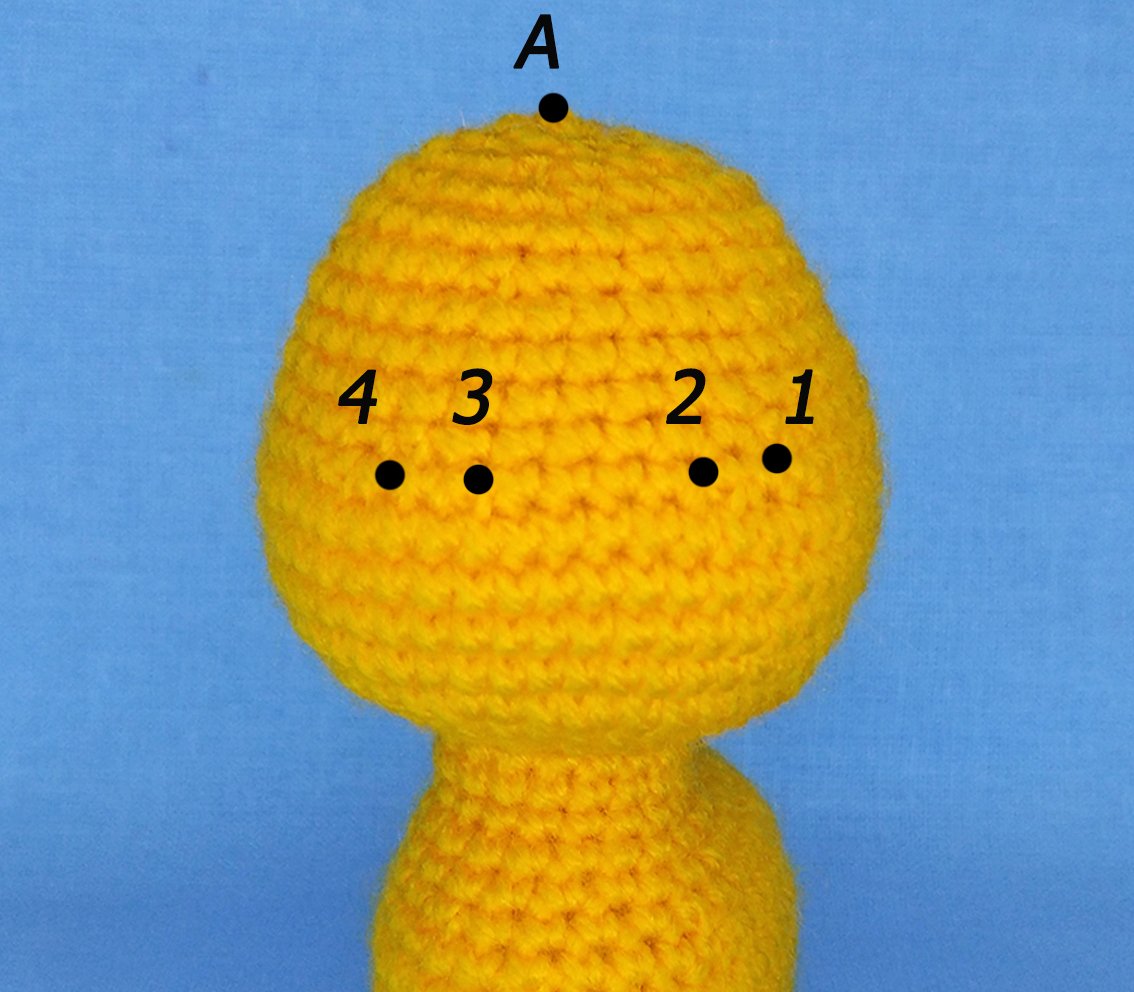
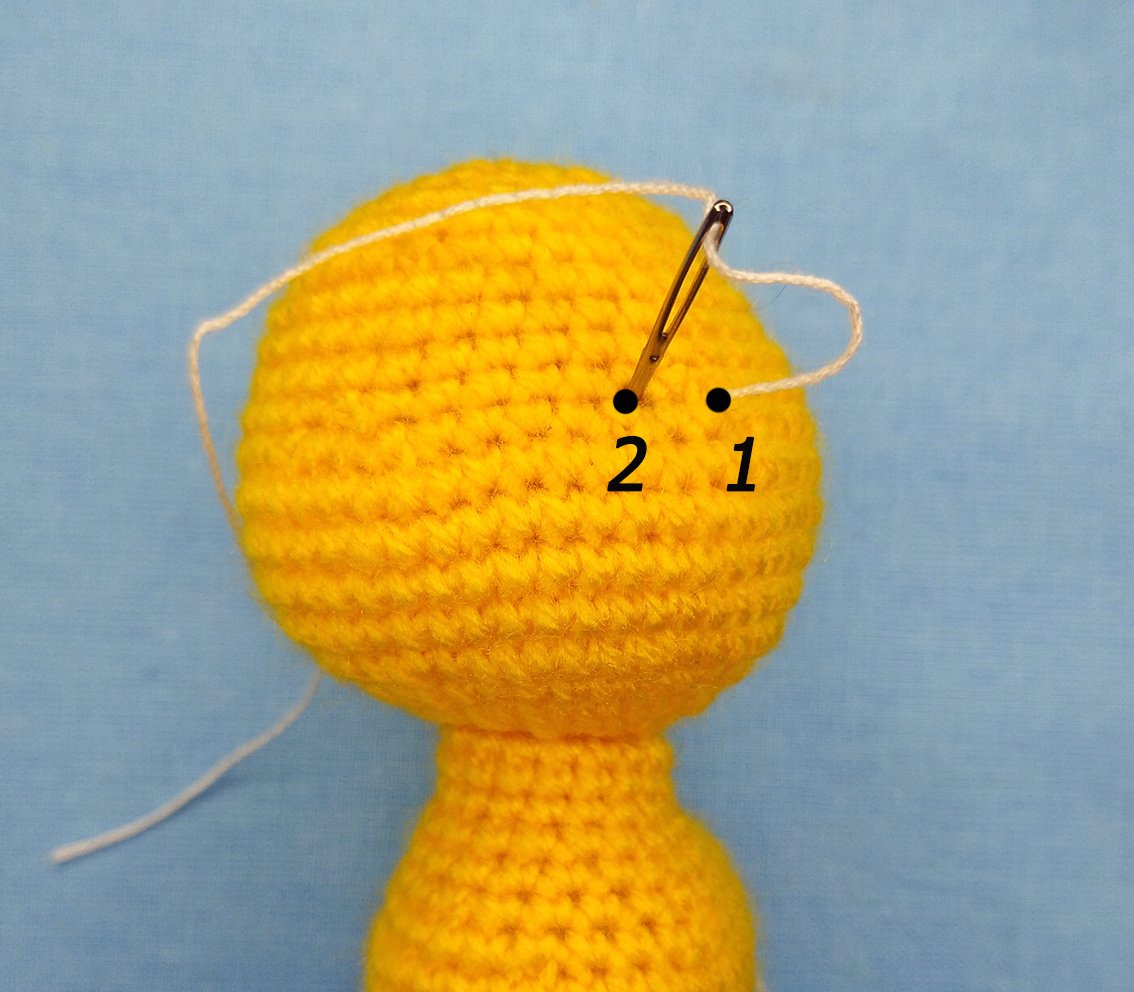
Find the spots for sculpting as follows.
Spot A is on the top of the head.
Spots 2 & 3 are in Rnd 9. Count two stitches outwards from each of these spots and mark spots 1 & 4. See the photo for guidance.
Spot 0 is in the centre of the neck from behind between rounds 2 & 3.
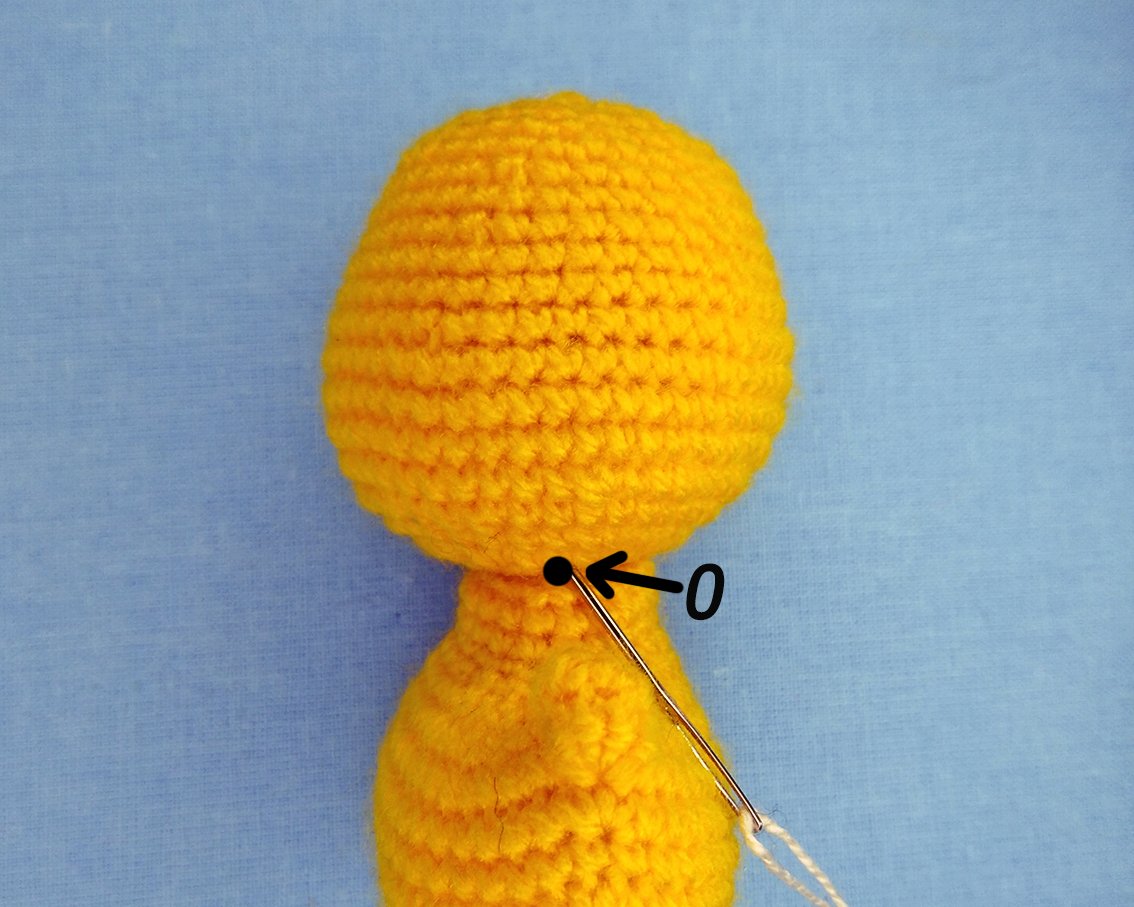
Prepare a long needle for sculpting and a strong thread, make a knot.
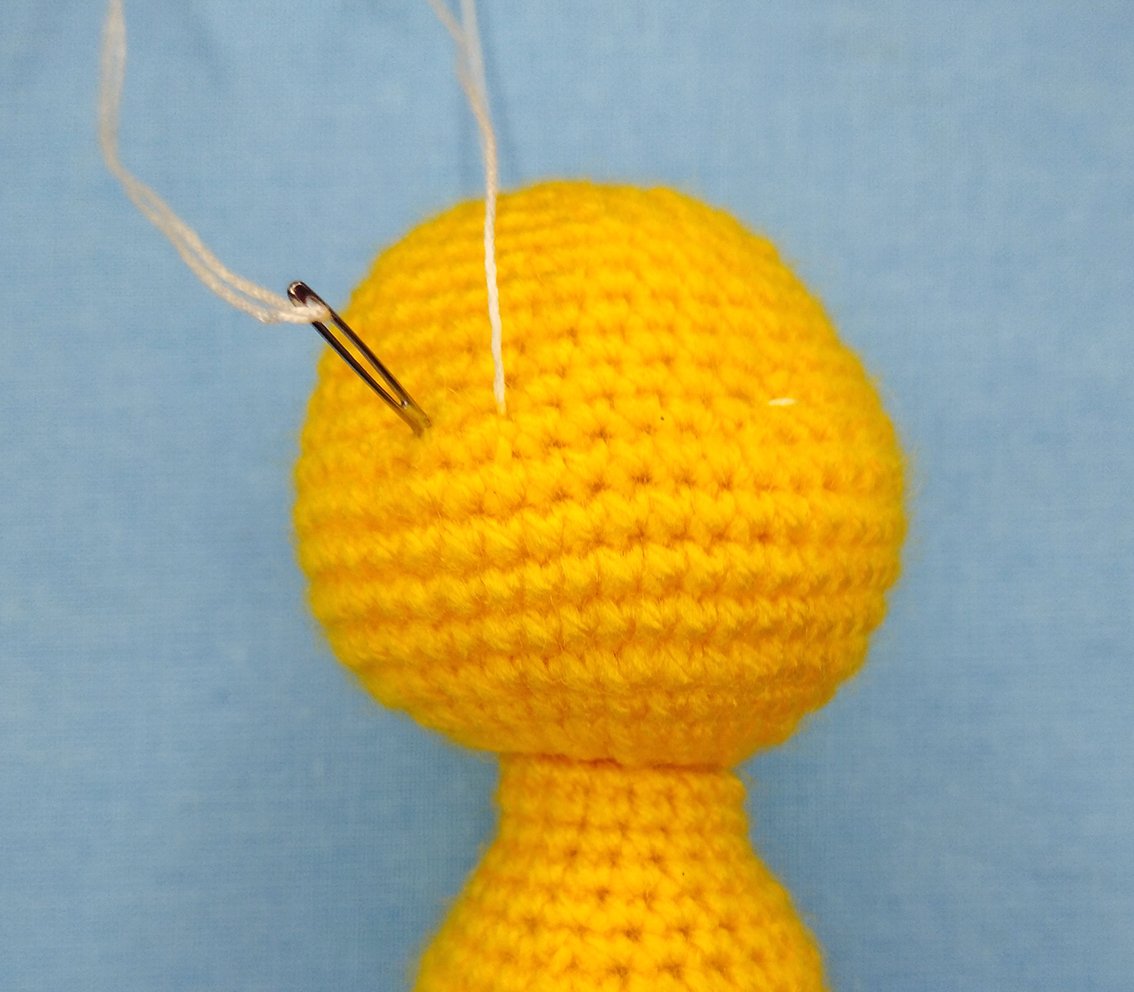
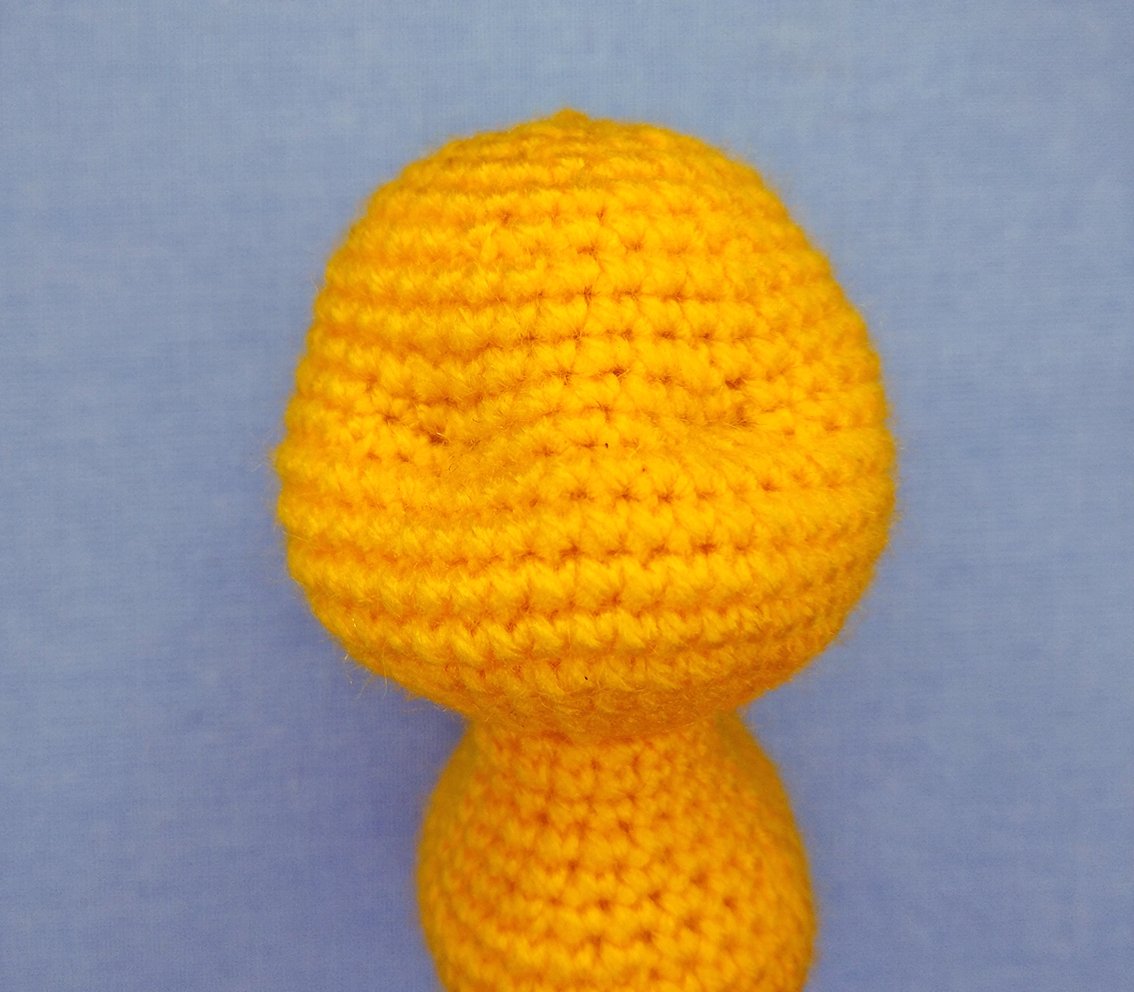
Insert the needle in the opening in the head (spot A), hide the knot in the hollow fibre, take the needle out in spot 0 on the neck. Make a very tiny stitch to fasten the thread. Make a short stitch, insert the needle into spot 0 and take it out in spot 1. Again, insert the needle into spot 2 and take it out in spot 0. Tighten the thread, help with the fingers to keep it in place. Make a short stitch and a knot. Repeat the tightening once more.
Repeat sculpting for the left eye socket. Spots #0-3-4-0.
Hide the end.
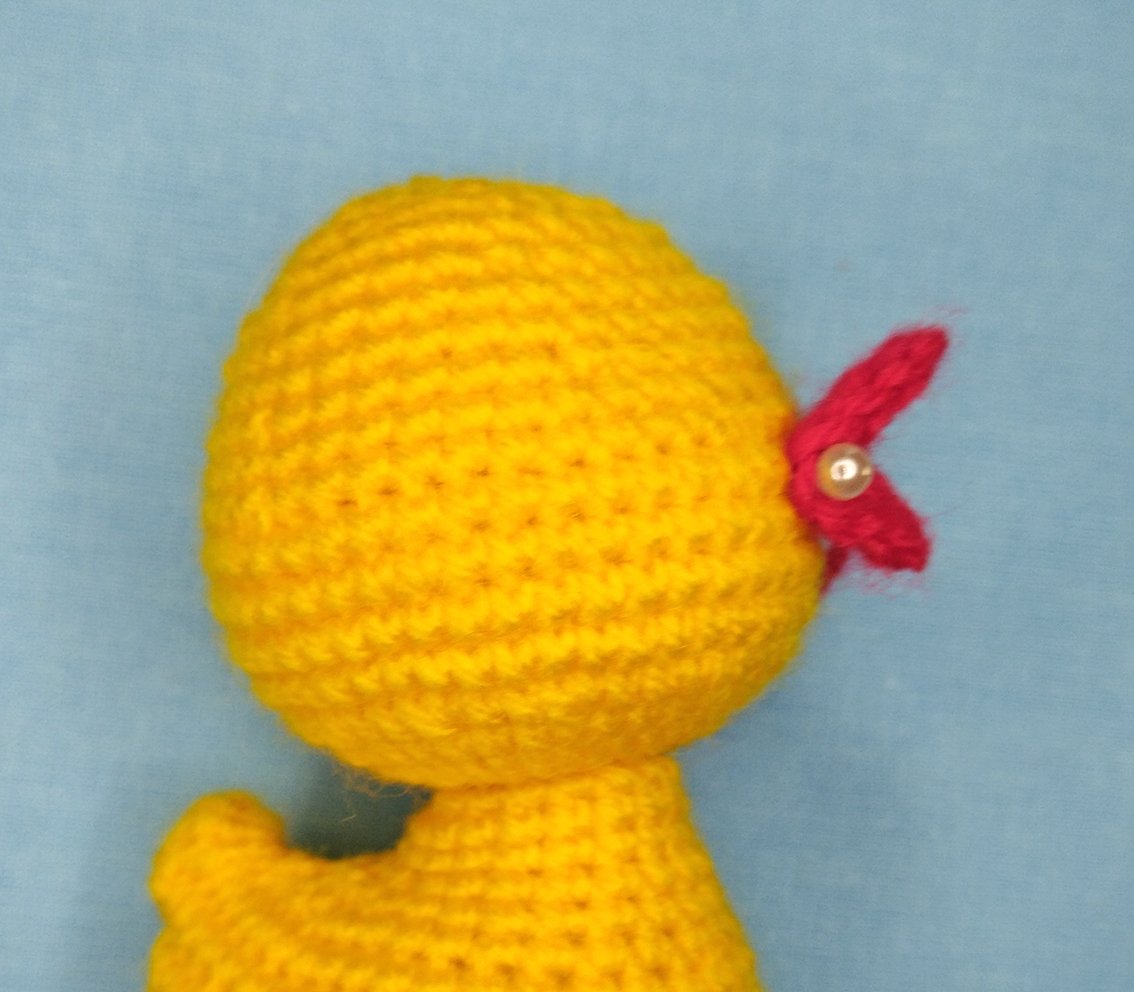
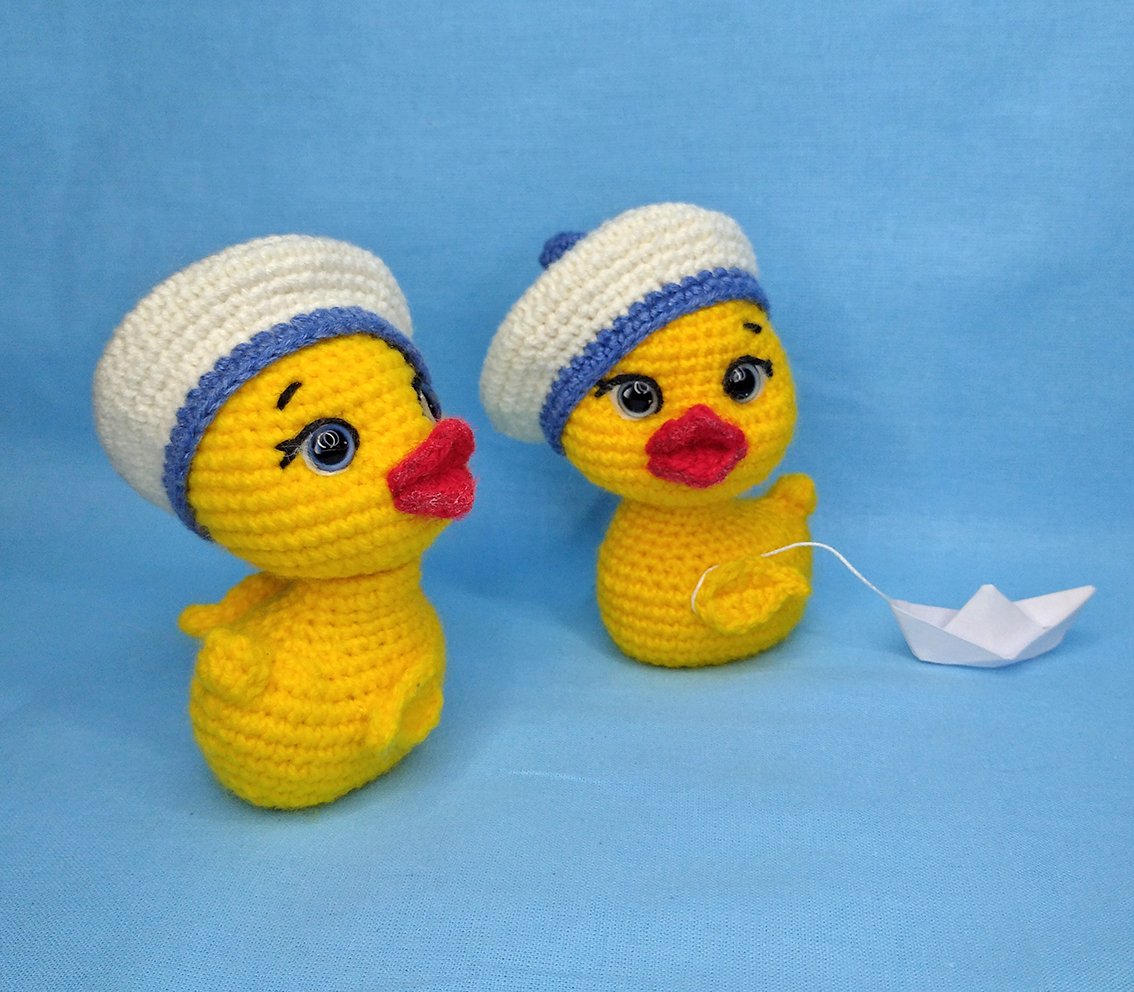
Attach the beak with dressmaking pins. Sew it on. Sew the wings on.
Glue the eyes. Embroider eyelids and eyebrows.
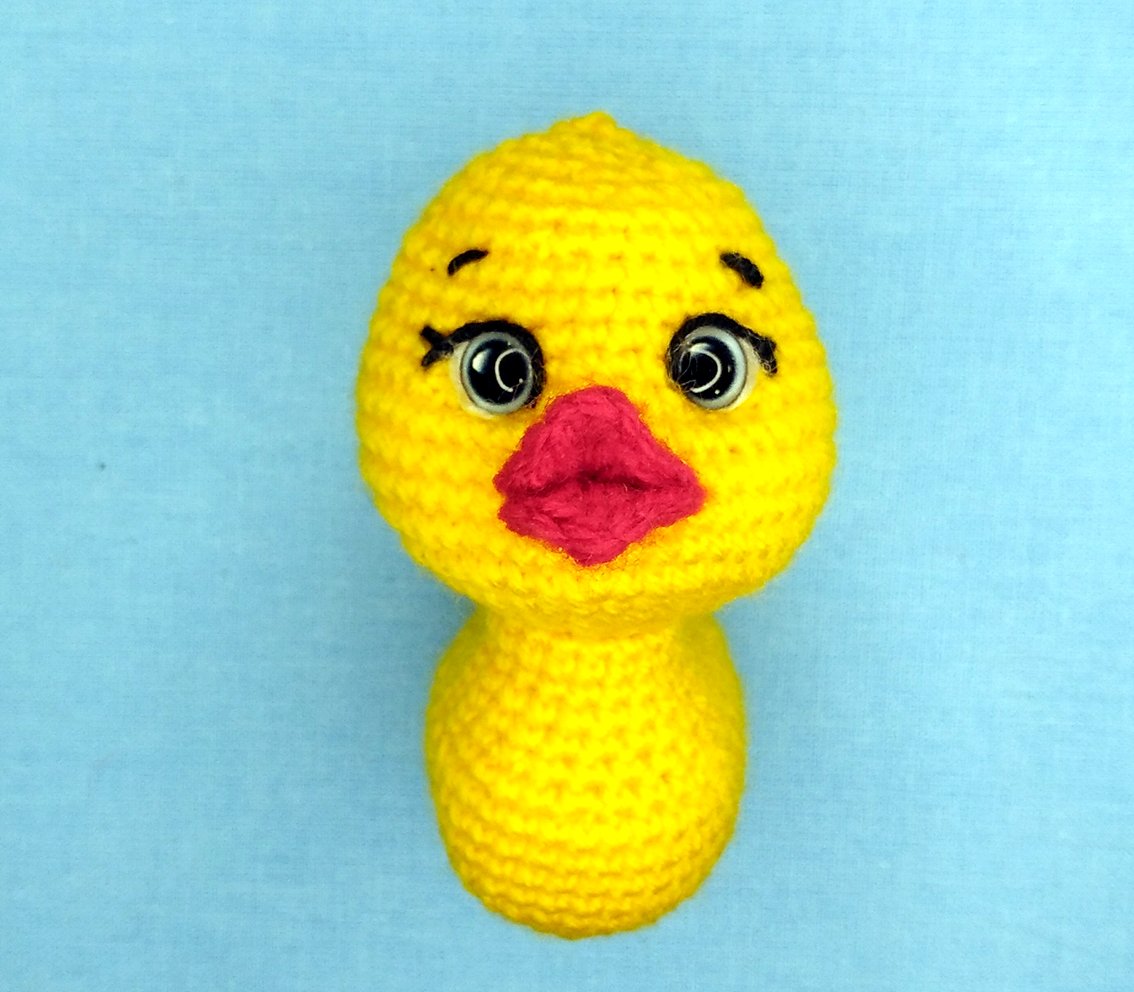
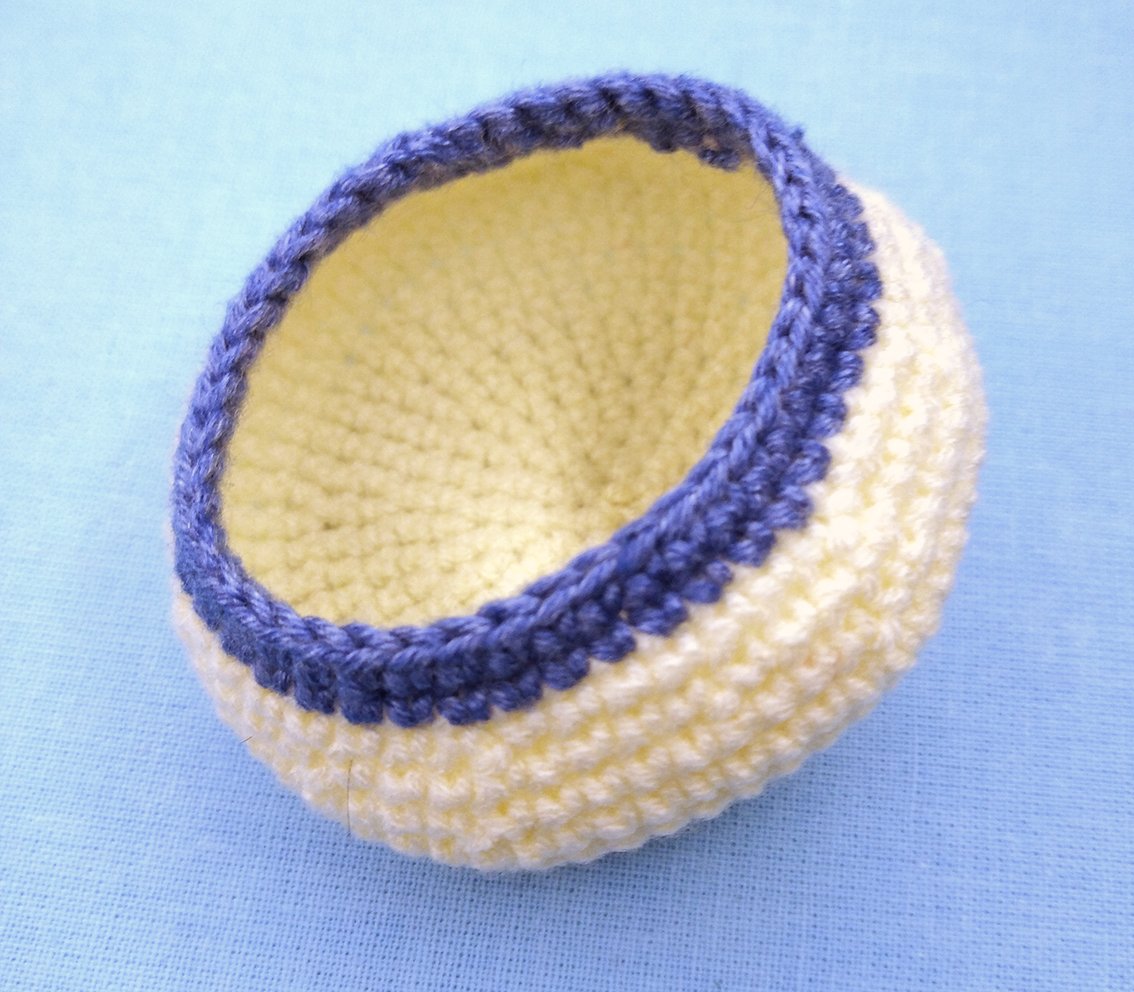
Beret
Start with white colour yarn
1) 6 sc in a Magic Ring
2) 6 inc (12)
3) (1 sc, inc)х 6 times (18)
4) 1 sc, (inc, 2 sc)х 5 times, inc, 1 sc (24)
5) (3 sc, inc)x 6 times (30)
6) 2 sc, (inc, 4 sc)х 5 times, inc, 2 sc (36)
7) (5 sc, inc)x 6 times (42)
8) 3 sc, (inc, 6 sc)х 5 times, 3 sc (48)
9) (7 sc, inc)x 6 times (54)
10) 4 sc, (inc, 8 sc)х 5 times, inc, 4 sc (60)
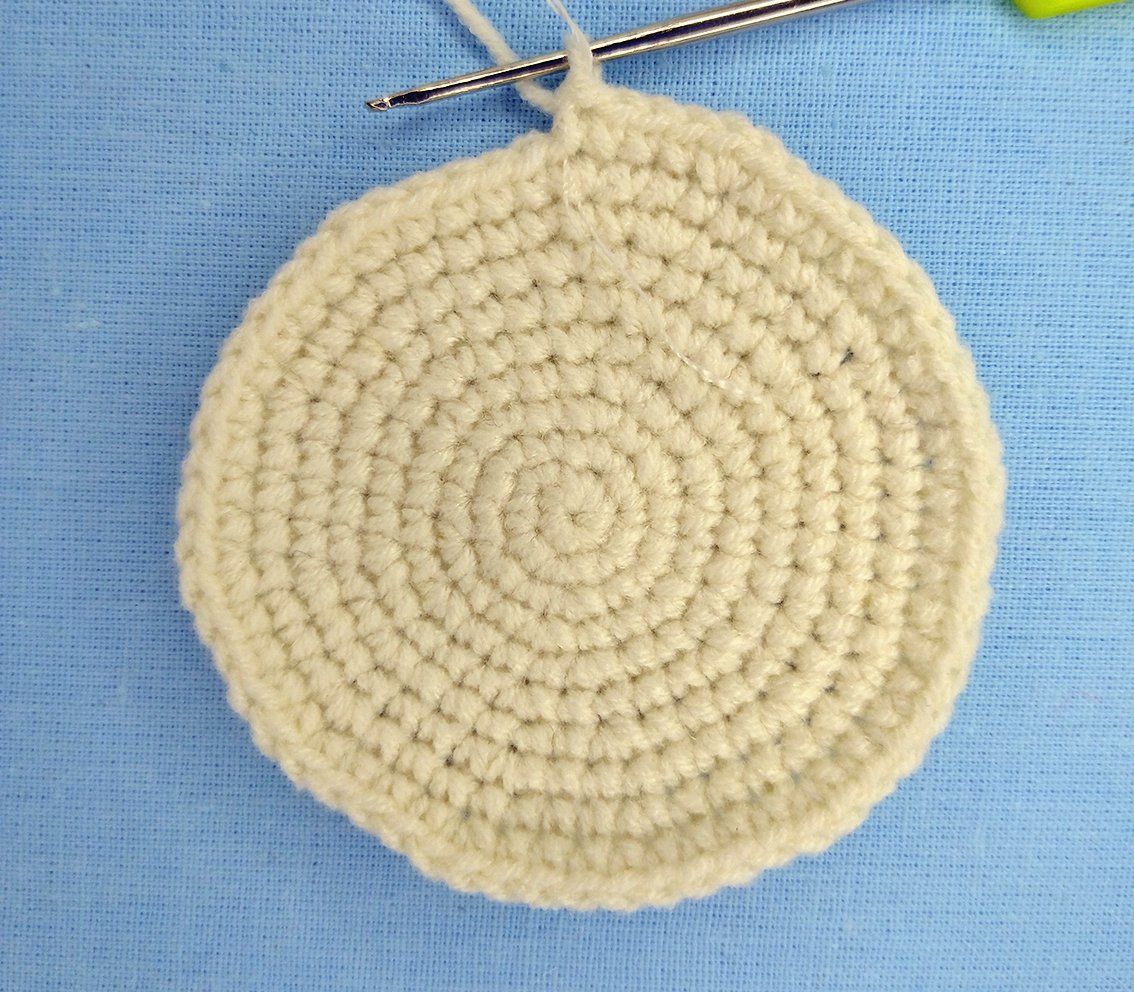
11-12) 60 sc
13) 4 sc, (dec, 8 sc)х 5 times, dec, 4 sc (54)
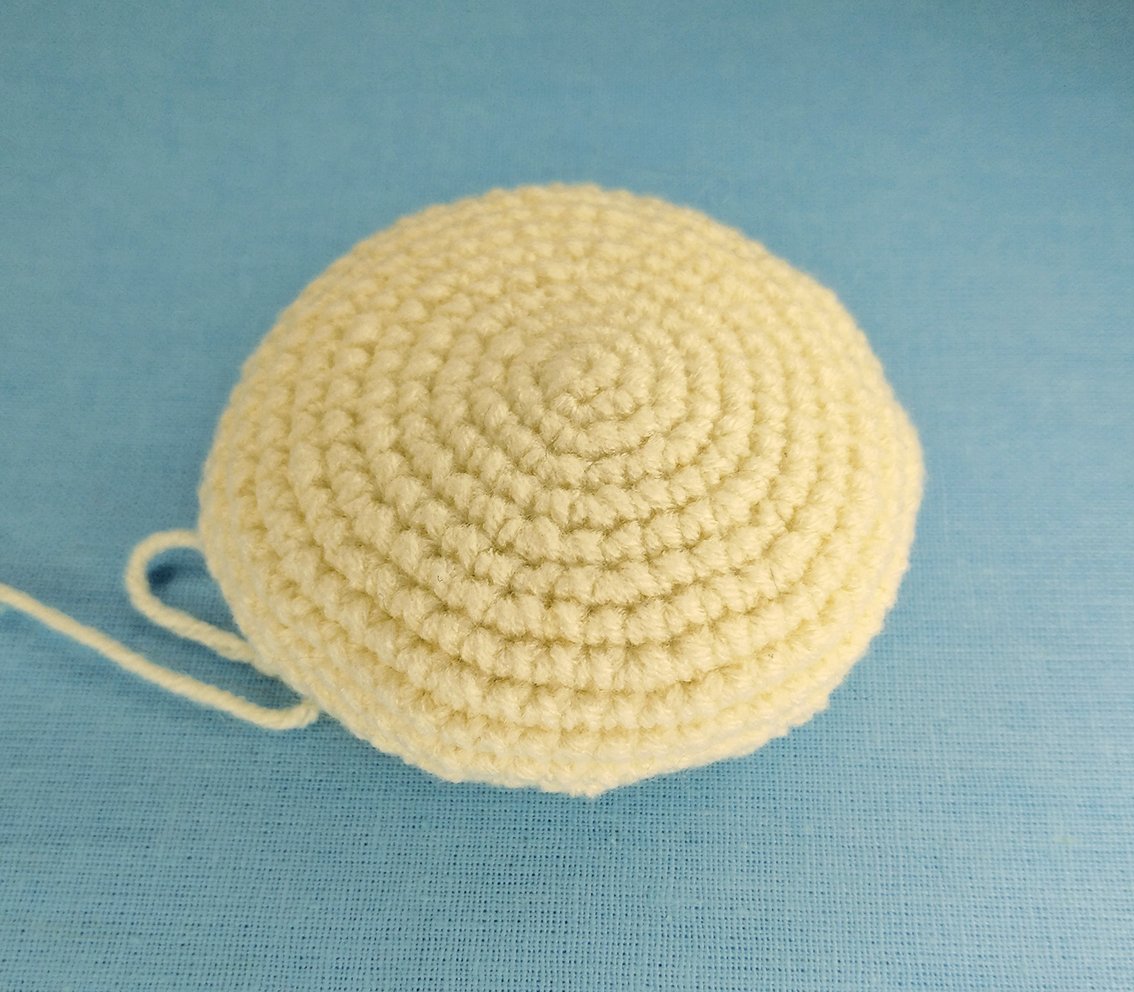
14) (7 sc, dec)х 6 times (48)
15) 3 sc, (dec, 6 sc)х 5 times, dec, 3 sc (42)
Change to blue yarn
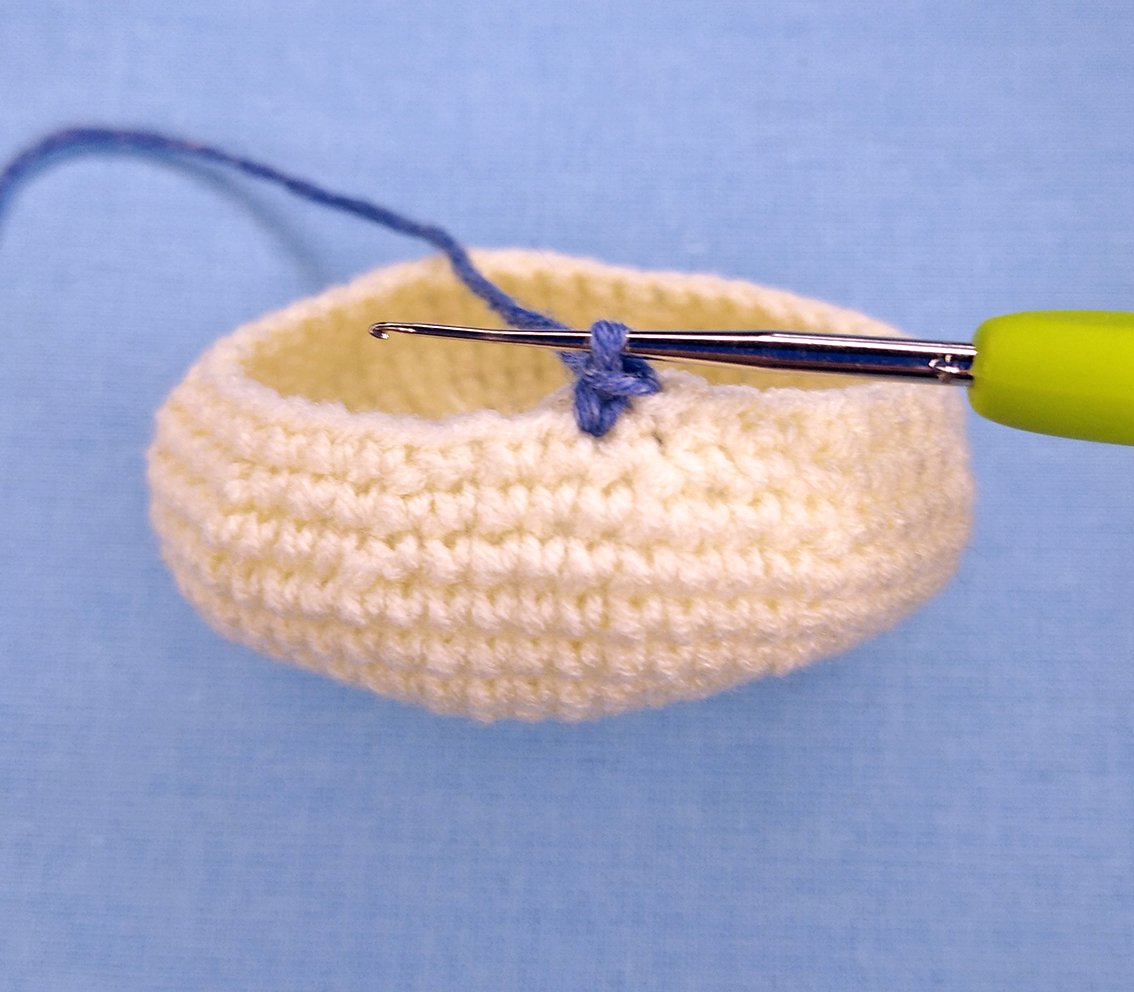
16-17) 42 sc
Fasten off, cut off.
Pompon
Work with blue colour yarn
1) 6 sc in a Magic Ring
2) 6 inc (12)
3) 12 sc
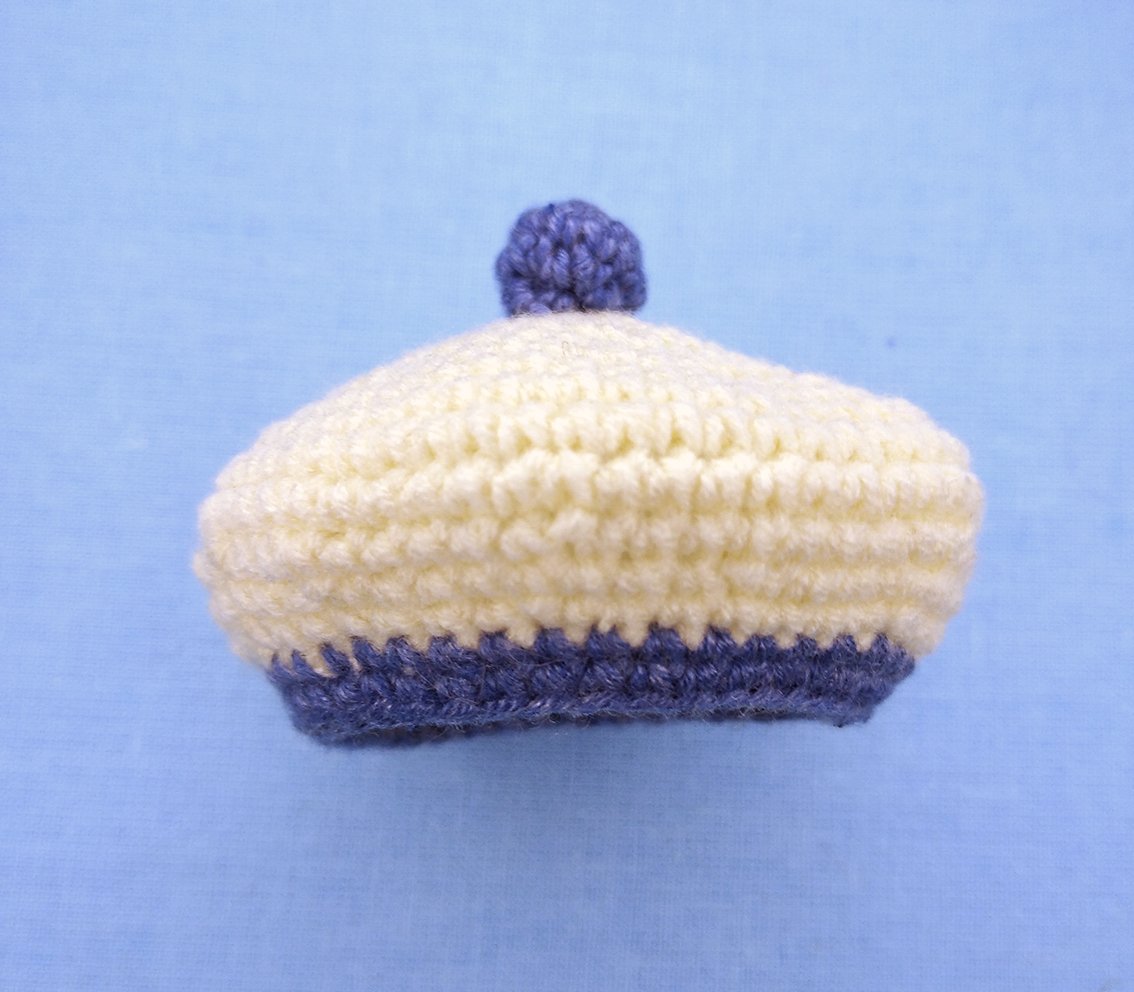
4) 6 dec (6)
Cut off yarn, leave a tail for further operation.
Sew a pompon to the beret.
The duckling is completed!


Het is zo geweldig