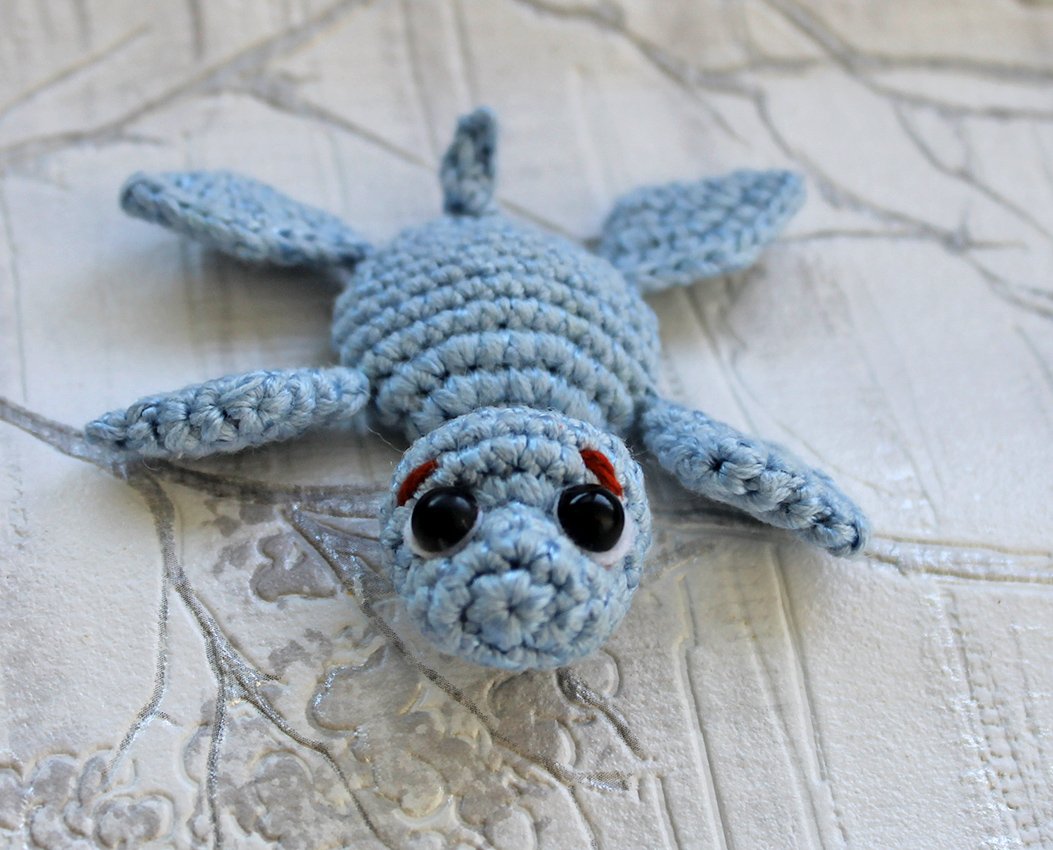
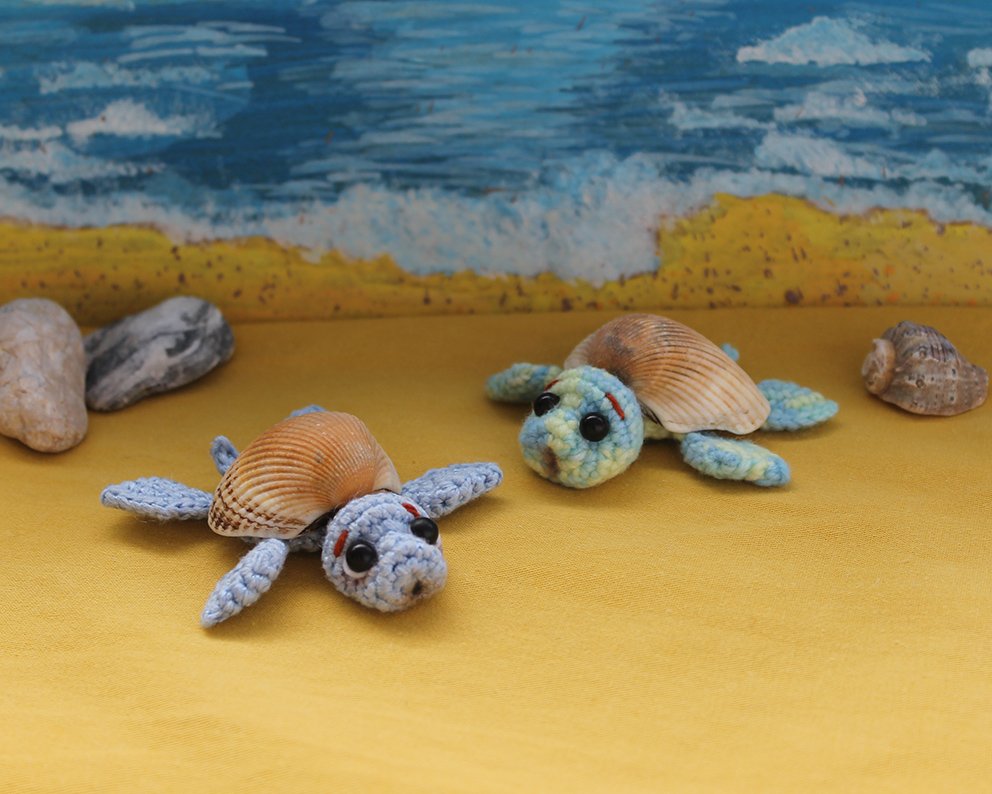
The size of the turtle is 6.5 cm. I used 400 m/100 g acrylic yarn. The turtle shell made is from real sea shells and attached with a super glue.
If you glue a magnetic tape on the turtle's stomach, you will get a fridge magnet.
Materials:
- Yarn, (acrylic or cotton) of your choice. The yarn colour is at your discretion
- A crochet hook, I have 1,5 mm crochet hook
- Hollow fibre for stuffing
- For eyes: 2 half-beads, I used 6mm diam half-beads
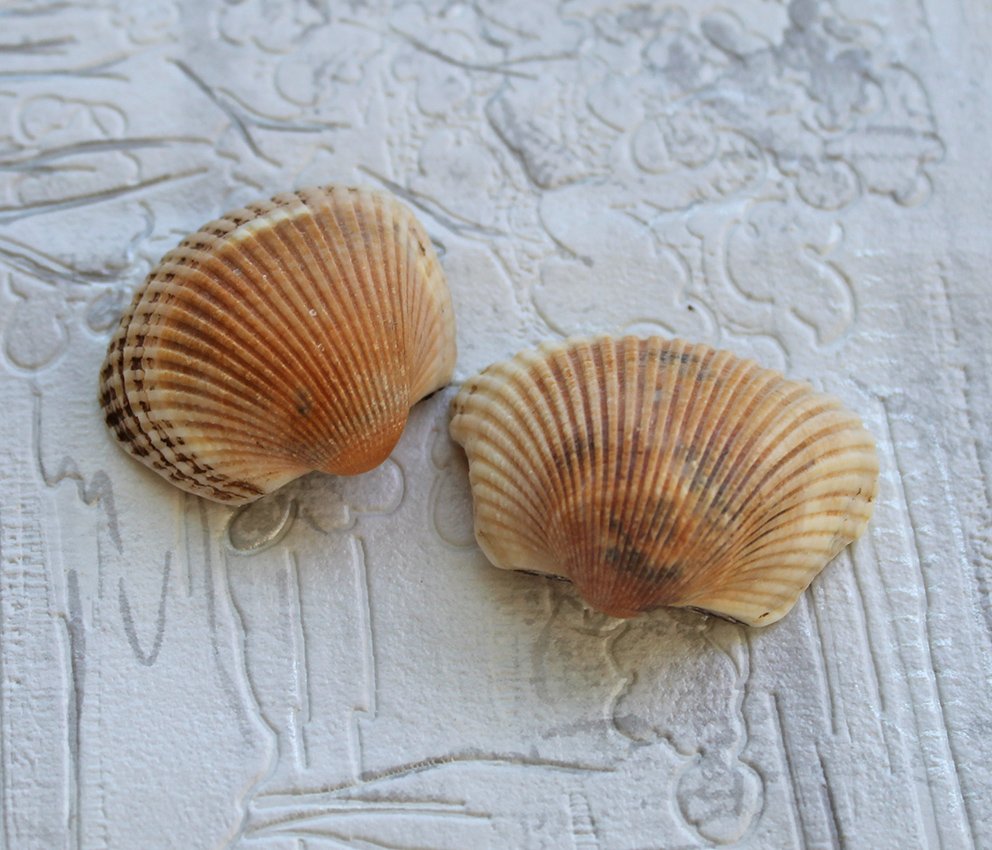
- For the shell: a sea shell of a suitable size
- A piece of thick cardboard
- A sewing needle
- Transparent glue
- Flexible magnetic tape 2 cm х 3 cm (at your wish)
Abbreviations:
ch – chain
sl st – slip stitch
sc – single crochet
hdc – half double crochet
inc – increase (2 sc in 1 st)
dec – decrease (single crochet two stitches together)
(...) x N times – repeat instructions in brackets N times
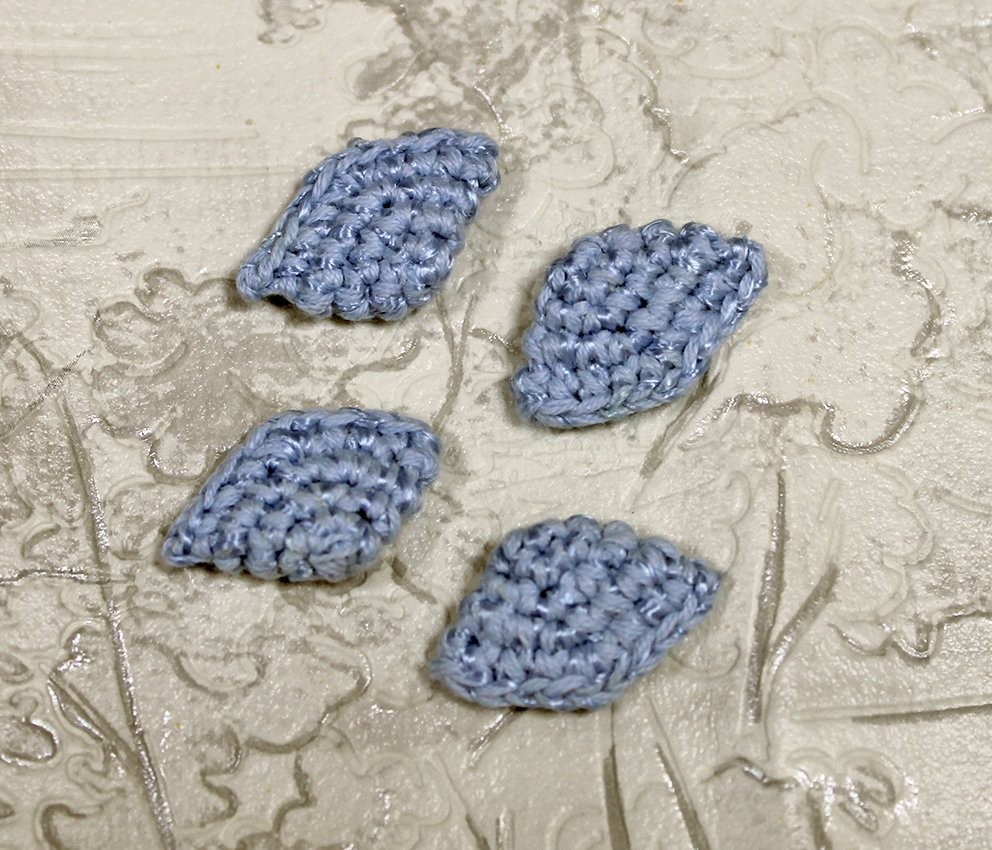
Flipper (make 4)
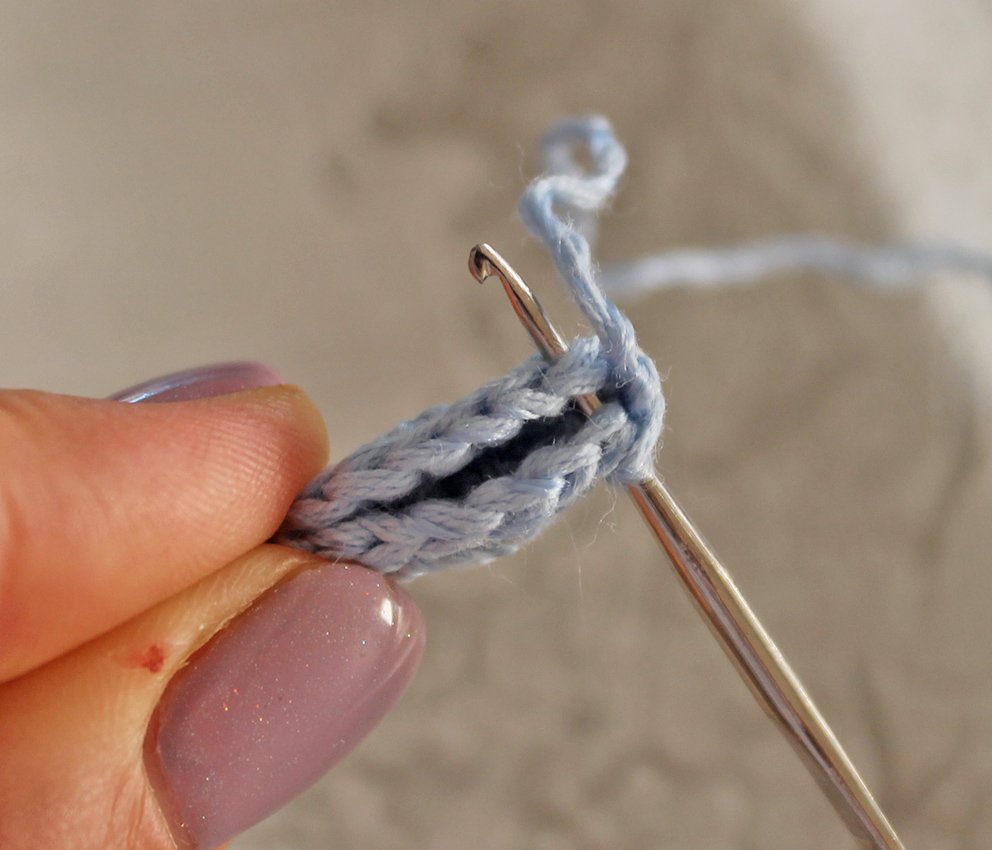
1) 4 sc in Magic Ring
2) (inc)× 4 times (8)
3) (1 sc, inc)× 4 times (12)
4) (2 sc, inc)× 4 times (16)
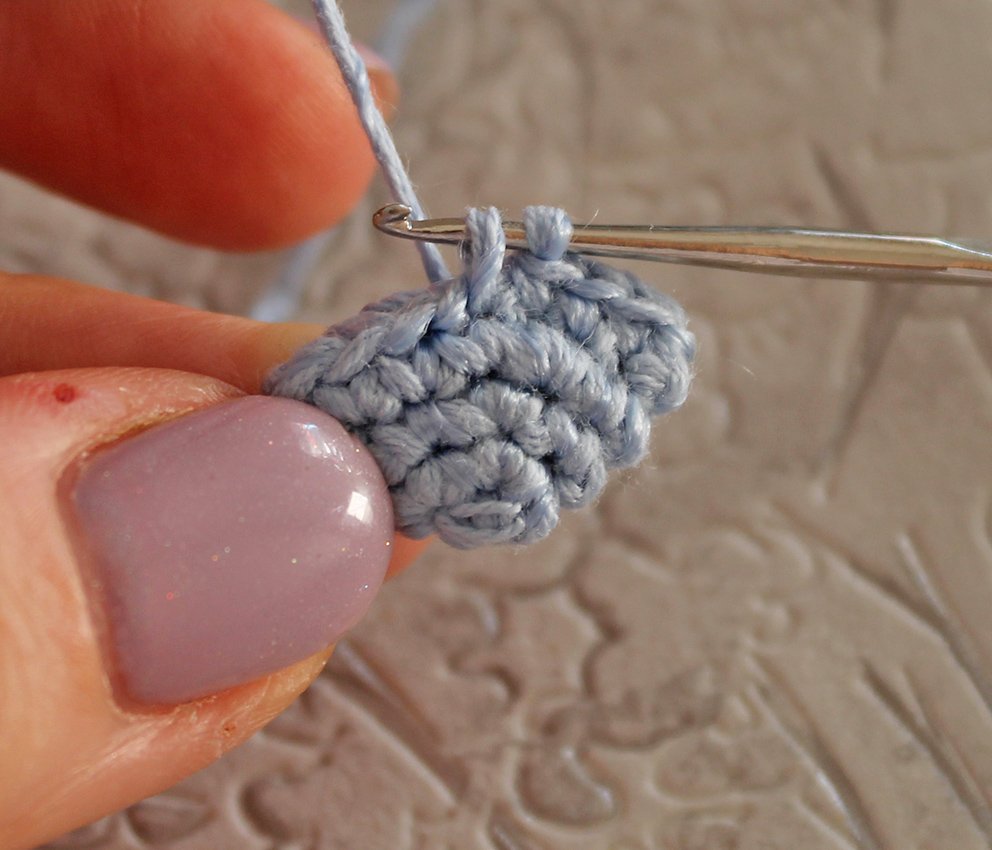
5) Fold the part in two, work by hooking through both edges of the part: 3 sc, 3 sc in 1 loop, 3 sc (9)
Bind off, cut off any excess yarn.
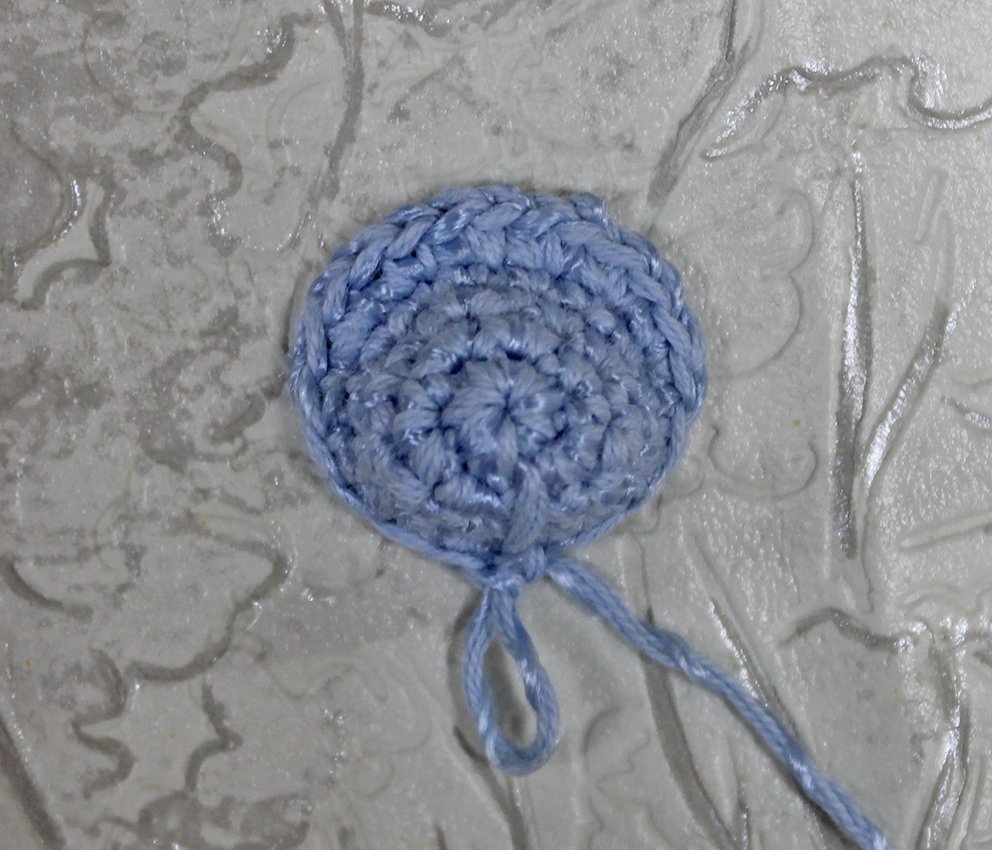
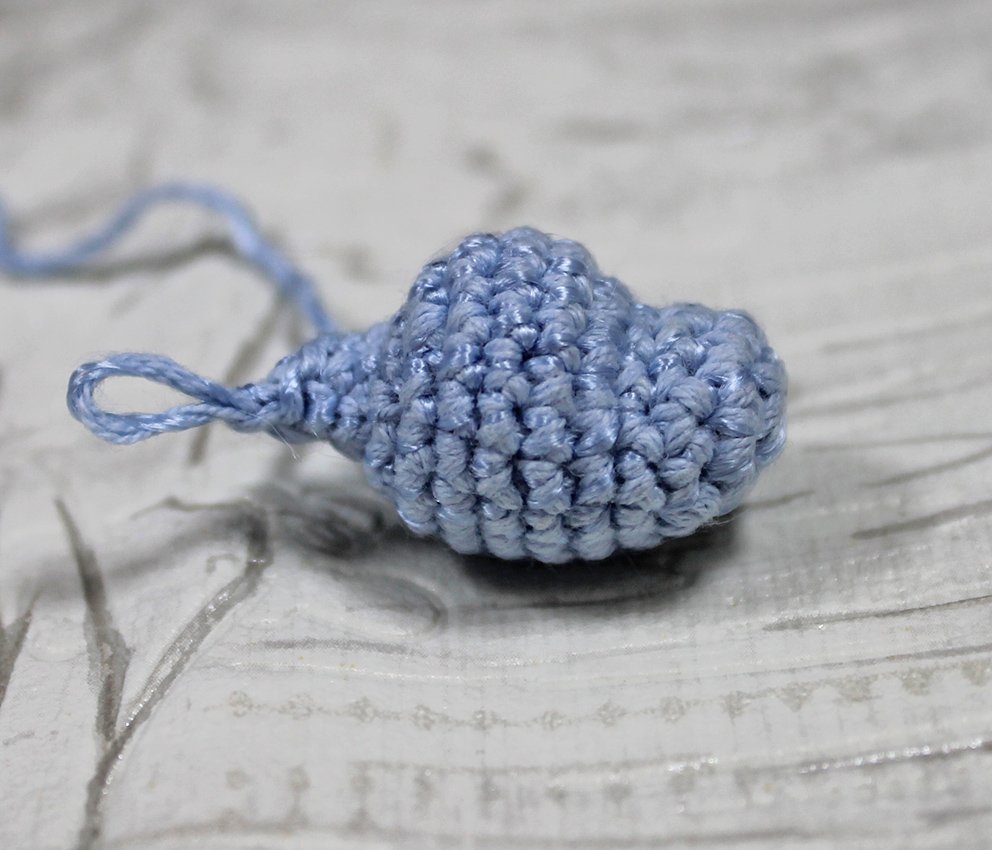
Head - Body
1) 6 sc in Magic Ring
2) (inc)× 6 times (12)
3) 1 sc, inc, 8 sc, inc, 1 sc (14)
4) 14 sc - mark the 5th, 6th, 9th, 10th loops.
5) 4 sc, (inc)× 6 times, 4 sc (20)
6-8) 20 sc
Work 1 sc, transfer your place marker here
9) 5 sc, dec, 6 sc, dec, 5 sc (18)
10) (dec, 1 sc)× 6 times (12)
Add some hollow fibre.
11) (dec)× 6 times (6)
12) 6 sc
13) into the front loops only: (inc) ×6 times (12)
14) (1 sc, inc)× 6 times (18)
15) (1 sc, inc, 1 sc)×6 times (24)
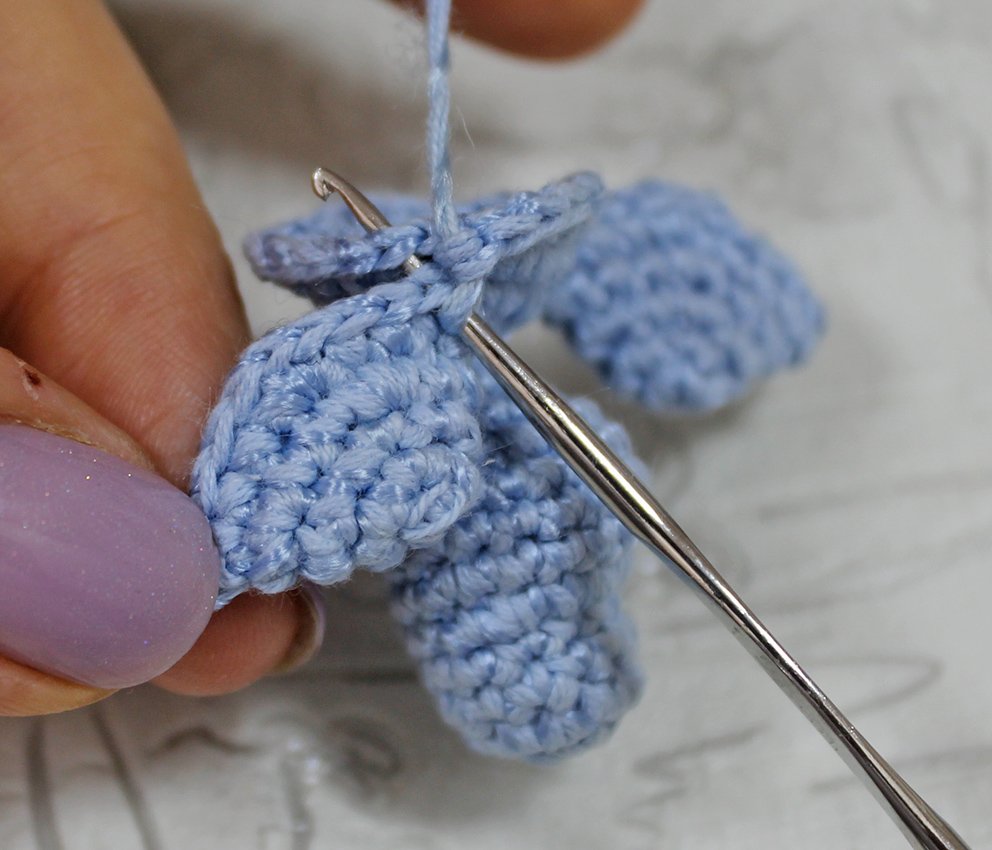
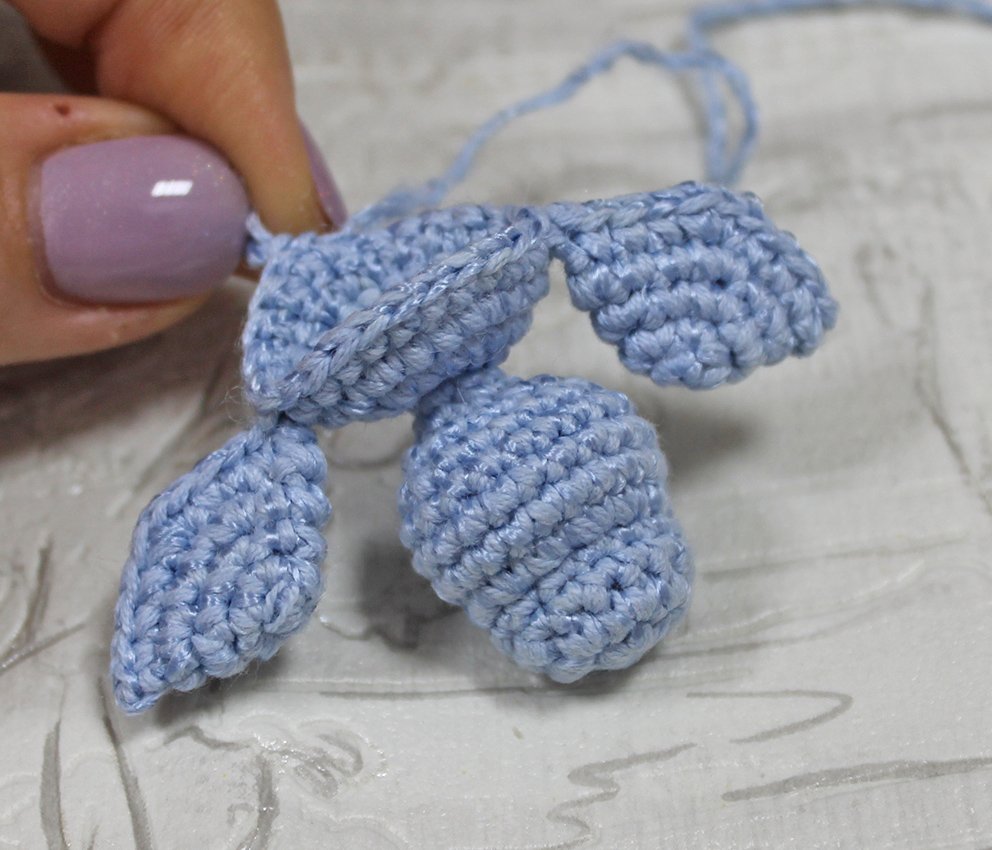
16) 5 sc, attach the flipper, crochet the outer loop of the flipper and the loop of the body together, 12 sc, attach the flipper, crochet the outer loop of the flipper and the loop of the body together, 5 sc (24)
17-19) 24 sc
Work 1 sc, transfer your place marker here.
20) 4 sc, 2 dec, 8 sc, 2 dec, 4 sc (20)
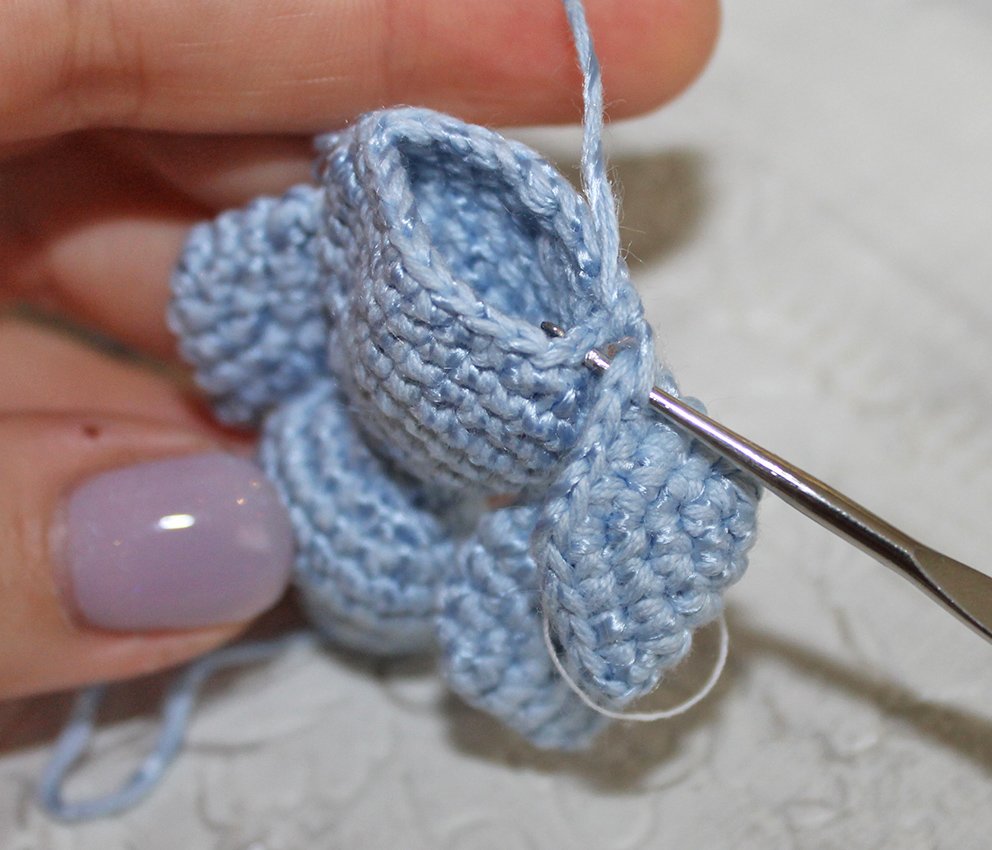
21) 4 sc, attach the flipper, crochet the outer loop of the flipper and the loop of the body together, 10 sc, attach the flipper, crochet the outer loop of the flipper and the loop of the body together, 4 sc (20)
Cut out a bottom part of the body from a piece of cardboard. This part should be smaller than size of the body. Put inward.
22) 2 sc, dec, 1 sc, dec, 2 sc, dec, 2 sc, dec, 1 sc, dec, 2 sc (15)
Add some hollow fibre.
23) (dec, 1 sc)× 5 times (10)
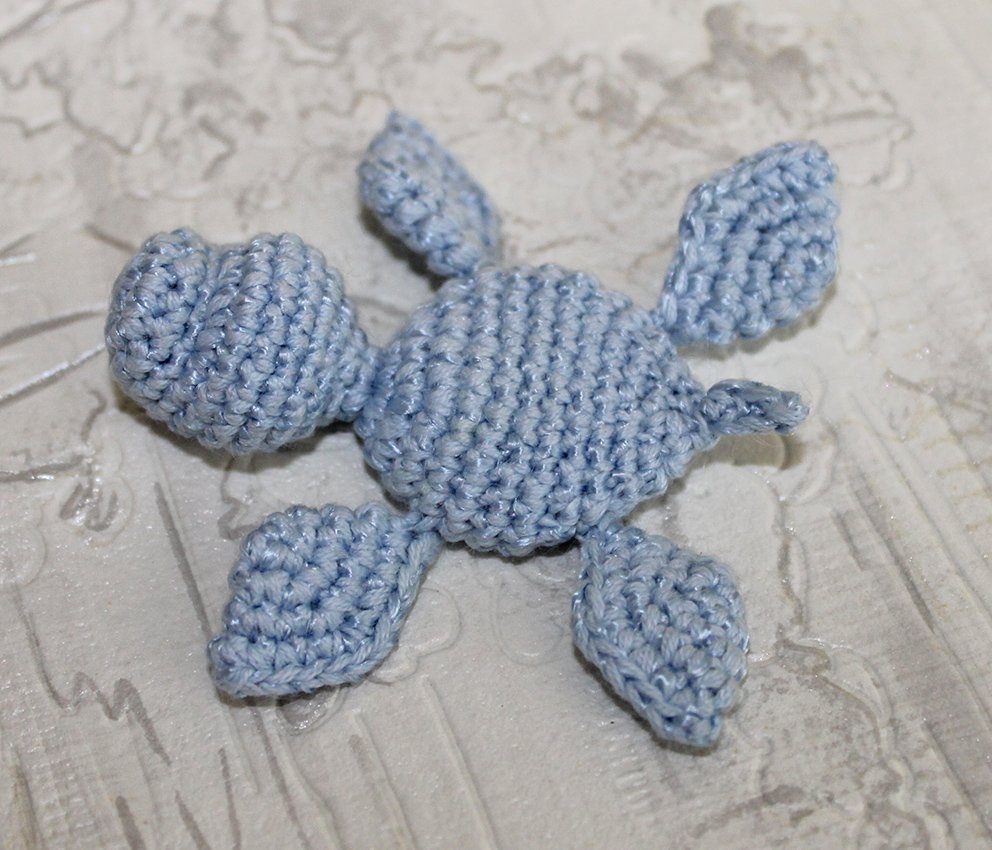
24) 2 dec, 1 sl st, work 4 ch, starting from 2nd ch from hook: 1 sl st, 1 sc, 1 hdc - it's a tail, continue: 2 dec (6)
Pull off the loops. Cut the thread, hide the end.
Find the points for sculpting as follows.
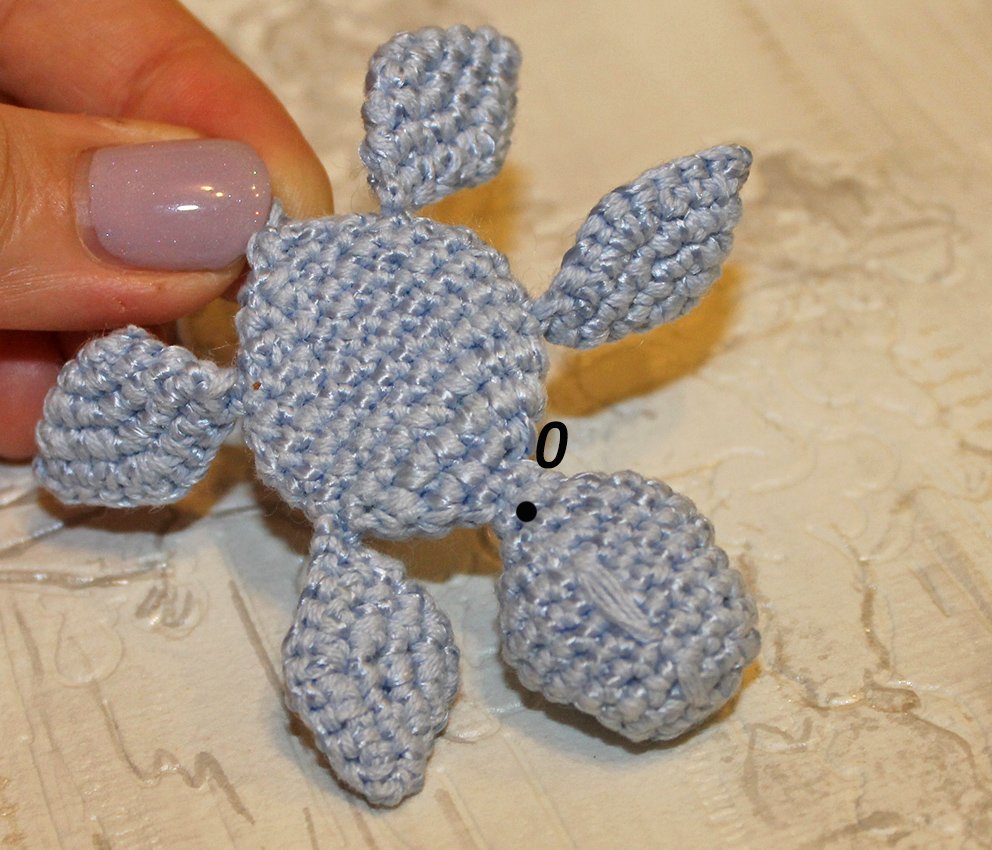
Spot 0 is in the centre of the neck from behind between rounds 10 & 11.
Spots 1 & 2, 3 & 4 are in Rnd 4. See the photo for guidance.
To sculpt the eyes: take some strong sewing thread and fasten it below in point 0, take the needle out in point 1. Insert the needle in point 2 and back in point 0. Sculpt the second eye. Points 0 - 3 - 4 - 0.
Fasten the thread. Glue the eyes into the eye sockets.
Embroider eyebrows.
The mouth can be embroidered or painted.
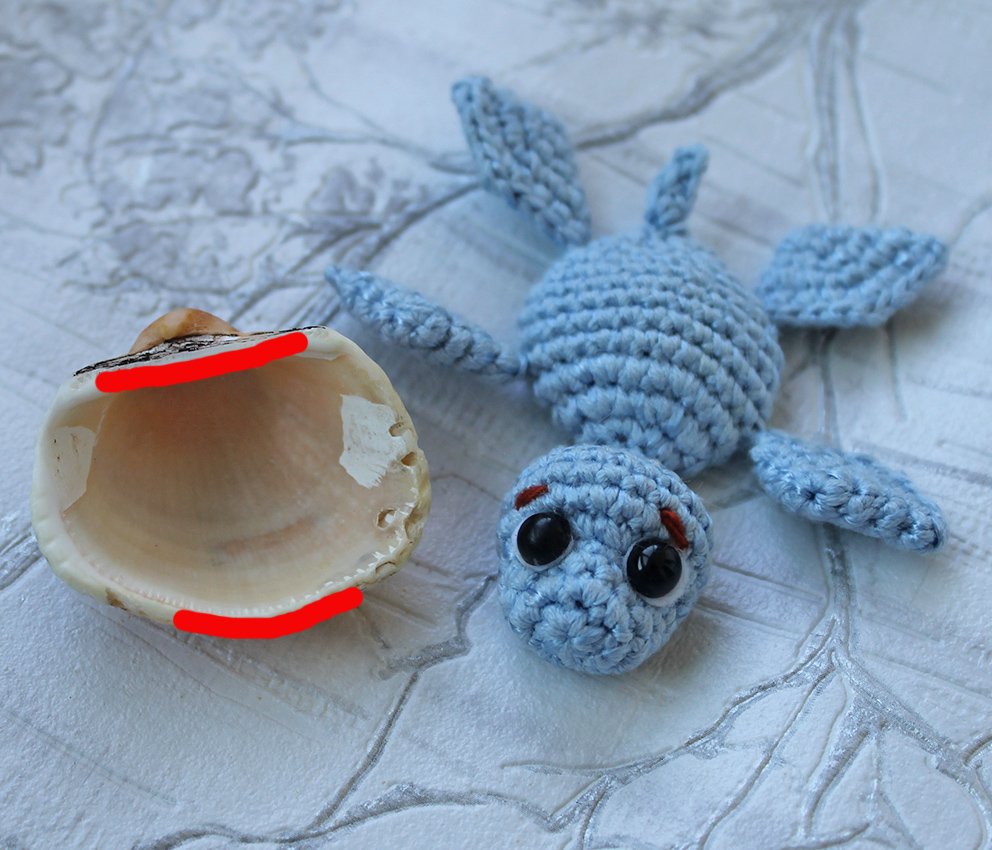
Attach the shell to the back of the turtle, mark the edge that connects with the body of the turtle (in my photo they are marked with red lines). Apply some glue to the marked area and press firmly.
Should you wish to make a magnet, glue some magnetic tape to the turtle's belly.
The turtle will become an excellent decor for a shelf or a key chain.
.JPG)
.JPG)
.JPG)
.JPG)
.JPG)
.JPG)
.JPG)
.JPG)
