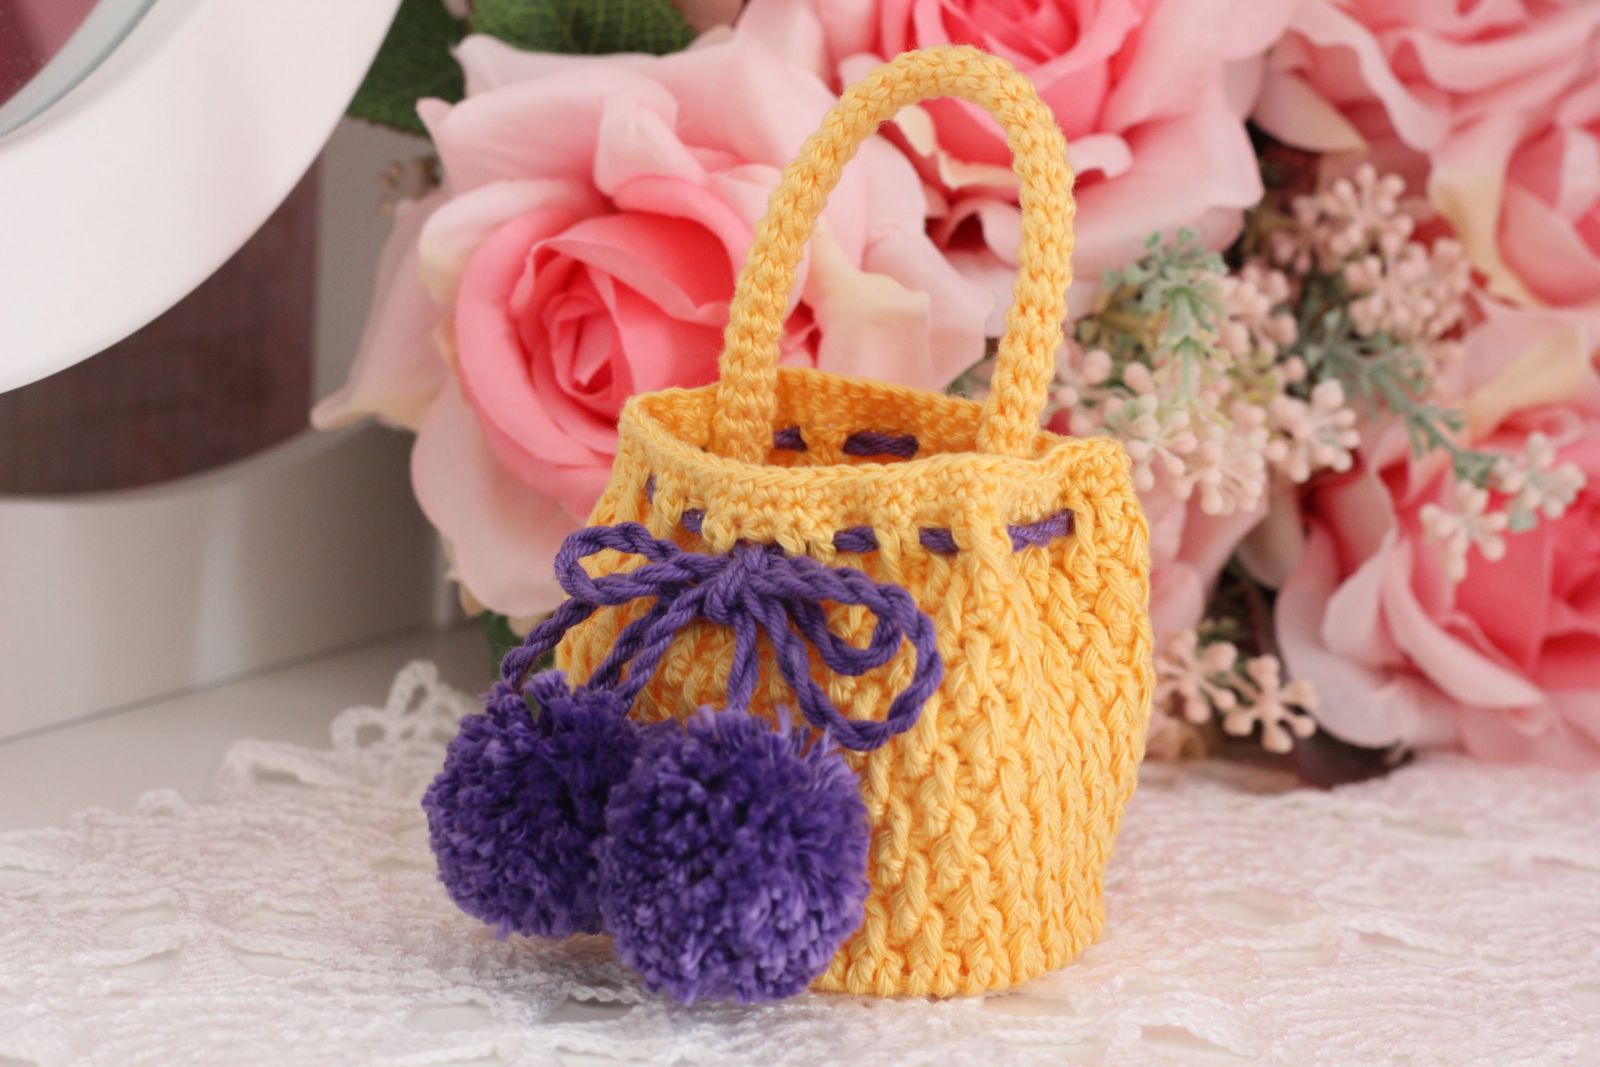
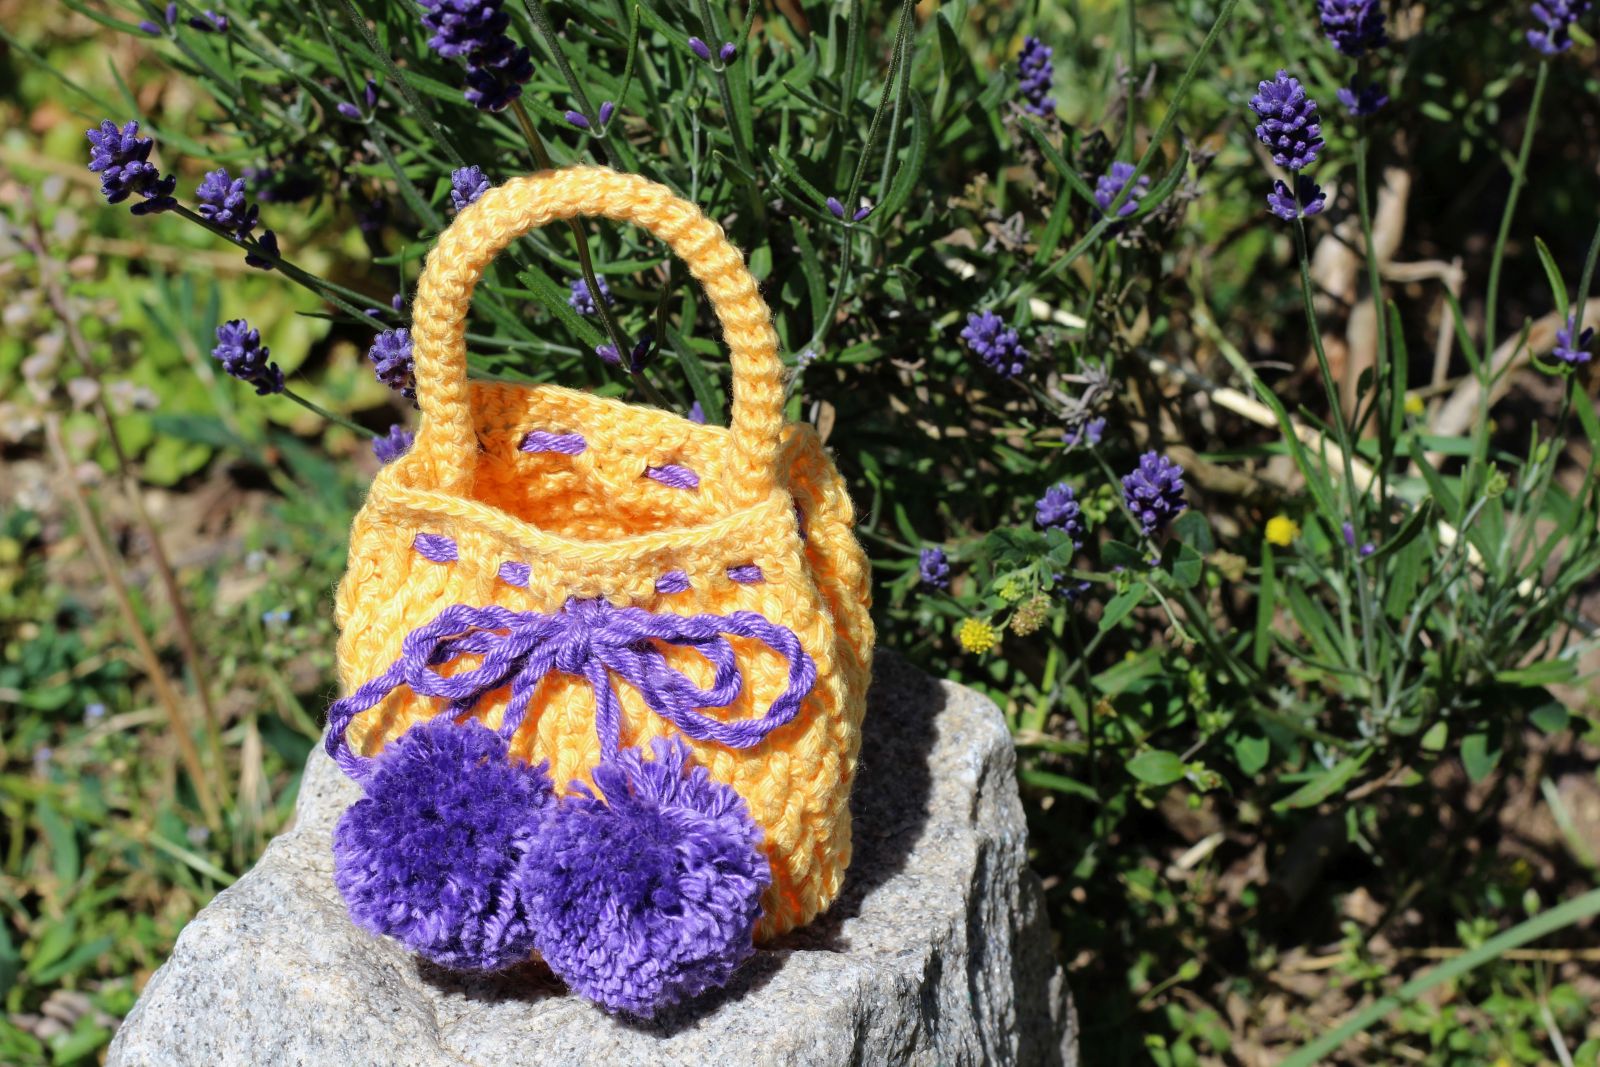
This lovely purse is perfectly suited for 12-14 as well as 18 inches dolls like American Girl or Paola Reina. It is just the right size for holding dolls accessories.
MATERIAL
cotton yarn in desired colors (e.g. Schachenmayr Catania 125m/50g), crochet hook 2,5 and 3 mm, scissors, yarn needle.
SKILL LEVEL
Intermediate
SIZE
The ready purse is approx 8 cm in diameter. Of course, you can make the pattern larger (or smaller), as your heart desires, by changing the yarn weight and/or hook size or by adding rounds.
ABBREVIATIONS
ch = chain
st = stitch
sc = single crochet
dc= double crochet
dec = decrease stitch (two single crochets together)
inc = increase stitch (two single crochets into one stitch)
sl st = slip stitch
fpdc = front post double crochet
Rnd= round
SKILL LEVEL
Intermediate
TIPPS
- Do not join rounds, work in a continuous spiral.
- Use a stitch marker or a piece of yarn to mark the end or the beginning of a round
- All stitches are worked into both loops, unless stated otherwise in the pattern.
- You can use any type of yarn as long as you have a corresponding crochet hook size (check yarn label for recommendations)
- Numbers at the end of each round in parentheses ( ) = total number of stitches for that round or row.
- Please note that I use US crochet terms.
- The purse can be made in any desired colours.
Seamsless way of changing color when working in the round
Pick up the new color at the end of the round: inset your hook into the stitch, yarn over the new color and pull through the stitch and the loop on your hook to complete the stitch.
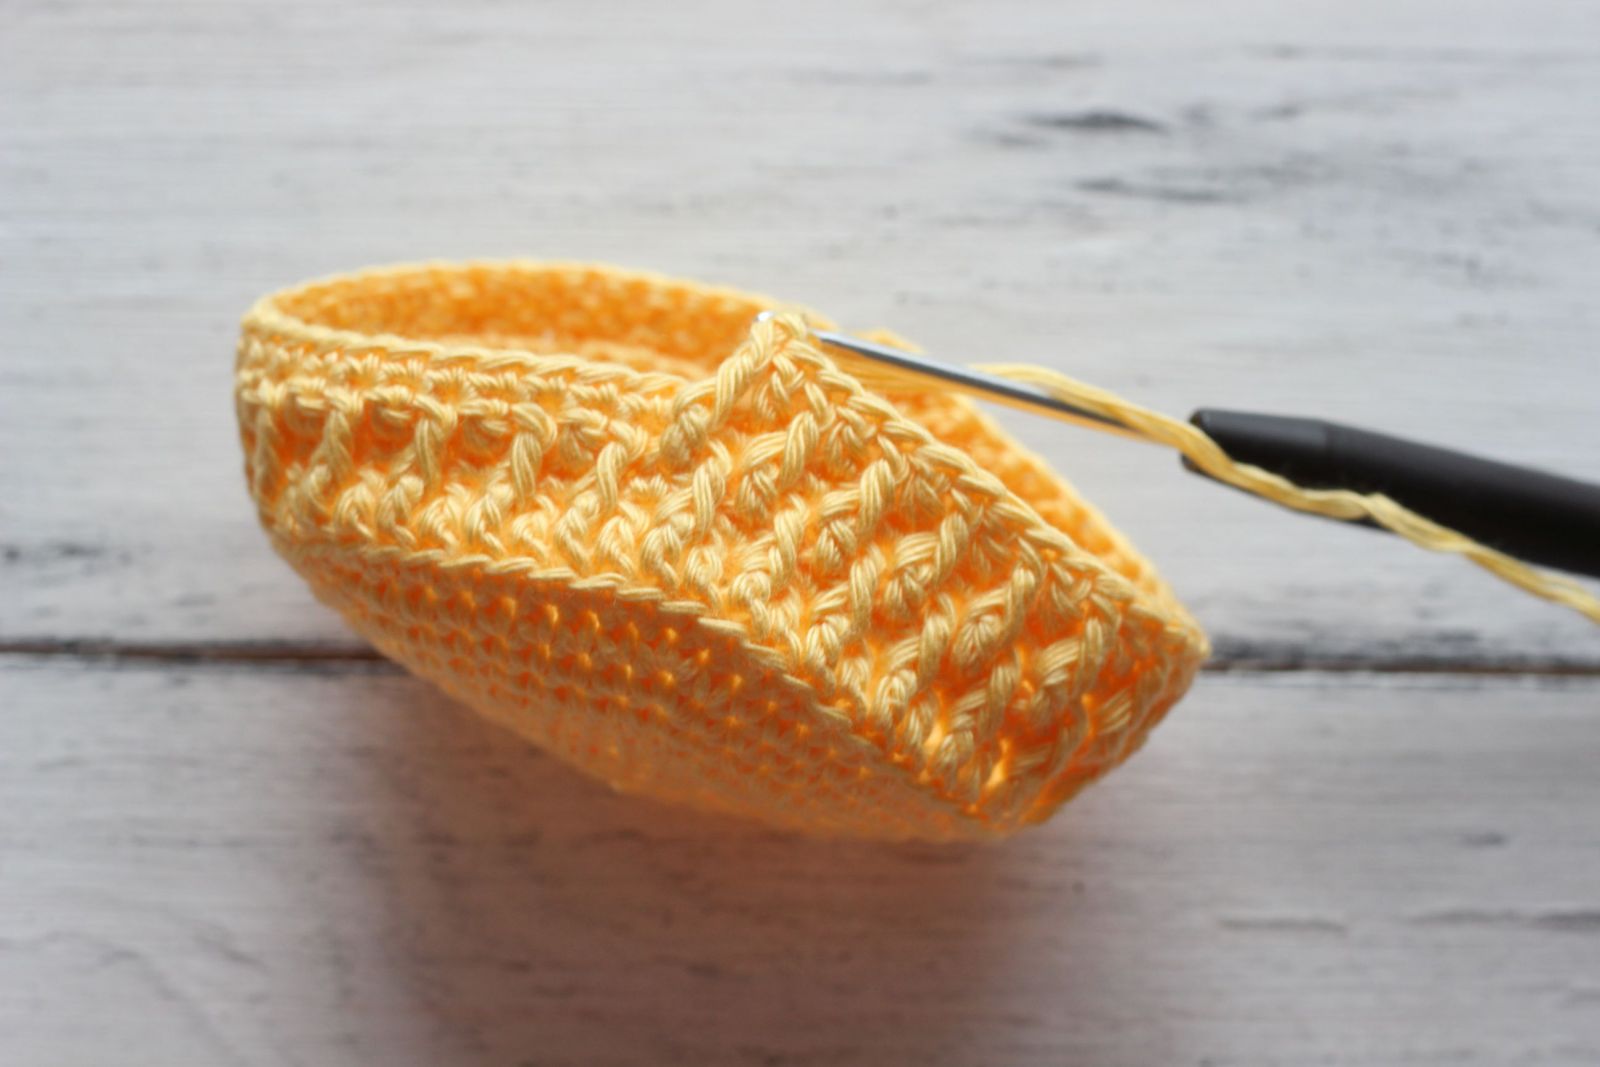
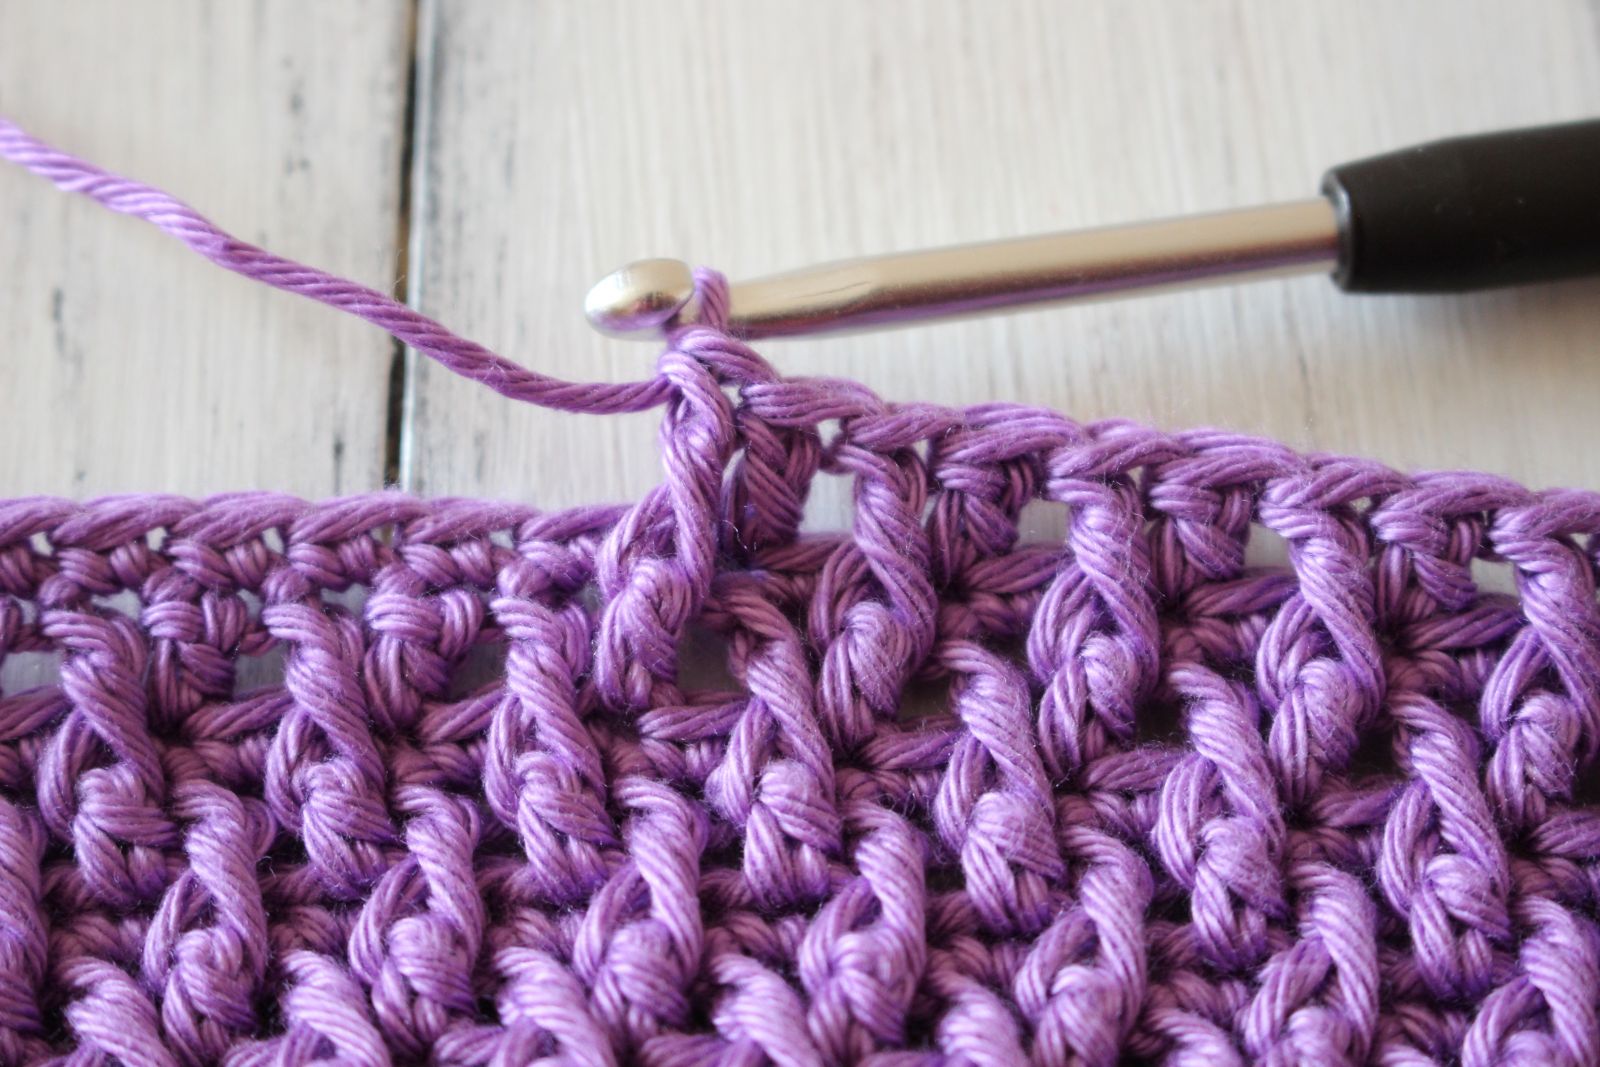
Front Post Double Crochet:
Yarn over, insert your hook between the posts of the first and second stitch of the row below, and then from back to front again between the posts of the second and third stitches
Yarn over and draw the yarn around the post of the stitch. You now have 3 loops on the hook
Yarn over and draw the yarn through the 2 loops on the hook, twice.
One front post double crochet (FP dc) is complete.
PATTERN
Rnd 1: sc worked in each of the next sc around
Rnd 2: chain 2, *scbp worked in the next dc of the previous round, skip the next stitch, dc in the next sc*, repeat from* to* until the end of the round.
Rnd 3: sc in each of the next stitch around
Rnd 4: chain 2, *dc in the next sc, scbp worked in the next dc of the previous round, skip the next stitch*, repeat from* to* until the end of the round.
INSTRUCTIONS
Start with the red color using crochet hook 3 mm.
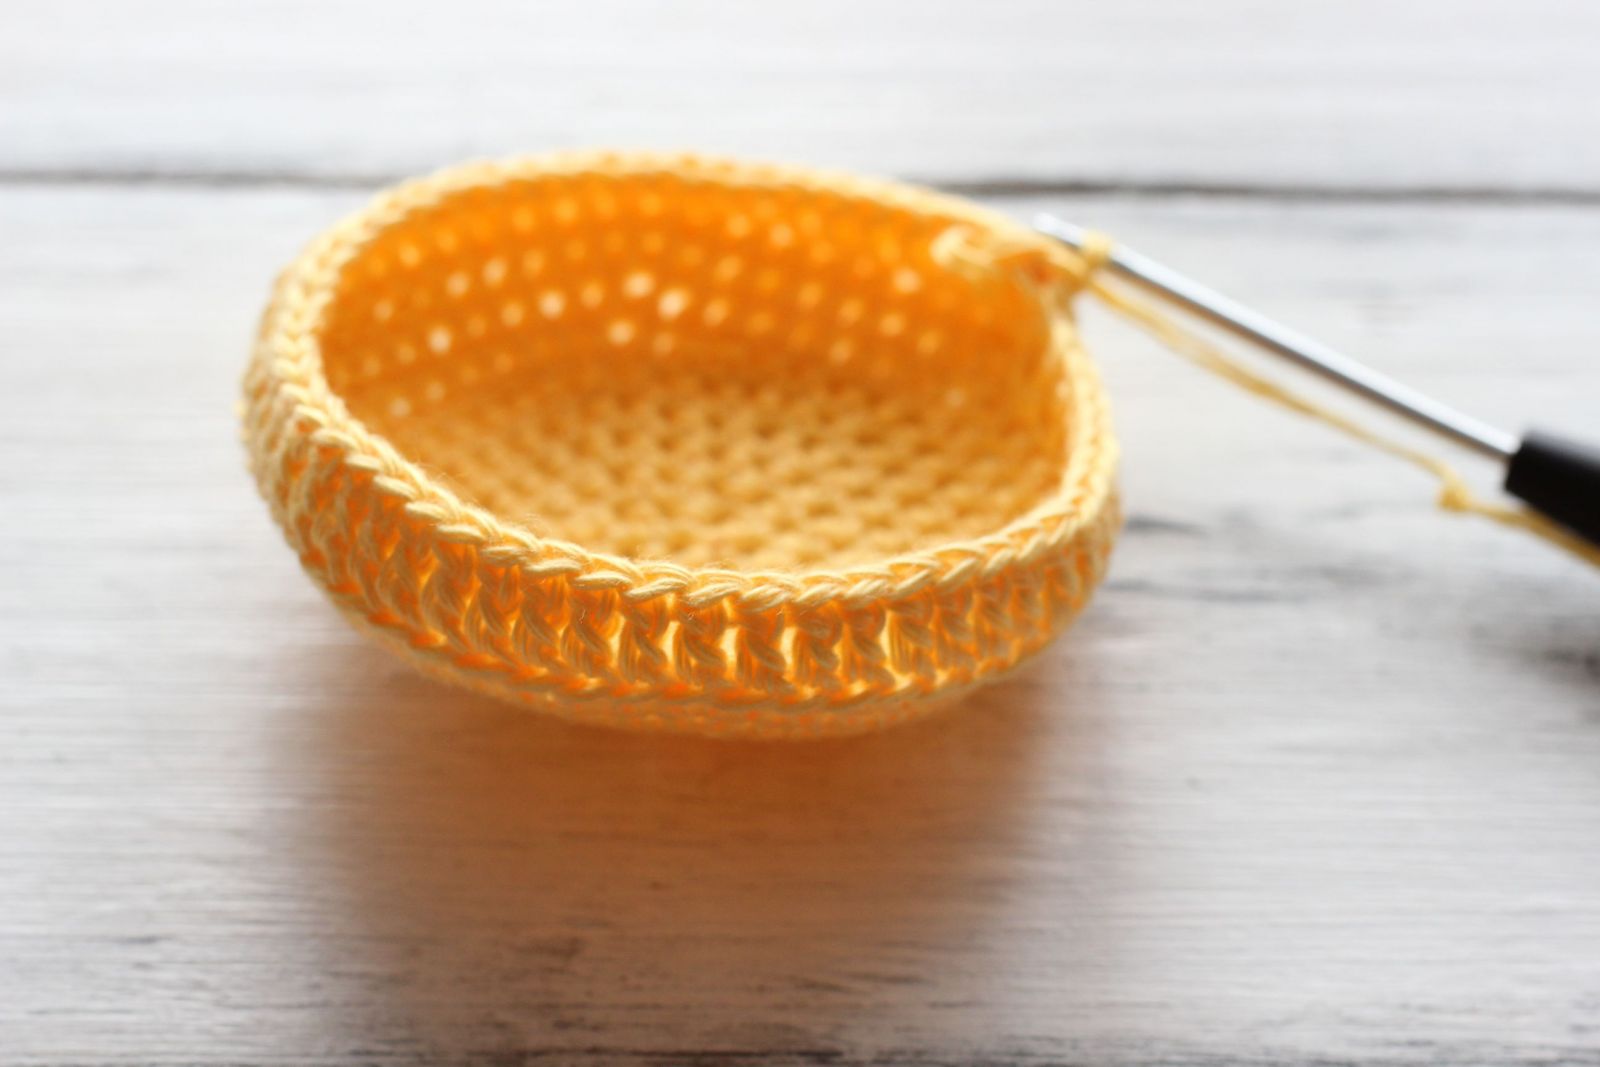
BOTTOM
Rnd 1: 6 sc in a magic circle.
Rnd 2: inc 6 times (12 sts)
Rnd 3: *sc in next st, inc* (18 sts)
Rnd 4: *sc in each of next 2 sts, inc* (24 sts)
Rnd 5: *sc in each of next 3 sts, inc* (30 sts)
Rnd 6: *sc in each of next 4 sts, inc* (36 sts)
Rnd 7: *sc in each of next 5 sts, inc* (42 sts)
Rnd 8: *sc in each of next 6 sts, inc* (48 sts)
Rnd 9: sc in each of next 48 sts
Rnd 10: *sc in each of next 7 sts, inc* (54 sts)
BAG
Rnd 11 (working in the back loop): sc in each of next 54 sts, sl st.
Continue crocheting using the pattern above: work 1-4 rounds of the pattern.
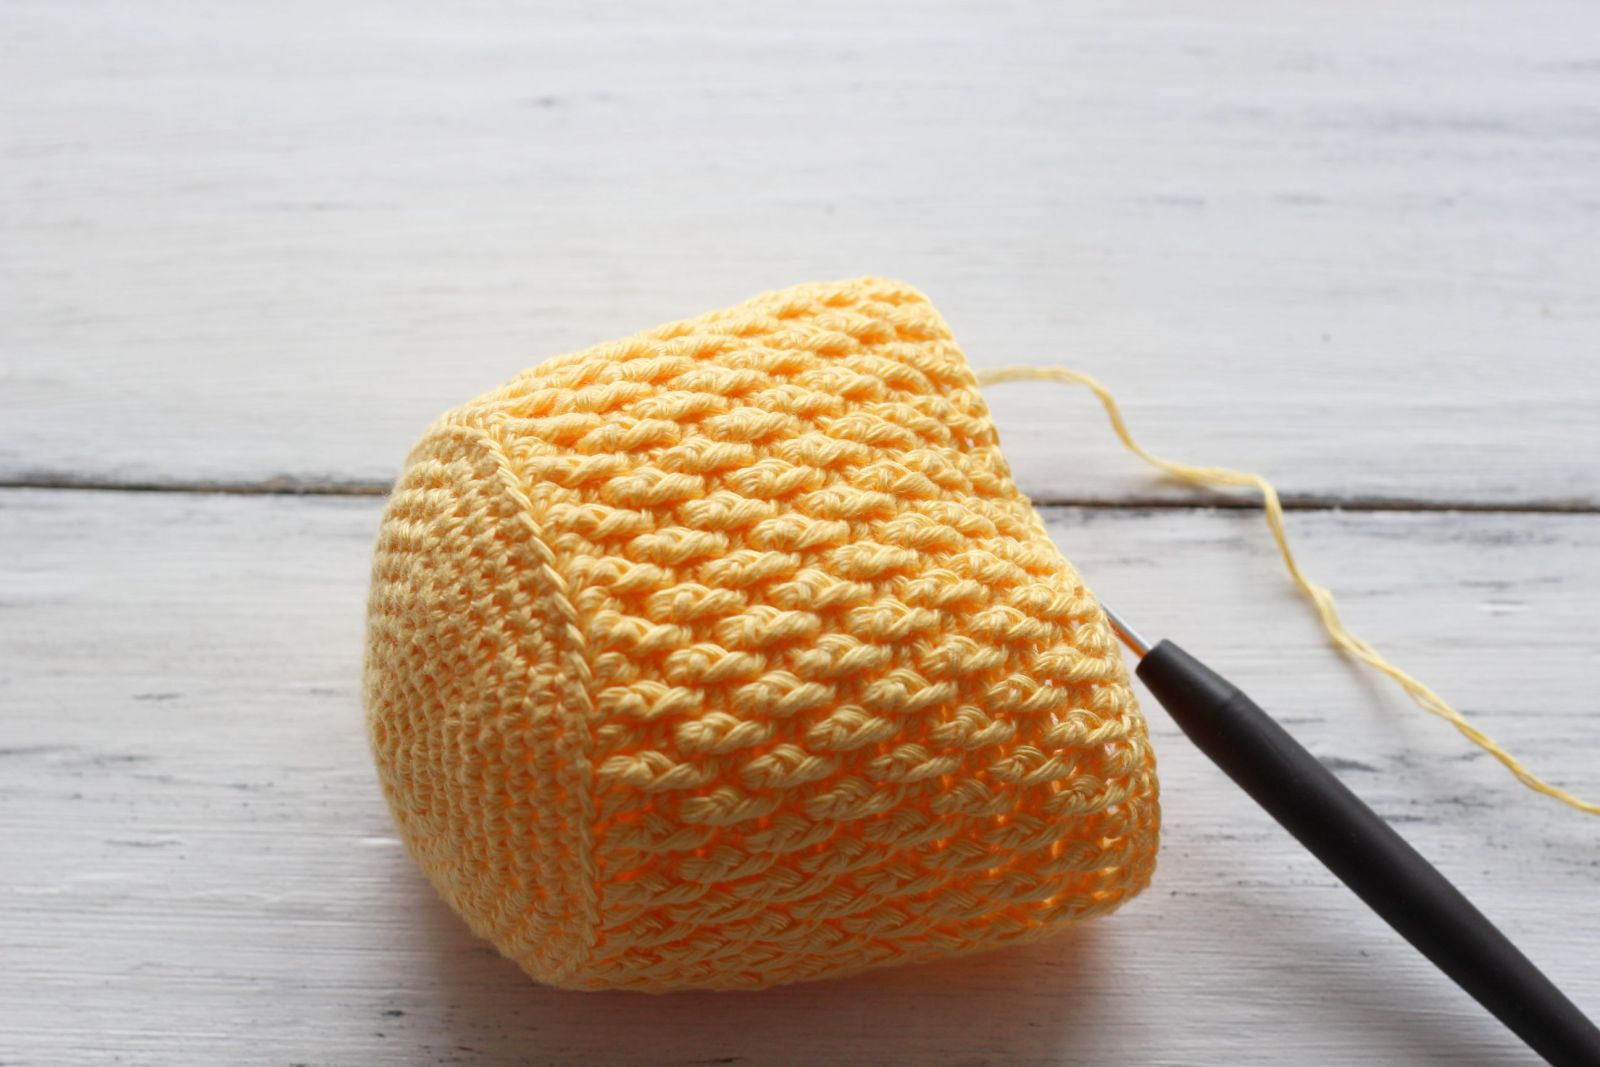
Repeat rounds 1-4 of the pattern three more times, until the height of the bag reaches approx 8 cm.
Work two rounds in sc´s. Cast off. Weave in all ends.
FINISHING
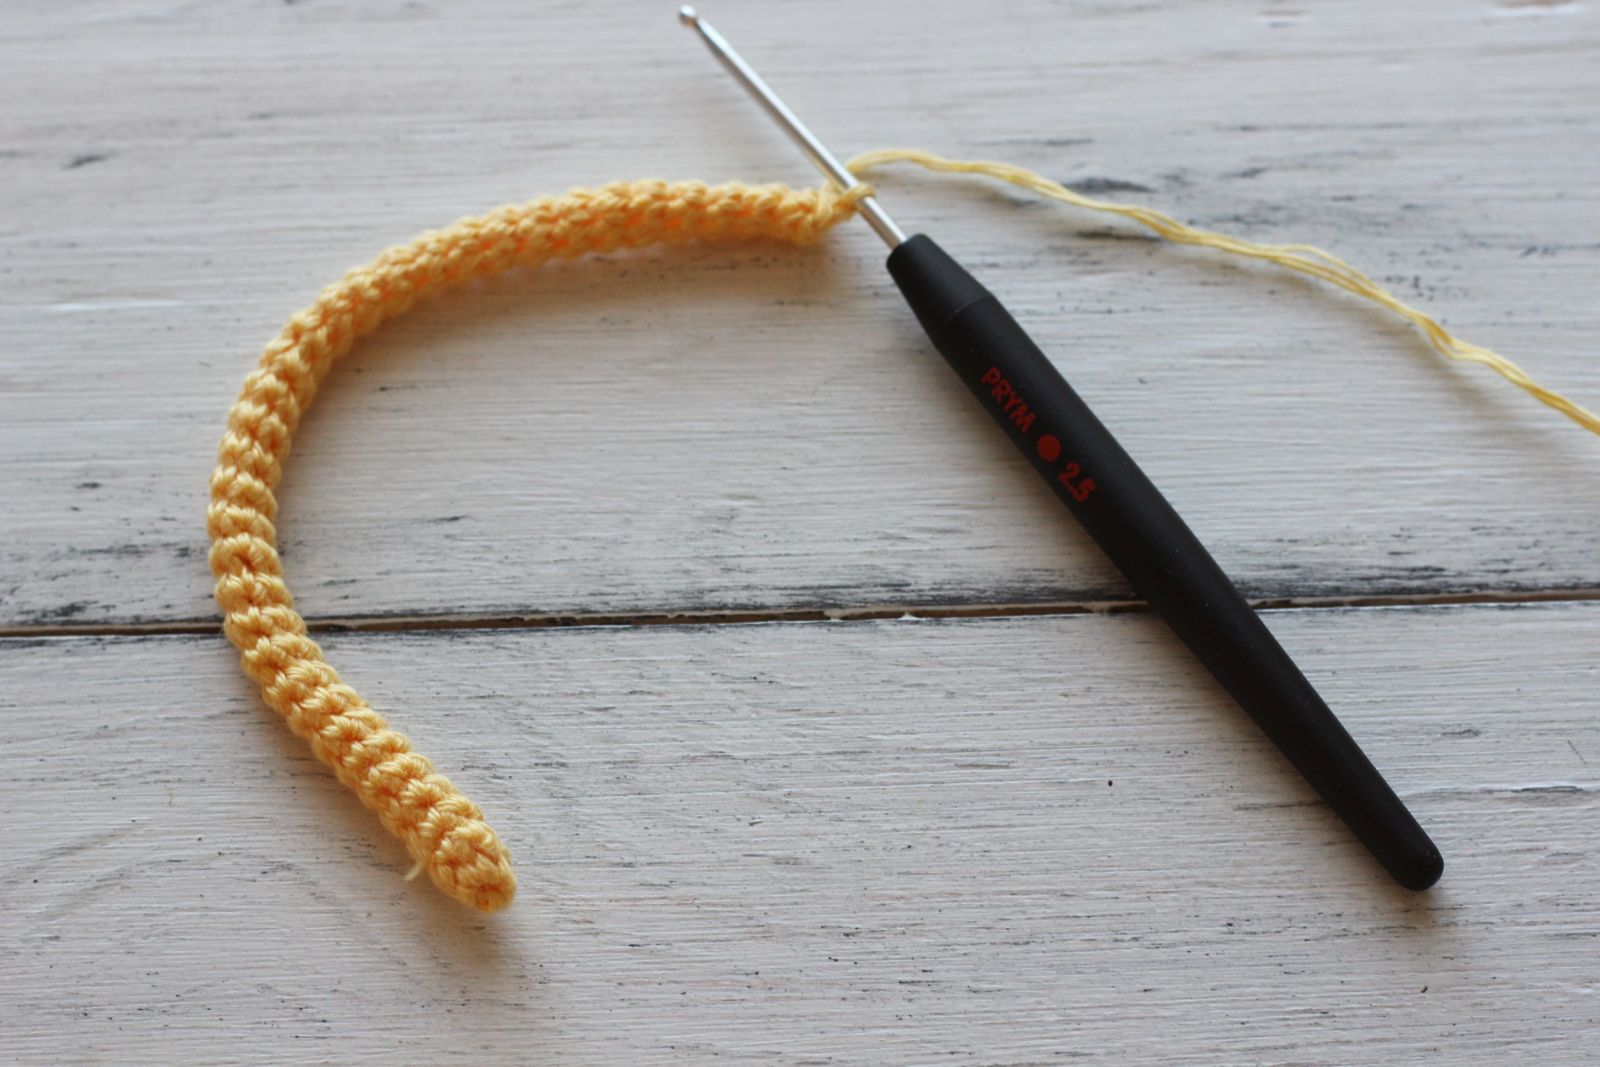
Crochet hook 2,5 mm
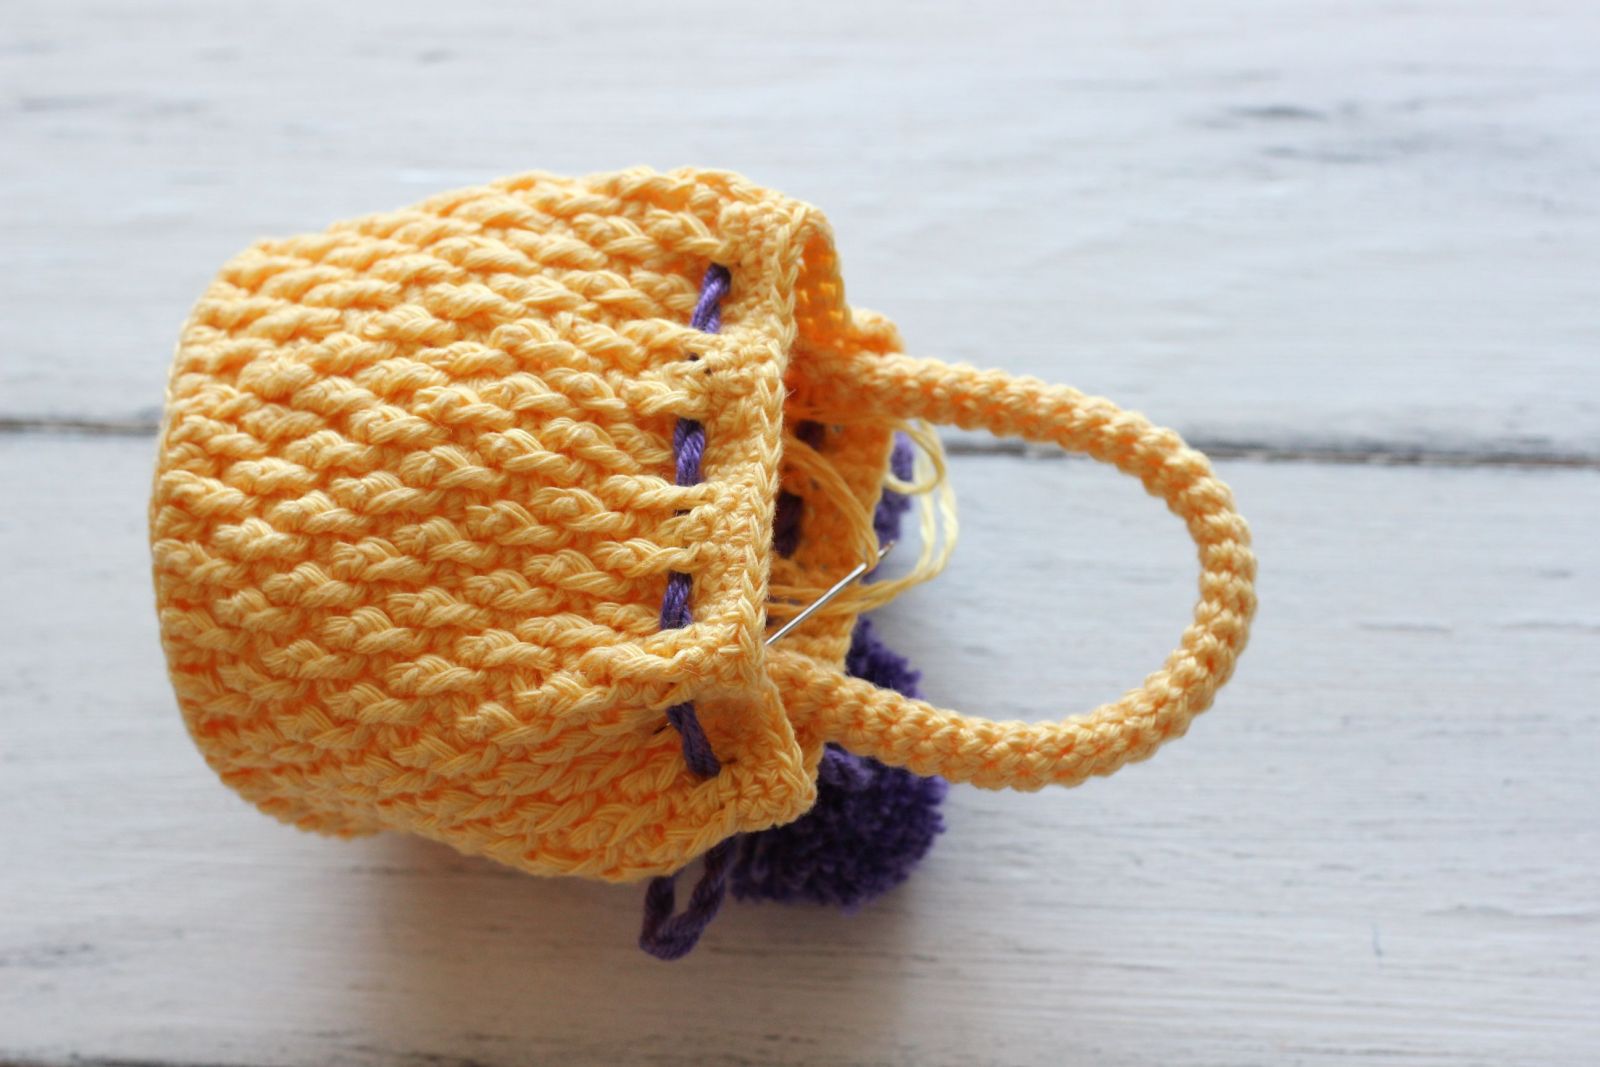
Work 6 sc into Magic Ring. Sc in each of next 6 sts around until the handle reaches approx 15 cm. You can make it longer or shorter, as desired.
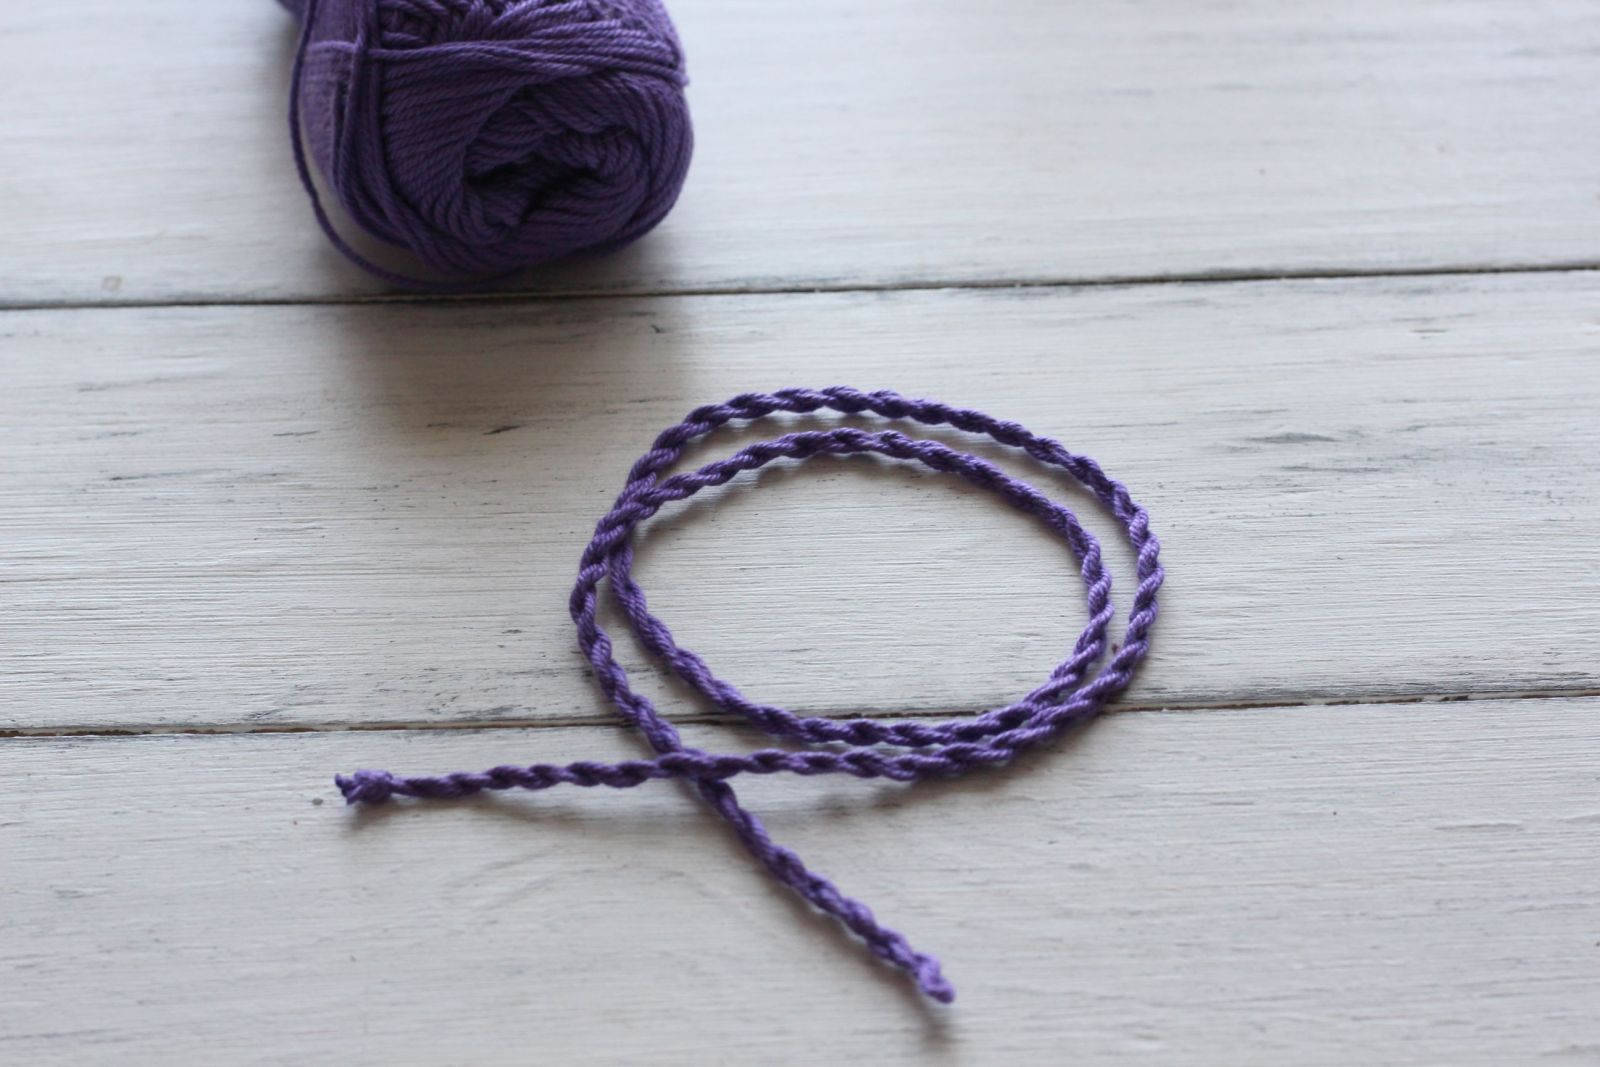
Make a twisted cord ca 40 cm long. You can just chain some stitches but a twisted cord is basically an easy way to make ordinary yarn stronger, thicker and firmer.
First you take a length of yarn approximately twice the length you want your cord to be and fold in half. Start by stretching the yarn out to its full length (still folded in half) and begin twisting in the same direction. Continue to twist consistently in the same direction. As you go, the yarn will tighten up and begin to look more like one piece instead of several strands of yarn being twisted together. The more you twist the yarn, the tighter the cord will be. When you have finished twisting bring the two ends together and the yarn will twist around itself. Finish your twisted cord by threading the yarn ends through the loop and tie it all into a neat little knot. The result is a sturdy thick cord.
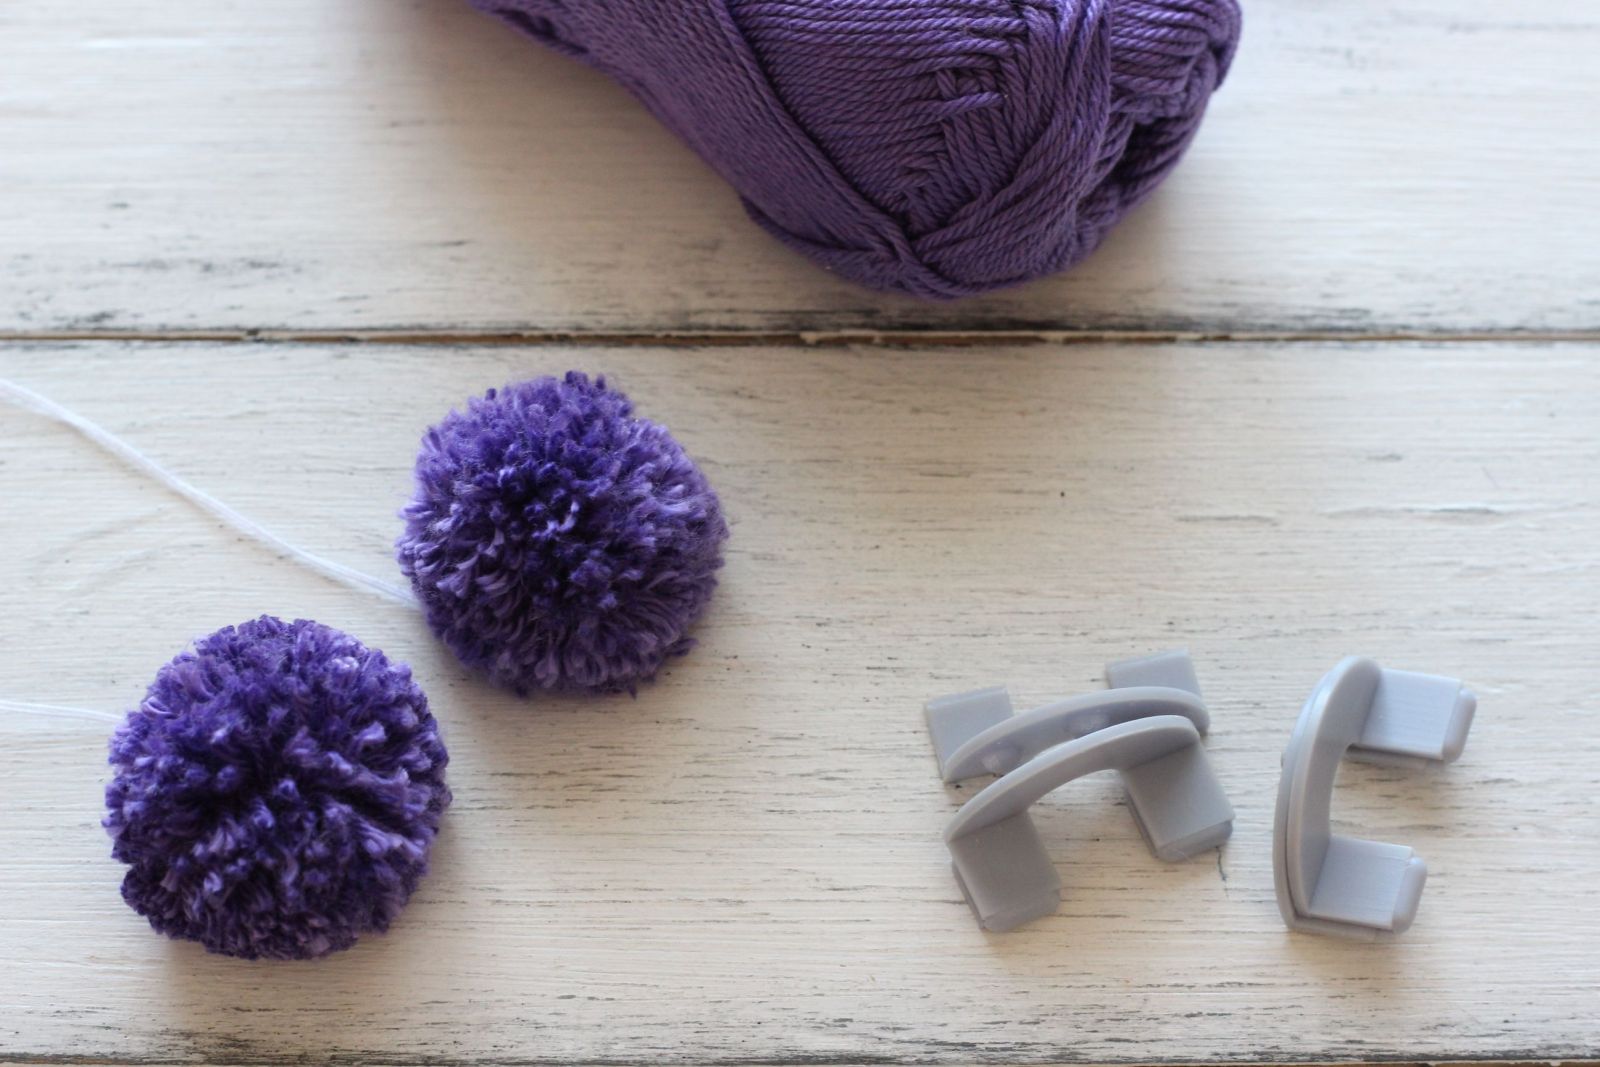
Make a pompom
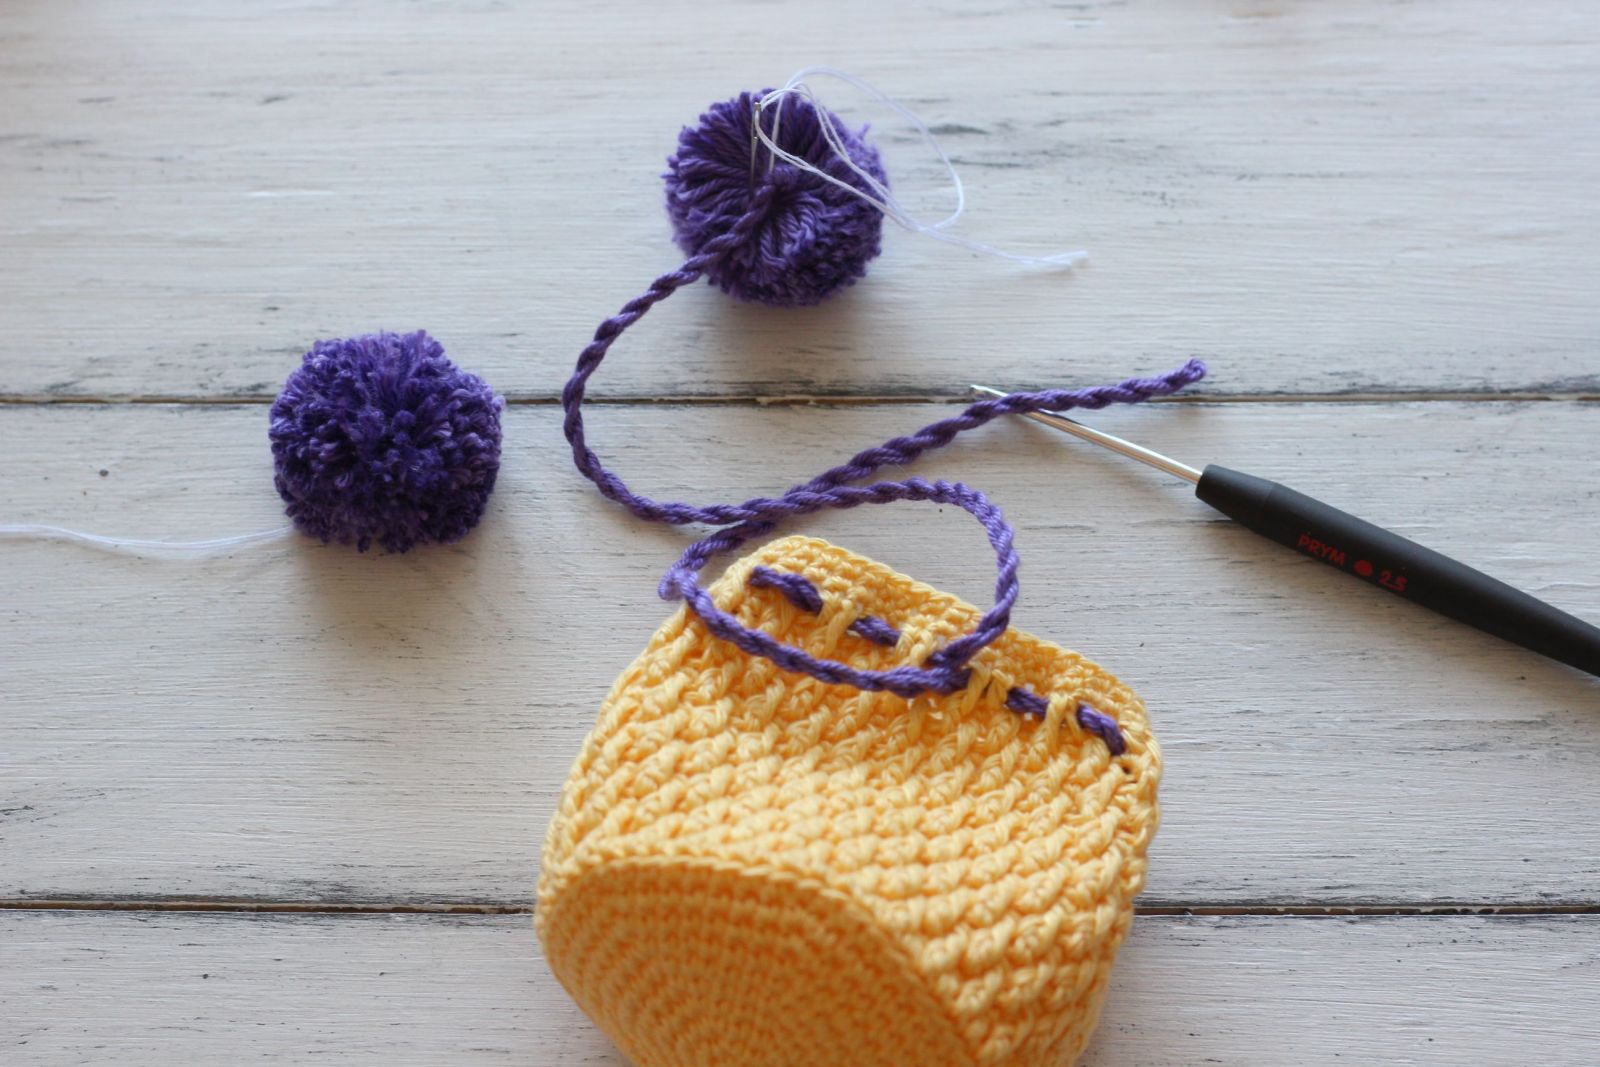
Weave cord or crochet chain through spaces between dc´s of the last round and sew pompons to the cord.
Sew handle to the bag. Weave in all ends. Decorate as desired.
Ready! Happy Crocheting!
I hope you enjoyed this free crochet pattern. Please, do not hesitate to contact me if you need any help or support.
Kindly, Tanya
.JPG)
