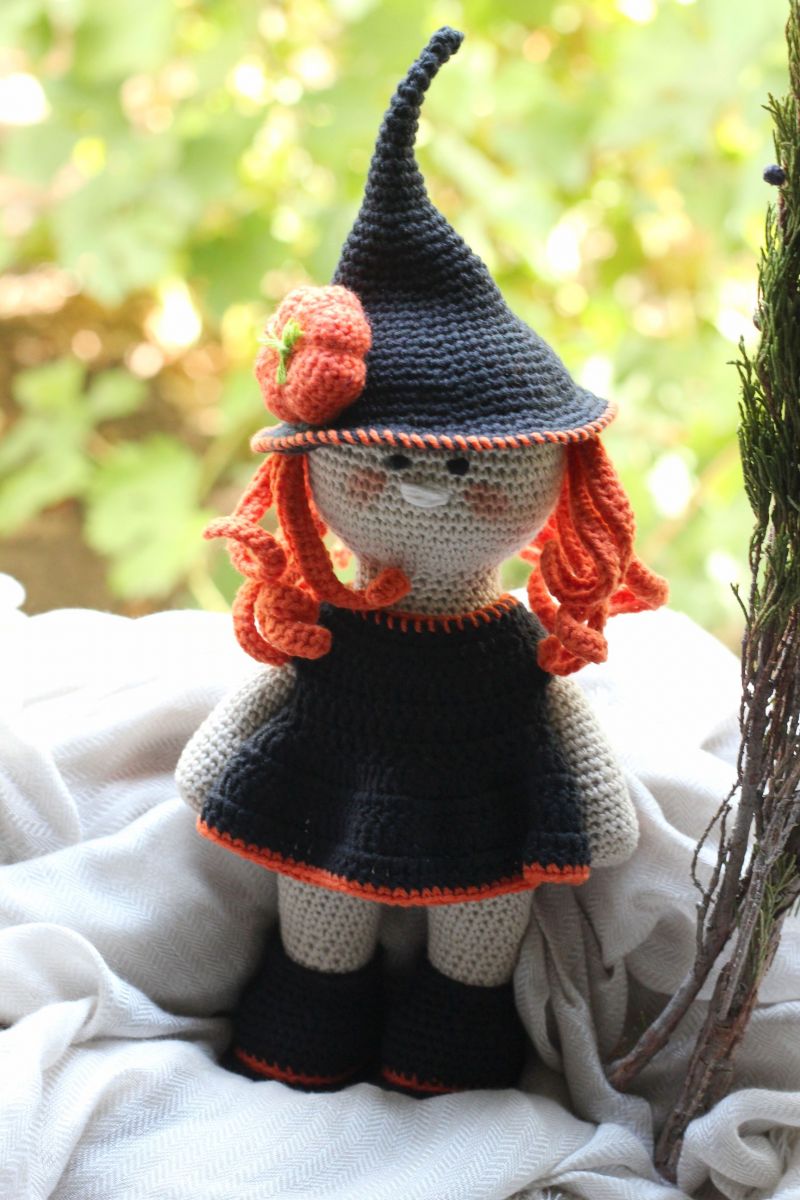
An adorable set for your witch doll. The booties are really nice and comfortable for summer and spring. The dress is worked in a single piece from the top-down. The work begins at bodice and continues down to legs. This hat makes a great halloween gift for any little girl, who loves dressing her doll up! This set gives you a lovely summer accessory to add to your dolls wardrobe.
SUPPLIES
cotton yarn (e.g. Schachenmayr Catania 125m/50g) in three colors: beige, black and orange, a bit of green for the pumpkin, crochet hook 3 mm, Polyester fiberfill stuffing, 2 black beads, 2 buttons or Velcro fastener, scissors, yarn needle.
SKILL LEVEL
Intermediate
SIZE
The ready doll is approx. 25 cm. You can make the pattern larger (or smaller) by changing the yarn weight and/or hook size or by adding rounds
SKILLS YOU NEED
chain, single crochet, double crochet, half double crochet, slip stitch, increase, decrease
ABBREVIATIONS
Ch =chain
St = stitch
Sc =single crochet
Sl st = slip stitch
dec = decrease stitch (two single crochets together)
inc = increase stitch (two single crochets into one stitch)
Dc = double crochet
scbp = single crochet back post
Rnd = Round
TIPPS
- Do not join rounds, work in a continuous spiral.
- Use a stitch marker or a piece of yarn to mark the end or the beginning of a round
- All stitches are worked into both loops, unless stated otherwise in the pattern.
- You can use any type of yarn as long as you have a corresponding crochet hook size (check yarn label for recommendations)
- Numbers at the end of each round in parentheses ( ) = total number of stitches for that round or row.
- Please note that I use US crochet terms.
- Doll can be made in any desired colours.
SHIFT STITCH
Sometimes during a work of the spiral amigurumi, you need to keep the work symmetrically. As work tends to twist to the right you need to adjust position of the marker periodically (beginning of the round).
Shift stitch is an extra stitch you work at the end of a round to make your work look symmetrical. If you notice that marker moves right, you need to work one extra stitch in the end of the round and move marker for one stitch (now 2nd st of the round becomes 1st). this is shift stitch.
The shift stitch is not included in the round description. To check if it’s time to work shift stitch fold your work in half and check if marker still goes straight or use a yarn that marks a straight line.
You may think this is a increase, but it isn’t. This way you don’t increase or decrease the amount of stitches. The stitches count remains the same.
Seamsless way of changing color when working in the round
Pick up the new color at the end of the round: inset your hook into the stitch, yarn over the new color and pull through the stitch and the loop on your hook to complete the stitch.
Front Post Double Crochet:
Yarn over, insert your hook between the posts of the first and second stitch of the row below, and then from back to front again between the posts of the second and third stitches
Yarn over and draw the yarn around the post of the stitch. You now have 3 loops on the hook
Yarn over and draw the yarn through the 2 loops on the hook, twice.
One front post double crochet (FP dc) is complete.
INSTRUCTIONS
BOOTIES
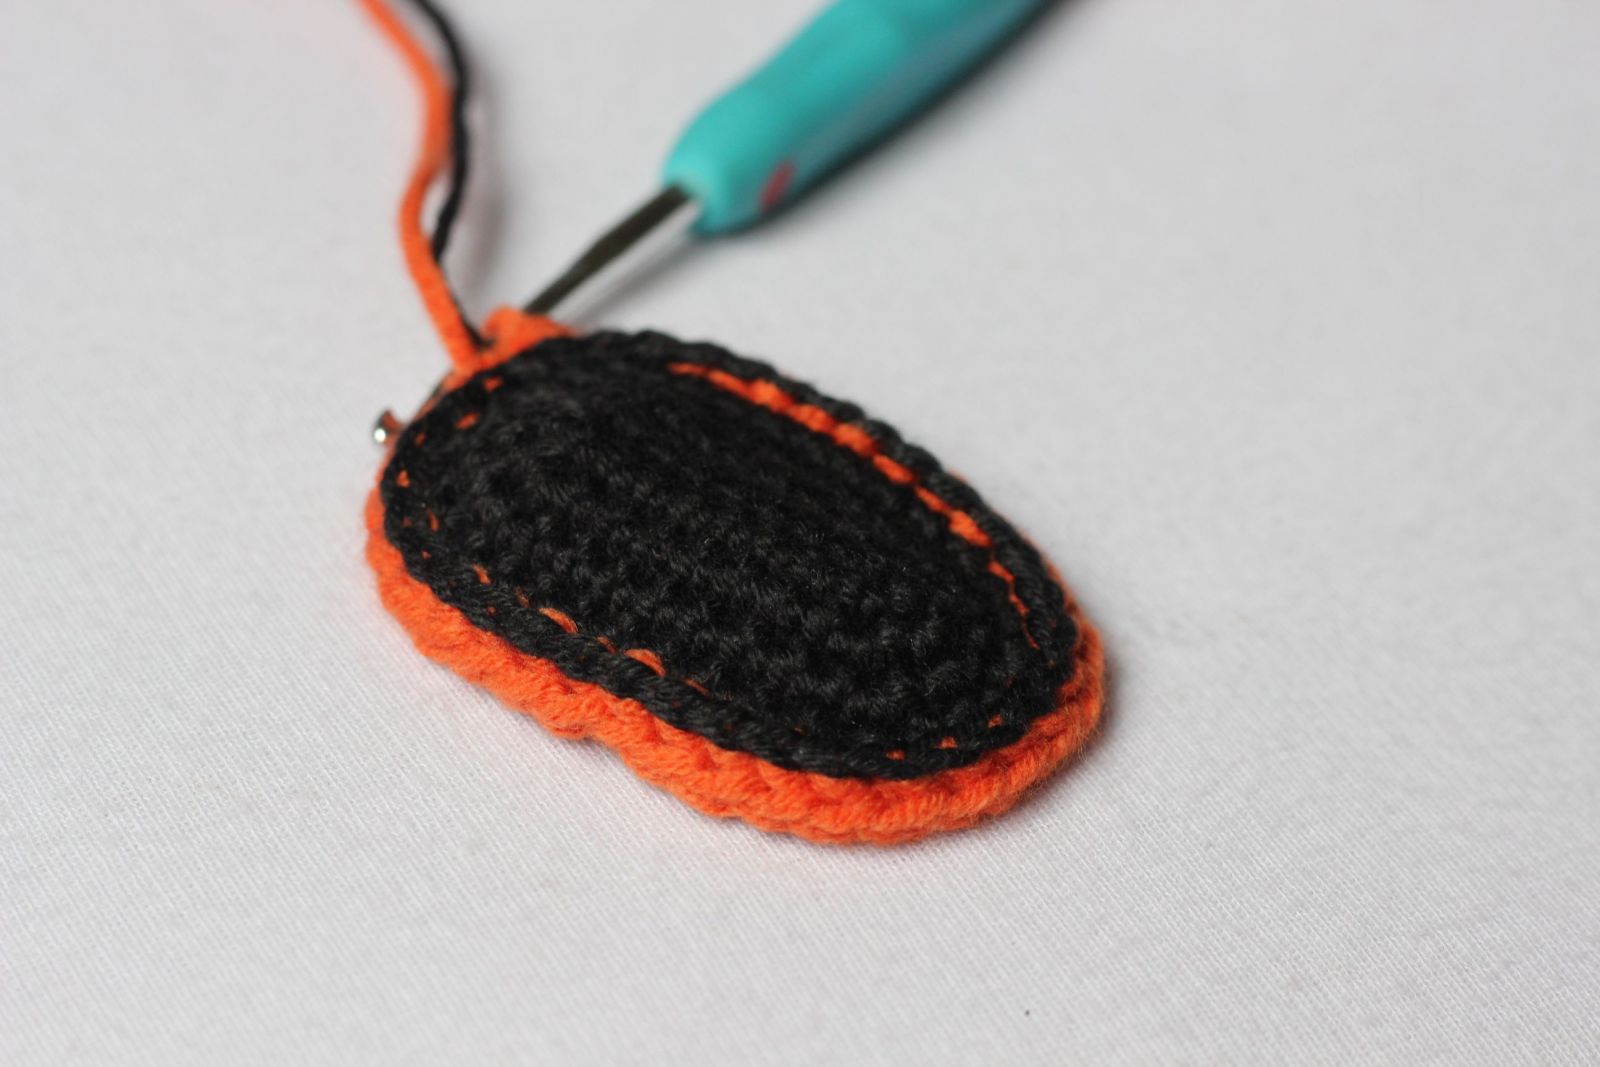
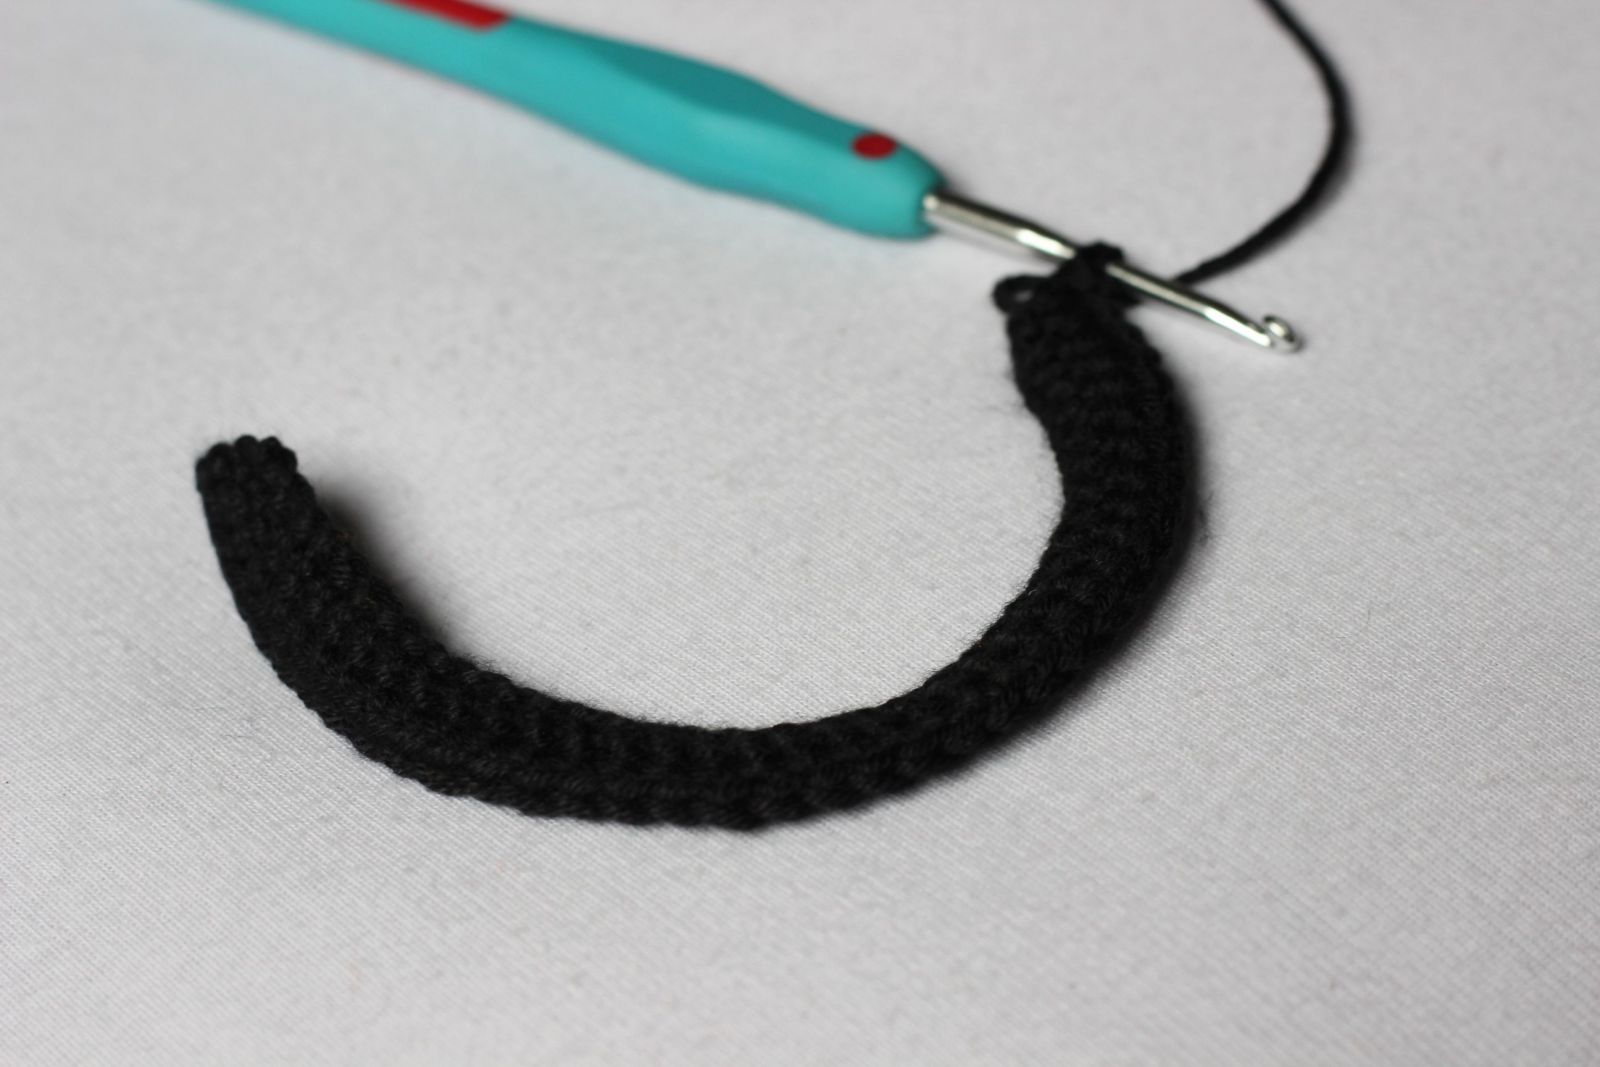
Rnd 1: ch10, sc into the 2nd st from hook and each of next 7 sts, 3 sc in next st, working in other side of foundation ch: sc in each of next 7 sts, 2 sc in next st (=20 sts)
Rnd 2: 2 sc in each of next 2 sts, sc in each of next 6 sts, 2 sc in each of next 3 sts, sc in each of next 8 sts, 2 sc in next st (=26 sts)
Rnd 3: sc in each of next 2 sts, 2 sc in next st, sc in each of next 8 sts, 2 sc in next st, sc in each of next 3 sts, 2 sc in next st, sc in each of next 8 sts, 2 sc in next st, sc in next st (=30 sts)
Rnd 4: sc in next st, 2 sc in next st, sc in each of next 10 sts, 2 sc in next st, sc in each of next 3 sts, 2 sc in next st, sc in each of next 10 sts, 2 sc in next st, sc in each of next 2 sts, sl st (=34 sts)
Change the color
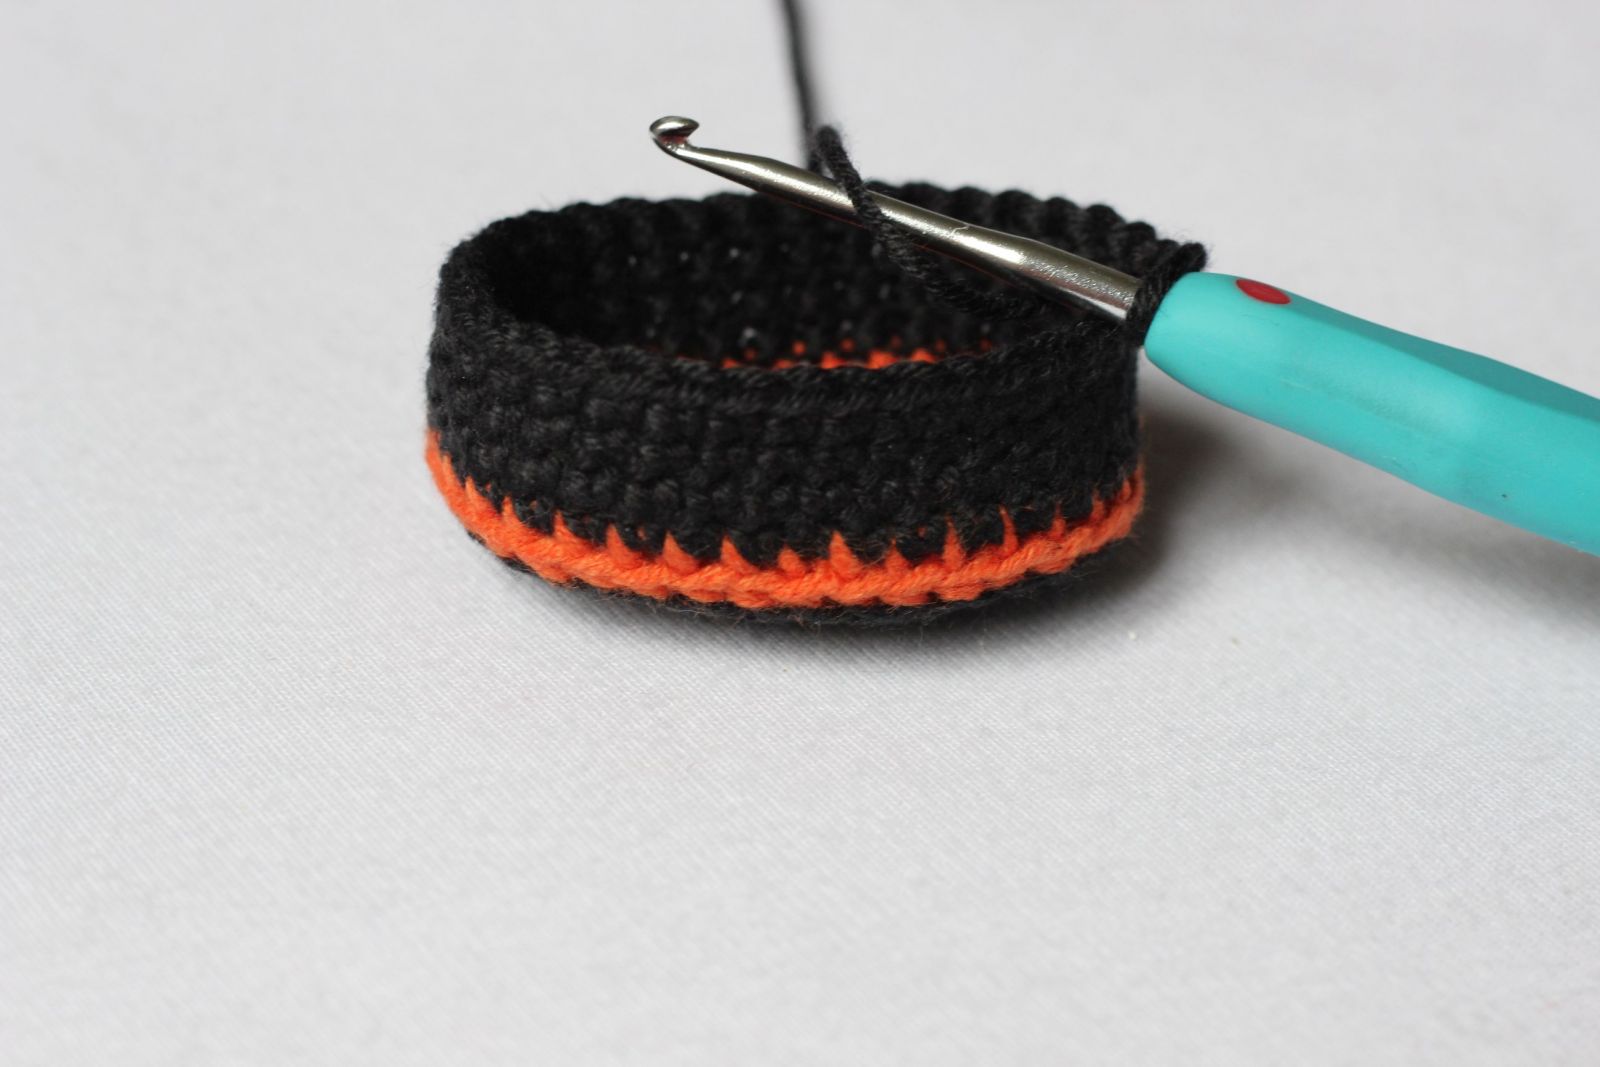
Rnd 5: scbp worked into each of the next st around.
Change the color
Rnd 6-9 (working into the back loop): sc in each of next stitch around
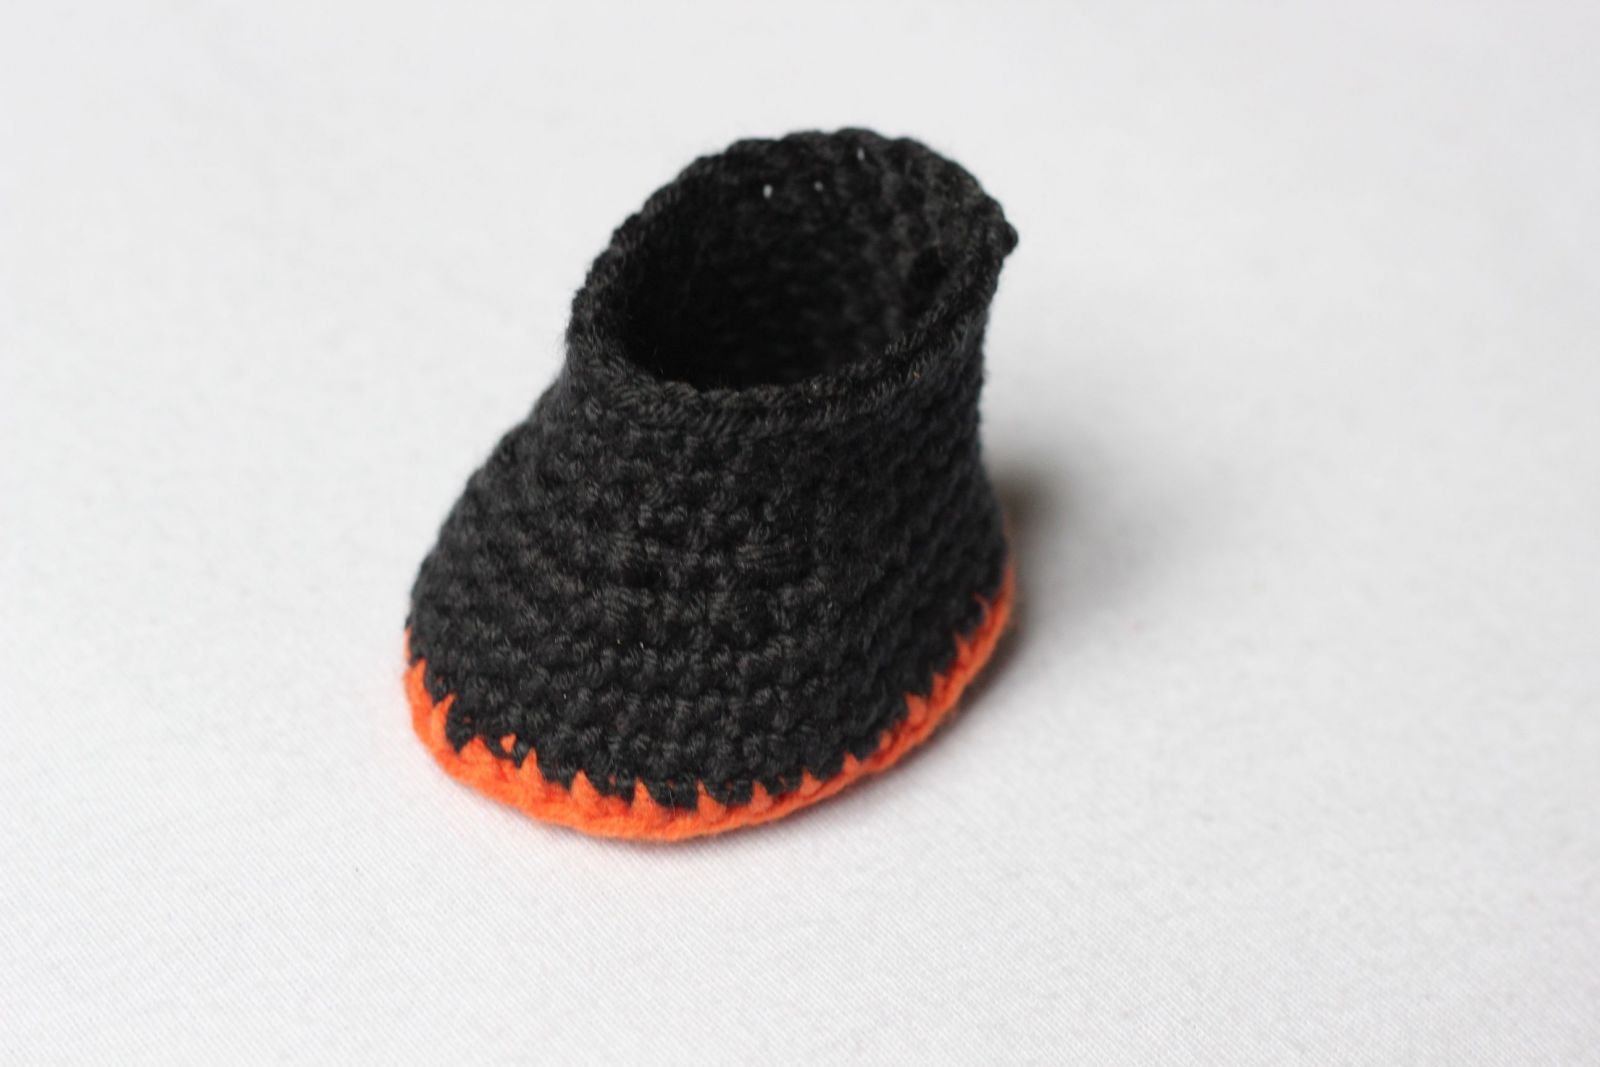
Rnd 10: ch1, sc in each of next 8 sts, *dec, sc in next st* 3 times, sc in each of next 2 sts, *sc in next st, dec* 3 times, sc in each of next 6 sts (=28 stitches)
Rnd 11: sc in each of next 5 sts, *dec, sc in next st* 6 times, sc in each of next 7 sts (24 stitches)
Rnd 12-14: sc in each of next stitch around.
Bind off.
All around the sole work one round in sc´s. Bind off.
DRESS
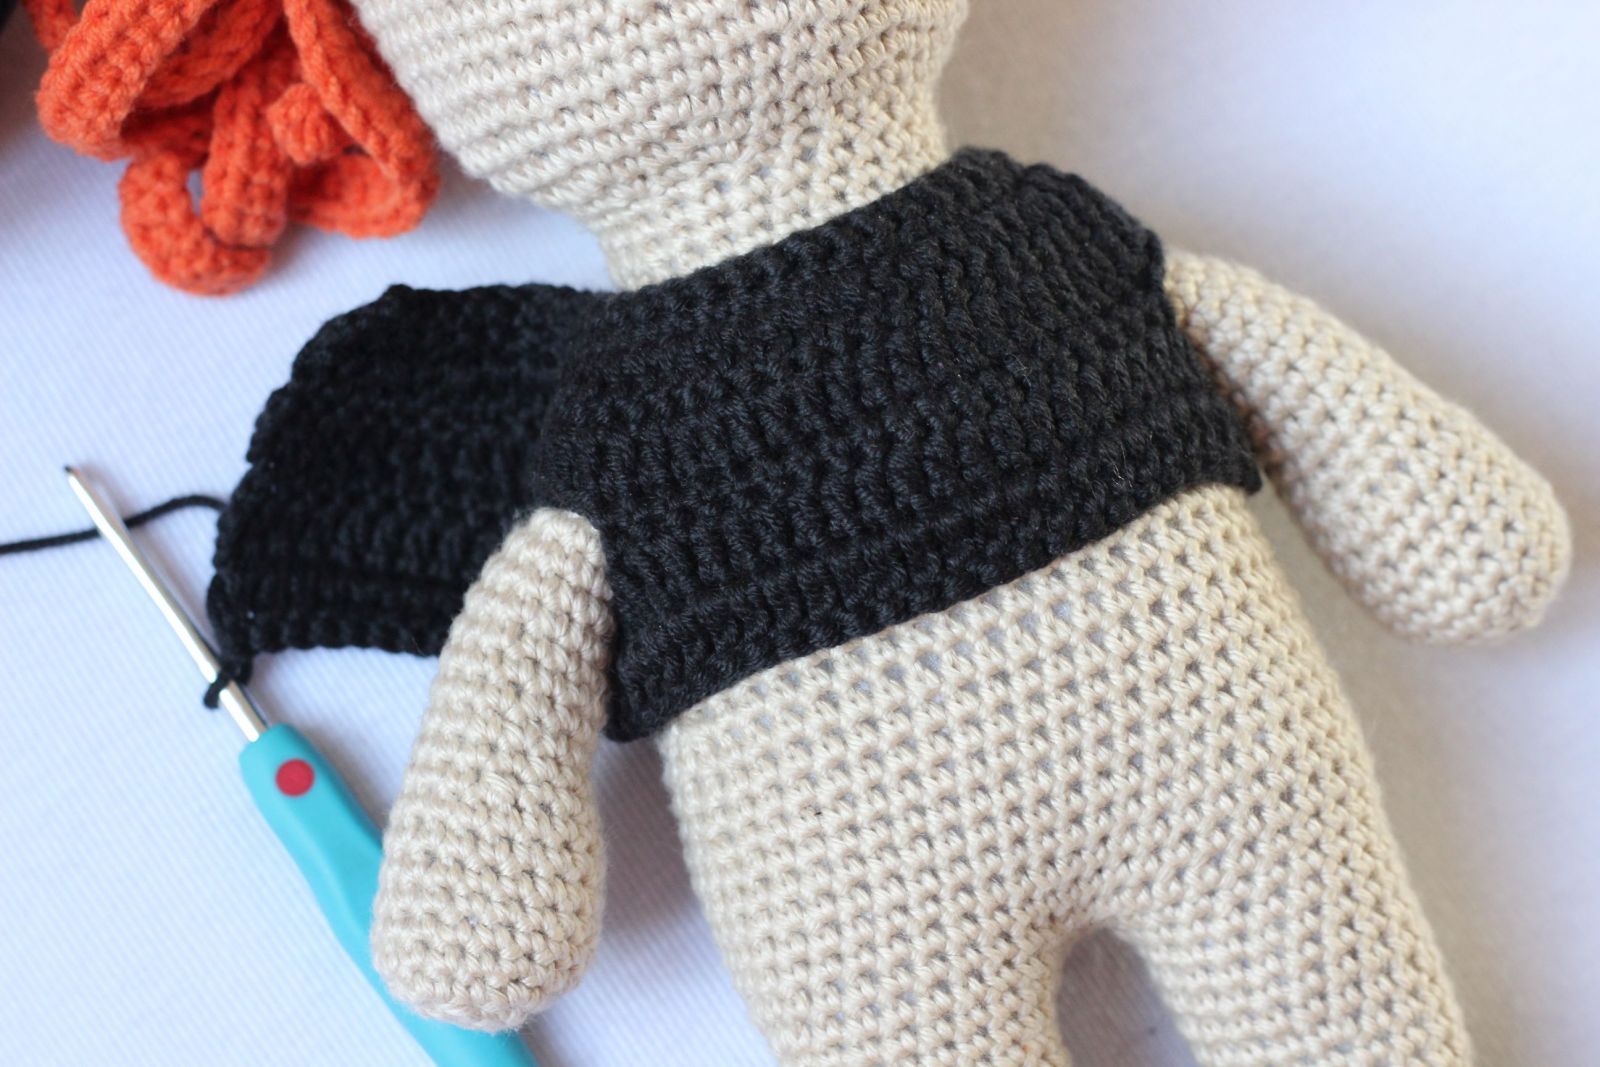
The dress is worked in a single piece from the top-down. The work begins at bodice and continues down to legs. Start with black color yarn.
Chain 38 stitches.
Row 1: sc in each of next 37 sts, turn the work.
Row 2: chain 1, sc in the same st as chain and each of next 37 sc, turn the work.
Row 3: chain 3 stitches (counts as 1 dc), *dc in the next stitch, 2 dc into the next st*, repeat from* to* till the end of row, dc into the last stitch, turn the work.
Row 4: dc in each of next 55 dc, turn the work.
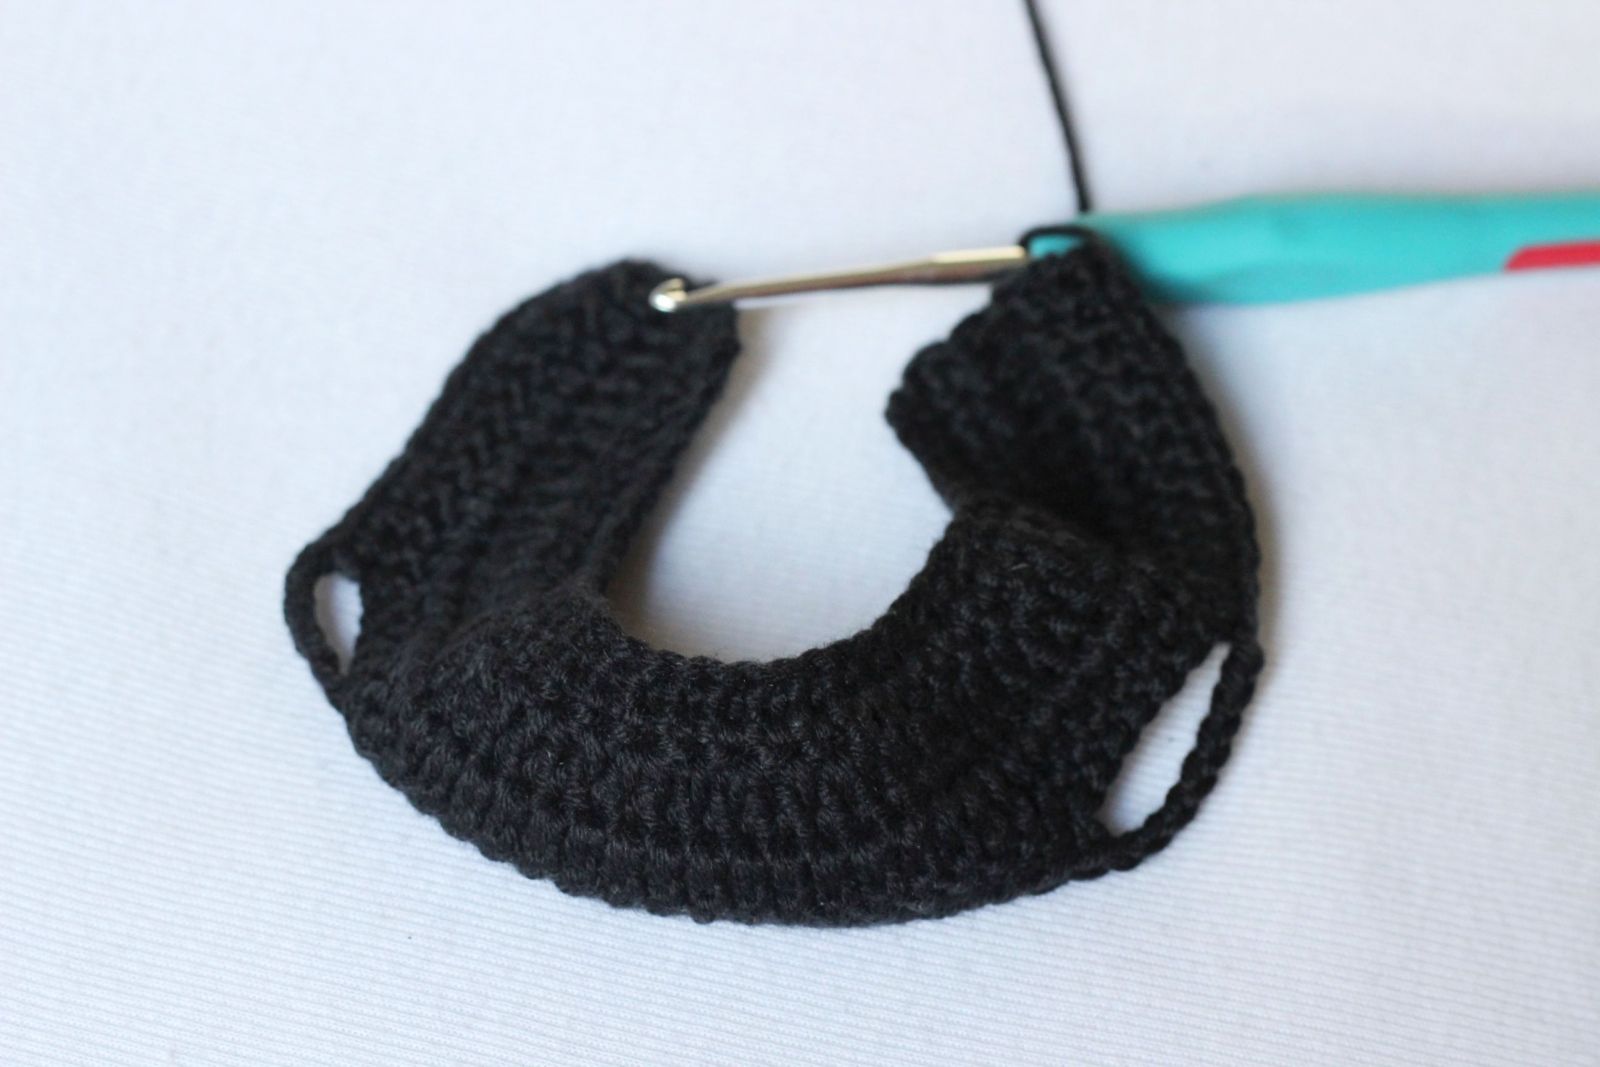
Row 5: chain 1 stitch, sc in the same stitch as chain and each of next 11 stitches (back), cast on 8 stitches, then skip next 6 sts (armhole), sc in each of next 19 stitches (front), cast on 8 stitches, then skip next 6 sts (armhole), sc in each of next 12 sts (back), turn the work.
Rows 6-7: dc in each of next stitch till the end of row, turn the work.
Row 8: chain 3 stitches (counts as 1 dc), dc in the same st as chain, 2 dc in each of next stitch till the end of row, turn the work.
Row 9: ch 5 (counts as 1 dc), dc in each of next stitche till the end of the row, turn.
Change the color
Work one row in sc´s all around the dress. Bind off.
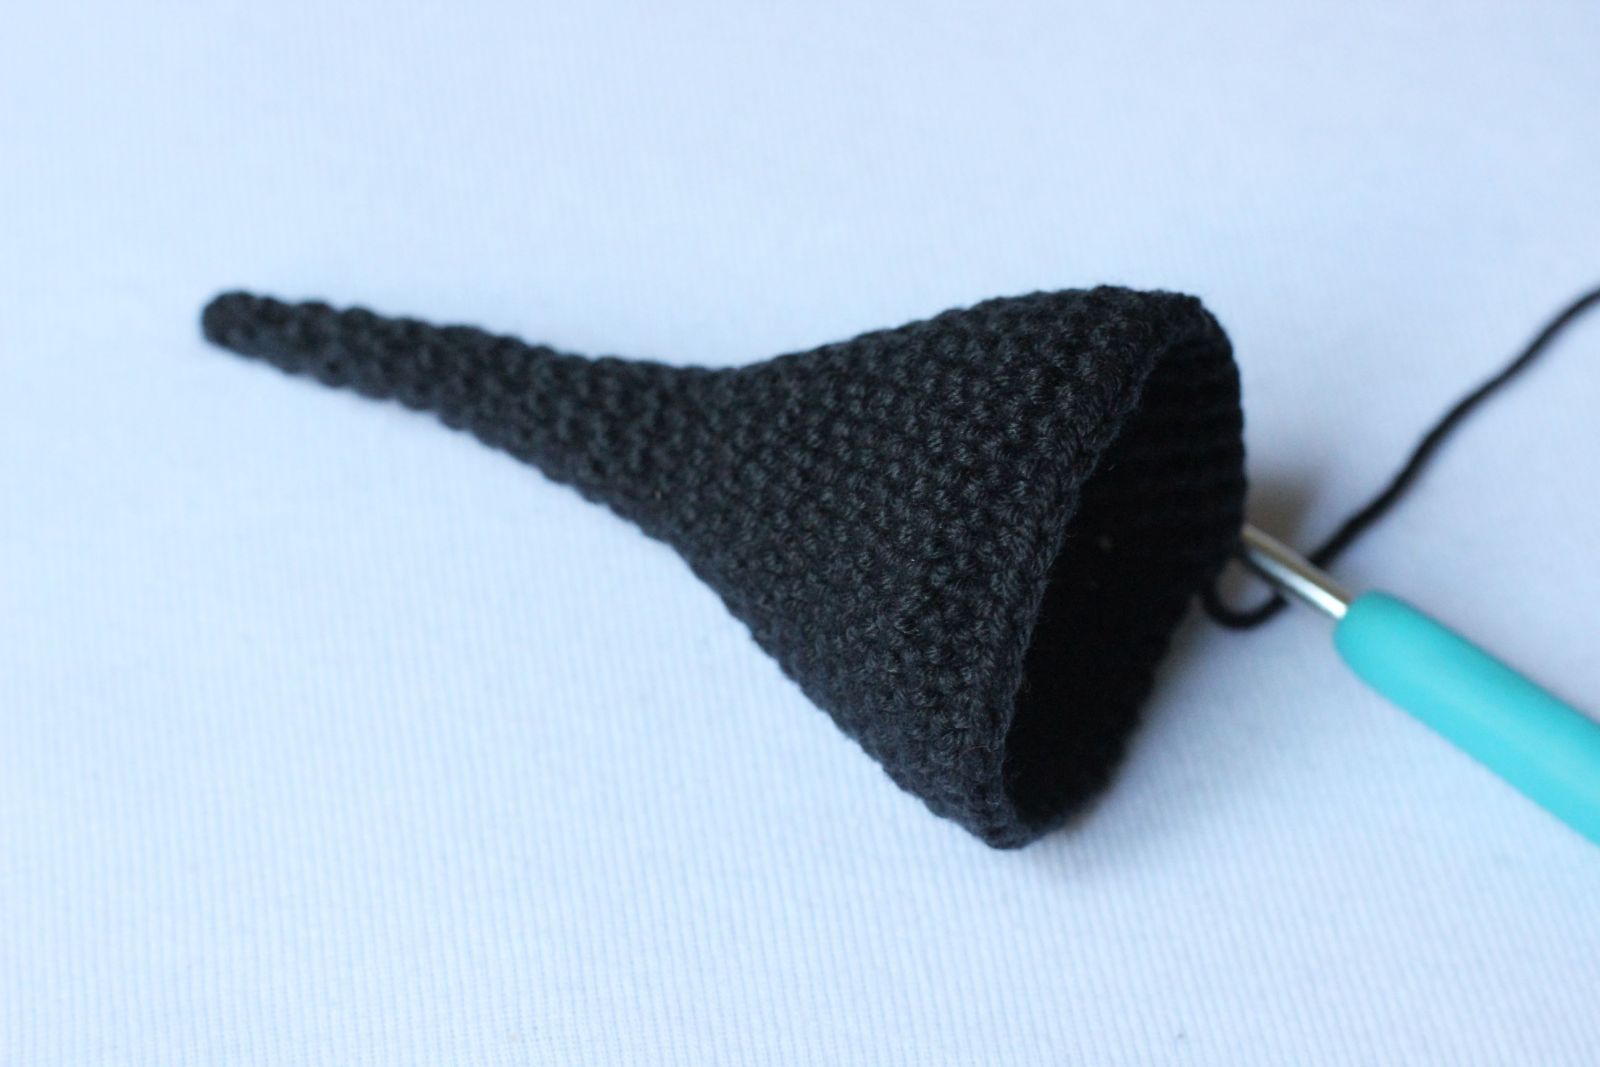
HAT
Work with black color yarn.
Rnd 1: 4 sc into Magic Ring.
Rnd 2-3: sc in each of next 4 sts.
Rnd 4: *sc in next st, inc* (6 sts)
Rnd 5-6: sc in each of next 6 sts.
Rnd 7: *sc in each of next 2 sts, inc* (8 sts)
Rnd 8-9: sc in each of next 8 sts.
Rnd 10: *sc in each of next 3 sts, inc* (10 sts)
Rnd 11-12: sc in each of next 10 sts.
Rnd 13: *sc in each of next 4 sts, inc* (12 sts)
Rnd 14-15: sc in each of next 12 sts.
Rnd 16: *sc in next st, inc* (18 sts)
Rnd 17: sc in each of next 18 sts.
Rnd 18: *sc in each of next 2 sts, inc* (24 sts)
Rnd 19-20: sc in each of next 24 sts.
Rnd 21: *sc in each of next 3 sts, inc* (30 sts)
Rnd 22-23: sc in each of next 30 sts.
Rnd 24: *sc in each of next 4 sts, inc* (36 sts)
Rnd 25-26: sc in each of next 36 sts.
Rnd 27: *sc in each of next 5 sts, inc* (42 sts)
Rnd 28: sc in each of next 42 sts.
Rnd 29: *sc in each of next 6 sts, inc* (48 sts)
Rnd 30: sc in each of next 48 sts.
Rnd 31: *sc in each of next 7 sts, inc* (54 sts)
Rnd 32: sc in each of next 54 sts.
Rnd 33: *sc in each of next 8 sts, inc* (60 sts)
Rnd 34: sc in each of next 60 sts.
Rnd 35 (working into the front loop): *sc in each of next 2 stitches, 2 sc into the next stitch*, repeat from* till the end of the round.
Rnd 36-37: sc in each of next stitch till the end of the round.
Bind off leaving a long tail for sewing hat to the head of the doll.
Change the color
Work on round in sc´s all around the hat. Bind off.
PUMPKIN
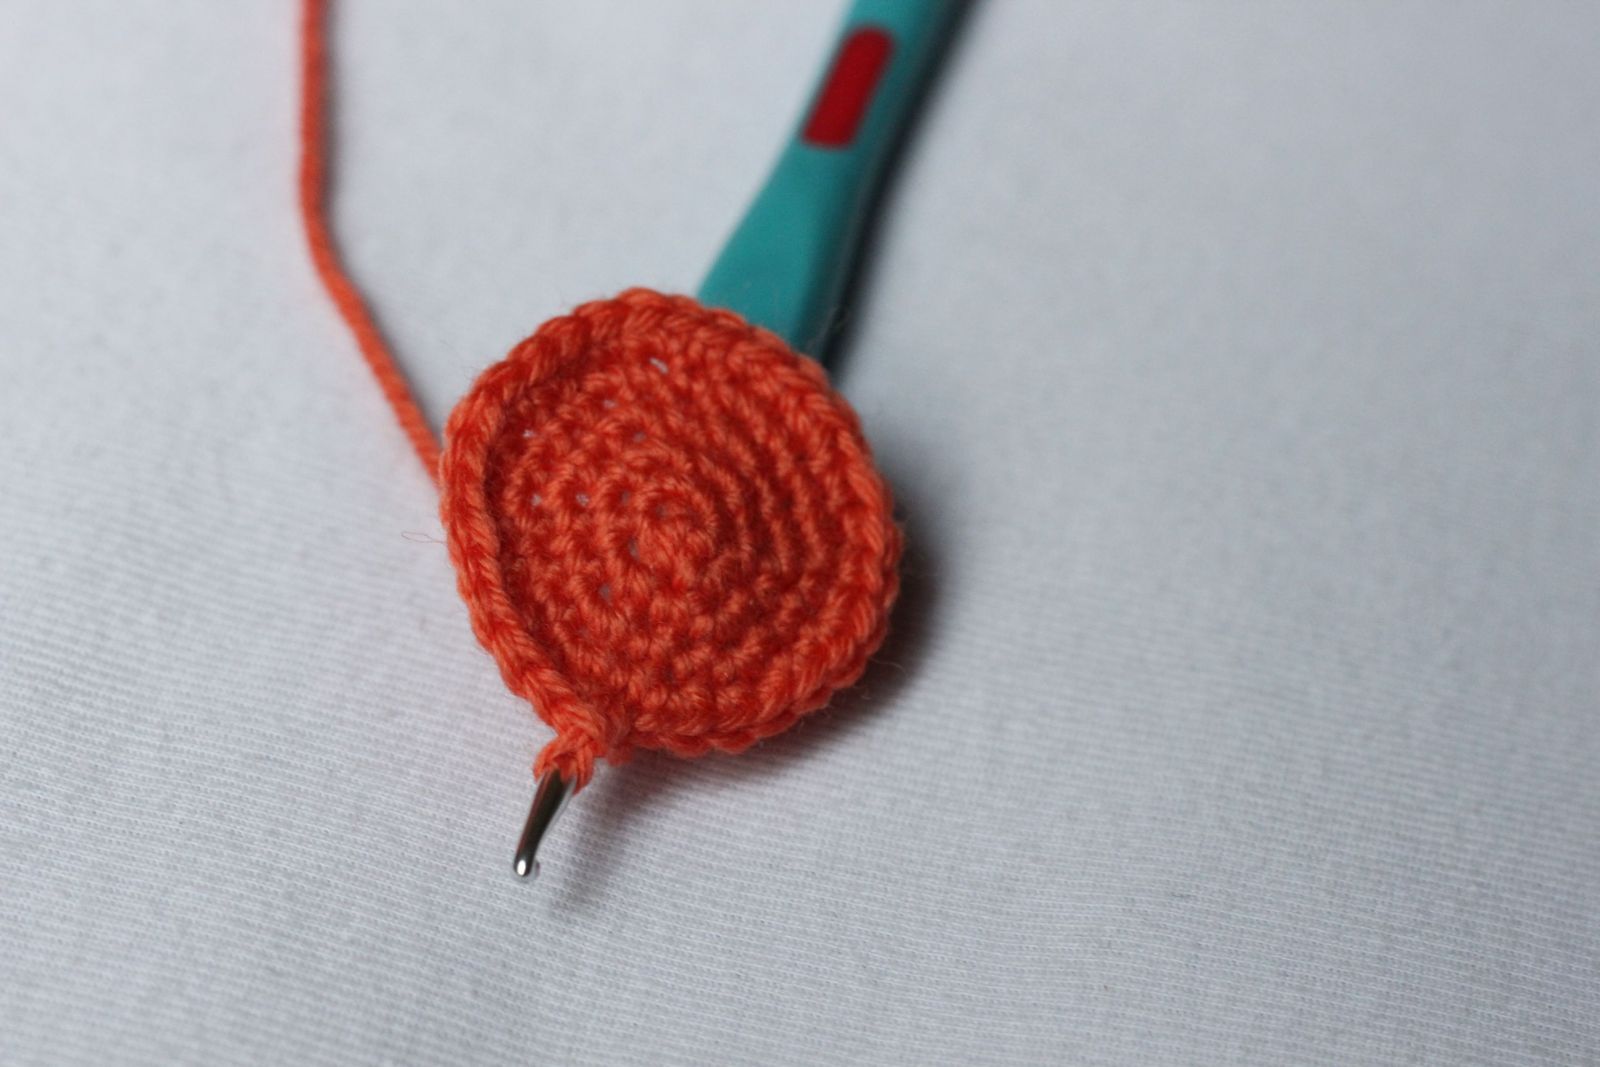
Rnd 1: 6 sc into Magic Ring / 6 stitches
Rnd 2: inc 6 times / 12 stitches
Rnd 3: *sc in next st, inc* / 18 stitches
Rnd 4: *sc in each of next 2 sts, inc* / 24 stitches
Rnd 5: *sc in each of next 3 sts, inc* / 30 stitches
Rnd 6-9: sc in each of next 30 stitches.
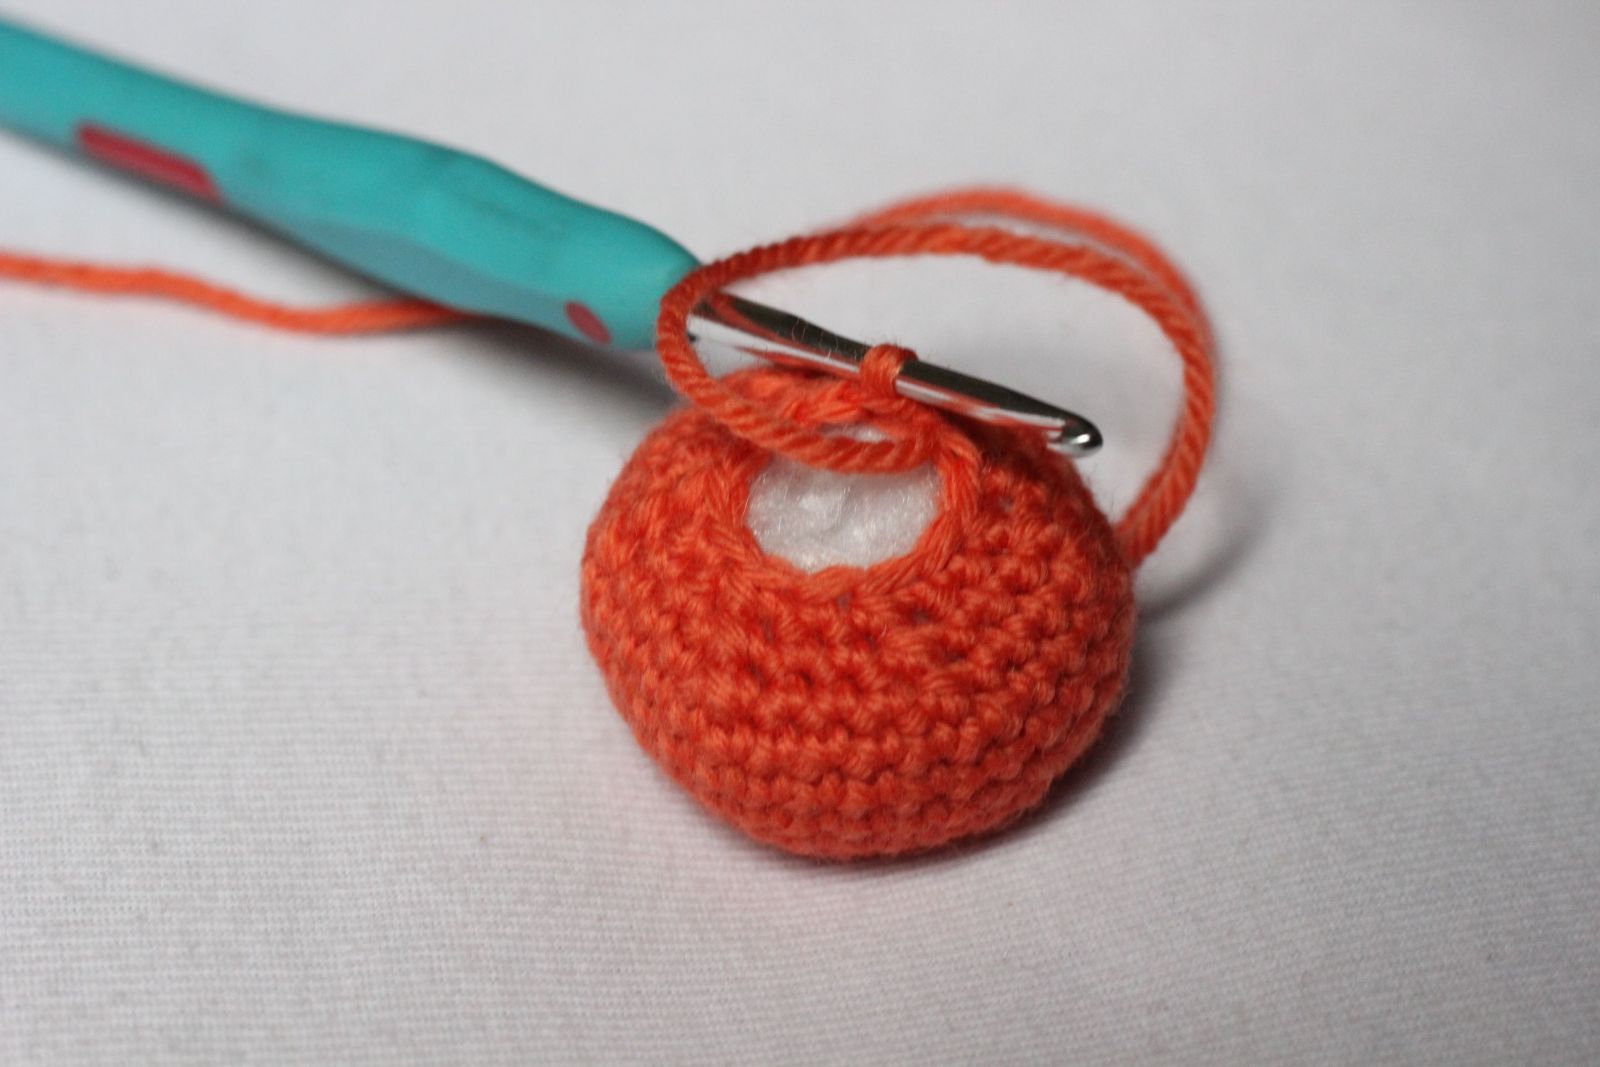
Rnd 10: *dec, sc in each of next 3 sts* (24 sts).
Stuff lightly.
Rnd 11: *dec, sc in each of next 2 sts* (18 sts)
Rnd 12: *dec, sc in next st* (12 sts).
Rnd 13: *dec*
Bind off leaving a long tail for sewing.
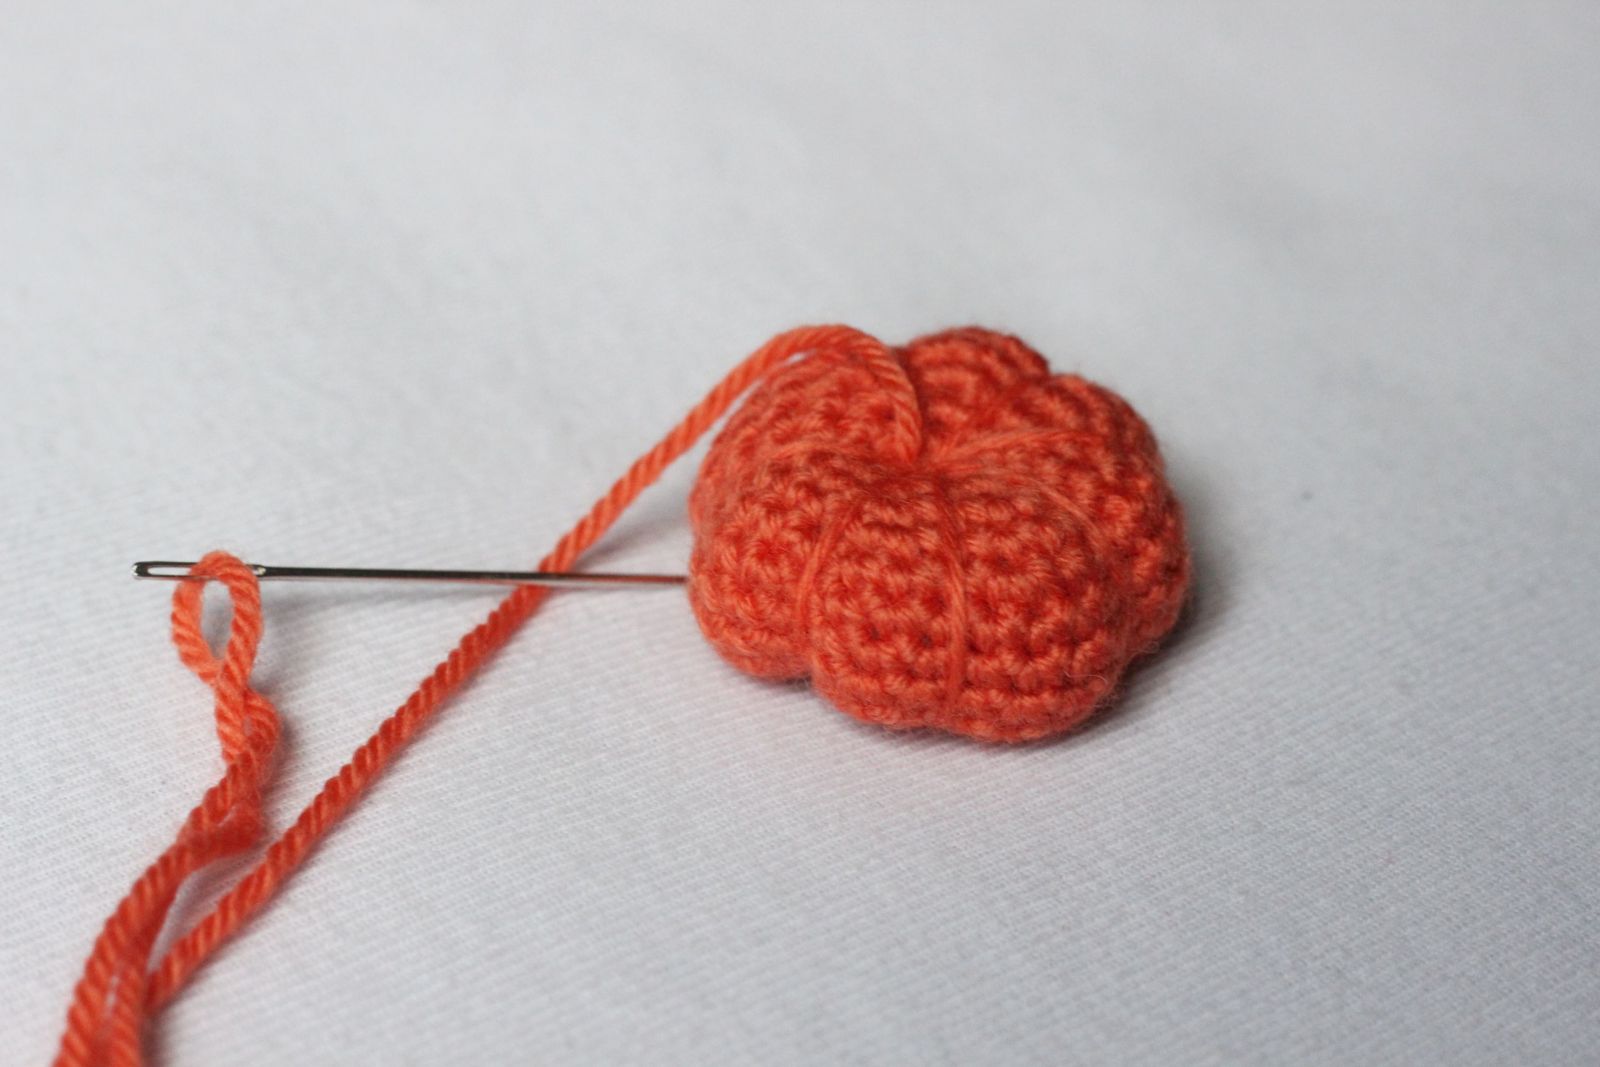
Thread your tail into the yarn needle, insert the needle in the center:
Push the needle through the center to the opposite side of your flower, pulling the yarn through the center of flower, making a dent. Continue passing through the middle of your flower, pulling and wrapping the yarn aroound the side, to make the dents.
ASSEMBLY
Sew hat to the head of the doll. Sew buttons or velcro fastener to the dress. Weave in all ends.
Happy crocheting! Feel free to contact me with any questions. Thank you for stopping by and have a lovely day!
.JPG)
.JPG)
.JPG)
.JPG)
.JPG)
.JPG)
.JPG)
.JPG)
.JPG)
.JPG)
.JPG)

.JPG)


