New Year's Alarm clock
The size of your alarm clock will depend on the yarn you use. The thicker the yarn, the bigger the toy you will get.
The height of my alarm clock is 12 cm. I used 100% acrylic yarn, 400 m/100 g, 1,5 mm crochet hook.
Materials:
You can choose yarn at your discretion, with similar color, composition and thickness. Acrylic, cotton will do. Yarn consumption depends on its thickness and a crochet hook size. My alarm clock consumed: around 10g of main colour yarn, 5g of other colours.
- Crochet hooks in two sizes. I used No.1.5 and No. 2.0;
- Hollow fibre, toy/cushion filling
- All purpose clear transparent glue, e.g. UHU
- A sewing needle, matching sewing threads
- 1 small bead
- A piece of wire approx. 2.5-3.0 mm thick and 130 cm long for the frame. The length is determined individually. Use the wire that bends easily but keeps its shape, e.g. florist wire.
- A piece of thick cardboard
- A pair of pliers
- Toothpick
Abbreviations:
ch – chain
st –stitch
sl st – slip stitch
sc – single crochet
hdc – half double crochet
inc – increase (2 sc in 1 st)
dec – decrease (single crochet two stitches together)
(...) × N times – repeat instructions in brackets N times
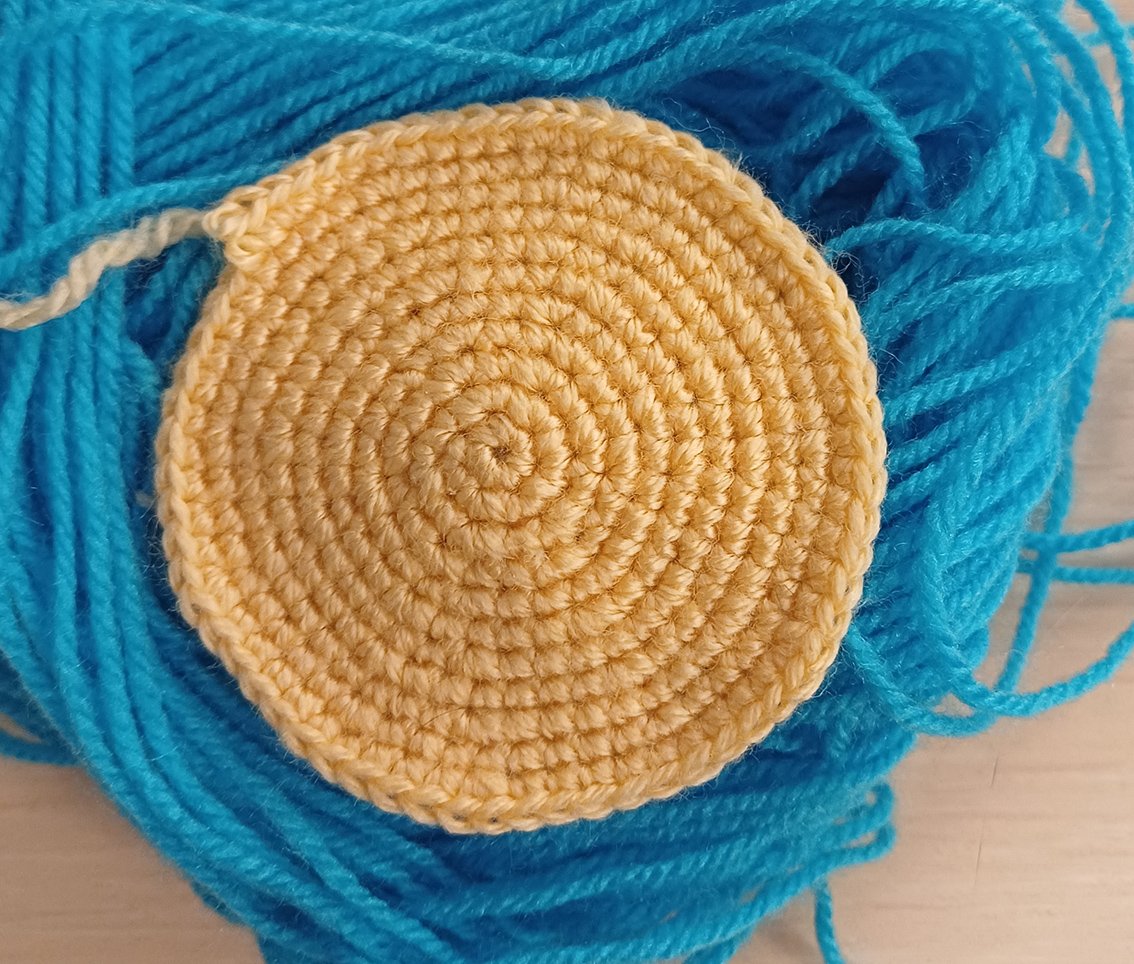
Part 1 - Clock face
Crochet with beige colour yarn.
Rnd 1. 6 sc in a Magic Ring (6)
Rnd 2. (1 inc) × 6 times (12)
Rnd 3. (1 sc, 1 inc) × 6 times (18)
Rnd 4. (1 sc, 1 inc, 1 sc) × 6 times (24)
Rnd 5. (1 inc, 3 sc) × 6 times (30)
Work 1sc, transfer your place marker here.
Rnd 6. (2 sc, 1 inc, 2 sc) × 6 times (36)
Rnd 7. (1 inc, 5 sc) × 6 times (42)
Rnd 8. (3 sc, 1 inc, 3 sc) × 6 times (48)
Rnd 9. (1 inc, 7 sc) × 6 times (54)
Rnd 10. (4 sc, 1 inc, 4 sc) × 6 times (60)
Rnd 11. (1 inc, 9 sc) × 5 times, 1 inc, 7 sc, 2 sl st (66)
Bind off, cut off any excess yarn.
Circle detail on the cardboard, cut out circle. Set aside.
Arms (make 2)
Crochet with beige colour yarn.
Rnd 1. 6 sc in a Magic Ring
Rnd 2-8 (7 rounds). 6 sc
Rnd 9. (1 sc, 2 inc) × 2 times (10)
Rnd 10. 3 sc, work 3 ch, starting from 2nd ch from hook: 2 sc - it's a thumb, continue: 6 sc, leave the last 2 stitches unworked
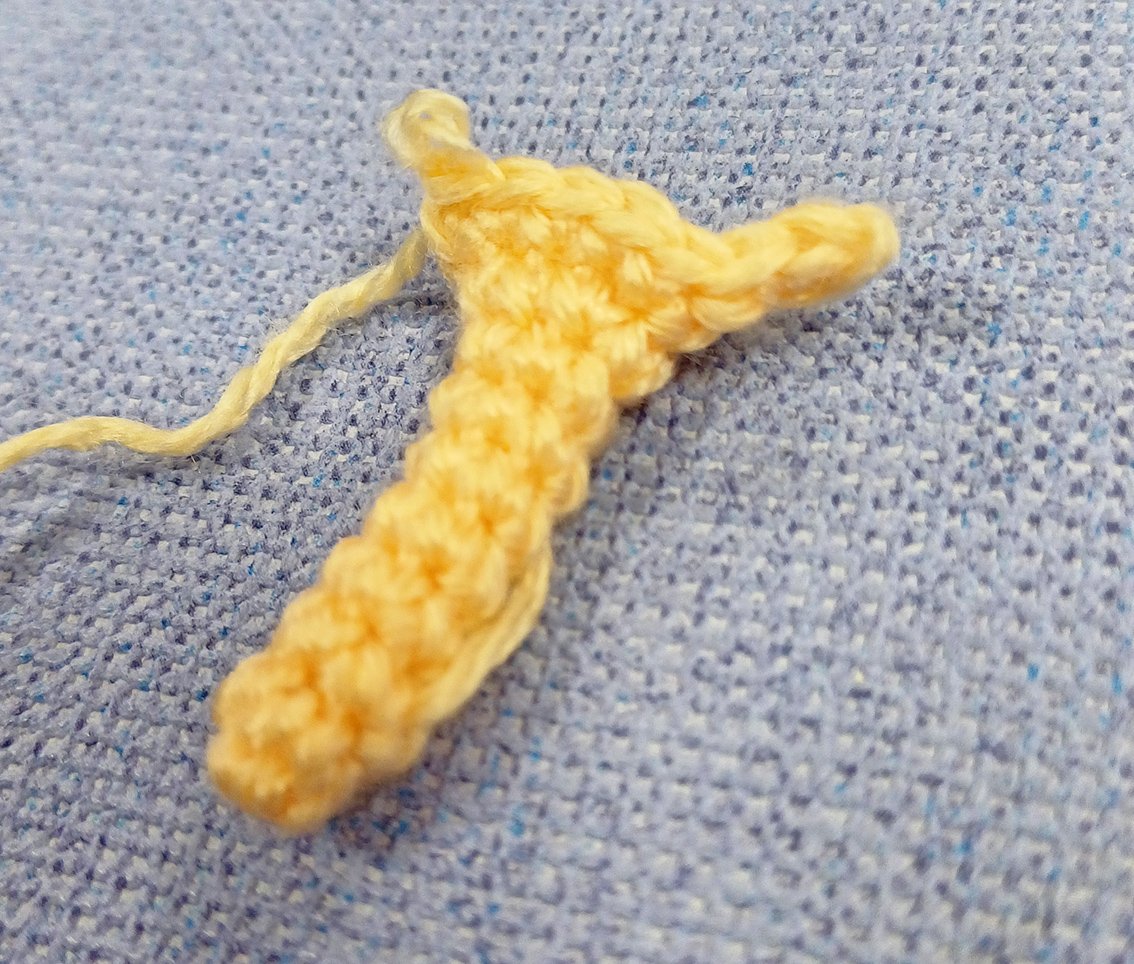
Add some hollow fiber (optional).
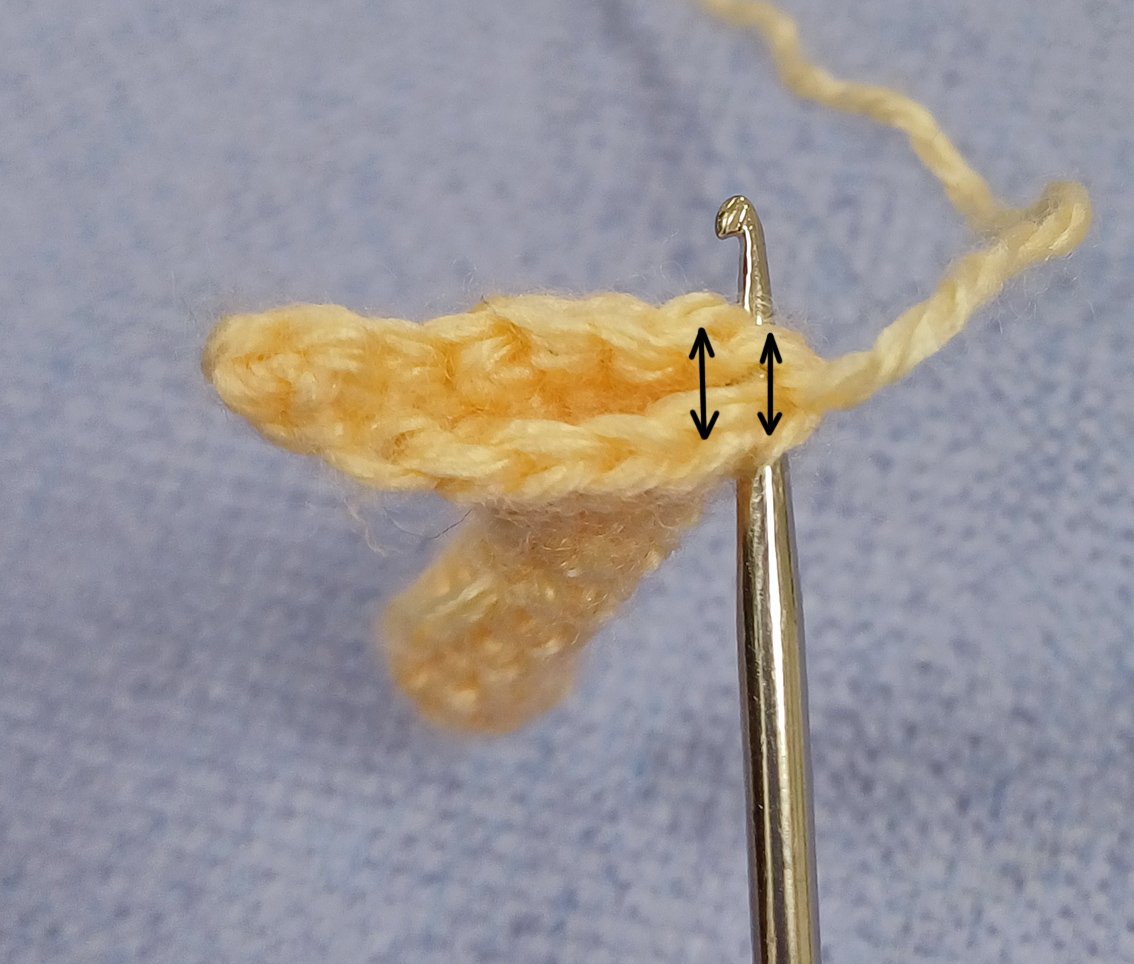
Rnd 11. Fold the part in two, work 5 sc by hooking through both edges of the part
Turn work.
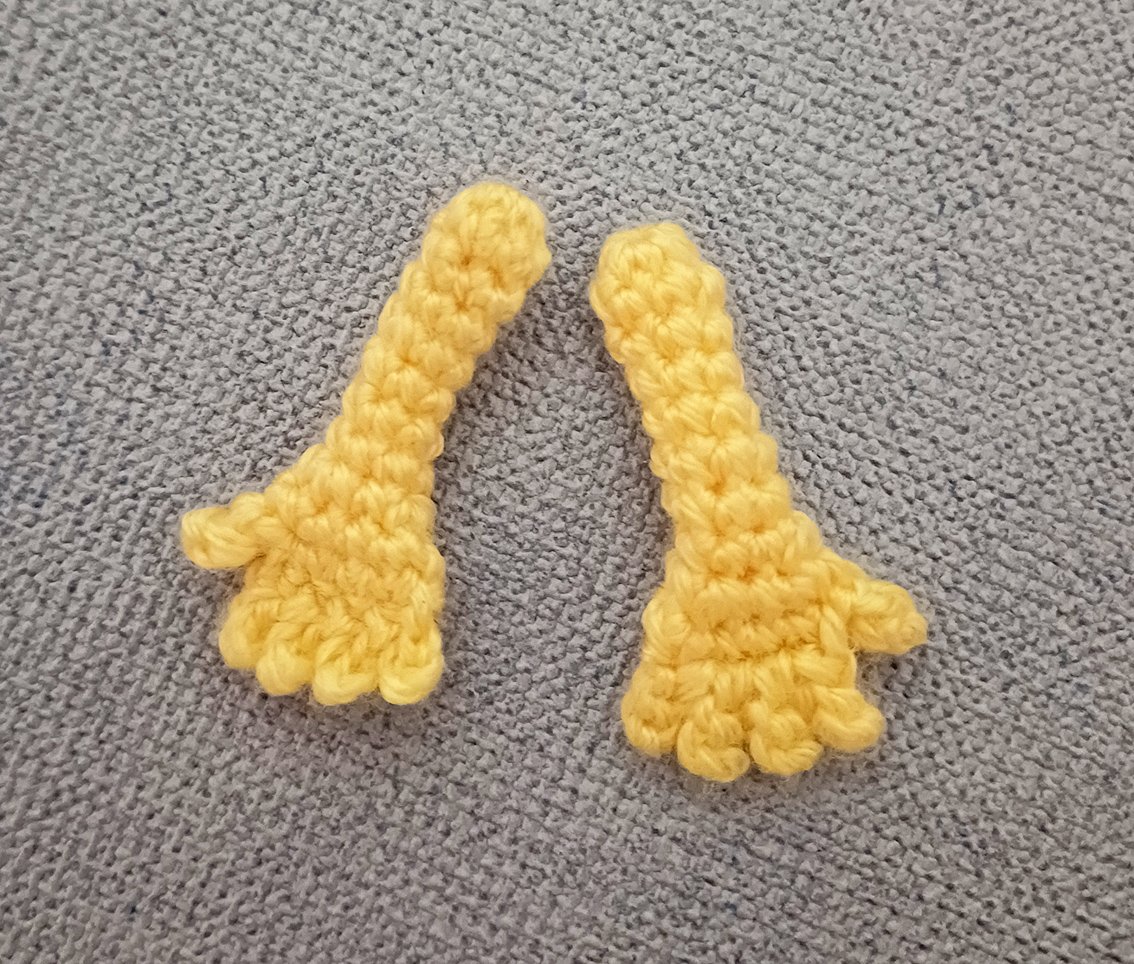
Rnd 12. Crochet fingers: 3 ch, starting from 2nd ch from hook: 2 sl st, skip 1 loop of the palm, then into the loop of the palm 1 sl st, (3 ch, starting from 2nd ch from hook: 2 sl st, continue along the main stitches: 1 sl st) × 3 times
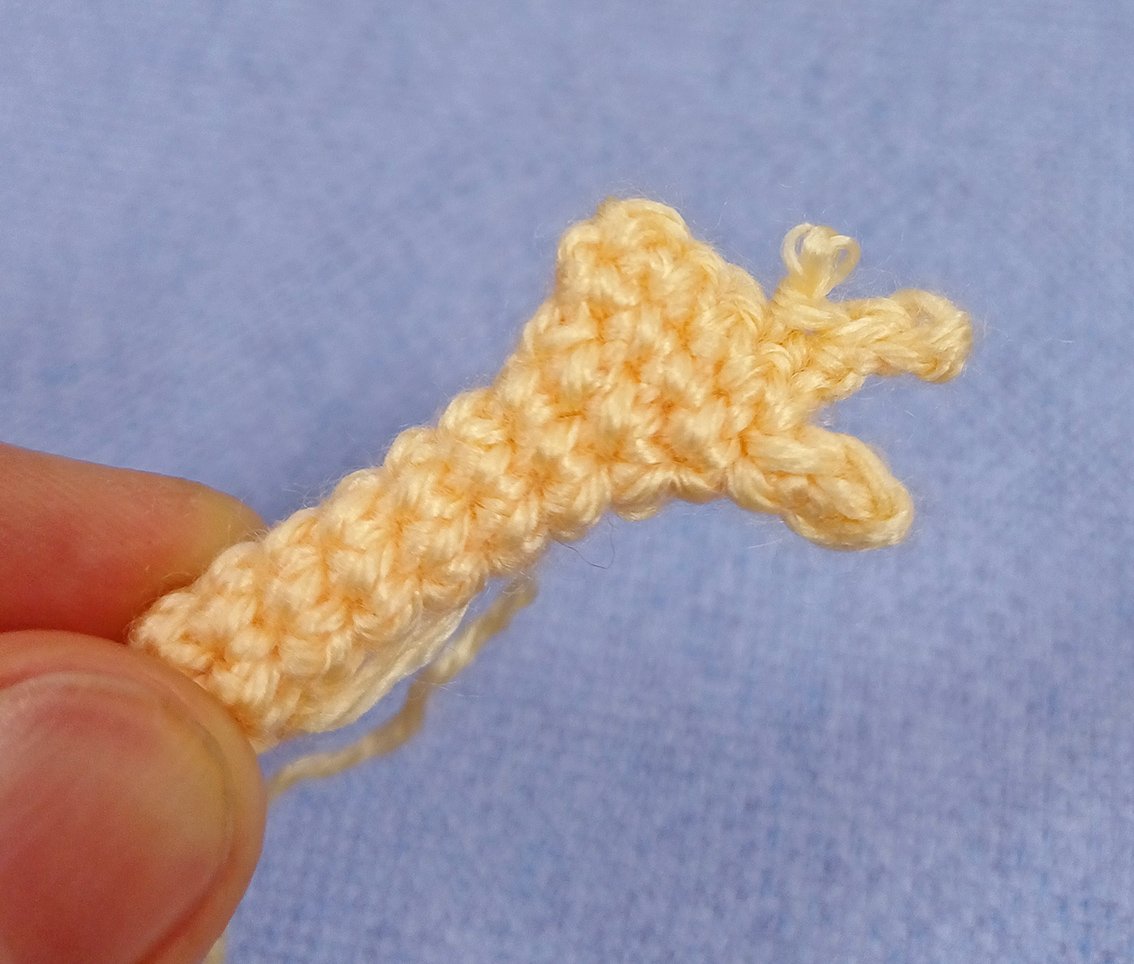
Fasten off, cut off any excess yarn, hide the end.
The second arm is crocheted similarly, just turn it over so that the thumb looks the other way.
Boots (make 2 )
The yarn colour is at your discretion.
Rnd 1. 6 ch, starting from 2nd ch from hook: 4 sc, 4 hdc in the last stitch, continue along the other side of chain: 3 sc, 1 inc (13)
Rnd 2. 1 inc, 3 sc, (2 hdc in 1 st) × 4 times, 3 sc, 2 inc (20)
Rnd 3. 1 sc, 1 inc, 4 sc, (1 sc, 1 inc) × 3 times, 1 inc, 4 sc, 1 inc, 1 sc, 1 sl st (26)
Place the part onto piece of thick cardboard, circle and cut 2 insoles.
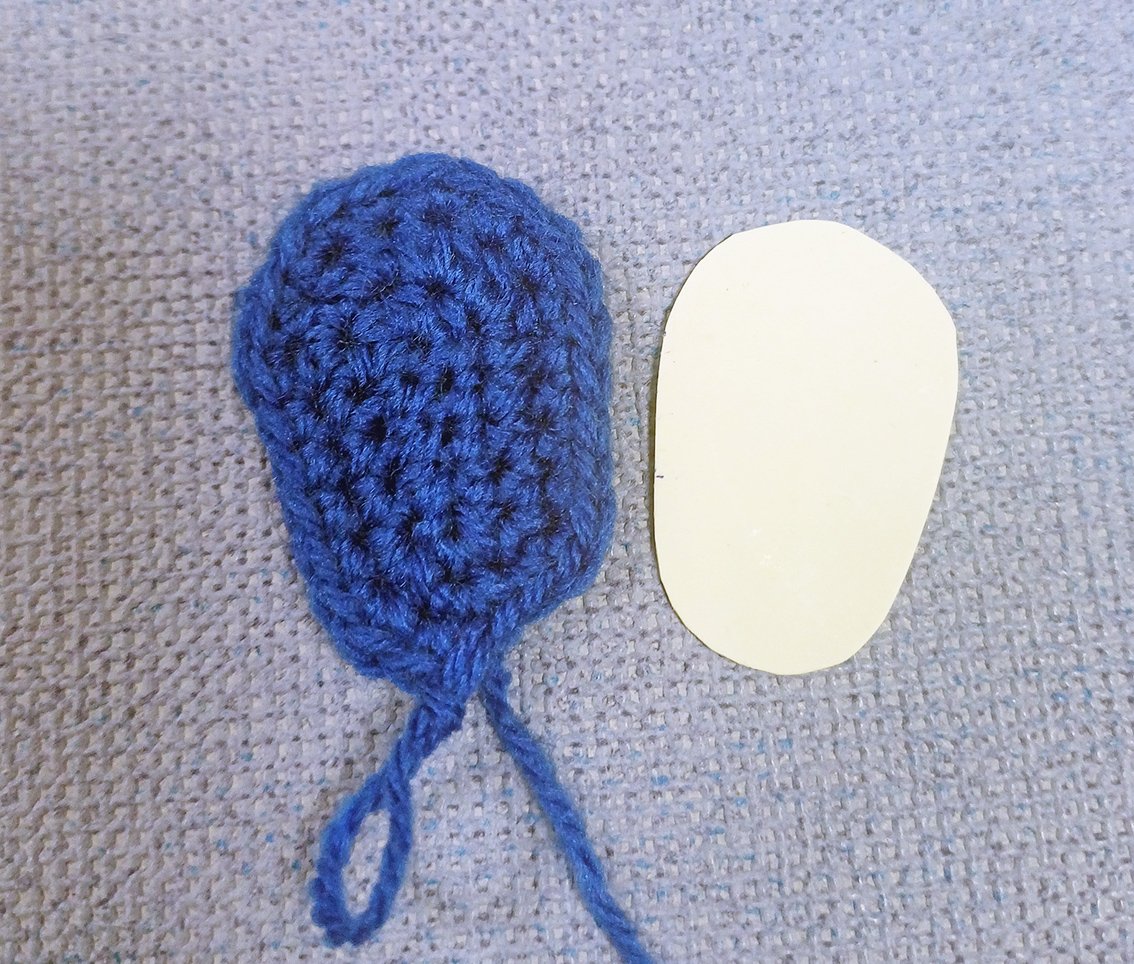
Rnd 4. into the back loops only: 26 sc
Rnd 5-7. (3 rounds) 26 sc
Insert the insole.
Rnd 8. 5 sc, 7 dec, 5 sc, 1 dec (18)
Rnd 9. (1 sc, 1 dec) × 6 times (12)
Add some hollow fibre.
Rnd 10. 12 sc
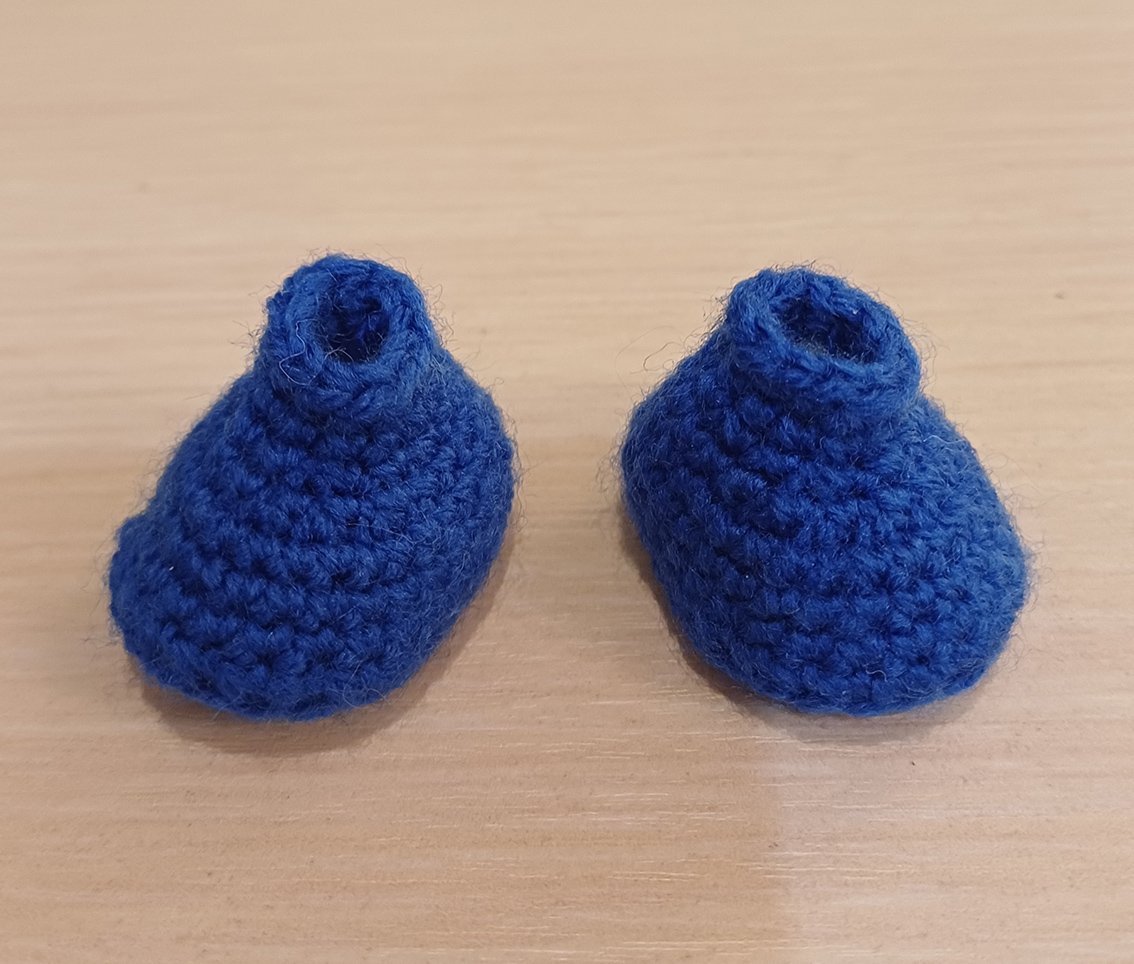
Rnd 11. 10 sc, 2 sl st (12)
Fasten off, cut off any excess yarn, hide the end.
Bell Cups (make 2)
Crochet with the main colour yarn
Rnd 1. 6 sc in a Magic Ring (6)
Rnd 2. (1 inc) × 6 times (12)
Rnd 3. (1 sc, 1 inc) × 6 times (18)
Rnd 4. (1 sc, 1 inc, 1 sc) × 6 times (24)
Rnd 5. 24 sc
Rnd 6. (1 inc, 3 sc) × 6 times (30)
Rnd 7. (2 sc, 1 inc, 2 sc) × 6 times (36)
Rnd 8. 33 sc, 3 sl st (36)
Fasten off, cut off any excess yarn, hide the end.
Before starting crocheting, leave a cut of yarn of the main colour for further operation, about 2m long. You will need it for wrapping the wire. You can also use a contrasting colour yarn for this.
Alarm Clock case
Crochet with the main colour yarn.
Rnd 1. 6 sc in a Magic Ring (6)
Rnd 2. (1 inc) × 6 times (12)
Rnd 3. (1 sc, 1 inc) × 6 times (18)
Rnd 4. (1 sc, 1 inc, 1 sc) × 6 times (24)
Rnd 5. (1 inc, 3 sc) × 6 times (30)
Work 1sc, transfer your place marker here
Rnd 6. (2 sc, 1 inc, 2 sc) × 6 times (36)
Rnd 7. (1 inc, 5 sc) × 6 times (42)
Rnd 8. (3 sc, 1 inc, 3 sc) × 6 times (48)
Rnd 9. (1 inc, 7 sc) × 6 times (54)
Rnd 10. (4 sc, 1 inc, 4 sc) × 6 times (60)
Rnd 11. (1 inc, 9 sc) × 5 times, 1 inc, 7 sc, 2 sl st (66)
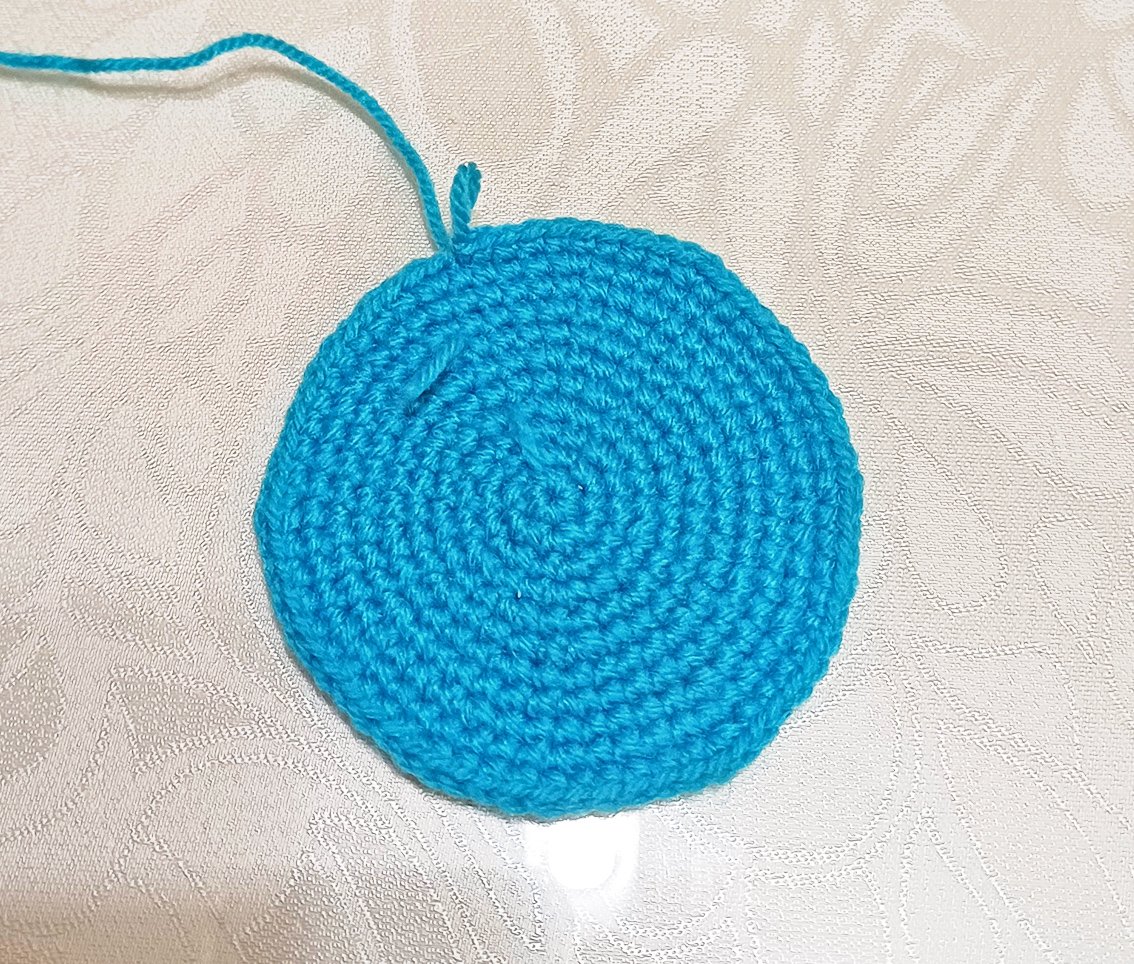
Rnd 12. into the back loops only: 66 sc
Rnd 13-15. (3 rounds) 66 sc
Rnd 16. 2 sc, 1 ch. skip 1 loop, 12 sc – this is the bottom of the case, 1 ch. skip 1 loop, 21 sc, 1 ch. skip 1 loop, 8 sc – this is the top of the case, 1 ch. skip 1 loop, 19 sc (62 + 4 ch) - These holes are for the wire
Rnd 17. 2 sc, 1 sc along the chain, 12 sc, 1 sc along the chain, 21 sc, 1 sc along the chain, 8 sc, 1 sc along the chain, 19 sc (66)
Rnd 18-19. (2 rounds ) 66 sc, do not cut the thread!
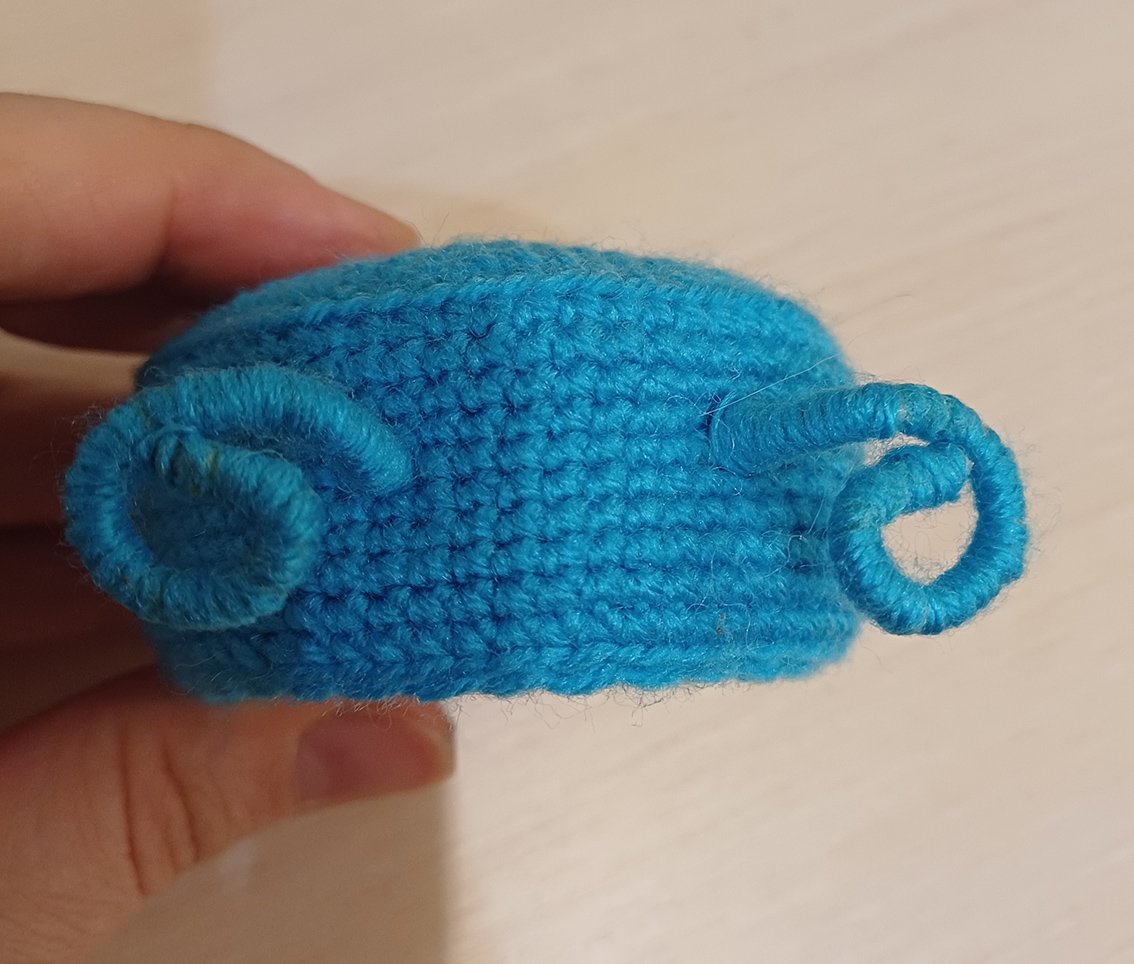
Measure the diameter of the alarm clock case. Prepare a thick wire. I used a wire with a diameter of 3 mm. Cut 2 pieces of wire. The length of each wire is equal to the diameter of the case + 15 cm.
Apply a tiny amount of transparent glue onto a length of approx. 7-8cm and wrap around it with the yarn. Repeat on the other side. Fasten the yarn with some glue, cut off. Wait for it to dry.
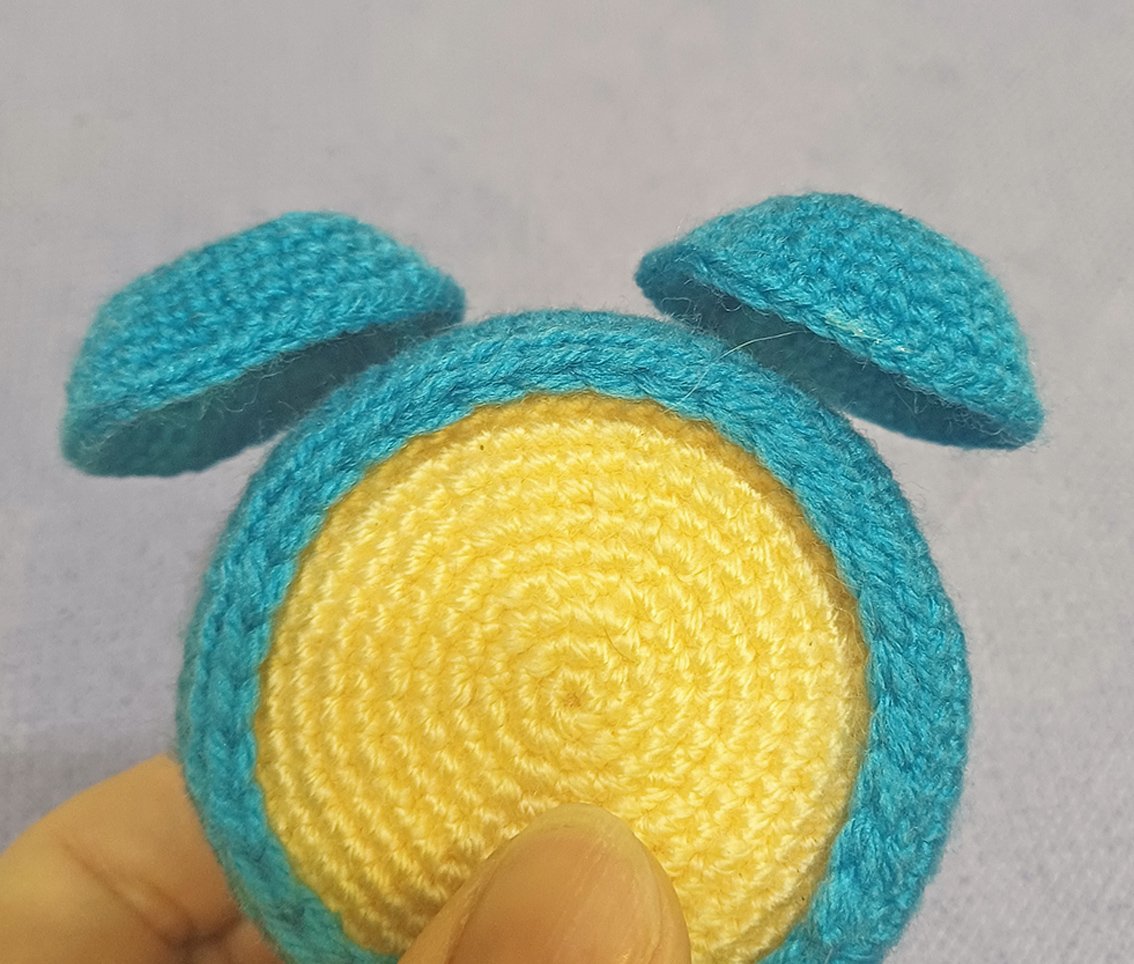
Insert the wire prepared in this way into the holes in the alarm clock case crosswise (as in the photo). In the middle, fasten with a Band-Aid.
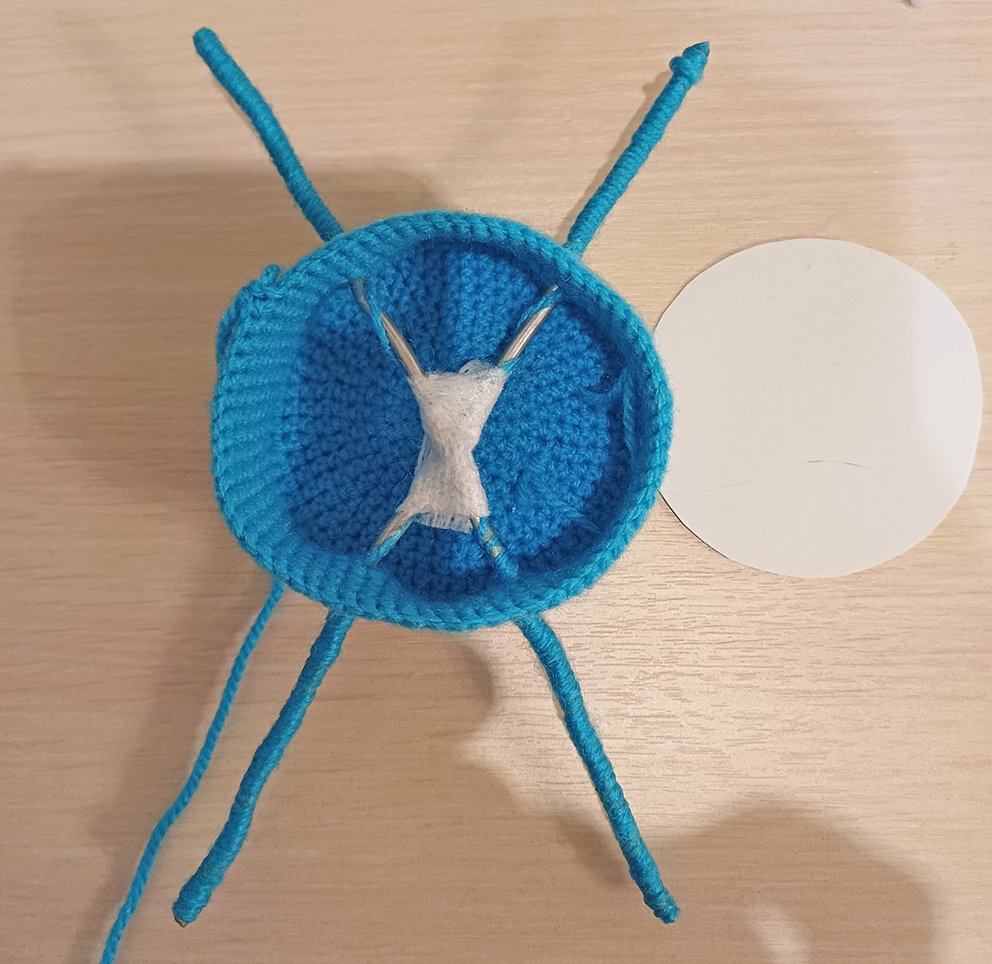
Add some hollow fiber. Close with a cardboard circle, attach the Part 1 (clock face).
Rnd 20. Join both parts together, work hooking through both parts: 66 sc. Stuff lightly as you go.
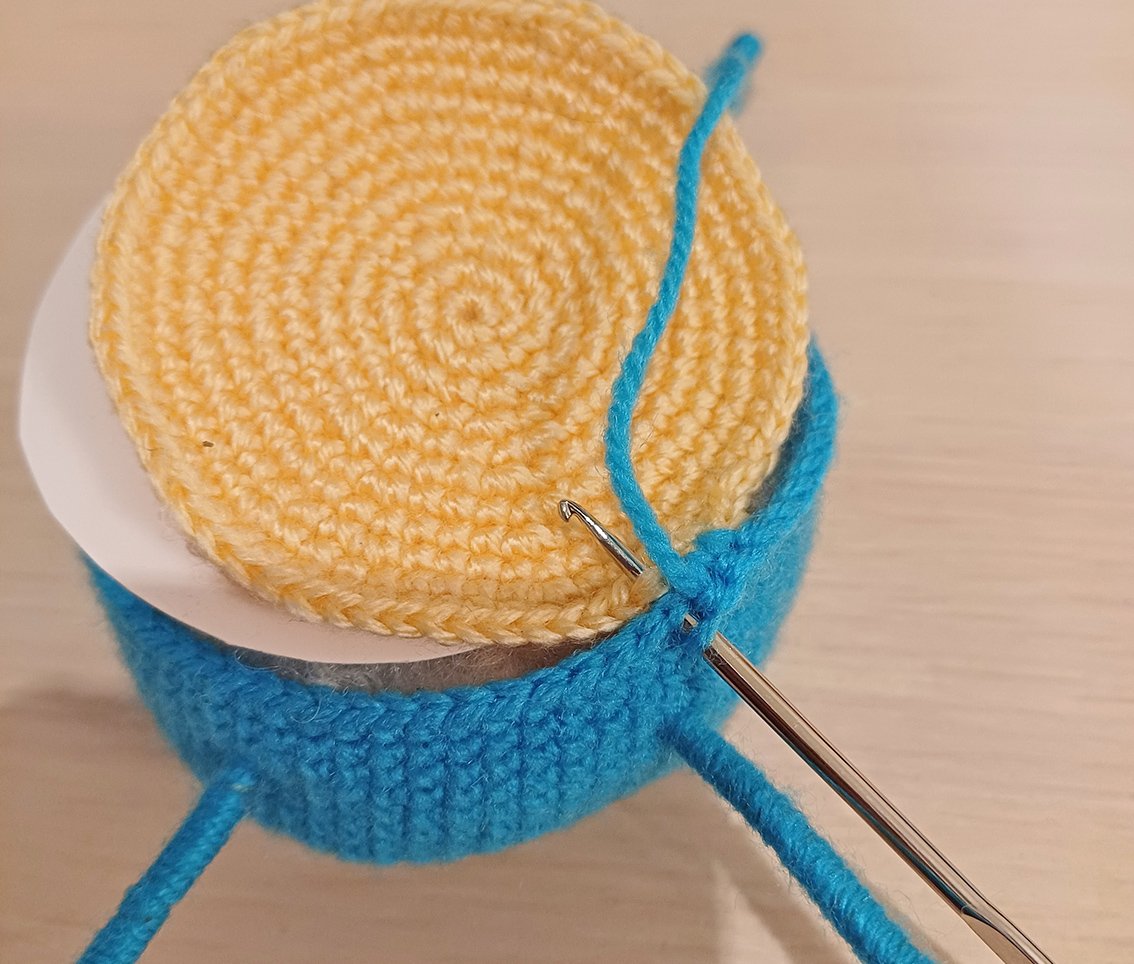
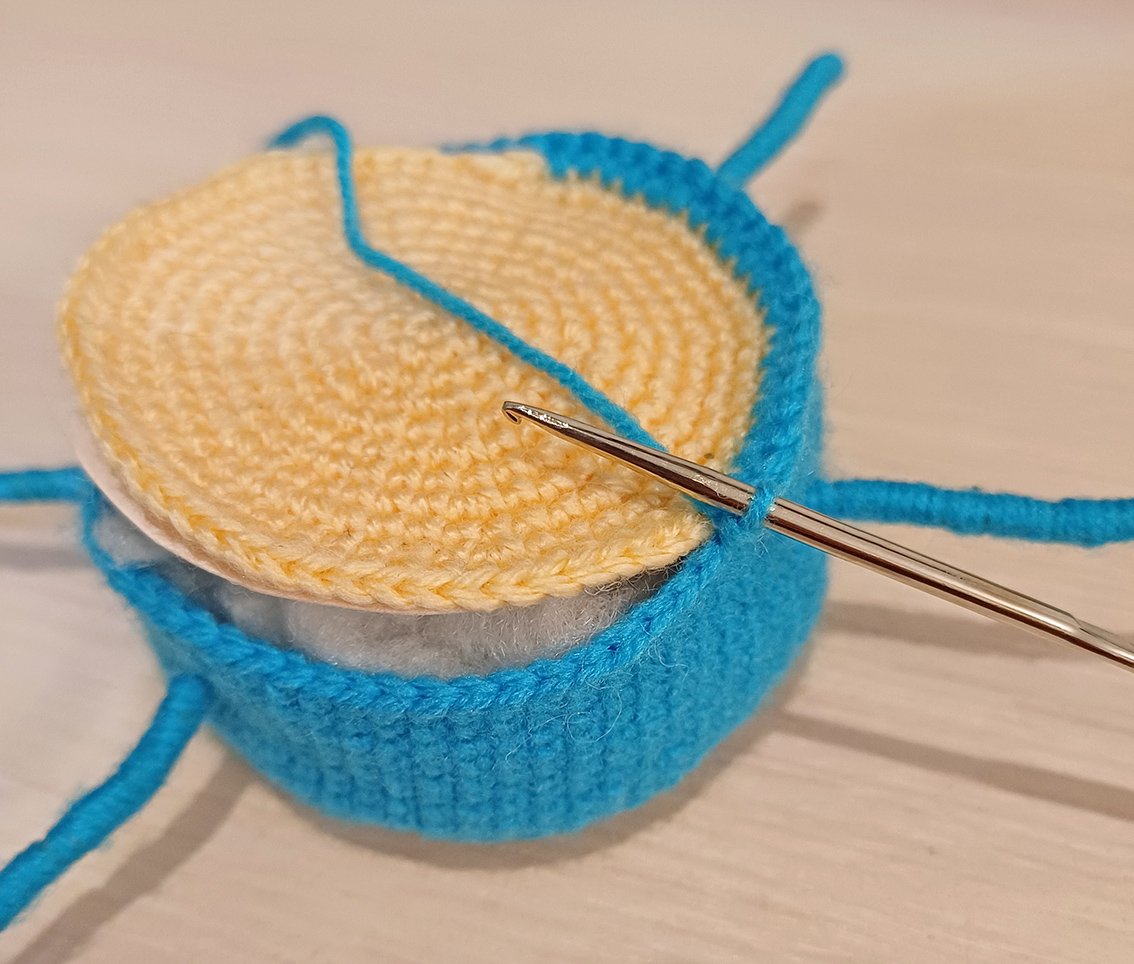
The next round needs to be crocheted with yarn doubled. (i.e., attach an additional 2nd thread). Change your hook to a larger size hook. Crochet loosely.
Rnd 21. (skip 1 st, 1 sl st) × 33 times – this creates a smooth edge.
Fasten off, cut off any excess yarn, hide the end.
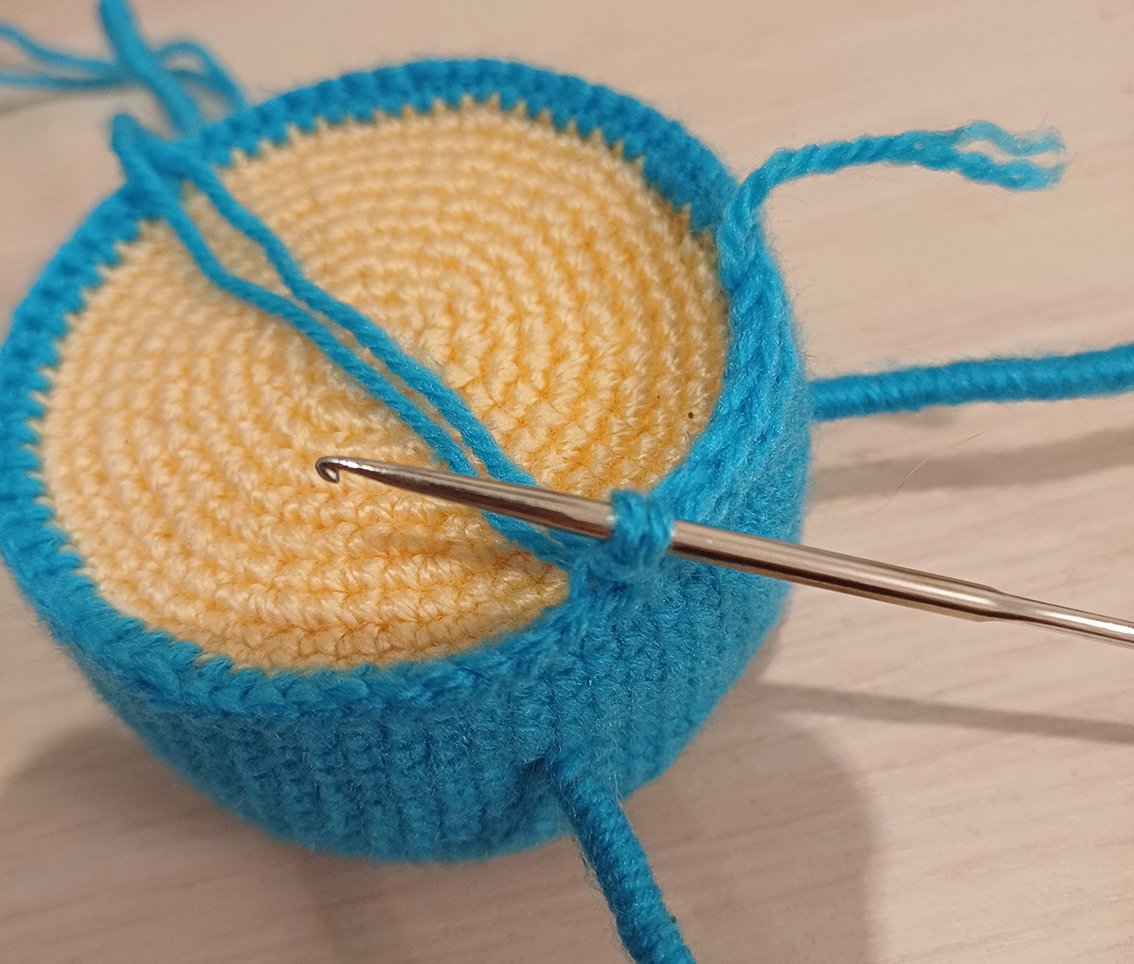
At the lower ends of the wires, bend the loops – insert them into the boots.
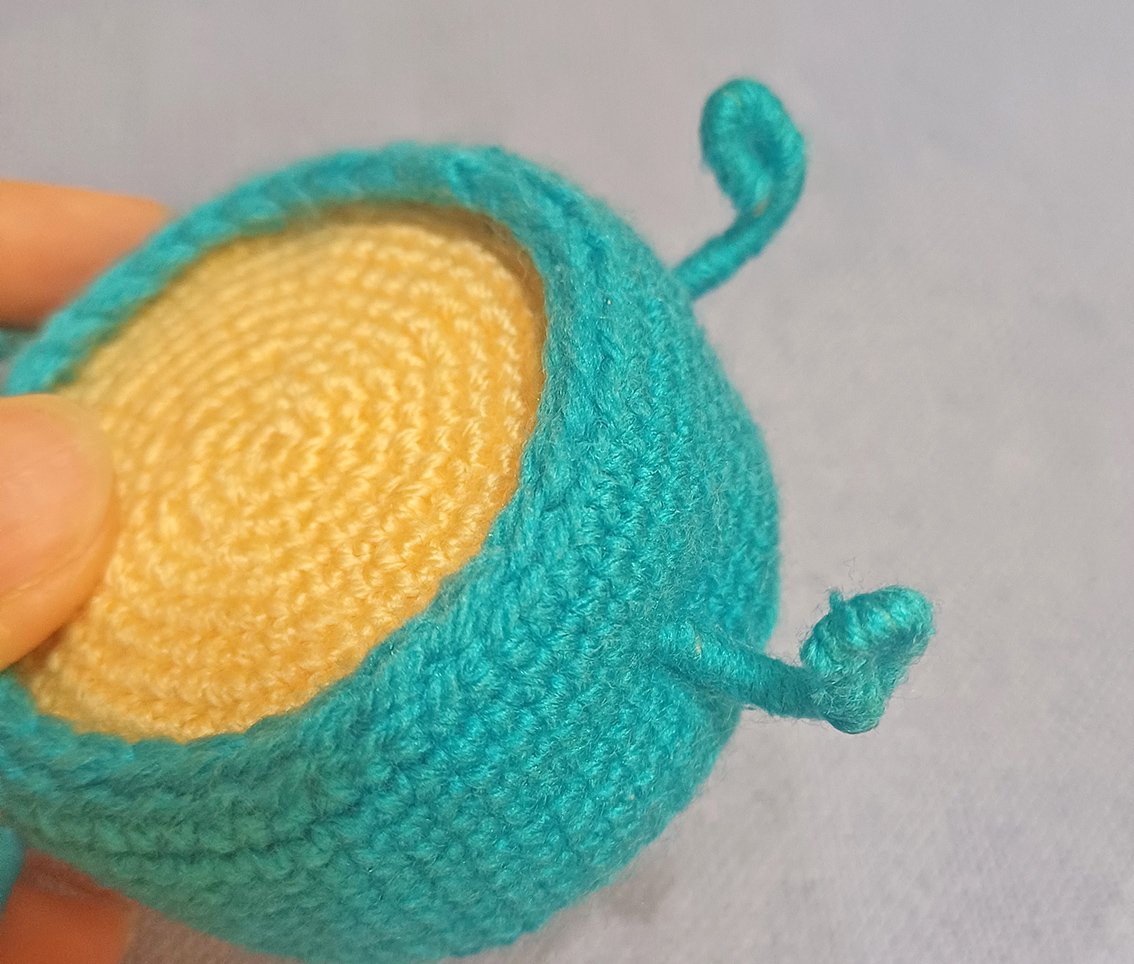
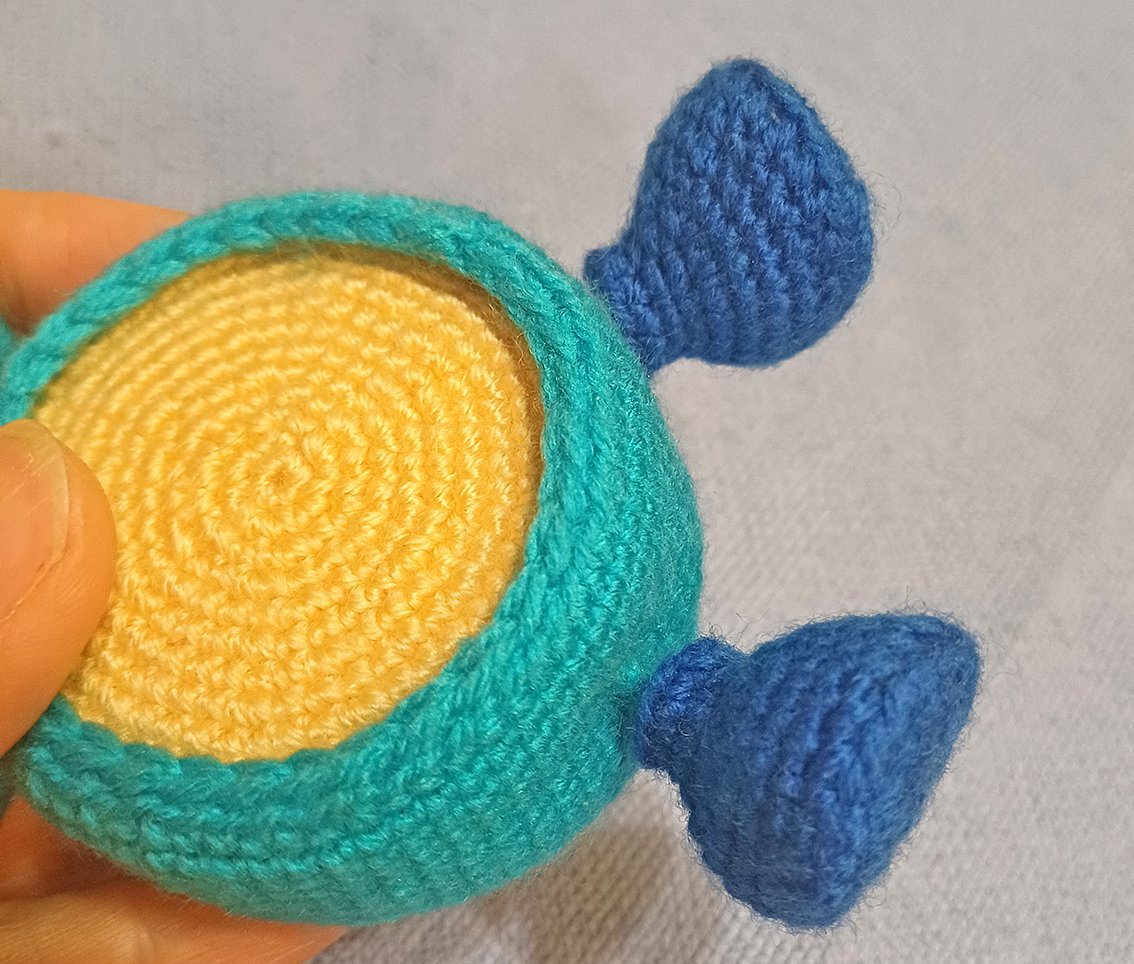
Twist the upper ends of the wire in a spiral. Glue the bell cups on them.
Attach and sew the arms on.
An alarm clock hammer
Crochet with the main colour yarn.
Rnd 1. 6 sc in a Magic Ring
Rnd 2. 6 inc (12)
Rnd 3-4. 12 sc
Rnd 5. (1 dec) × 6 раз (6)
Add some hollow fibre. Pull off the loops. Cut the thread, hide the end.
Insert half of the toothpick into the middle of the case from above. Place an alarm clock hammer on it. Secure it with a drop of glue.
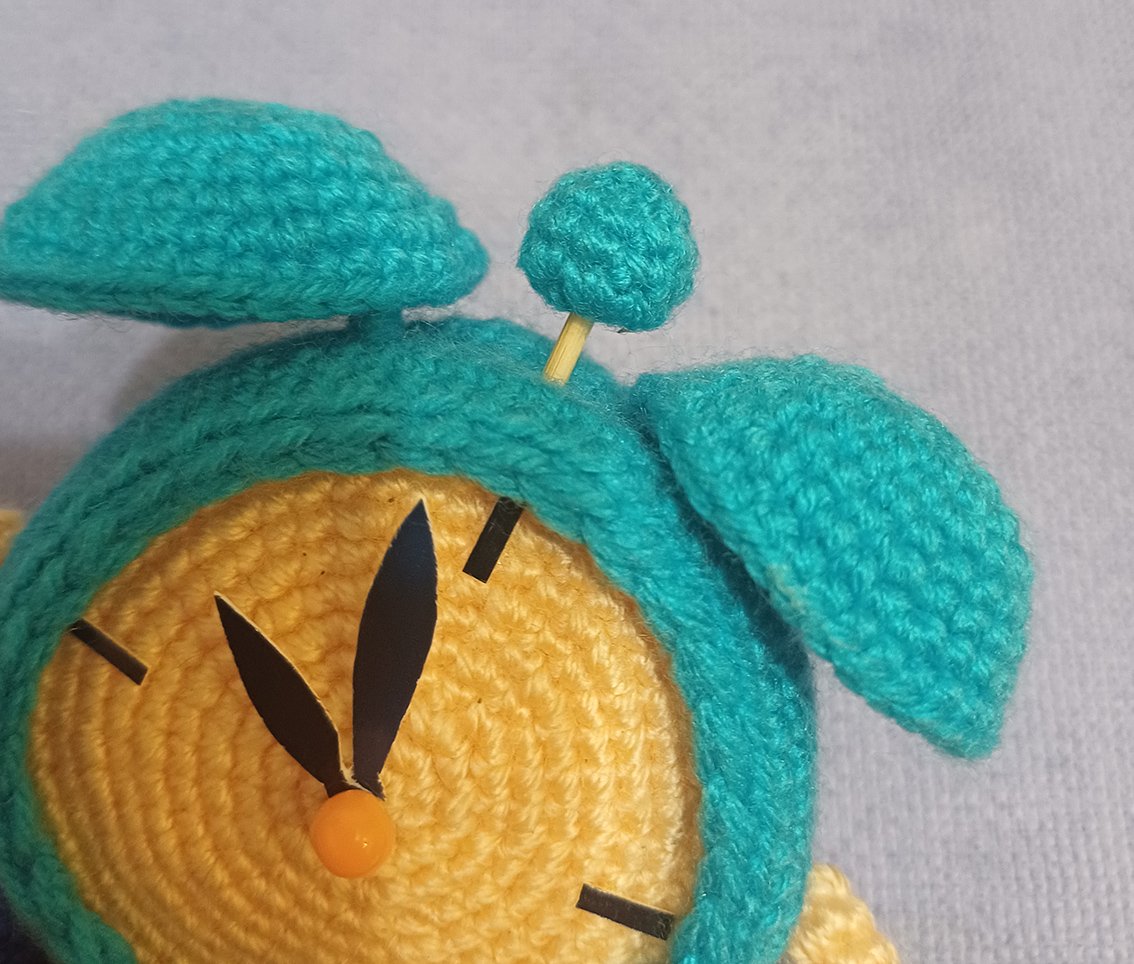
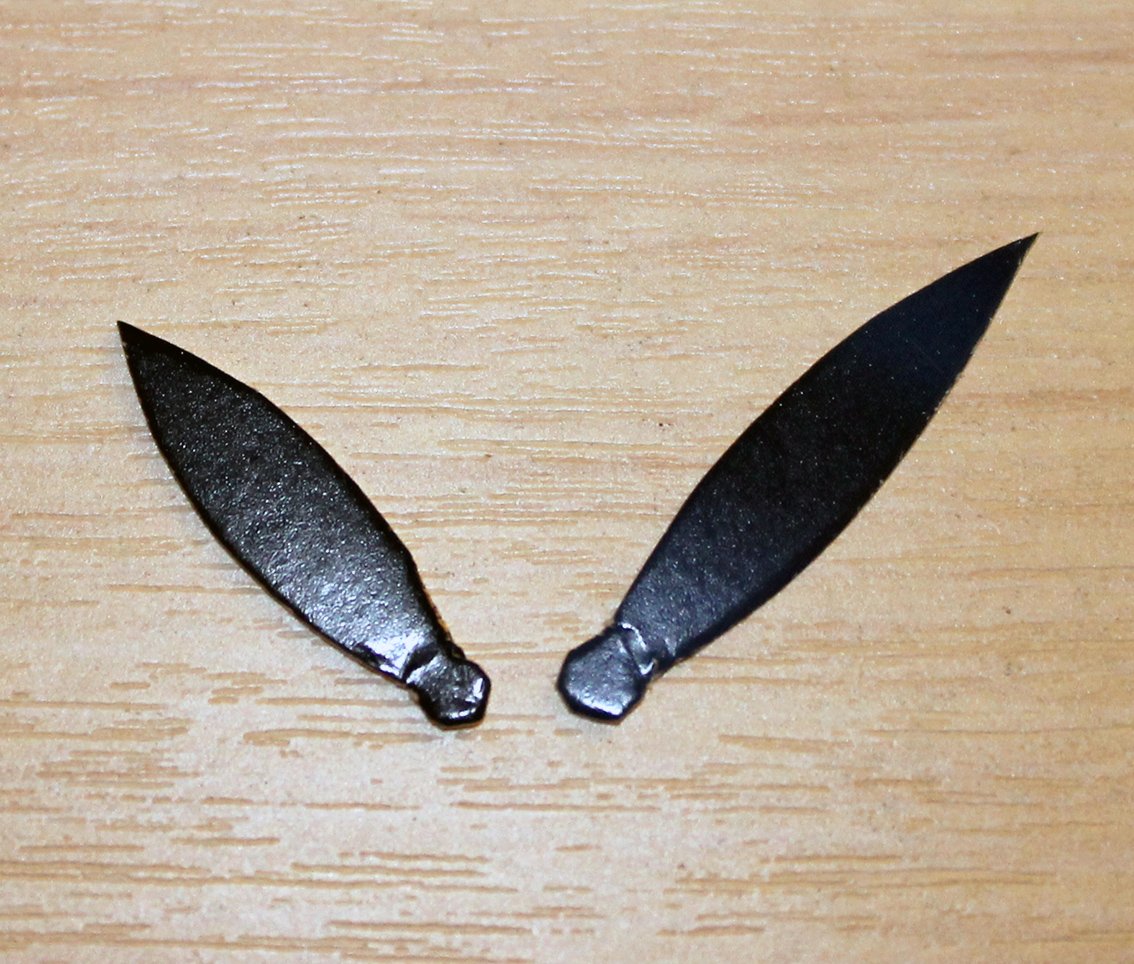
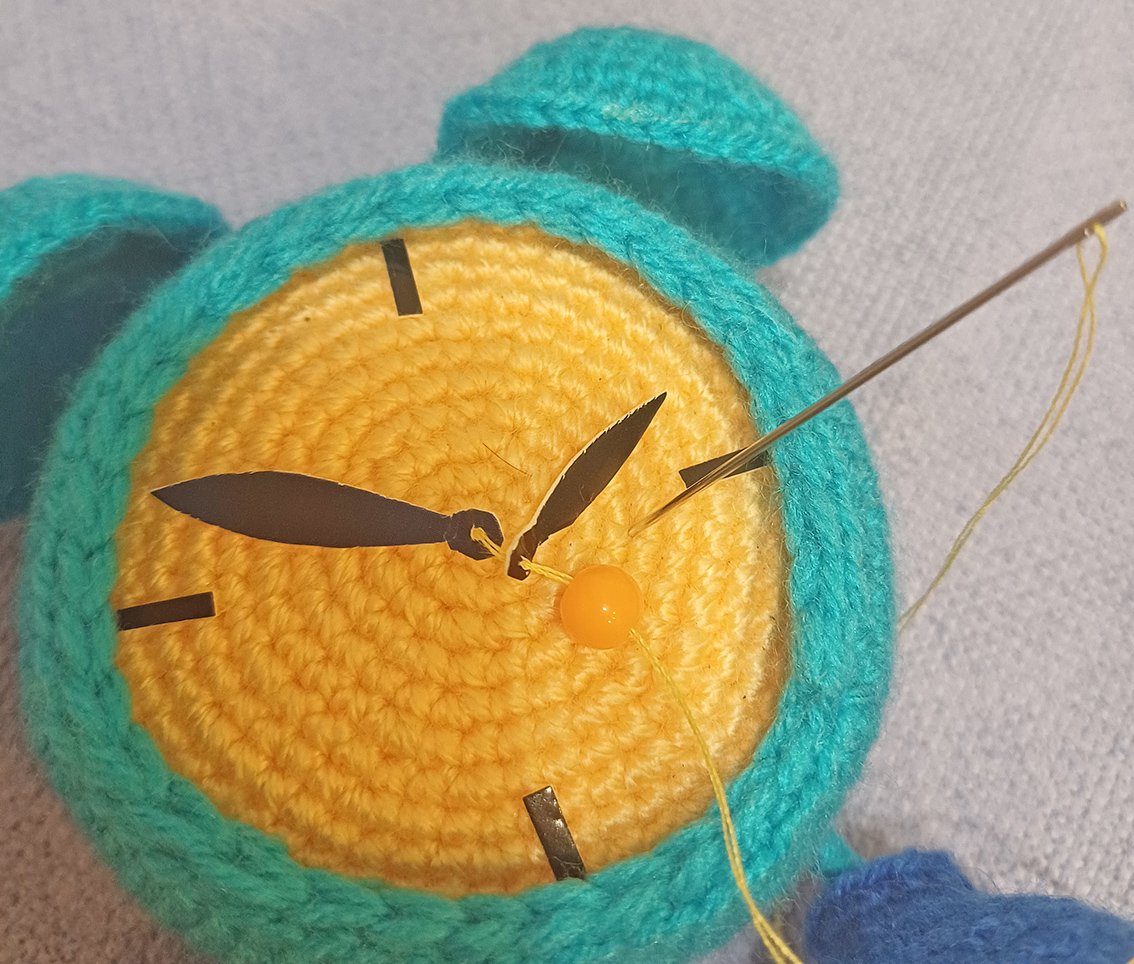
Cut out the hour and minute hands from thick dark cardboard, as well as 4 or 12 (optional) thin short strips to mark the numbers. Arrange the strips on the dial and glue them. Sew on the hour and minute hands. To do this, fasten the thread in the middle of the dial, pierce both hands with a needle, then put a bead on the needle, insert the needle again into the hands of the alarm clock, then into the middle of the dial. Secure it securely. Cut the thread, hide the end.
For decoration, attach a curved wire from above. Prepare the wire of the desired length, apply some glue onto the wire and tightly wrap main colour yarn around it. Bend it like in my photo. Fix it with several stitches in the desired position.
.jpg)
.jpg)
The alarm clock is complete! You can complement it with any details, such as a Santa hat, a festive box or a glass of champagne! Happy New Year!
.jpg)
.JPG)
.JPG)
