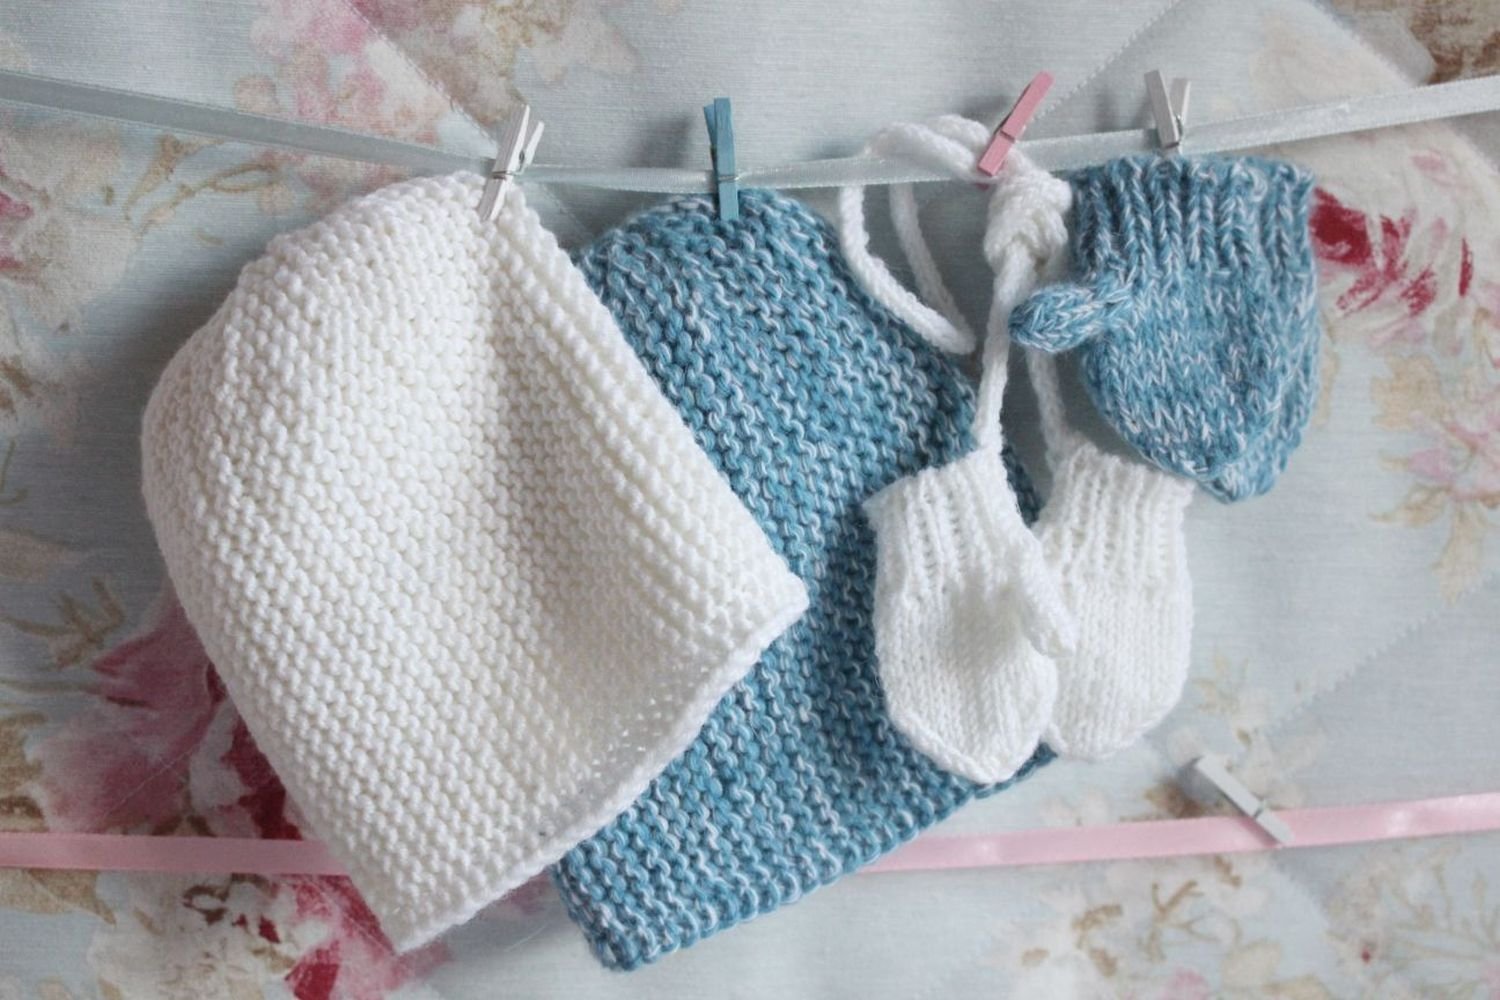
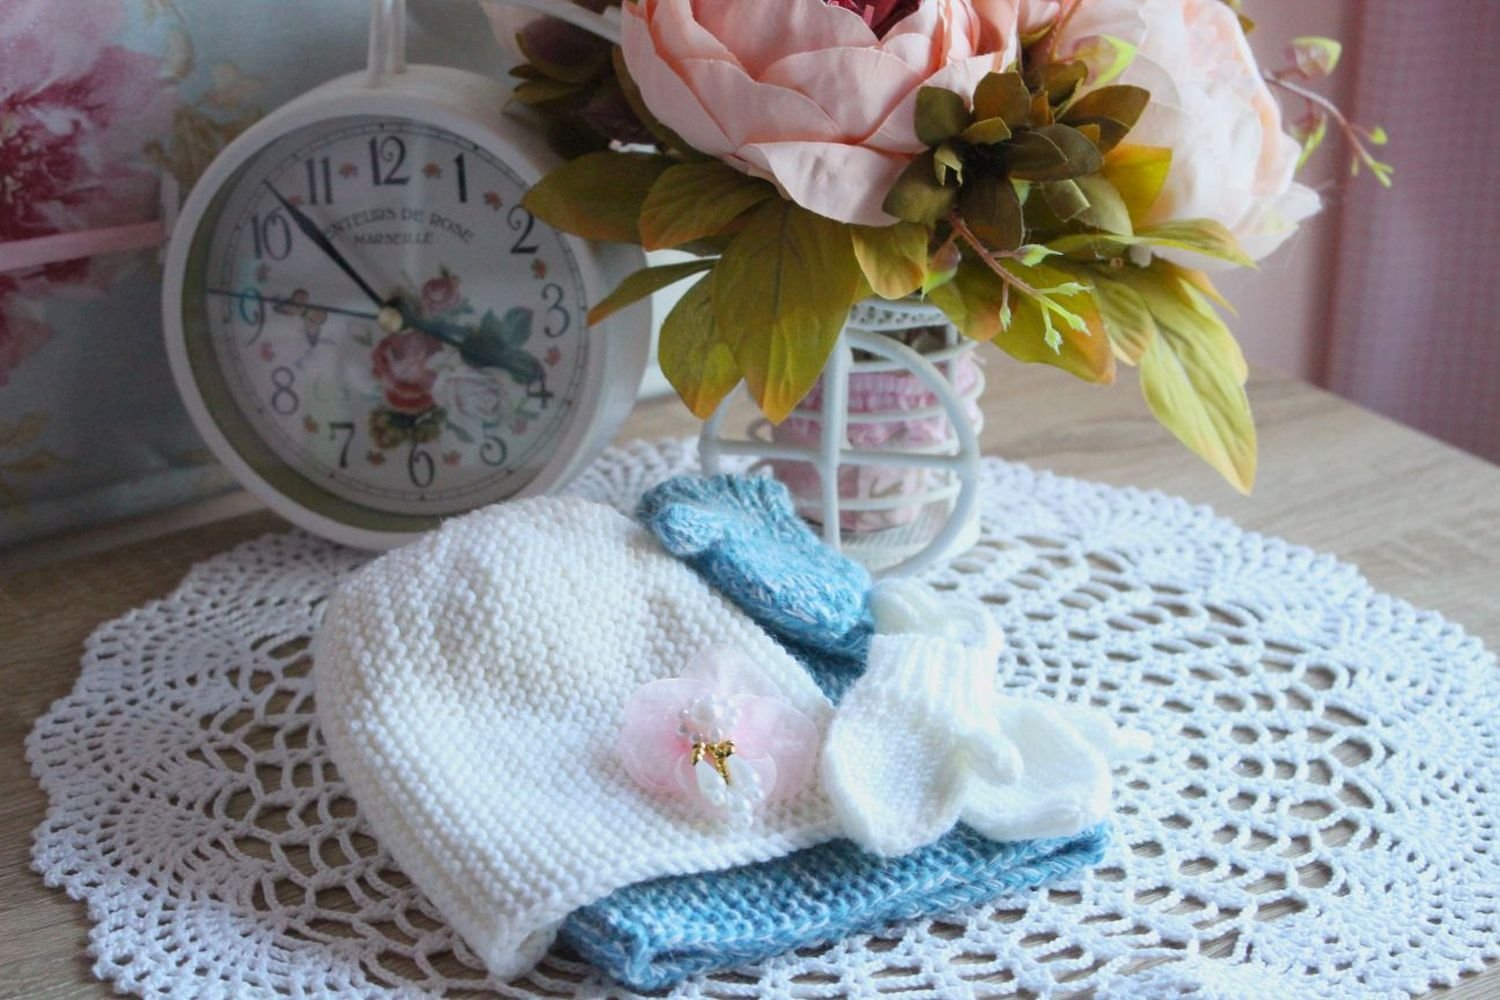
I’m happy to share this beautiful, free and easy knitting pattern with you today. This set includes a hat and mittens. It is easy and fun to make! The easiest hat is the one that’s knit flat, and uses just the knit stitch. The mittens are quick and fun to knit, and you’ll need just a little bit of yarn. The set makes a great gift for any little girl who loves dressing her doll up! This hat gives you a lovely winter accessory to add to your dolls wardrobe. So, grab your needles and some yarn, and let’s get started!
MATERIALS
ca 50 gr Schachenmayr Merino Extrafine 50 gr/ 131 yrd, DK (11 wpi), double-pointed needle set US 2½ - 3, and circular needles of the same size, yarn needle.
SKILL LEVEL
Intermediate
SIZE
18 inch doll
ABBREVIATIONS
st= stitch
k=knit stitch
P=purl stitch
yo=yarn over
k2tog=knit two stitches together
sl1 =slip one stitch
psso =pass the slipped stitch over
R = row
Rnd = round
EDGE STITCHES
Slip the first stitch and purl the last stitch of every row.
1x1 RIB
is formed by alternating 1 knit stitch and 1 purl stitch. Care must be taken to purl the stitches which were knitted on the previous row and vice versa.
GARTER STITCH
Knit every row.
STOCKING STITCH
Working in the rounds knit all stitches every round.
DOUBLE STITCH SHORT ROWS
1. Knit to the turning point and turn your work.
2. Slip one stitch purlwise from the left to the right needle with the yarn at the front of the work. Pull the working yarn up and over the right needle creating a 'double stitch'
3. Continue knitting. When you reach the 'double stitch' in subsequent rows all you have to do is knit the double stitch as though it was one stitch.
INSTRUCTIONS
This pattern is really easy to follow; no matter if the only stitches you know are knit and purl. And there are many possibilities to customize it add new color for the top, use another stitch or knit the thumb in a different color.
MITTENS
Cast on 22 stitches.
.JPG)
Knit 8 rounds in 1x1 rib. In the next round knit all stitches.
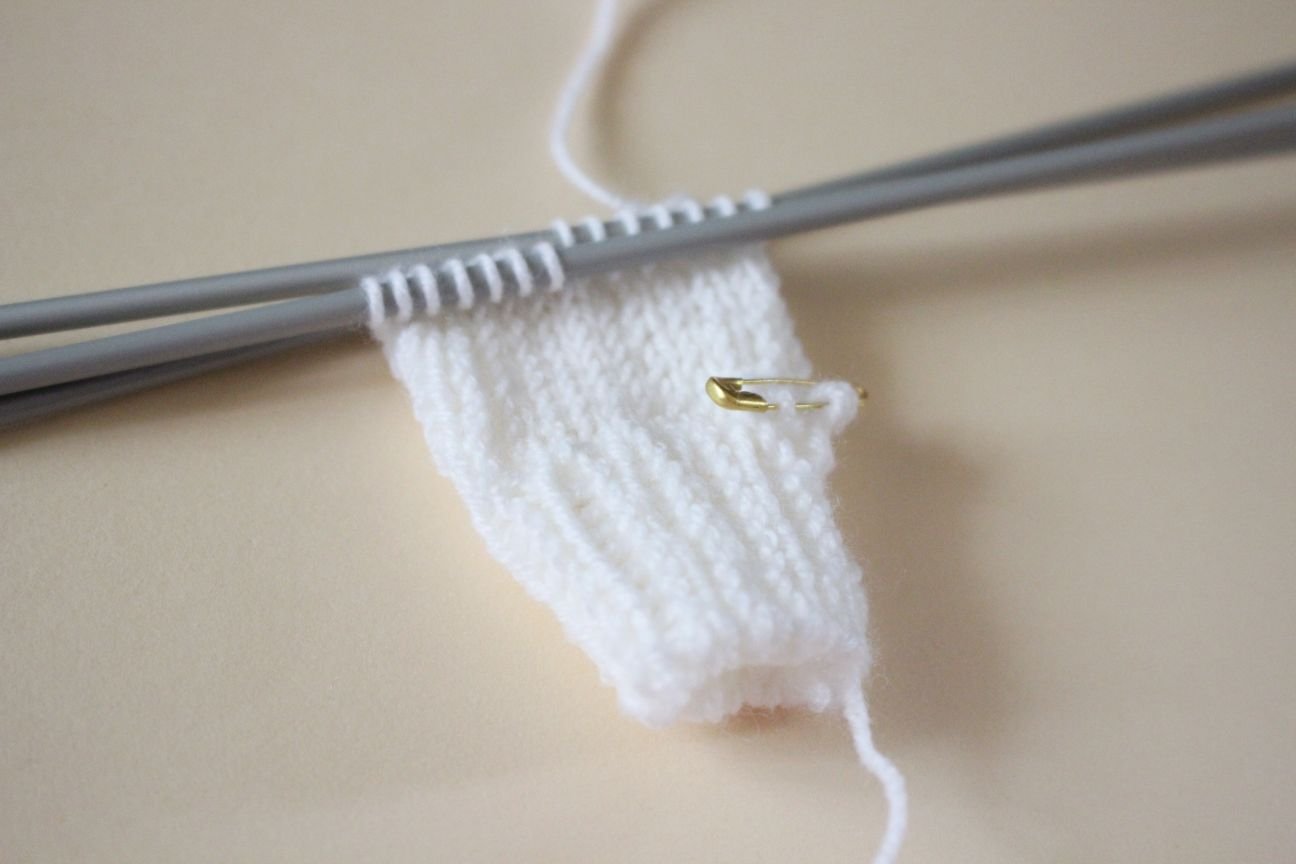
For the thumb slip first 3 stitches of the first needle to a safety pin to be worked later. In next round cast on 3 stitches, join and continue knitting in the round.
Work 8 rounds in stocking stitch.
.JPG)
It´s time to start with decreasing.
Round 1: *slip 1 stitch, knit 1 stitch, psso, knit 7 stitches, k2tog*, repeat from* to* twice.
Round 2: knit all stitches
Round 3: *slip 1 stitch, knit 1 stitch, psso, knit 5 stitches, k2tog*, repeat from* to* twice.
Round 4: knit all stitches
Round 5: *slip 1 stitch, knit 1 stitch, psso, knit 3 stitches, k2tog*, repeat from* to* twice
Round 6: *slip 1 stitch, knit 1 stitch, psso, knit 1 stitch, k2tog*, repeat from* to* twice.
Cut yarn, leaving a long tail, and with blunt needle thread tail through remaining stitches, slipping stitches off the needles. Pull tight to gather hole closed, and sew to inside of mitten
Wondering how to sl1, k1, psso? You'll find this technique used in many knitting patterns to decrease one stitch. And it is a left leaning decrease. Let’s see how it works.
1. Slip the stitch from the left needle to the right needle as if you’re going to knit it. This is called slipping knitwise. But instead of knitting it, just move it on over to that right-hand needle.
2. Knit one stitch. You’ll now have the slipped stitch and the knit stitch on your right needle.
3. Now for the actual psso! Insert the left needle from left to right into the stitch that you slipped, pick up the stitch with your left needle and lift it over the first stitch on the right needle and drop the stitch from the left needle. Now you’ll see that slipped stitch laying on its side, slanted to the left.
.JPG)
Knit thumb in rounds on 3 needles: knit 3 stitches off holder, pick up 5 stitches: 3 over cast on stitches and 1 stitch each side of thumb opening (= 8 stitches).
Knit 6 rounds in stocking stitch.
K2tog until total number of stitches is two.
Cut yarn, leaving a long tail, and with blunt needle thread tail through remaining stitches, slipping stitches off the needles. Pull tight to gather hole closed, and sew to inside of the thumb.
Knit second mitten. As opposed to the right thumb, the left thumb is knitted at the end of the round.
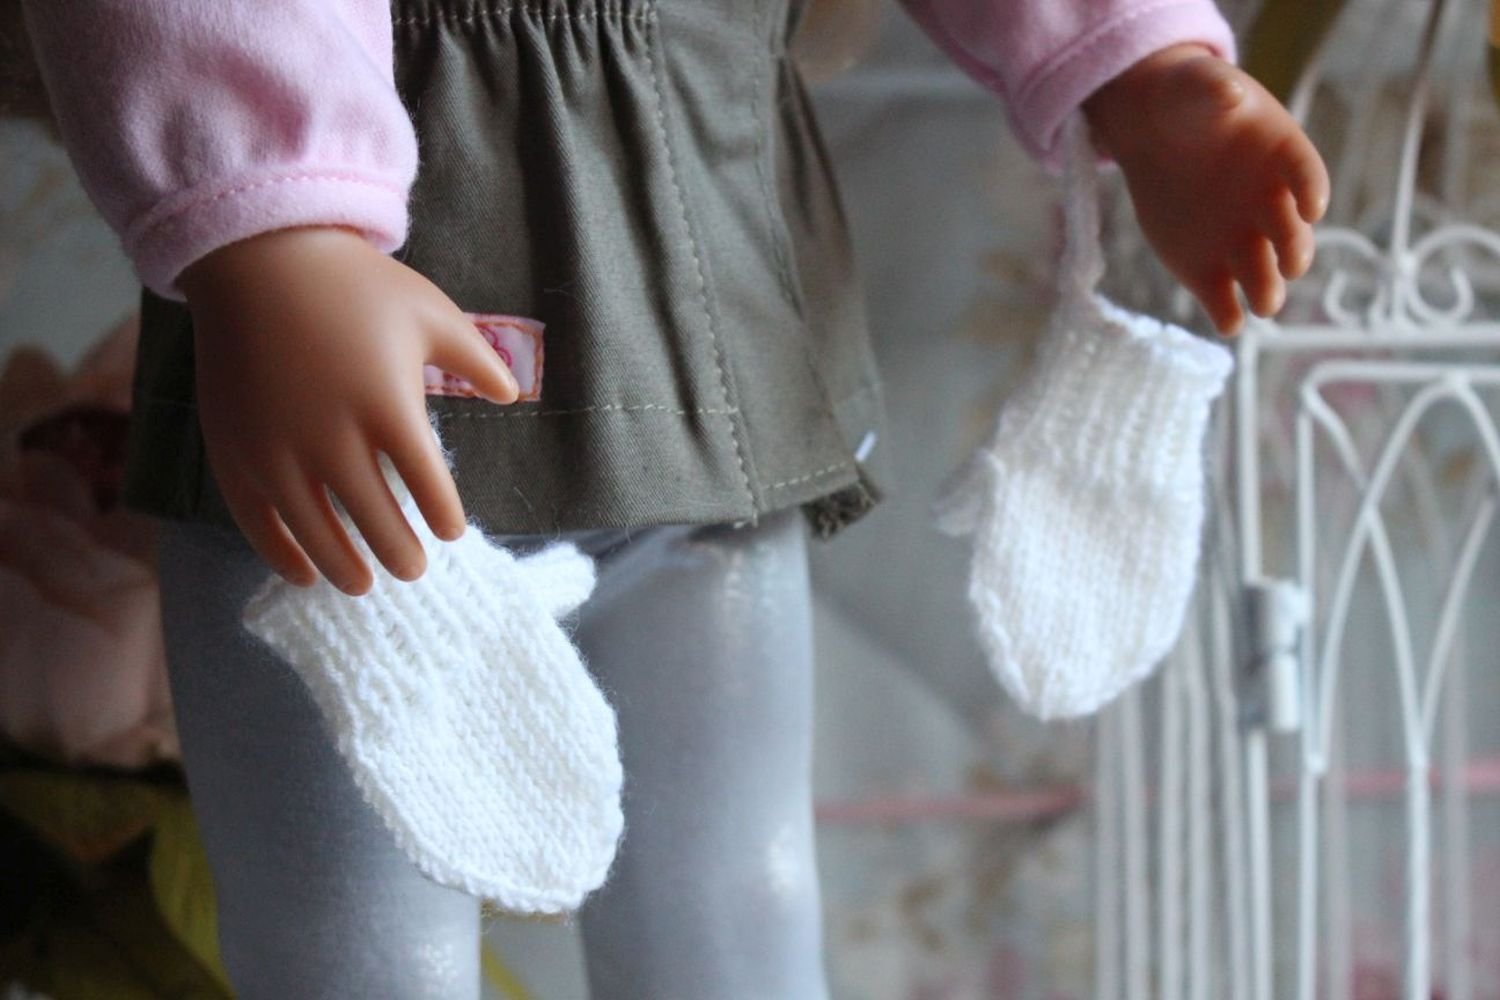
Knit I-Cord on 3 stitches about 20 cm and sew it to both mittens.
HAT
You knit the hat regularly (like a scarf) on two needles. Once you’re done, you just need to seam it to finish.
The hat is worked in garter stich and double stitch short rows. Cast on 35 stitches.
.JPG)
Row 1: 35 stitches in garter stitch. Turn the work.
Row 2: 29 stitches in garter stitch to the turning point, turn your work.
Row 3: slip 1 stitch, knit to end, turn.
Row 4: 30stitches garter stitch, turn.
Row 5: slip 1 stitch, knit to end, turn.
Row 6-14: Repeat short rows until the only one stitch is left on the left needle. Knit it, turn and again work 35 stitches in garter stitch.
.JPG)
Repeat rows 1- 14 six more times.
.JPG)
Sew up the side seam. Weave in all ends.
Happy knitting!
I hope you enjoyed knitting the hat with mittens and found the pattern helpful. I would love to see your finished work, so share a picture here or on Instagram by tagging me @tansuluucrafthaus.
If you would like to share this pattern, please link to this page. Also, please credit me when using this pattern by tagging me @tansuluucrafthaus on Instagram. Feel free to contact me with any questions. Thank you for stopping by and have a lovely day!