Free crochet pattern for adorable gnome with little pumpkins. It comes with easy-to-follow written instructions and a photo tutorial. The photo tutorial contains helpful step-by-step pictures to make the project as easy to follow as possible. A lovely Halloween giveaway for friends and relatives. Also, a great fall decoration. The tiny pumpkin is great for keychains, garlands, ornaments, a Halloween charm, etc. This is a very simple design. It works up very quickly and is super cute. Happy crocheting!
SUPPLIES
ca 50 gr cotton yarn (e.g.Schachenmayr Catania 125m/50g) in three colors: orange or brown, white and turquoise, a bit of dark green for the stem, crochet hook 2,5 mm, polyester fiberfill stuffing, scissors, yarn needle.
SKILL LEVEL
Easy
SIZE
The ready amigurumi is approx. 17 cm, can be made bigger or smaller depending on the yarn and hook you use.
SKILLS YOU NEED
chain, single crochet, double crochet, half double crochet, slip stitch, increase, decrease
ABBREVIATIONS
Ch =chain
St = stitch
Sc =single crochet
Sl st = slip stitch
Dec = decrease stitch (two single crochets together)
Inc = increase stitch (two single crochets in the one stitch)
Dc = double crochet
Tc = triple crochet
Rnd = Round
* = repeat instructions for the times indicated
(...) = total amount of stitches
TIPS
- Do not join rounds, work in a continuous spiral.
- Use a stitch marker or piece of yarn to keep track of the last stitch in each round
- All stitches are worked into both loops, unless stated otherwise in the pattern.
- When filling with polyester stuffing, pull apart each large chunk into many smaller chunks. This ensures an even distribution of firmness within the amigurumi
- Amigurumi can be made in any desired colors.
- The pattern is written in US terms
- Gauge is not important for this pattern
Seamless way of changing color when working in the round
Pick up the new color at the end of the round: inset your hook into the stitch, yarn over the new color and pull through the stitch and the loop on your hook to complete the stitch.
To make a magic ring
- Loop the thread twice around your middle finger
- Put the hook under both loops, pull the yarn under the loops and hook the thread again
- Pull the thread through the new loop. The first crochet stitch is ready!
- Repeat the needed number of times.
- Pull the inner threads to tighten the ring.
INSTRUCTIONS
The gnome consists of several parts which you crochet separately and then you will sew them together.
BODY
Start your work using orange or brown color yarn.
Round 1: 6 single crochets into Magic Ring
Round 2: increase 6 times (12 stitches)
Round 3: increase 12 times (24 stitches)
Round 4: single crochet in each of next 24 stitches
Round 5: *single crochet in the next stitch, 2 single crochets in the next stitch, chain 1 stitch*, repeat from* to* 12 times
Round 6: *single crochet in each of next 2 stitches, 2 single crochets in the next stitch, chain 1 stitch*, repeat from* to* 12 times
Round 7: *single crochet in each of next 3 stitches, 2 single crochets in the next stitch, chain 1 stitch*, repeat from* to* 12 times
Round 8: *decrease, single crochet in each of next 2 stitches, 2 single crochets in the next stitch, chain 1 stitch*, repeat from* to* 12 times
Round 9: *single crochet in each of next 4 stitches, 2 single crochets in the next stitch, chain 1 stitch*, repeat from* to* 12 times
Round 10: *decrease, single crochet in each of next 3 stitches, 2 single crochets in the next stitch, chain 1 stitch*, repeat from* to* 12 times
Round 11: *single crochet in each of next 5 stitches, 2 single crochets in the next stitch, chain 1 stitch*, repeat from* to* 12 times
Round 12: *decrease, single crochet in each of next 4 stitches, 2 single crochets in the next stitch, chain 1 stitch*, repeat from* to* 12 times
Round 13: *single crochet in each of next 6 stitches, 2 single crochets in the next stitch, chain 1 stitch*, repeat from* to* 12 times
Round 14: *decrease, single crochet in each of next 3 stitches, 2 single crochets in the next stitch, chain 1 stitch*, repeat from* to* 12 times
Round 15: *decrease, single crochet in each of next 4 stitches, 2 single crochets in the next stitch, chain 1 stitch*, repeat from* to* 12 times
Rounds 16-20: Repeat round 15 five times.
Round 21: *decrease, single crochet in each of next 2 stitches, decrease, 2 single crochets in the next stitch, chain 1 stitch*, repeat from* to* 12 times
Round 22: *decrease, single crochet in each of next 3 stitches, 2 single crochets in the next stitch, chain 1 stitch*, repeat from* to* 12 times
Round 23: *decrease, single crochet in the next stitch, decrease, 2 single crochets in the next stitch, chain 1 stitch*, repeat from* to* 12 times
Round 24: *decrease, single crochet in each of next 2 stitches, 2 single crochets in the next stitch, chain 1 stitch*, repeat from* to* 12 times
Rounds 25-26: Repeat round 24 twice.
Round 27: *decrease twice, 2 single crochets in the next stitch, chain 1 stitch*, repeat from* to* 12 times
Round 28: *decrease, single crochet in the next stitch, 2 single crochets in the next stitch, chain 1 stitch*, repeat from* to* 12 times
Rounds 29-33: Repeat round 28 five times.
Round 34: single crochet in each of next 48 stitches
Round 35: *decrease, single crochet in each of next 6 stitches* (42 stitches)
Round 36: *decrease, single crochet in each of next 5 stitches* (36 stitches)
Round 37: *decrease, single crochet in each of next 4 stitches* (30 stitches)
Round 38: *decrease, single crochet in each of next 3 stitches* (24 stitches)
To add weight to the bottom, add little stones, rice or Poly Pellets. Stuff the body firmly.
Round 39: *decrease, single crochet in each of next 2 stitches* (18 stitches)
Round 40: *decrease, single crochet in the next stitch* (12 stitches)
Round 41: *decrease* 6 times. Bind off.
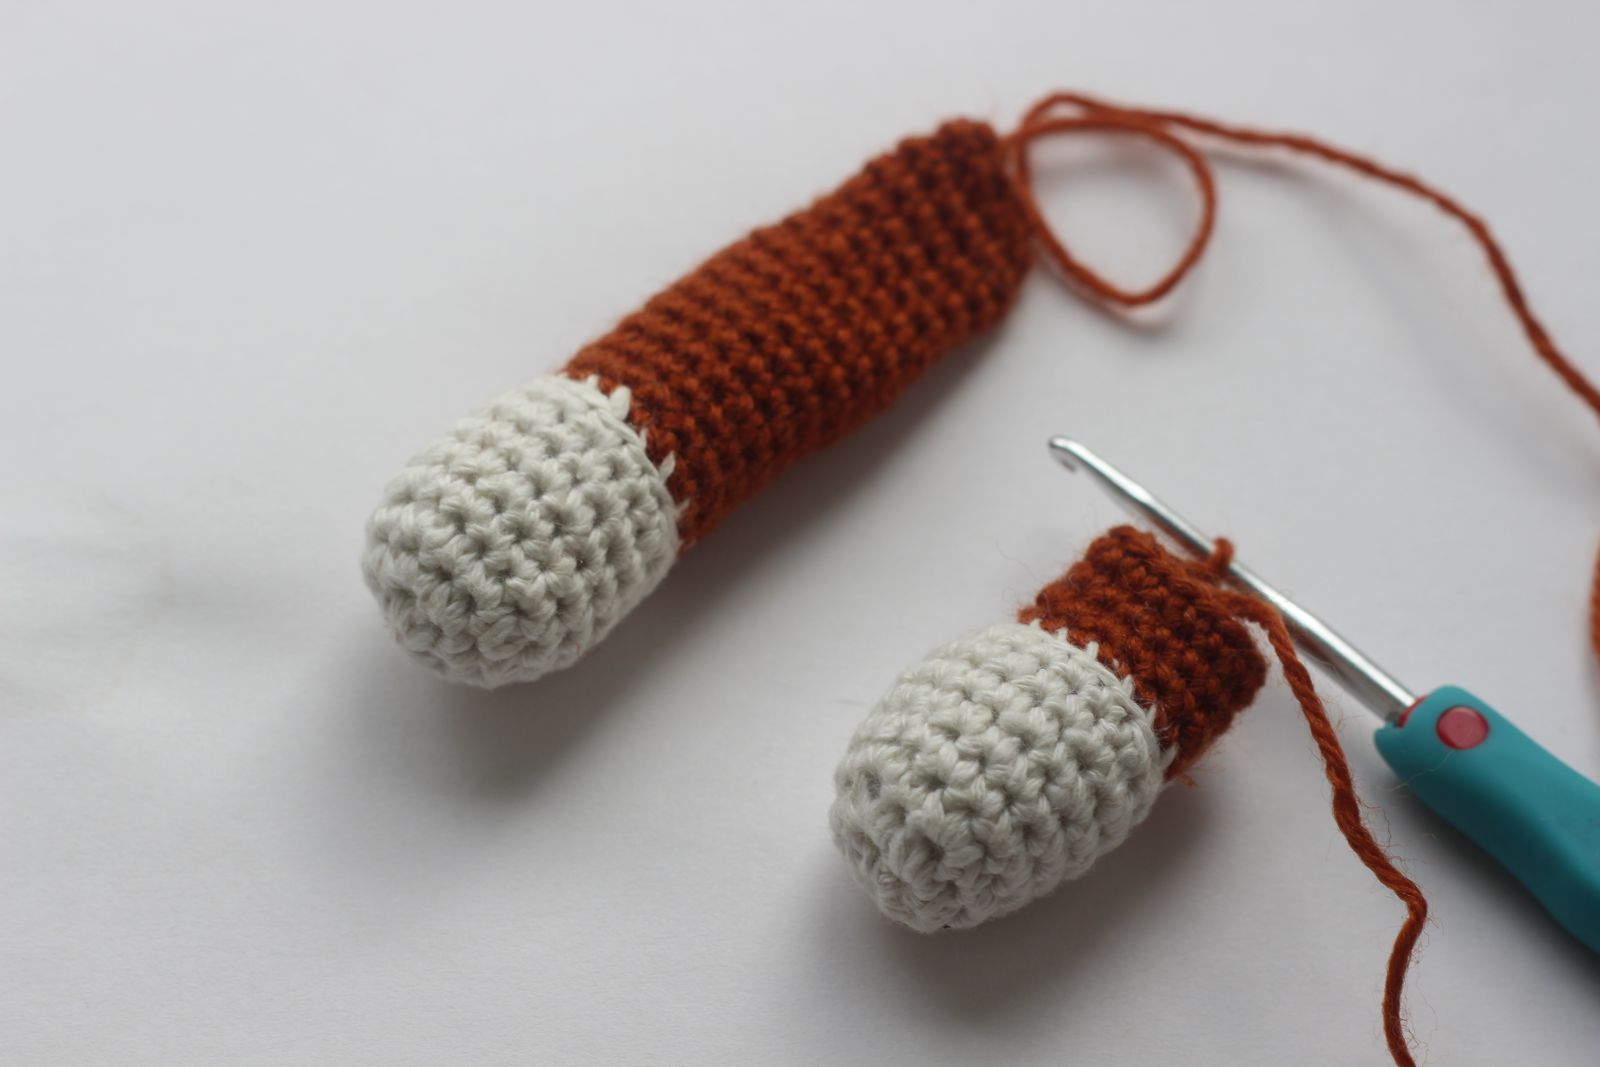
ARM (2x)
Start crocheting with white color yarn.
Round 1: 6 single crochets into Magic Ring.
Round 2: increase 6 times (12 stitches)
Round 3: *single crochet in next stitch, increase* (18 stitches)
Rounds 4-7: single crochet in each of next 18 stitches
Round 8: *decrease, single crochet in each of next 4 stitches* (15 stitches)
Change the yarn color
Round 9 (working into the back loop): single crochet in each of next 15 stitches
Rounds 10-17: single crochet in each of next 15 stitches (2 rounds in lavender, 1 round in purple)
Stuff slightly.
Round 18: *decrease, single crochet in each of next 3 stitches* (12 stitches)
Round 19-22: single crochet in each of next 12 stitches
Round 23: *decrease* 6 times
Bind off. Work the second arm the same way.
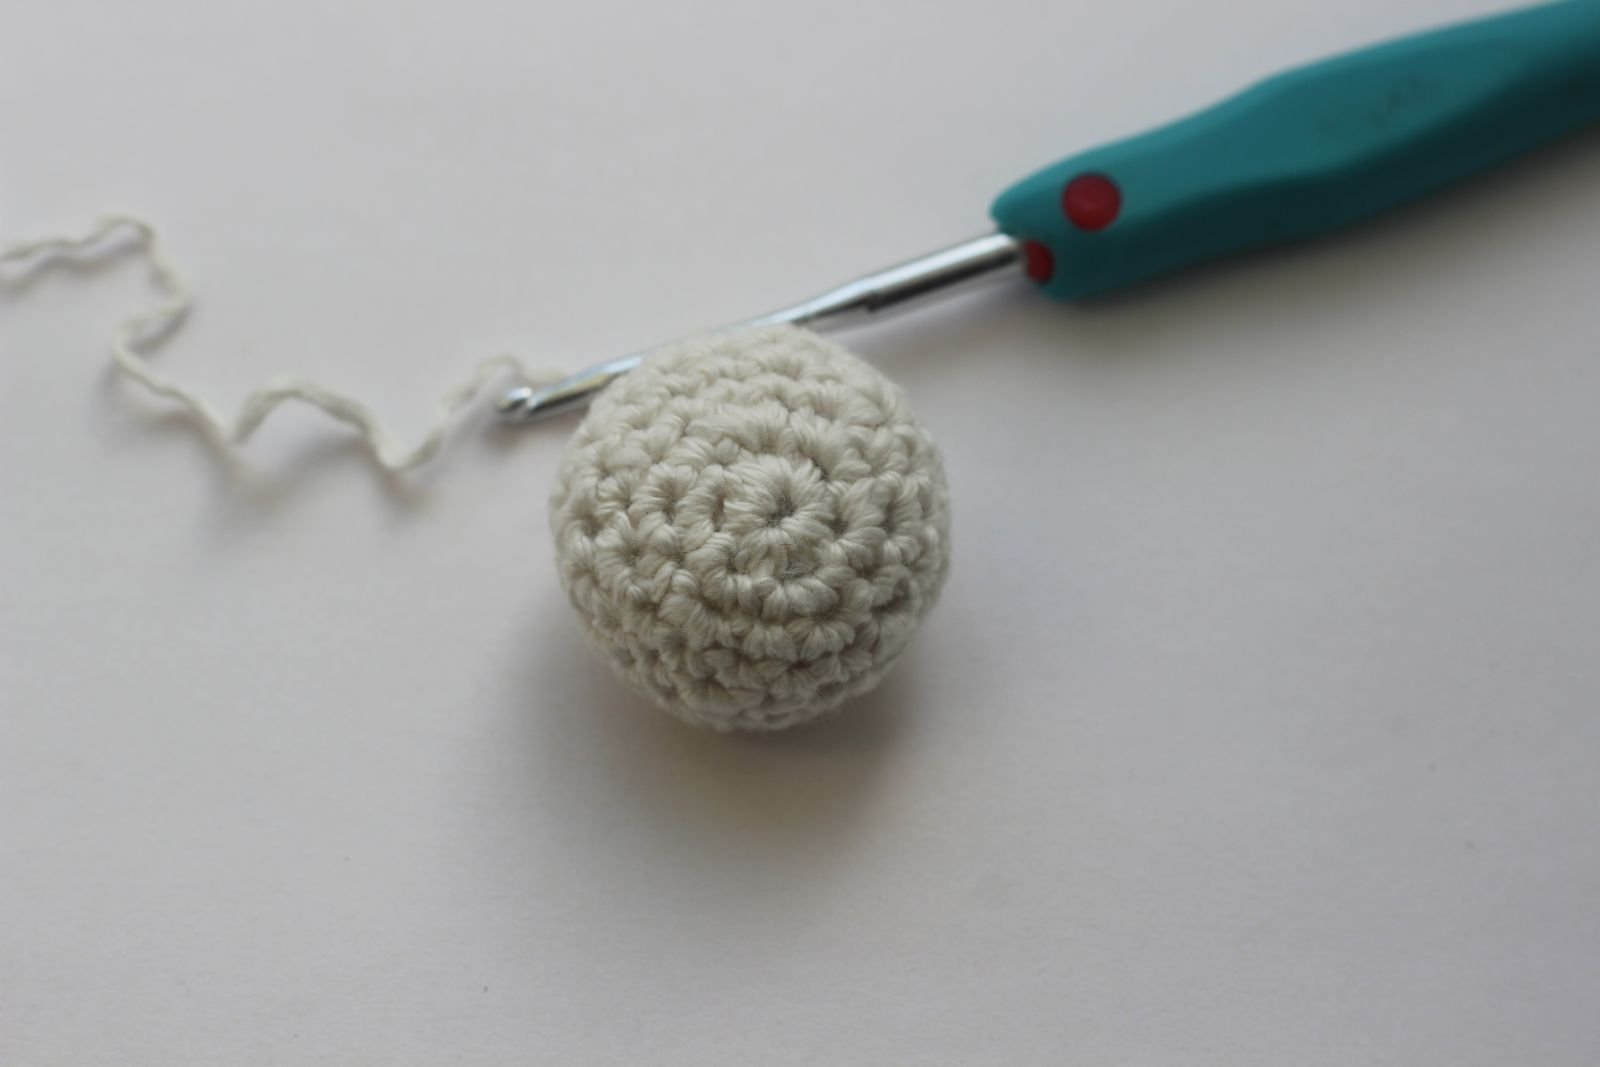
NOSE
Crochet with white color yarn.
Round 1: 6 single crochets into Magic Ring.
Round 2: increase 6 times (12 stitches)
Round 3: *single crochet in the next stitch, increase* (18 stitches)
Round 4: *single crochet in each of next 5 stitches, increase* (21 stitches)
Rounds 5-7: single crochet in each of next 21 stitches
Round 8: *decrease, single crochet in each of next 5 stitches* (18 stitches)
Round 9: *decrease, single crochet in the next stitch* (12 stitches)
Bind off leaving a long tail for sewing.
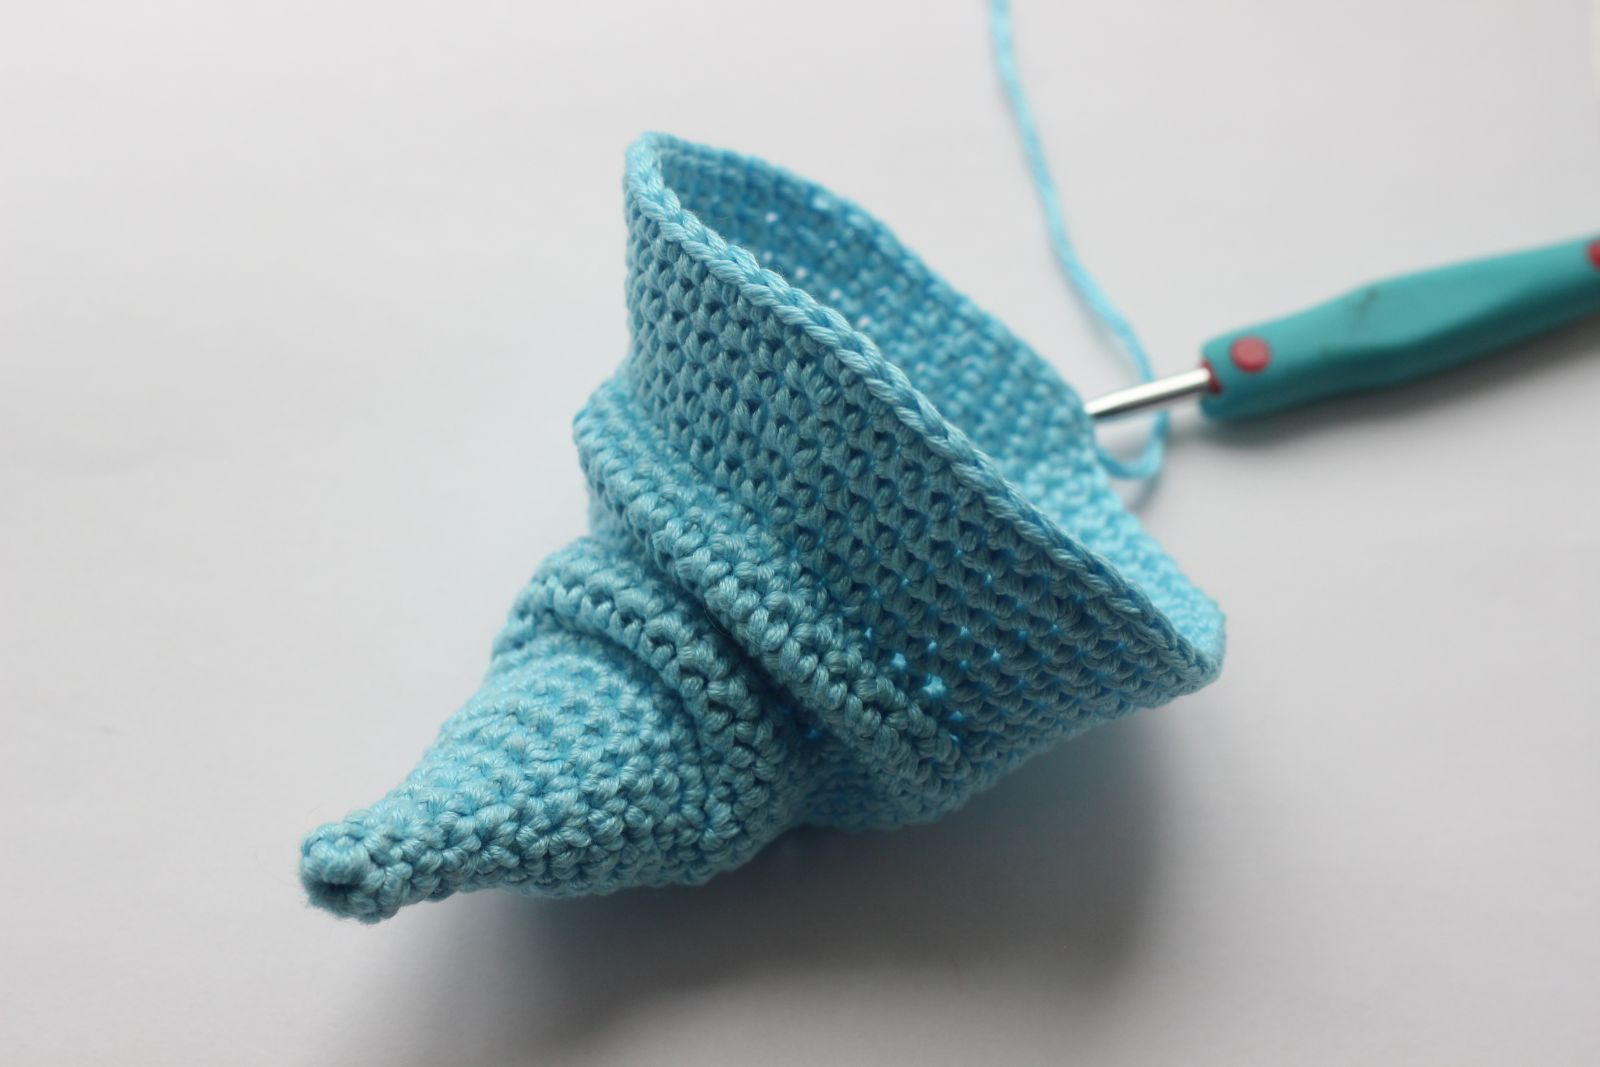
HAT
Round 1: 6 single crochets into Magic Ring.
Rounds 2-3: single crochet in each of next 6 stitches
Round 4: *increase, single crochet in the next stitch* (9 stitches)
Round 5: single crochet in each of next 9 stitches
Round 6: *increase, single crochet in each of next 2 stitches* (12 stitches)
Round 7: single crochet in each of next 12 stitches
Round 8: *increase, single crochet in the next stitch* (18 stitches)
Round 9-11: single crochet in each of next 18 stitches
Round 12: *increase, single crochet in each of next 2 stitches* (24 stitches)
Round 13: single crochet in each of next 8 stitches, working into the front loop of the next 7 stitches: single crochet in each of next 7 stitches, single crochet in each of next 9 stitches
Rounds 14-16: single crochet in each of next 24 stitches
Round 17: single crochet in each of next 8 stitches; single crochet in each of next 7 stitches (insert hook through both loops of the 16th round and through the back loop of the 13th round); single crochet in each of next 9 stitches
Round 18: *increase, single crochet in each of next 3 stitches* (30 stitches)
Round 19: *increase, single crochet in each of next 4 stitches* (36 stitches)
Round 20: single crochet in each of next 10 stitches, working into the front loop of the next 14 stitches: single crochet in each of next 14 stitches, single crochet in each of next 12 stitches
Rounds 21-23: single crochet in each of next 36 stitches
Round 24: single crochet in each of next 10 stitches; single crochet in each of next 14 stitches (insert hook through both loops of the 23rd round and through the back loop of the 20th round); single crochet in each of next 12 stitches
Round 25: *increase, single crochet in each of next 5 stitches* (42 stitches)
Round 26: single crochet in each of next 42 stitches
Round 27: *increase, single crochet in each of next 6 stitches* (48 stitches)
Round 28: single crochet in each of next 48 stitches
Round 29: *increase, single crochet in each of next 7 stitches* (54 stitches)
Round 30: single crochet in each of next 54 stitches
Round 31: *increase, single crochet in each of next 5 stitches*
Rounds 32: single crochet in each of next stitch till the end of the round.
Bind off leaving a long tail for sewing.
BEARD
Crochet with white color yarn.
Round 1: 6 single crochets into Magic Ring.
Round 2: single crochet in each of next 6 stitches
Round 3: *increase, single crochet in the next stitch* (9 stitches)
Round 4: *increase, single crochet in each of next 2 stitches* (12 stitches)
Round 5: *increase, single crochet in each of next 3 stitches* (15 stitches)
Round 6: *increase, single crochet in each of next 4 stitches* (18 stitches)
Round 7: *increase, single crochet in each of next 5 stitches* (21 stitches)
Round 8: *increase, single crochet in each of next 6 stitches* (24 stitches)
Round 9: *increase, single crochet in each of next 7 stitches* (27 stitches)
Round 10: single crochet in each of next 27 stitches
Round 11: *increase, single crochet in each of next 8 stitches* (30 stitches)
Round 12: single crochet in each of next 30 stitches
Round 13: *increase, single crochet in each of next 9 stitches* (33 stitches)
Round 14: single crochet in each of next 33 stitches
Round 15: *increase, single crochet in each of next 10 stitches* (36 stitches)
Round 16-20: single crochet in each of next 36 stitches
Bind off leaving a long tail for sewing. Sew the beard to the body of your gnome.
TINY PUMPKIN
They take so less time and work up simply using a half double crochet stitch.
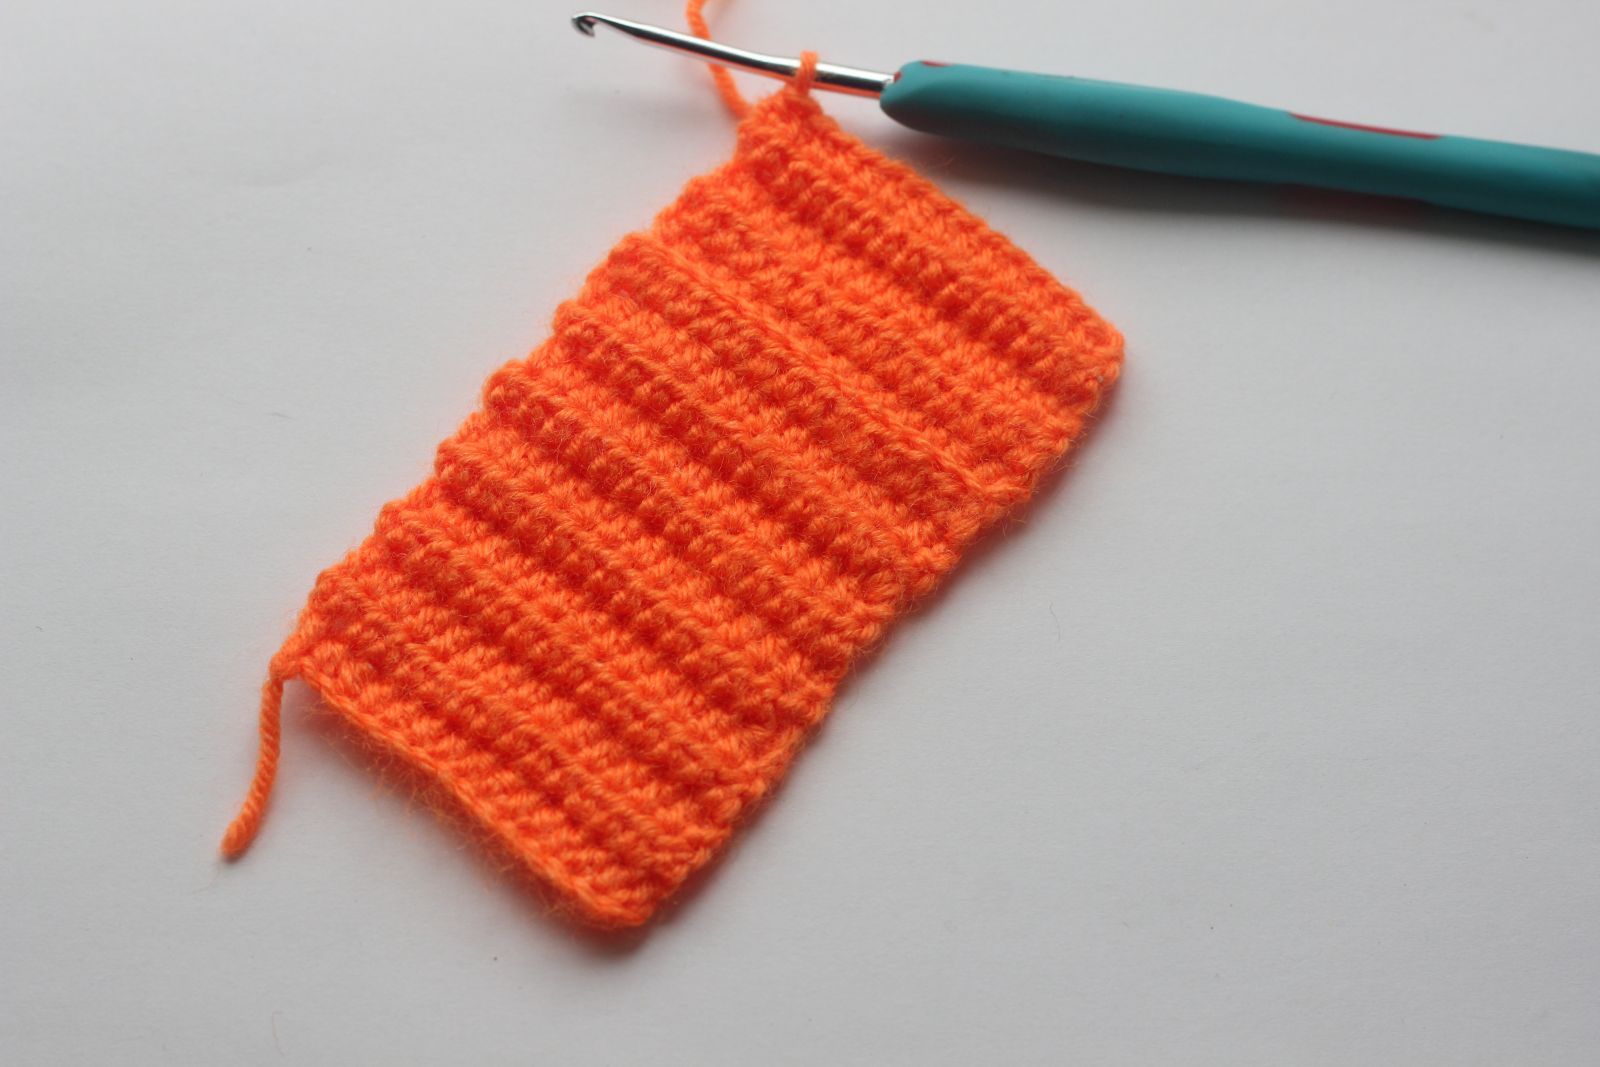
Row 1: chain 25 stitches, hdc in the 3rd chain from your hook and each chain across the row, chain 2 stitches and turn.
Row 2 (into the back loop): hdc in each of next stitch till the end of the row, chain 2 stitches and turn.
Row 3 (working into both loops): hdc in each of next stitch till the end of the row, chain 2 stitches and turn.
Repeat rows 2 and 3 eight more times.
Fasten off leaving a long tail for seaming.
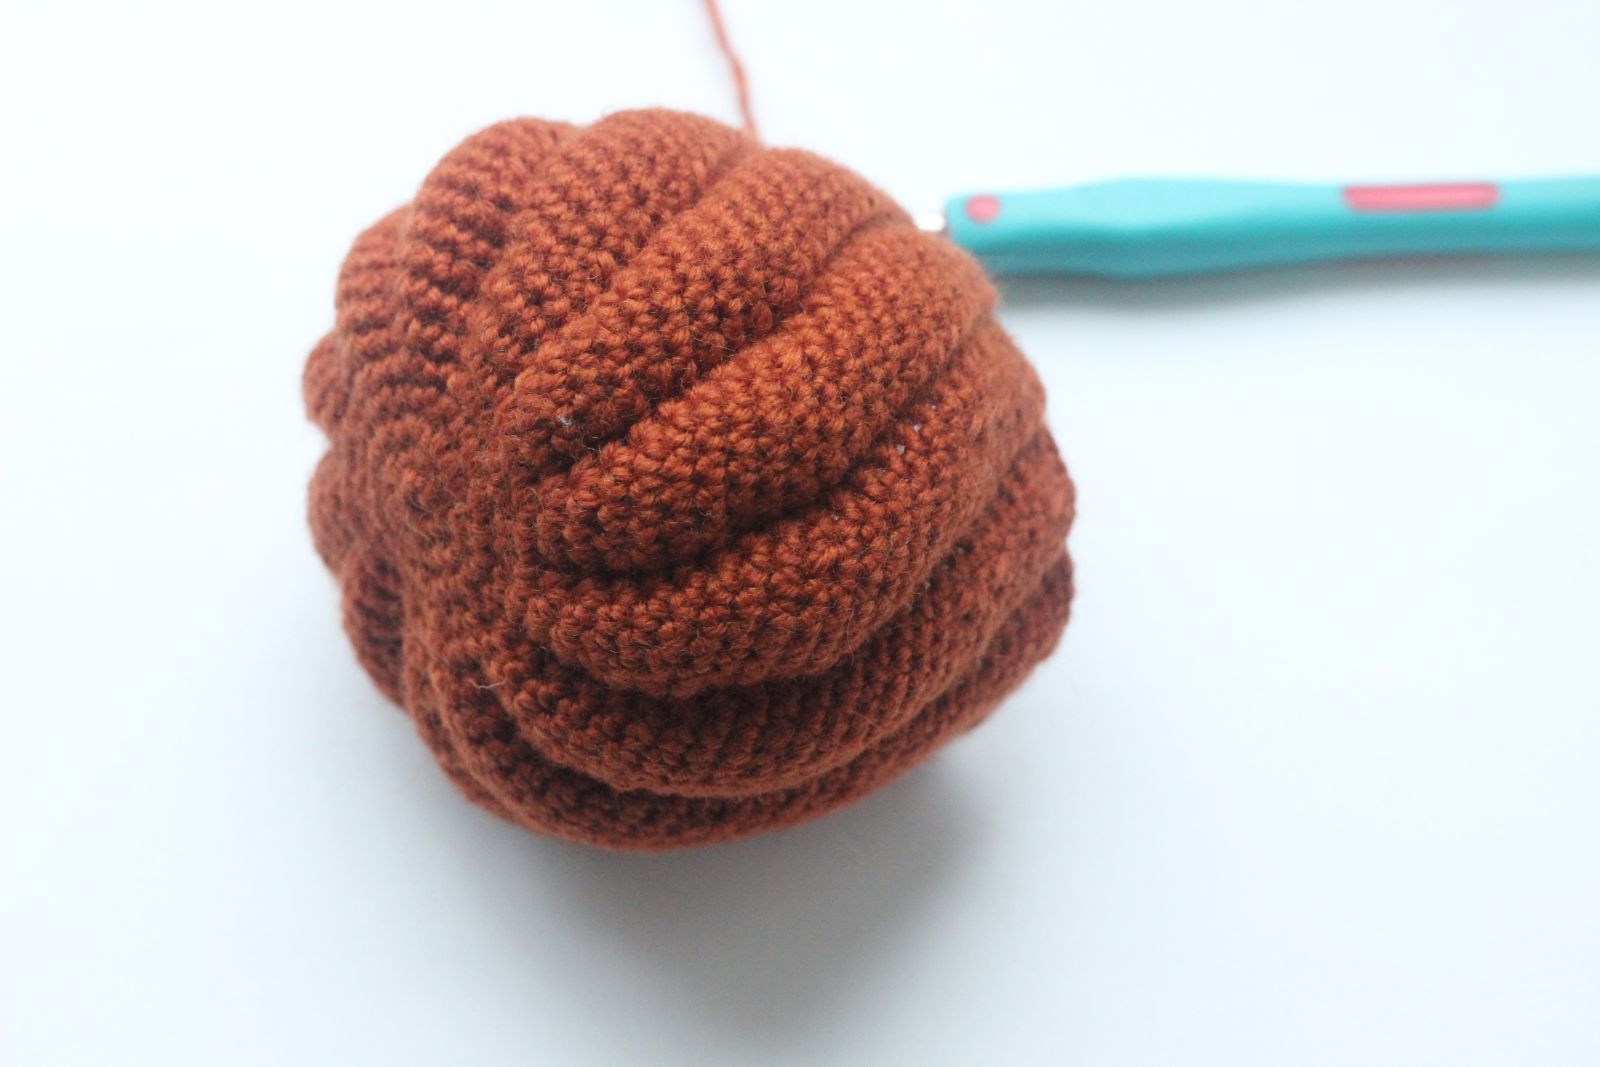
Fold your rectangle to line up the two short edges. Using any method you prefer, stitch those two short edges together with your yarn needle. Begin sewing the bottom of the pumpkin. Continuing seaming by weaving your yarn needle in and out of the edge of the open end closest to your yarn tail. Start pulling the yarn to close the hole. Do not fasten off.
Add your stuffing and sew the upper side of the pumpkin in the same manner as the bottom side and start pulling tight. Before you close the opening completely make sure you´ve put enough stuffing. Secure the yarn and pull the tail back through the top, down to the bottom center to hide it.
Now create more shape if desired:
Insert the needle in the middle of the hole and push it all the way to the middle of the other side, pull the yarn tight, wrap thread around the pumpkin, then thread through the top center to the bottom center, pull tight to form a segment. Repeat 5 more times making sure each segment is evenly sized. Weave in yarn ends.
Great job! Your tiny pumpkin is complete!
STEM
Crochet using dark green color yarn.
Round 1: 6 single crochets into Magic Ring
Round 2: increase 6 times (12 stitches)
Rounds 3-5: single crochet in each of next 12 stitches
Round 6: *decrease, single crochet in each of next 2 stitches* (9 stitches)
Bind off leaving a long tail for sewing.
ASSEMBLY
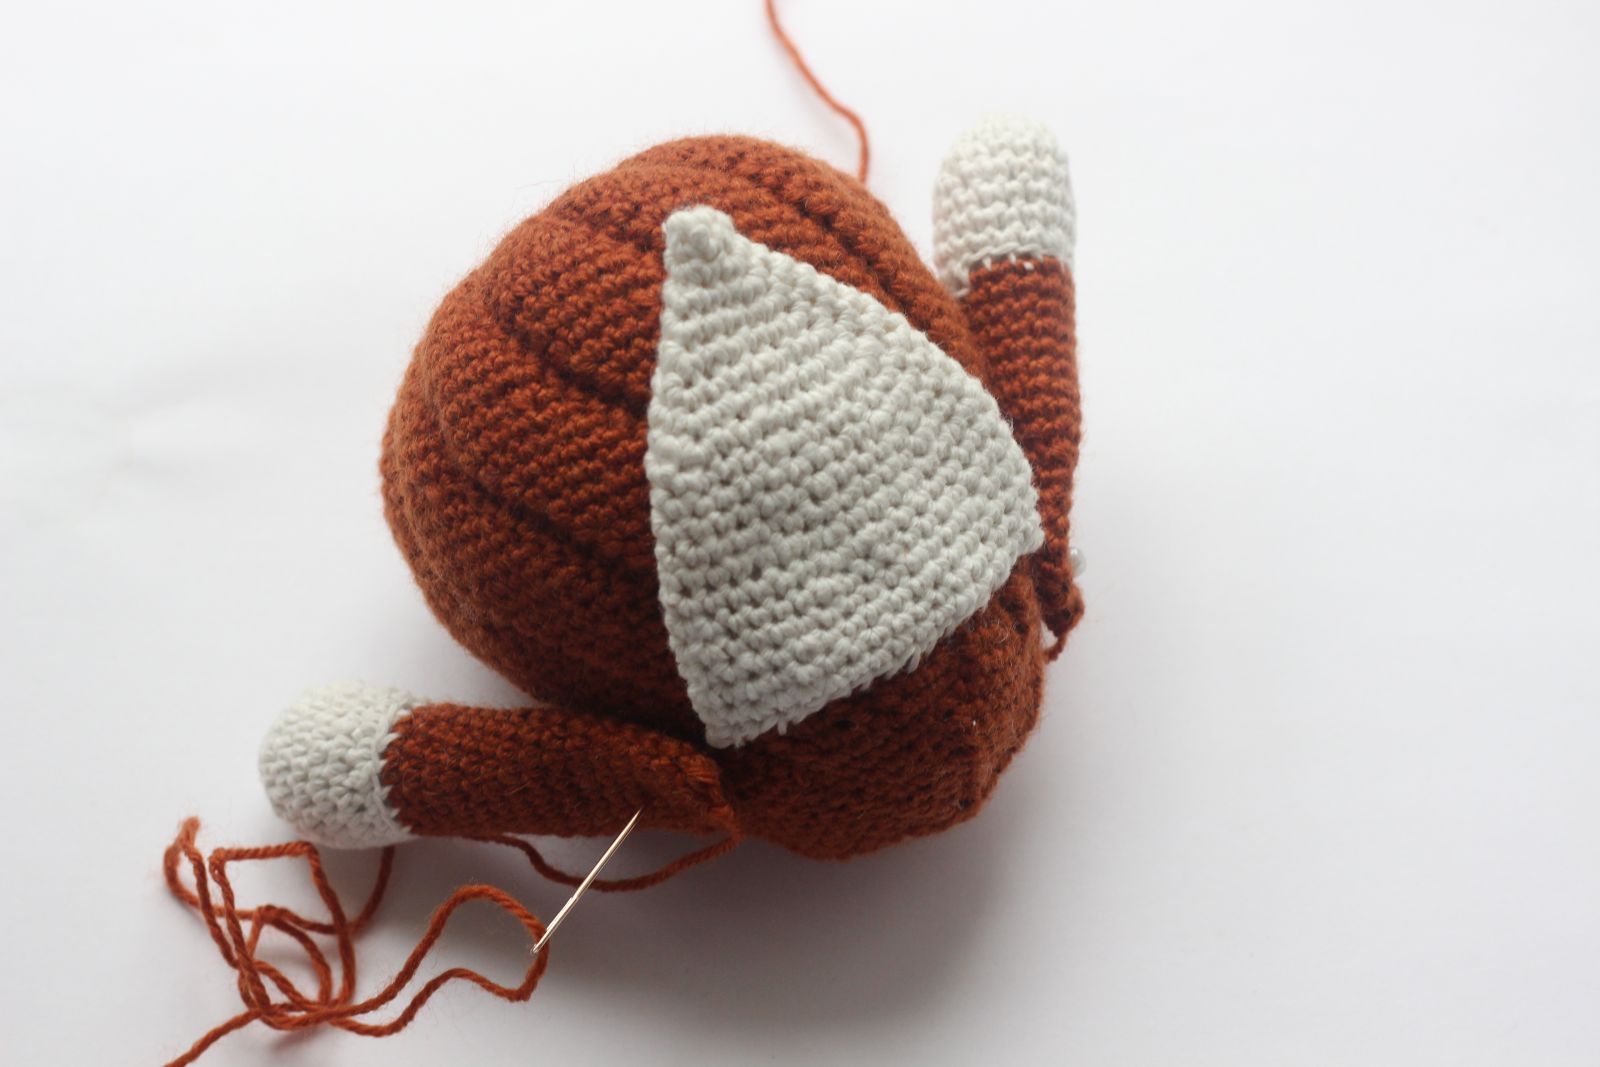
Attach arms to the body of your gnome.
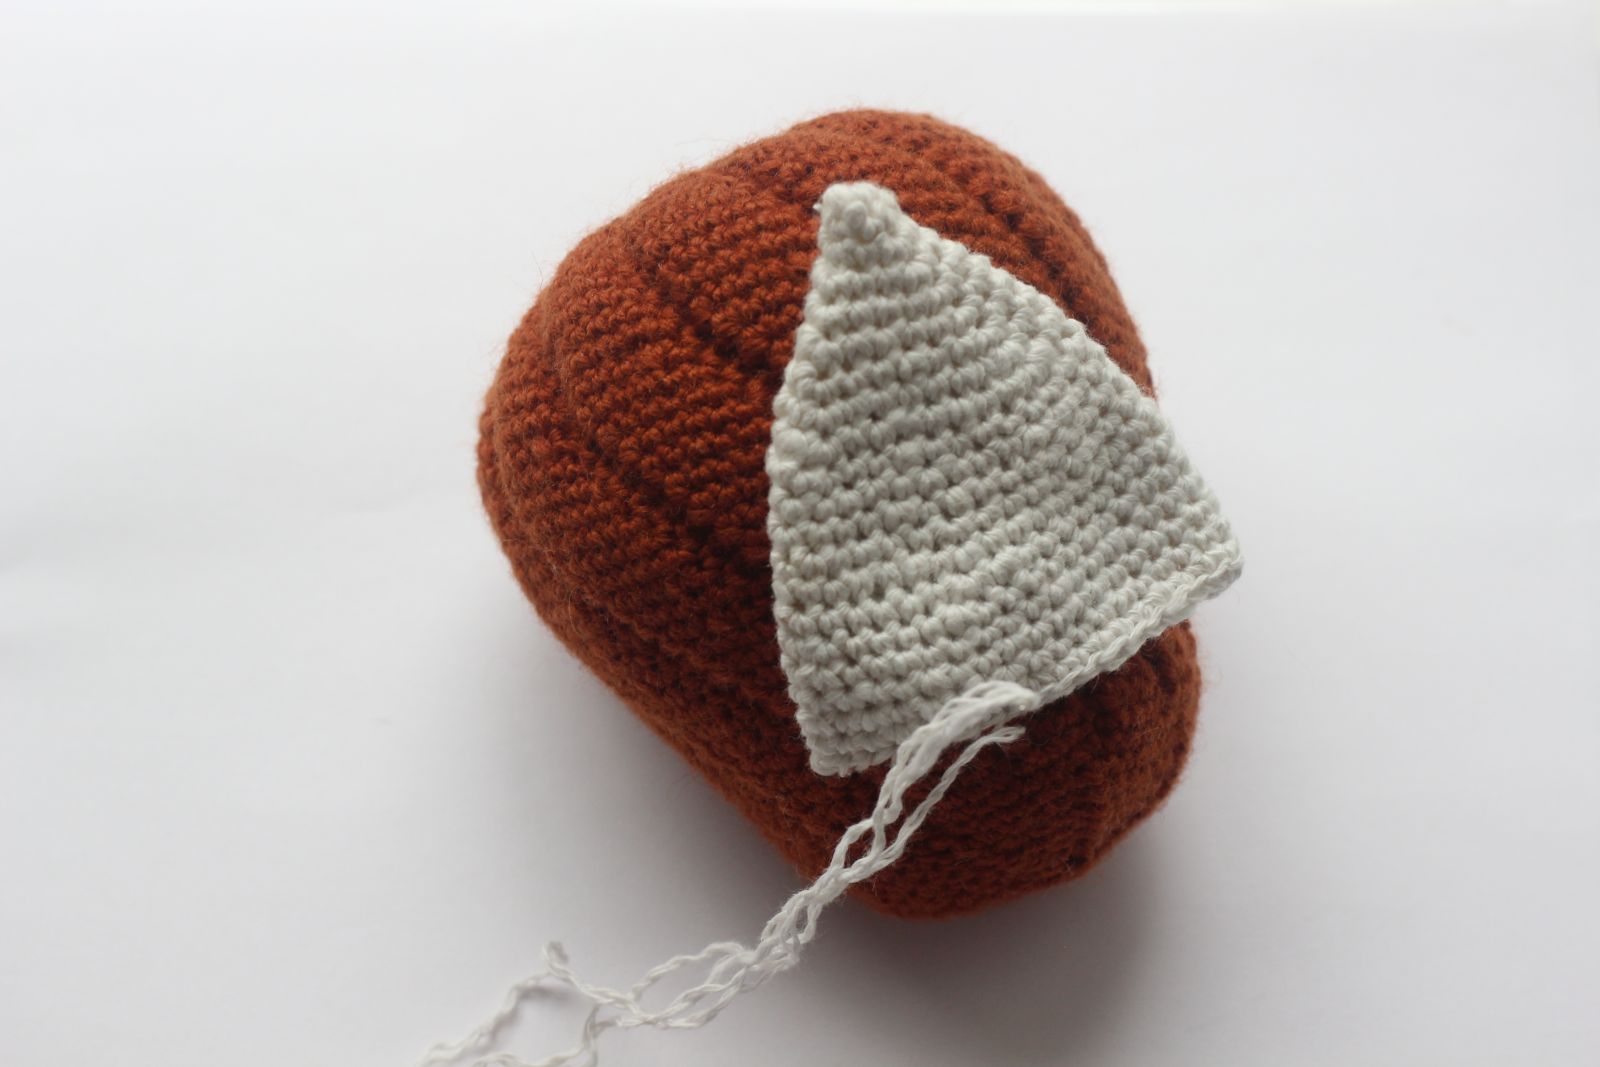
Mark where you want the nose to be and sew it to the gnome.
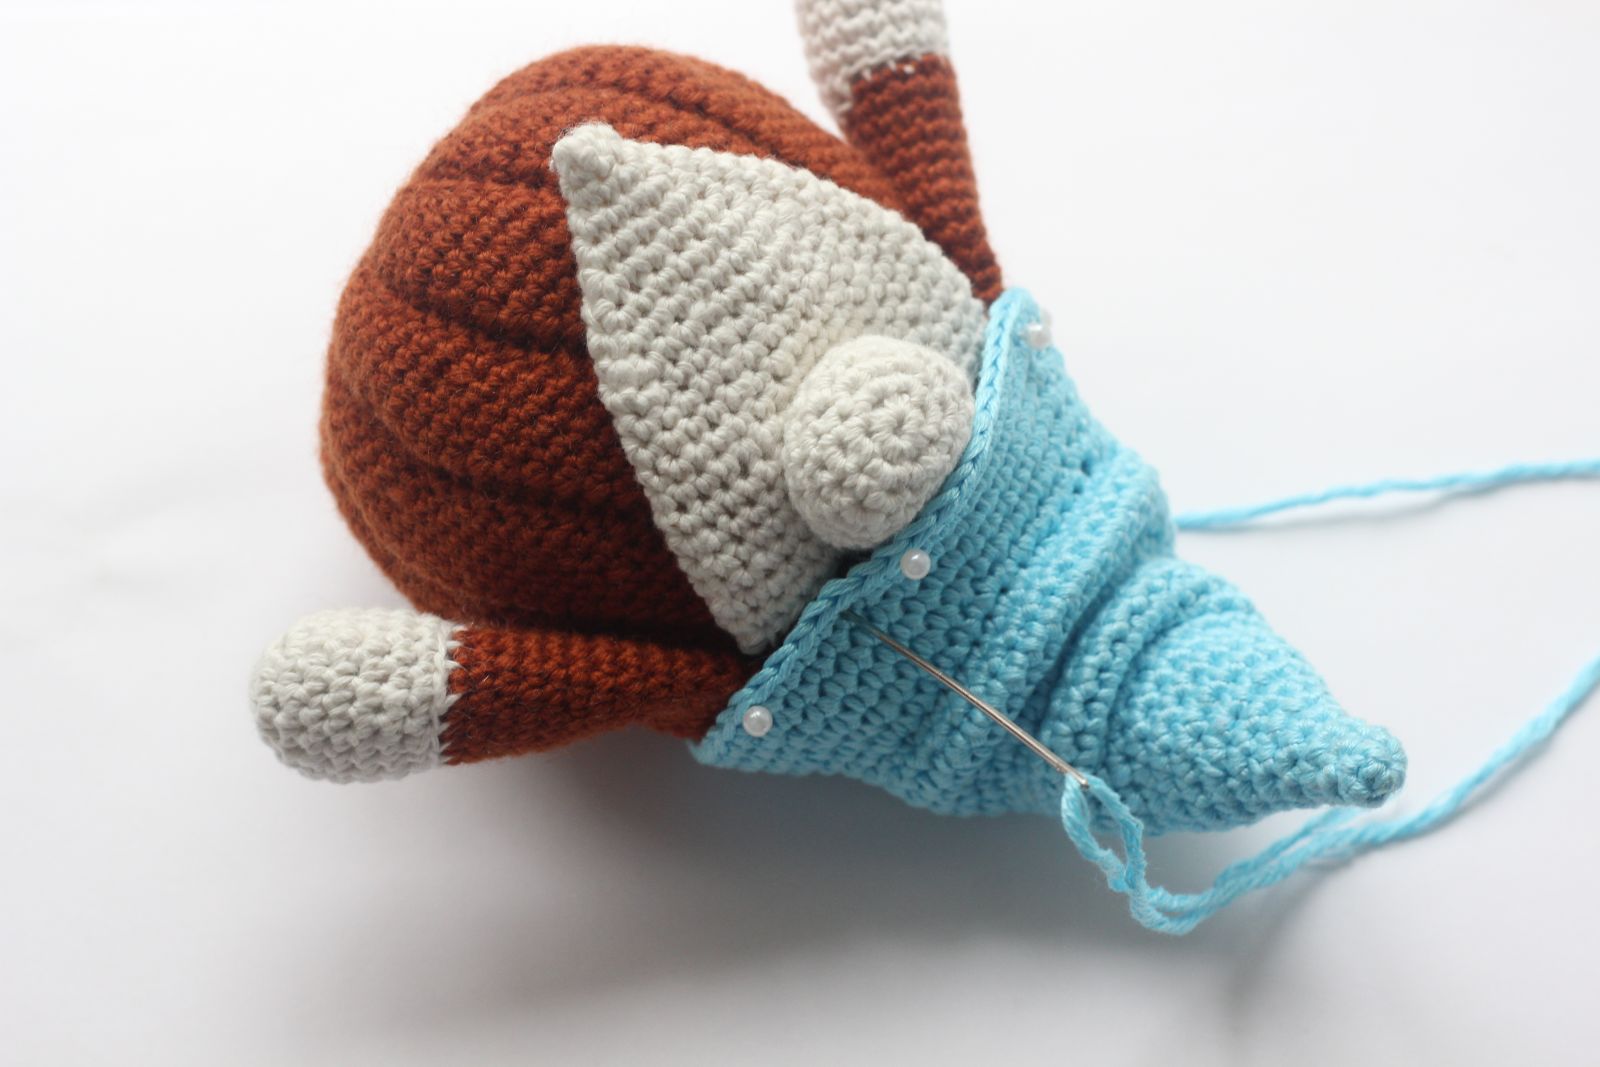
Then sew the hat onto the head so that it molds around the nose a little.
Attach the pumpkin to the hat of the gnome.
I hope you enjoyed crocheting the gnome and found the pattern helpful. I would love to see your finished amigurumi, so share a picture here or on Instagram by tagging me @tansuluucrafthaus.
Happy crocheting! Feel free to contact me with any questions. Thank you for stopping by and have a lovely day!
.JPG)
.JPG)
.JPG)
.JPG)
.JPG)



.JPG)
.JPG)
.JPG)


