Materials:
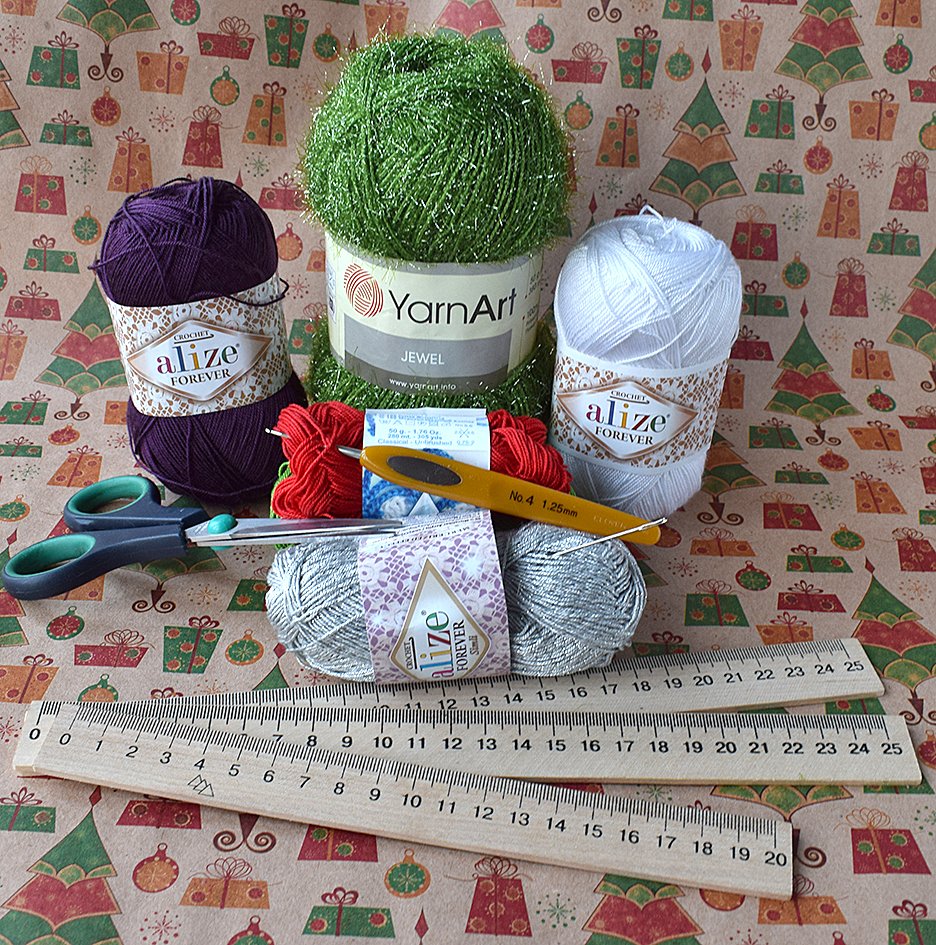
– YarnArt Jewel 50 g /380 m, Alize forever 50 g /280 m (various colours)
– 1,25mm crochet hook
– a pair of scissors, a sewing needle, hollow fiber stuffing, two 25cm (9.84") rulers, one 20cm (7.87") ruler
Abbreviations:
ch – chain
sc – single crochet
hdc – half double crochet
inc – increase
dec - decrease, two single crochets together
Christmas tree contour stripes (3 pcs)
ch 22 in the Magic Ring
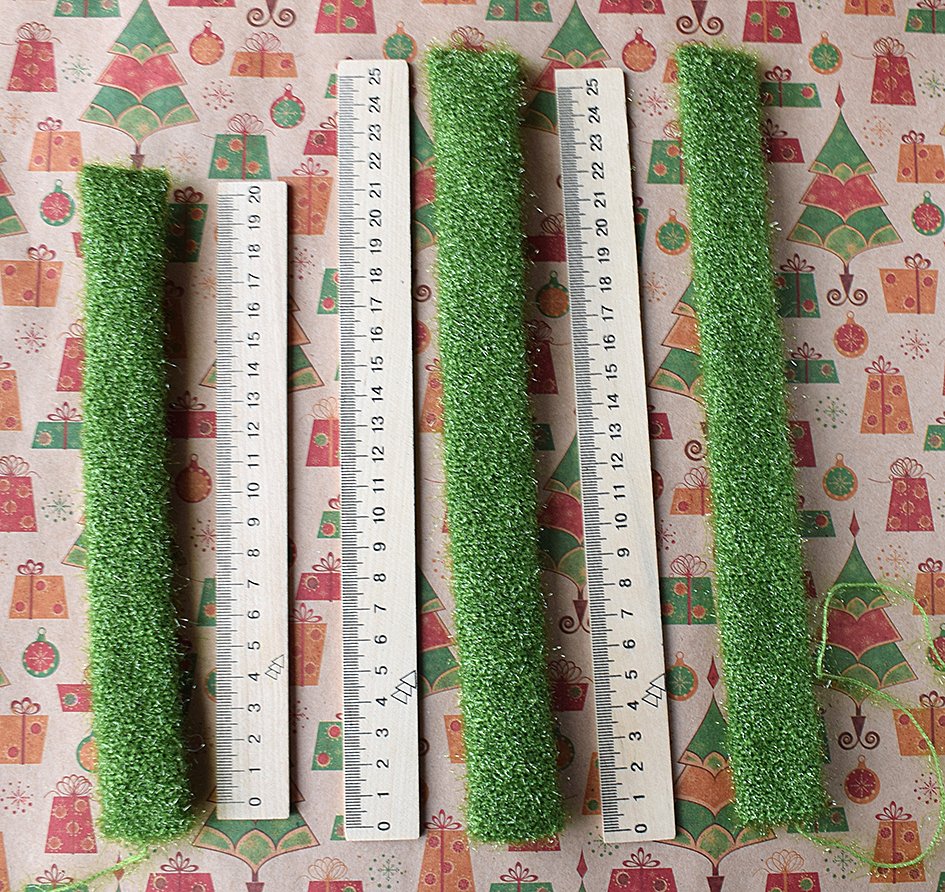
22 hdc in spirals. Make as many rounds as necessary to completely cover each ruler. I made 78 rounds for a 25cm ruler and 64 rounds for a 20cm ruler.
Insert each ruler into a respective strip. Close up the edges with a crochet hook.
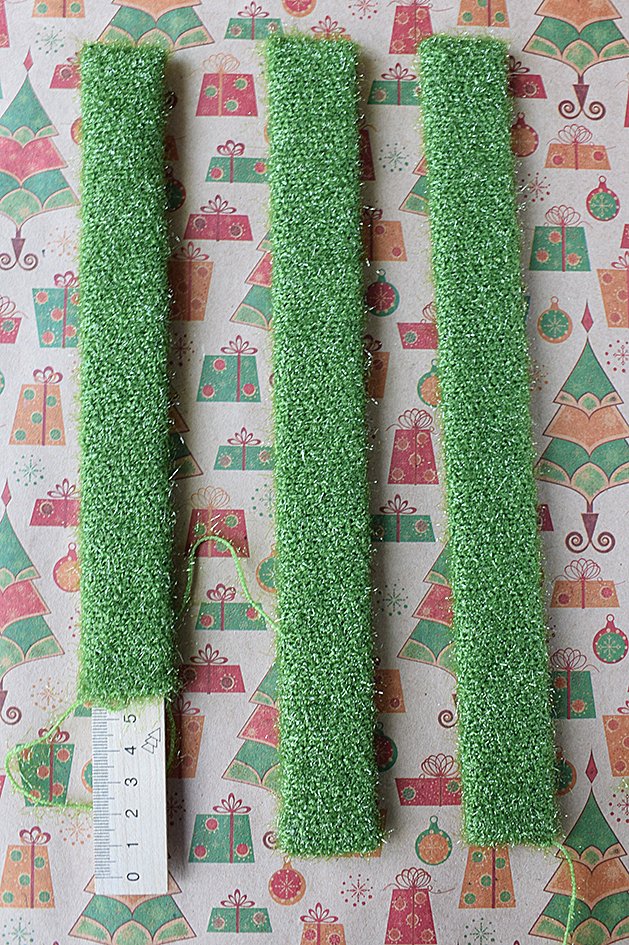
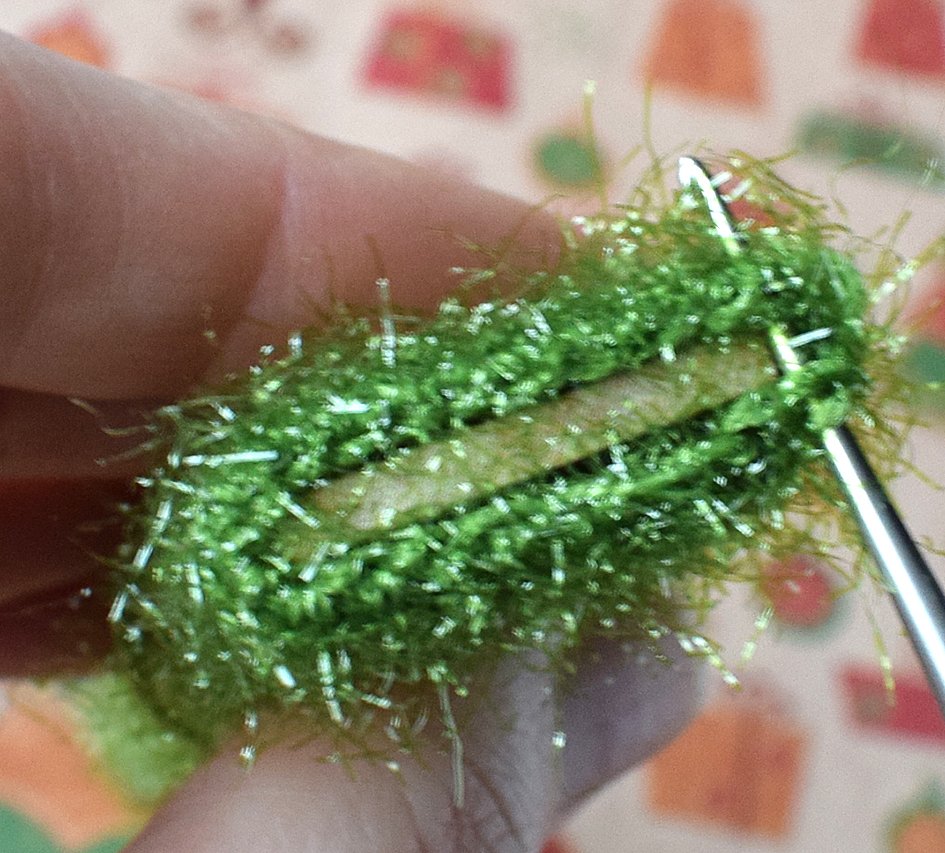

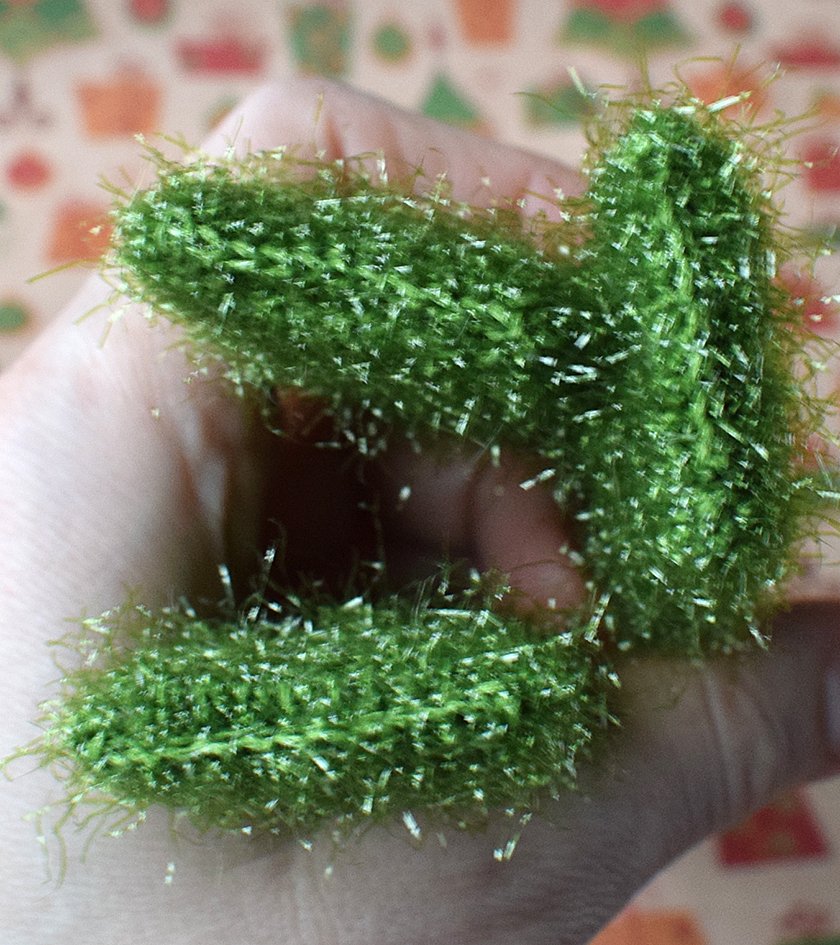
Make a triangle and sew the corners together as shown.

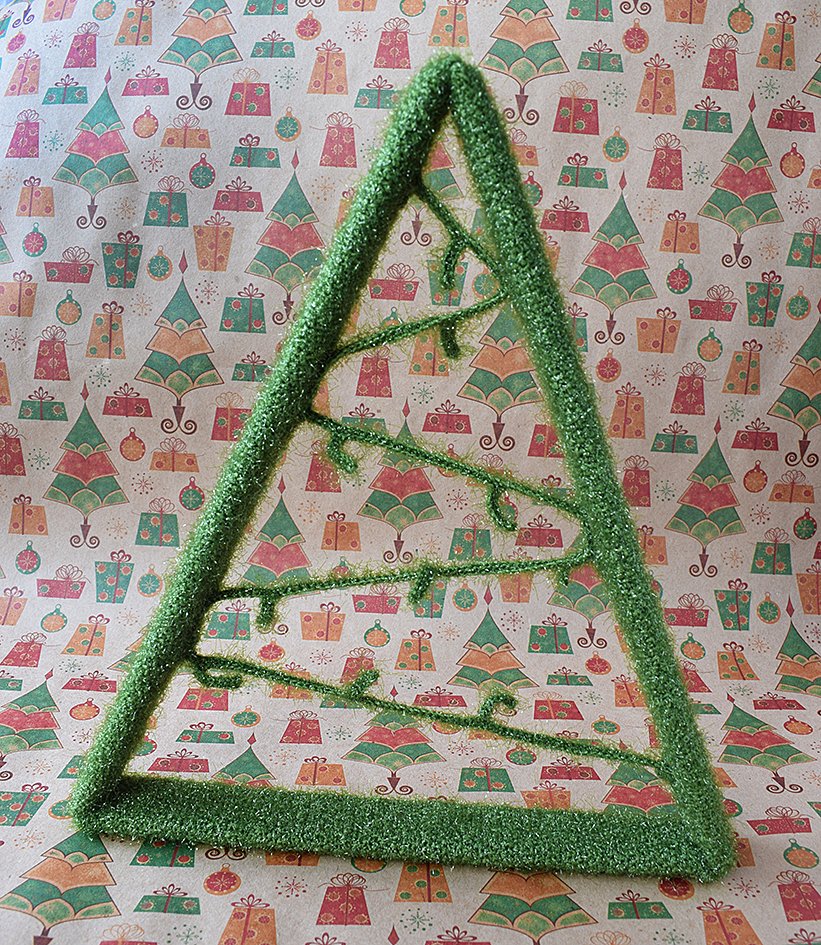
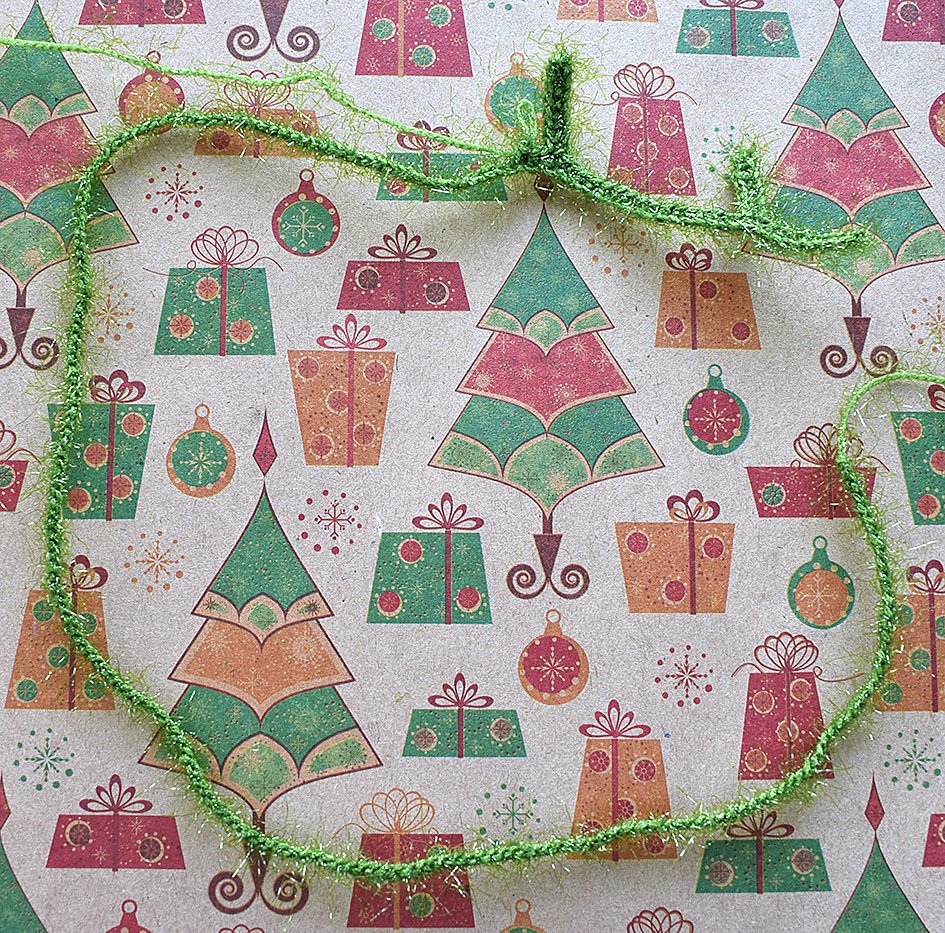
Chain a 45cm (17.71") long strip. Starting from 2nd ch from hook 14sc. Make a leaf: ch 10, starting from 2nd ch from hook 9sc. Continue crocheting along the main strip, 23sc. Make another leaf: ch 10, starting from 2nd ch from hook 9sc. Repeat the process as many times as required, you may want to leave gaps of various lengths between the leaves to make it look more realistic. See the picture for guidance.

.JPG)
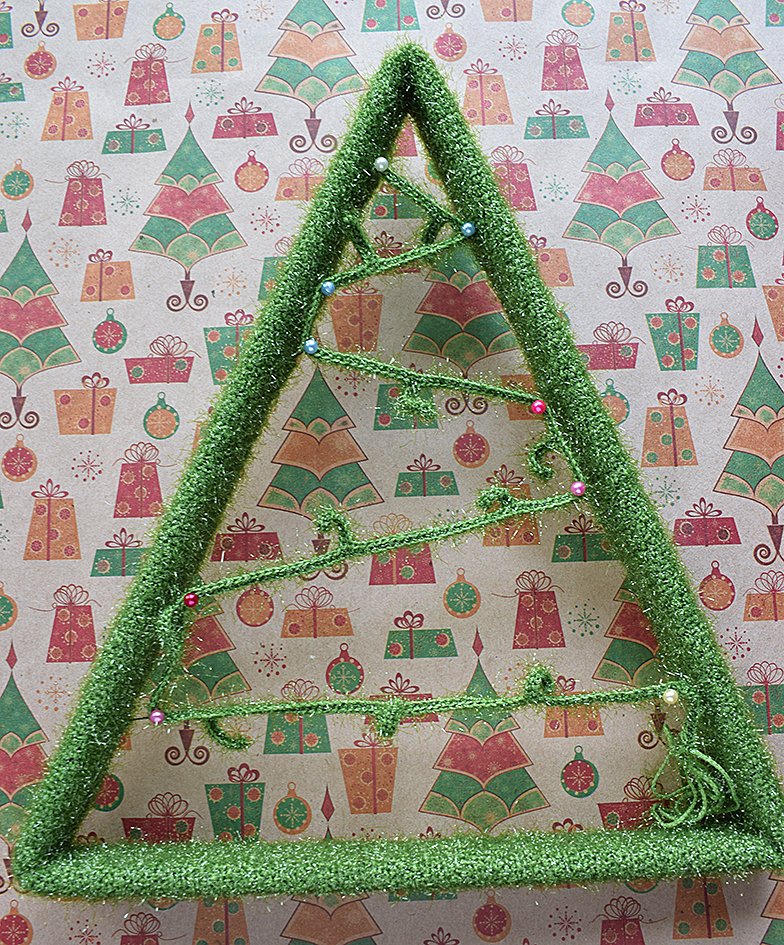
Place the strip inside the triangle, attach it with the safety pins as shown and sew it on.
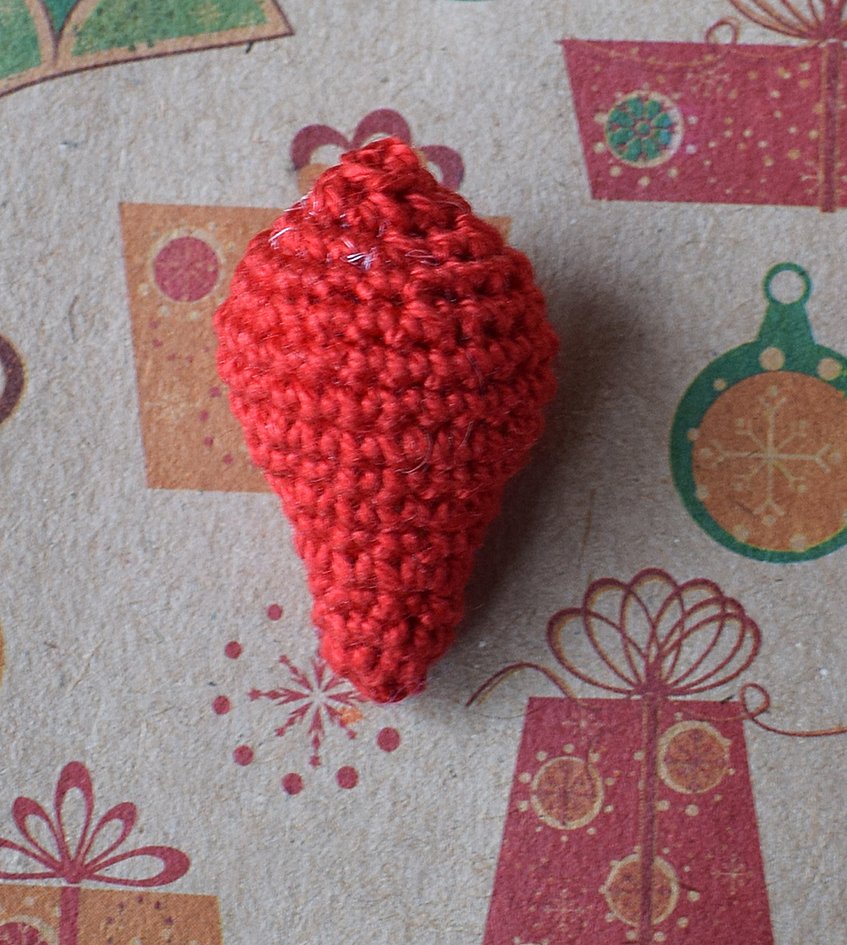
Red cone
1. Crochet 6 sc in a Magic Ring
2. 6 sc
3. (1 inc, 1 sc) х 3 = 9 sc
4. 9 sc
5. (1 inc, 2 sc) х3 = 12 sc
6. 12 sc
7. (1 inc, 1 sc) х6 = 18 sc
8. 18 sc
9. (1 inc, 2 sc) х6 = 24 sc
10 – 12. 24 sc
13. (1 dec, 2 sc) х 6 = 18 sc
14. 18 sc
15. (1 dec, 1 sc) х 6 = 12 fm
Stuff a little.
16. 12 sc
17. 6 dec = 6 sc
Bind off. Cut the excess yarn tail off.
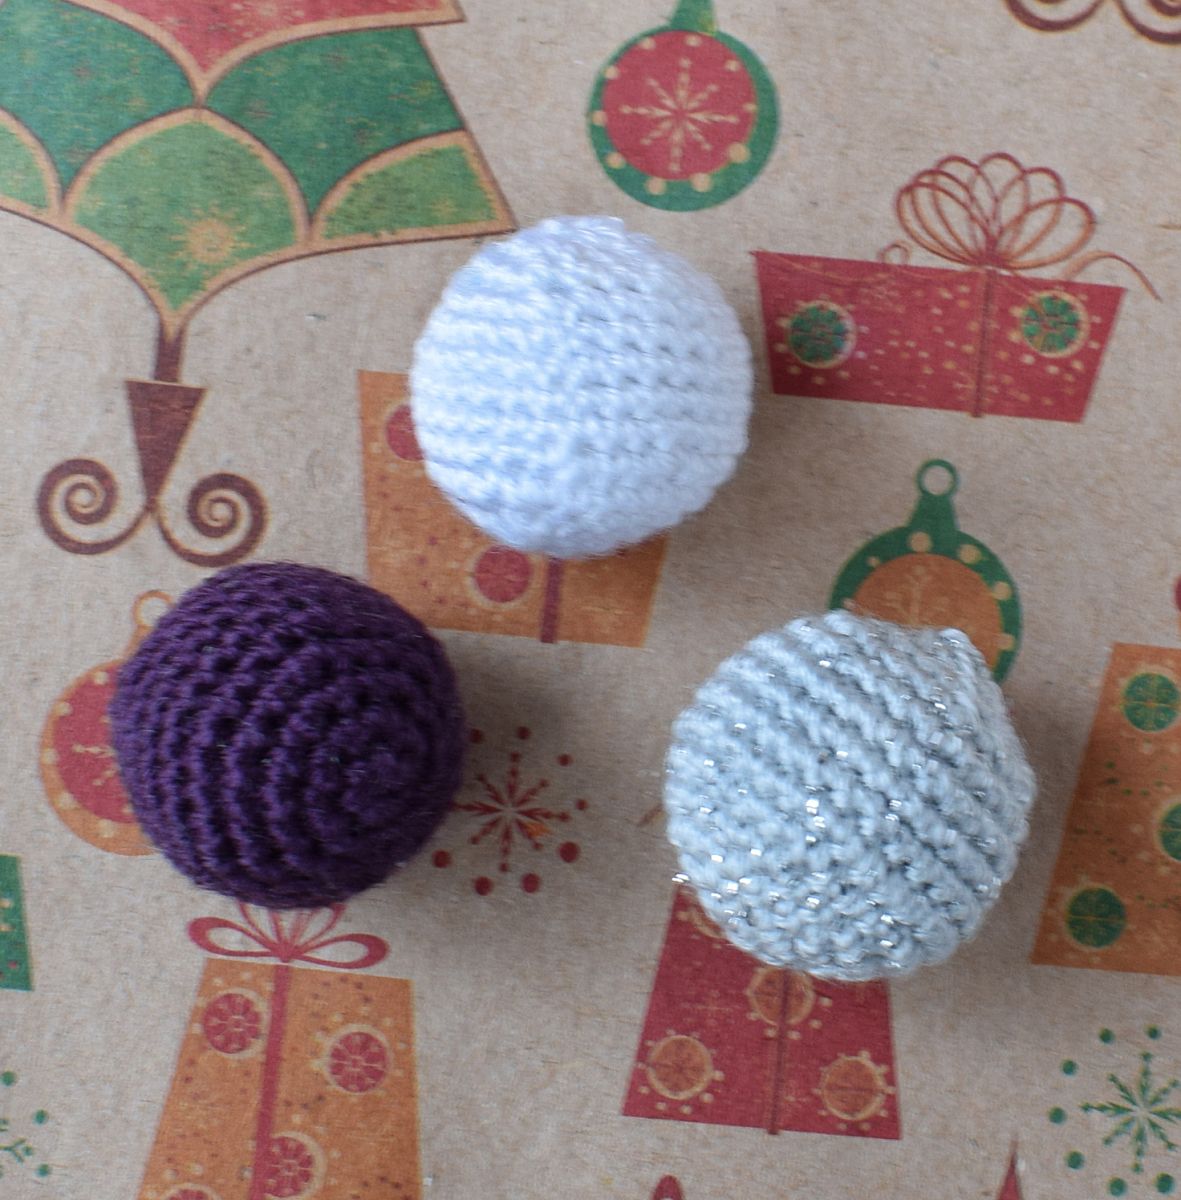
Small baubles (3 pcs)
1. Crochet 6 sc in a Magic Ring
2. 6 inc = 12 sc
3. (1inc , 1 sc) х 6 = 18
4. (2 sc, 1 inc) х 6 = 24 sc
5. (3 sc, 1 inc) х 6 = 30 sc
6 – 9. 30 sc
10. (1 dec, 3 sc) х 6 = 24 sc
11. (1 dec, 2 sc) х 6 = 18 sc
12. (1 dec, 1 sc) х 6 = 12 sc
Stuff a little.
13. 6 dec = 6
Bind off. Cut the excess yarn tail off.
Big baubles (2 pcs)
1. Crochet 6 sc in a Magic Ring
2. 6 inc = 12 sc
3. (1inc , 1 sc) х 6 = 18
4. (2 sc, 1 inc) х 6 = 24 sc
5. (3 sc, 1 inc) х 6 = 30 sc
6. (4 sc, 1 inc) х 6 = 36 sc
7. (5 sc, 1 inc) х 6 = 42 sc
8. (6 sc, 1 inc) х 6 = 48 sc
9 – 12. 48 sc
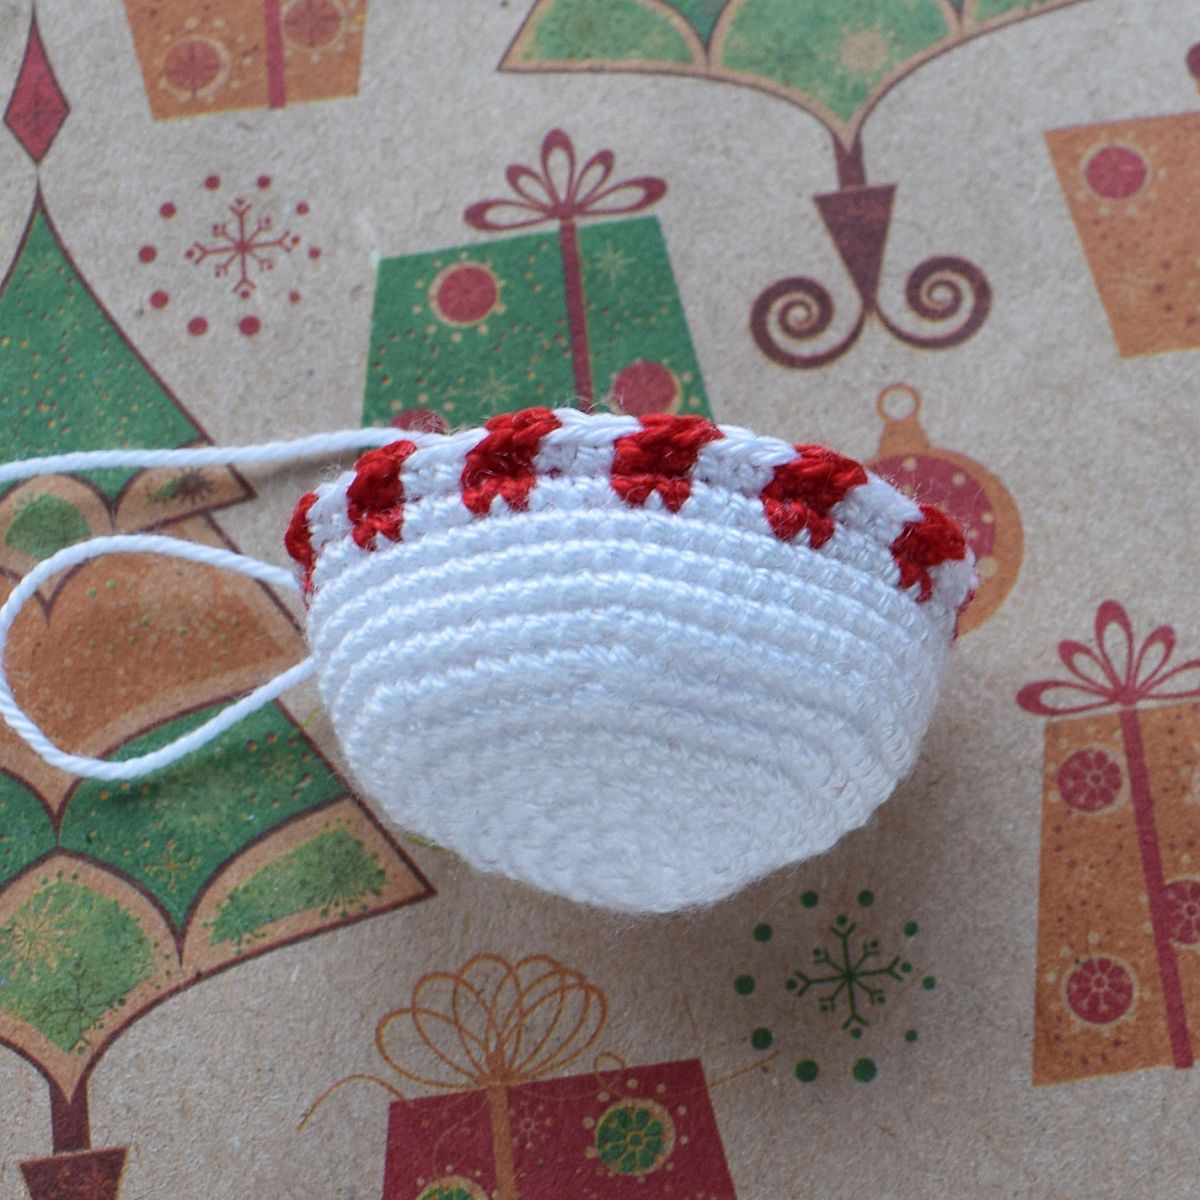
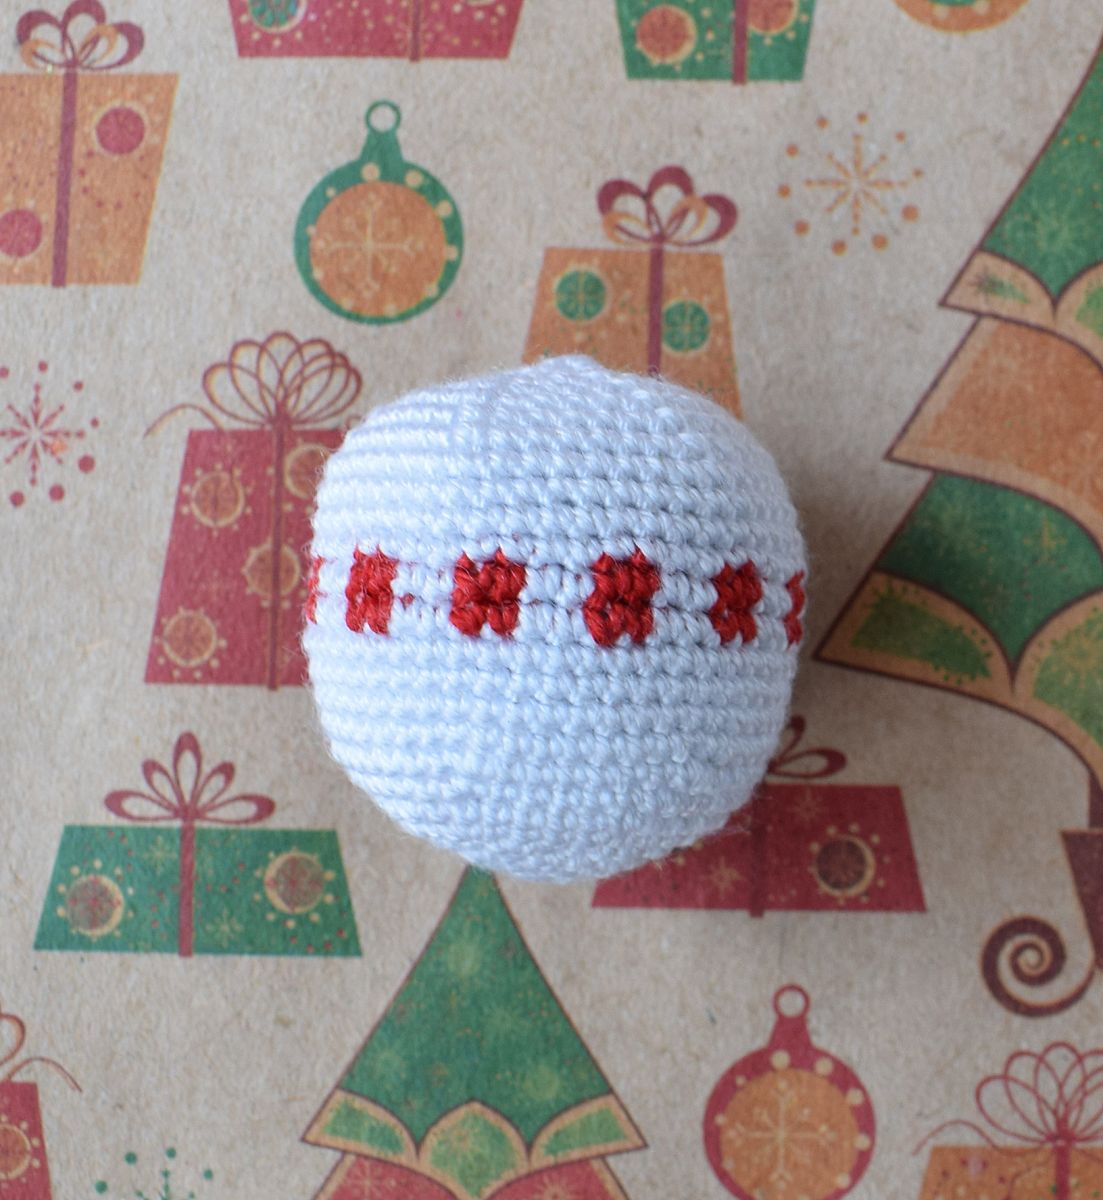
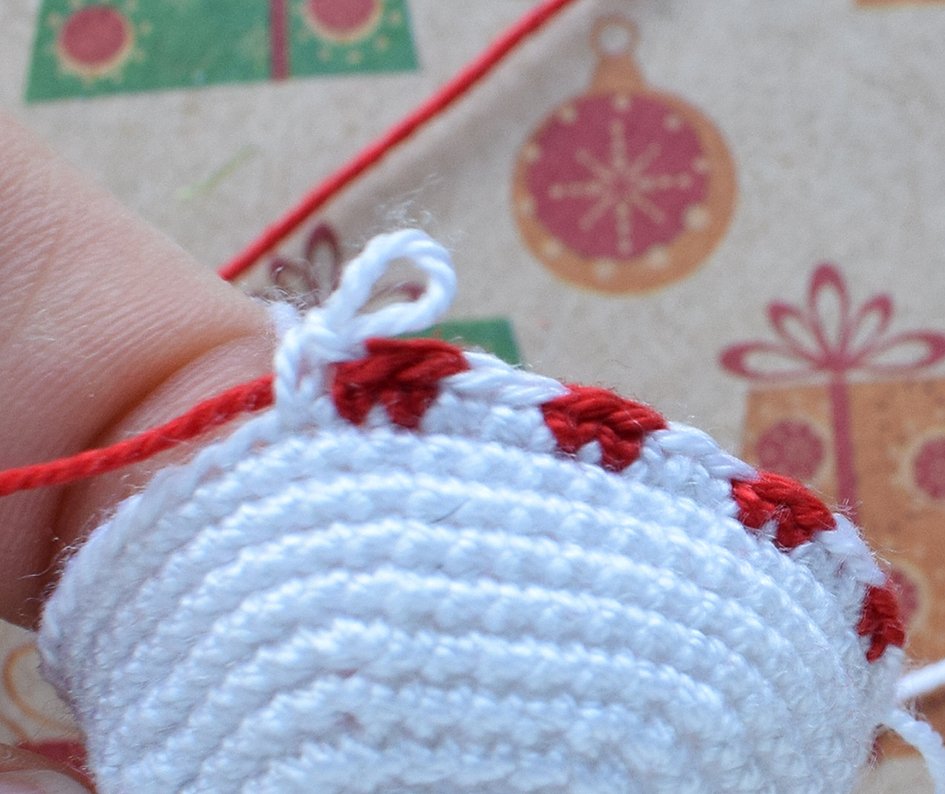
13 – 14. (2 sc primary colour, 2 sc complementary colours) х 12 = 48 sc


15 – 18. 48 sc
19. (1 dec, 6 sc) х 6 = 42 sc
20. (1 dec, 5 sc) х 6 = 36 sc
21. (1 dec, 4 sc) х 6 = 30 sc
22. (1 dec, 3 sc) х 6 = 24 sc
23. (1 dec, 2 sc) х 6 = 18 sc
Stuff a little.
24. (1 dec, 1 sc) х 6 = 12 sc
25. 6 dec = 6
Bind off. Cut the excess yarn tail off.
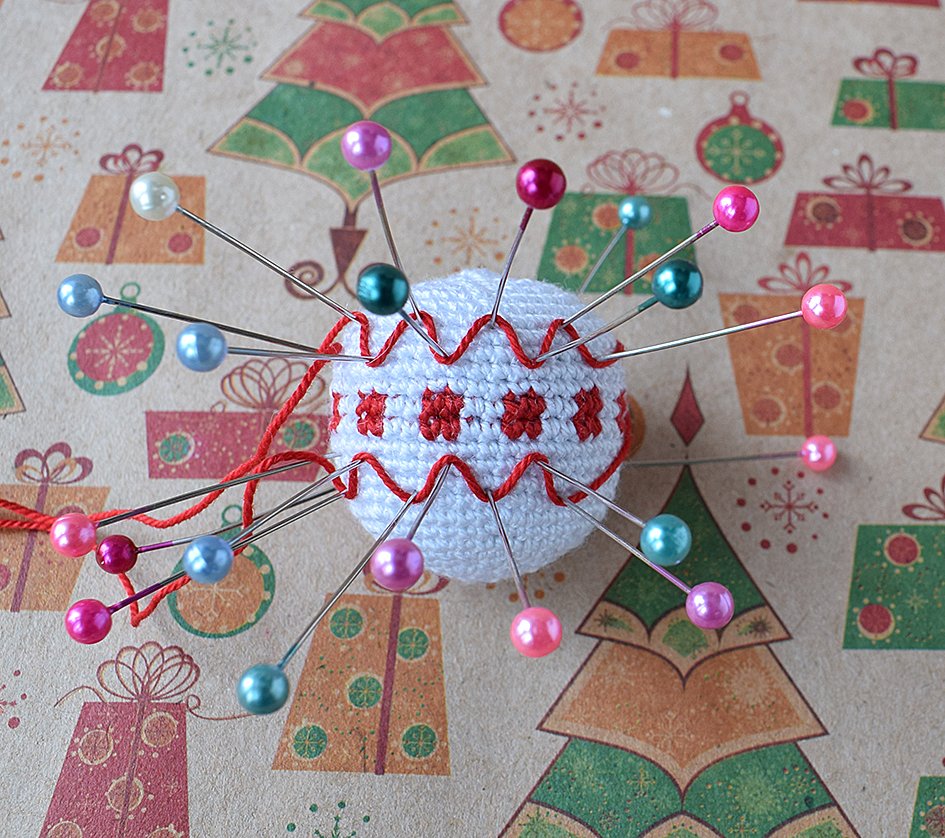
Draft and embroider a patter. See pictures for guidance.

Small caps (4 pcs)
1. Crochet 6 sc in a Magic Ring
2. 6 inc = 12 sc
3-4. 12 sc
Bind off. Leave a small piece of thread for further sewing.
Large caps (2 pcs)
1. Crochet 6 sc in a Magic Ring
2. 6 inc = 12 sc
3. (1inc , 1 sc) х 6 = 18 sc
4-5. 18 sc
Bind off. Leave a small piece of thread for further sewing.
Sew the caps onto the baubles and the cone.
You may want to embroider some dots on the small baubles as shown on the pictures.


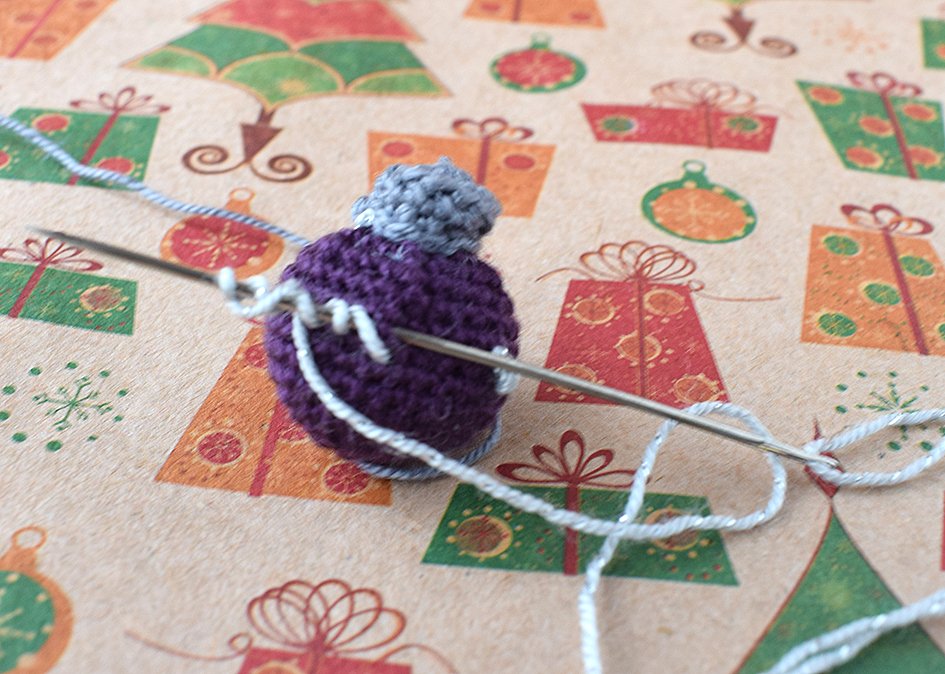


Attach the baubles and the cone to the strip inside the triangle and sew them on.

Your Christmas tree is completed and ready to go on to your desk top. You may make a base of a piece of wood and attach the tree to the base with some drawing pins or glue it on with an all purpose glue.
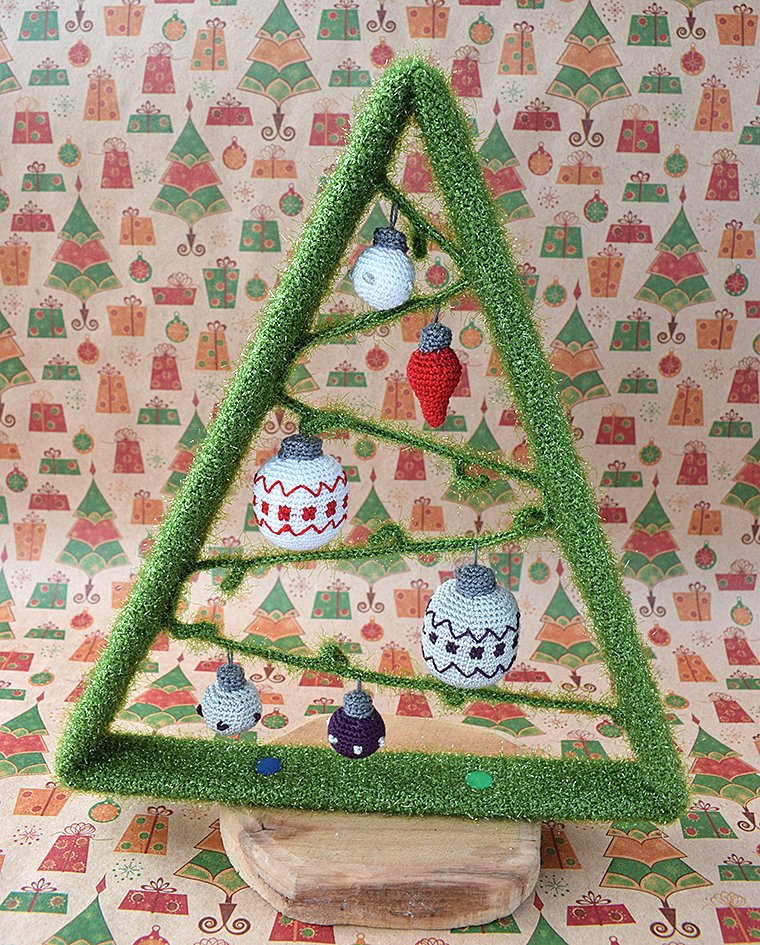
I hope you enjoy this quick and budget version of an office decoration for Christmas.
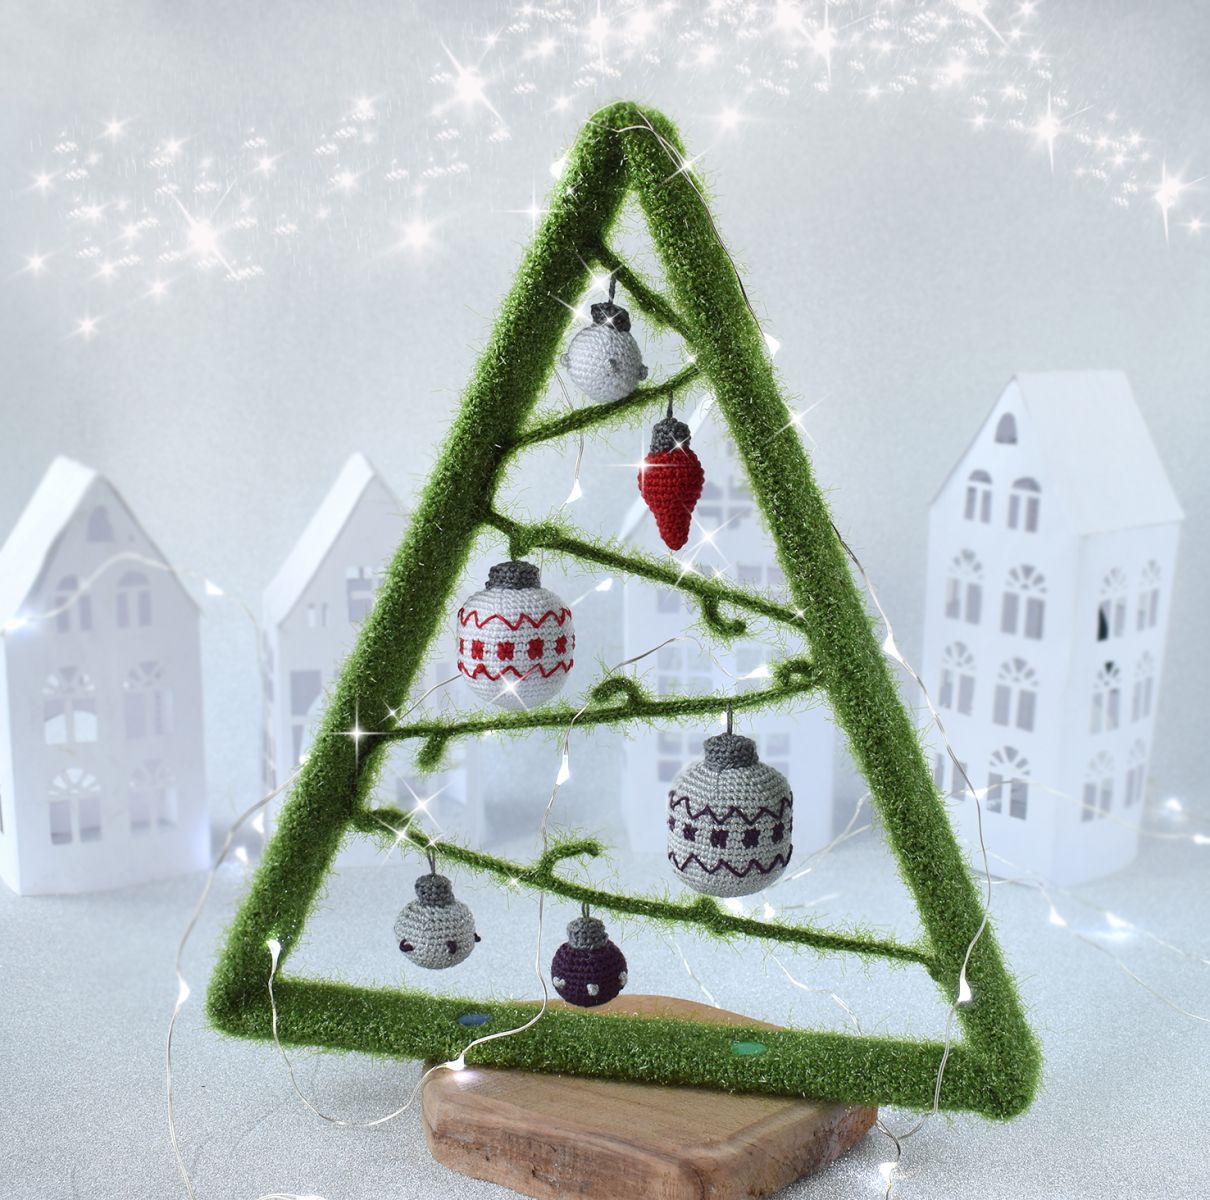
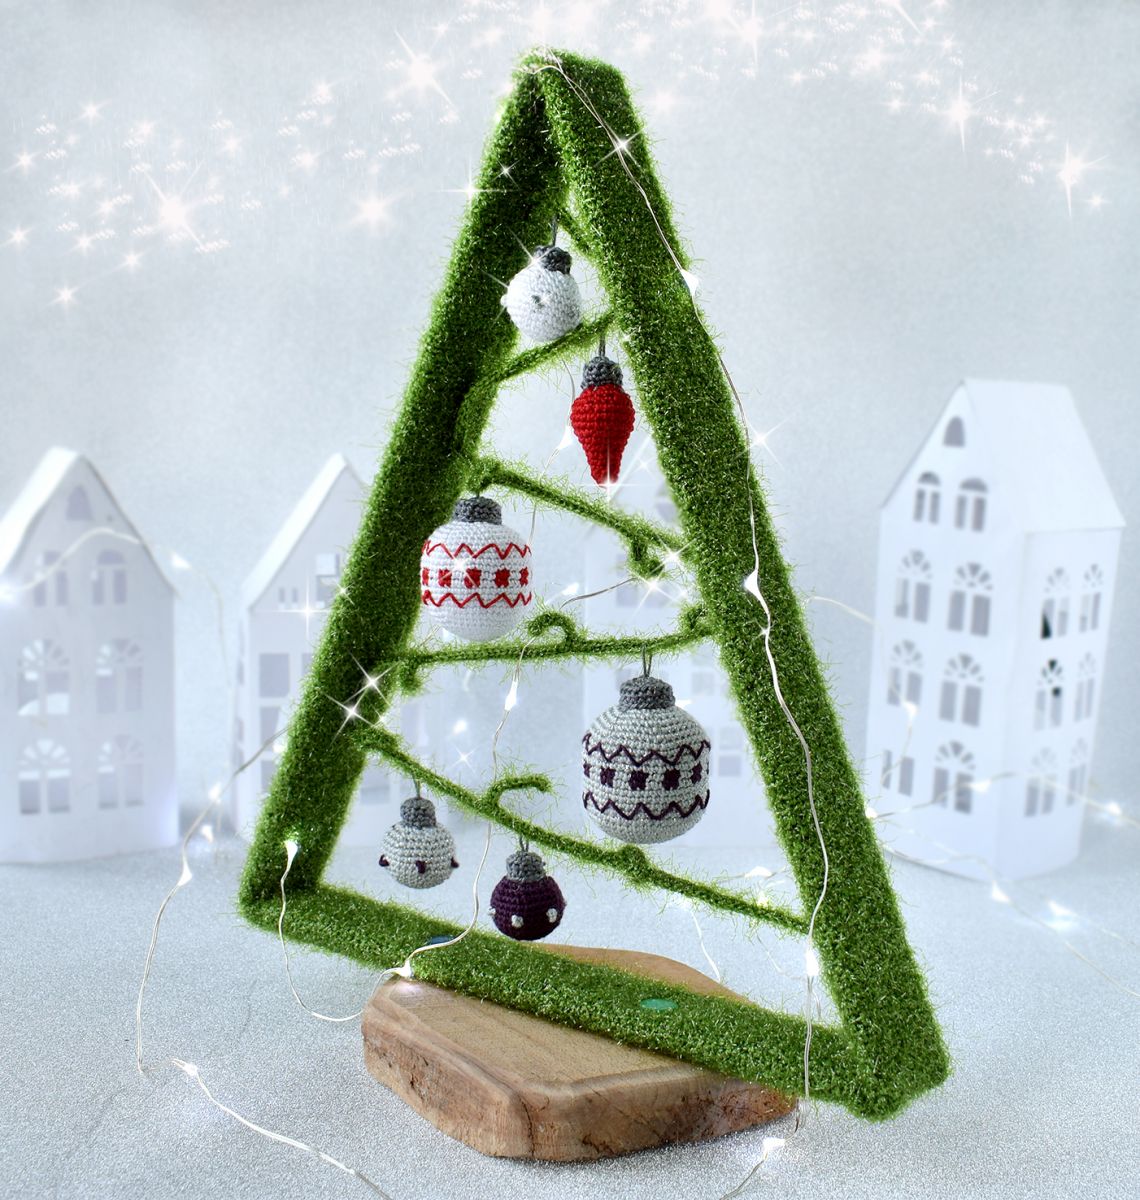
Merry Christmas and a Happy New Year to you!
