This tiger cub is crocheted from white yarn, the stripes are drawn with an acrylic marker pen. You can also crochet a red tiger cub using the same pattern.
Materials:
- Yarn of your choice. Wool, acrylic, angora, mohair will do. You can choose smooth or fluffy yarn.
- You will need white and a small amount of black colour yarns
My tiger is crocheted with 1 thread of Nako mohair delicate and 1 thread of fluffy bobbin yarn. The height of my tiger is 14 cm
- A crochet hook, I used 1,3 mm crochet hook
- Hollow fibre for stuffing
- Sewing needle, white sewing threads
- A long needle for sculpting, strong thread for sculpting
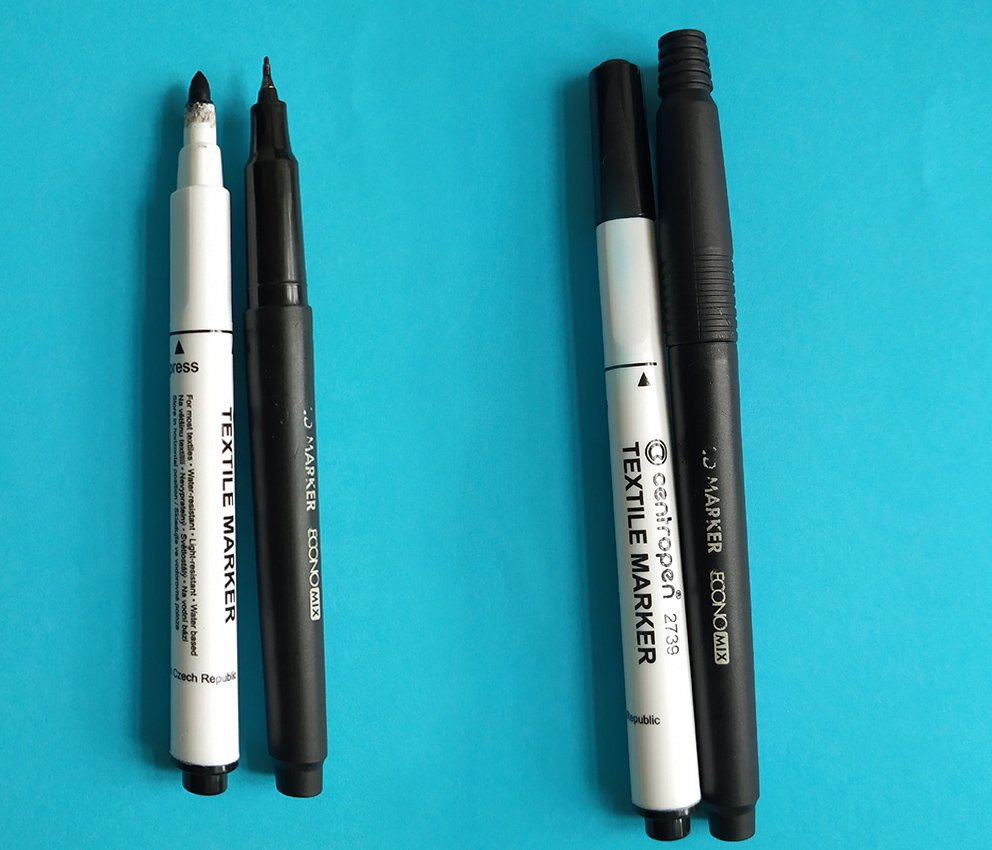
- 2 black acrylic markers (thick and thin)
- 1 pair of ready-made eyes
- Ready made nose
- A piece of wire approx. 10cm long (optional)
- Adhesive Backed Hoop & Loop tape to brush crocheted parts
Abbreviations:
ch – chain
sl st – slip stitch
sc – single crochet
inc – increase (2 sc in 1 st)
dec – decrease (single crochet two stitches together)
(...) x N times – repeat instructions in brackets N times
Arms (make 2)
Do not add the hollow fiber
1) 8 sc in a Magic Ring
2-10) 8 sc
Fold the part in two, work 3 sc by hooking through both edges of the part: (leave 2 loops at the beginning and end of the curve unworked). Fasten off, cut off.
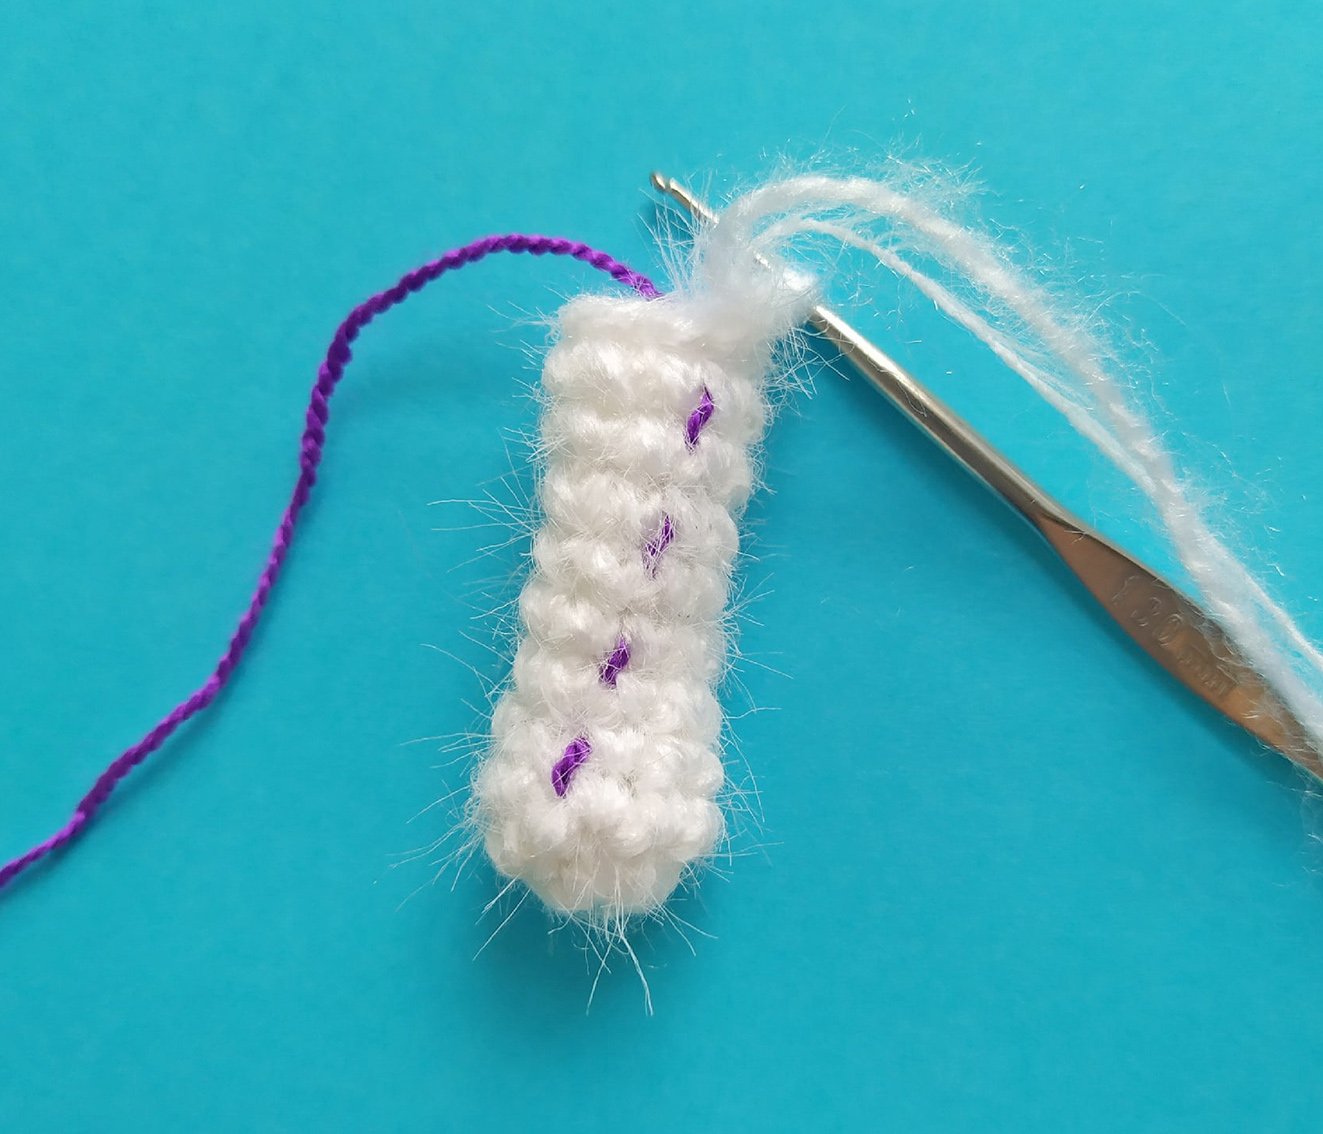
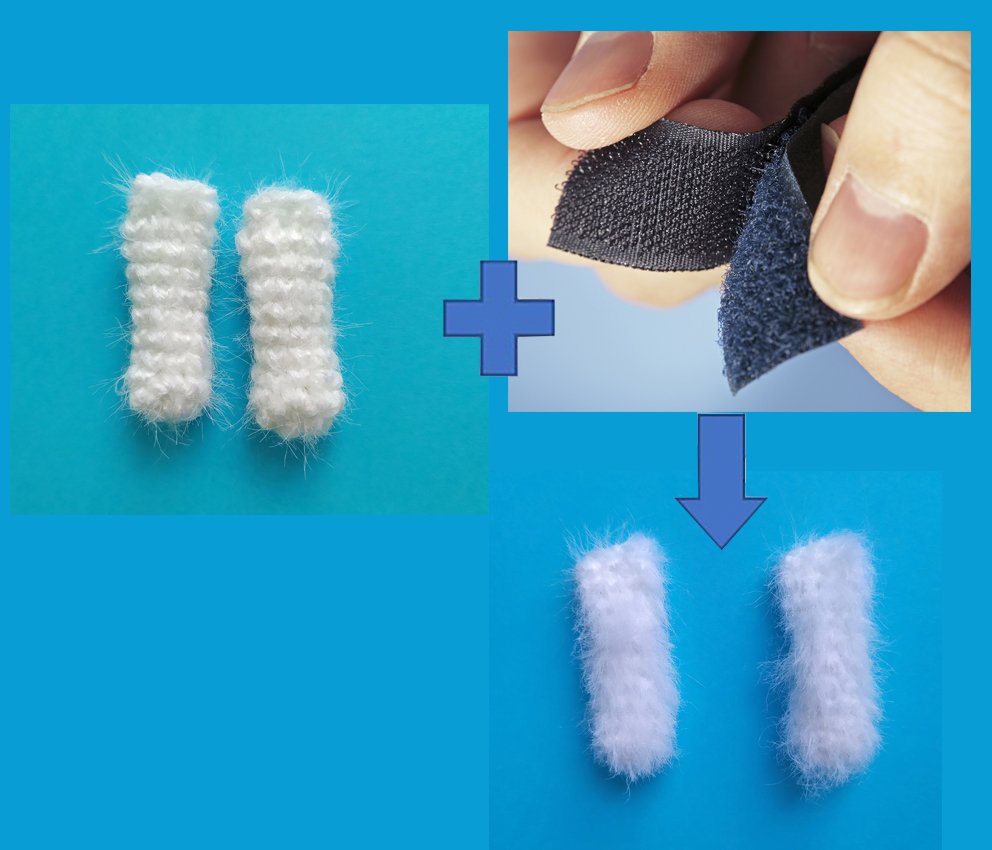
Should you want your tiger cub to be a bit fluffier you may brush all details with a pet brush or a hook & loop tape.
Make sure you brush the parts before you sew them on.
Tail
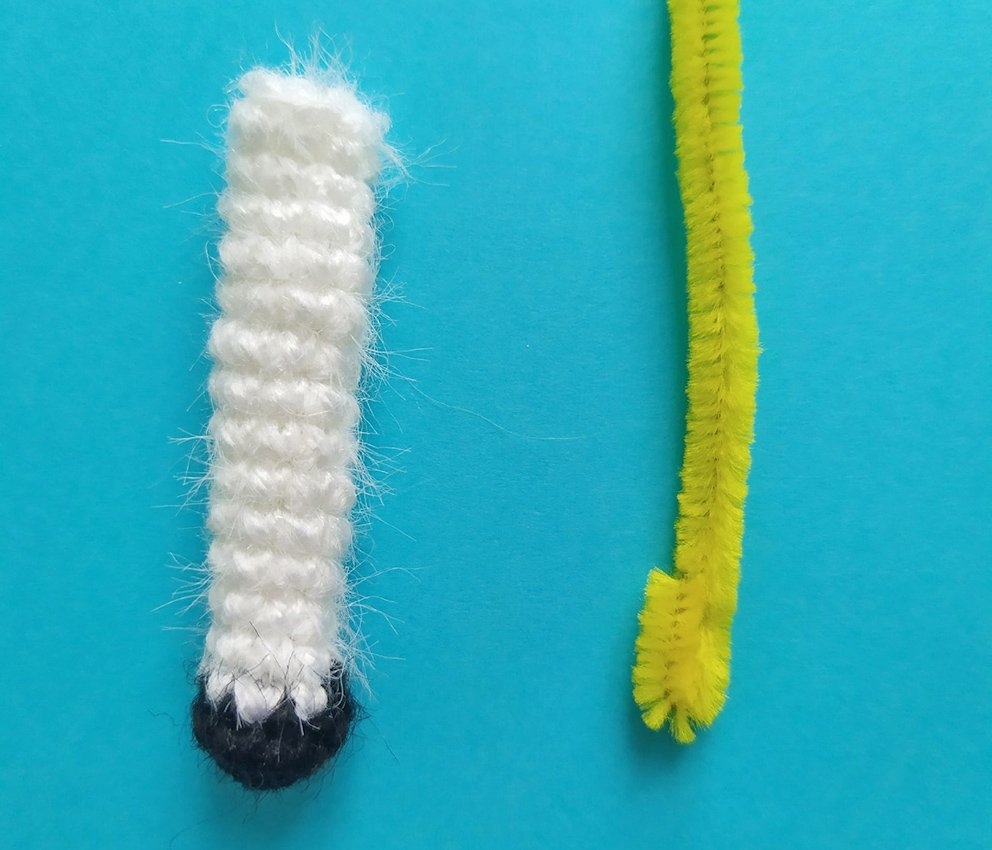
Start with black colour yarn
1) 8 sc in a Magic Ring
2) 8 sc
Change to white colour yarn
3-16) 8 sc
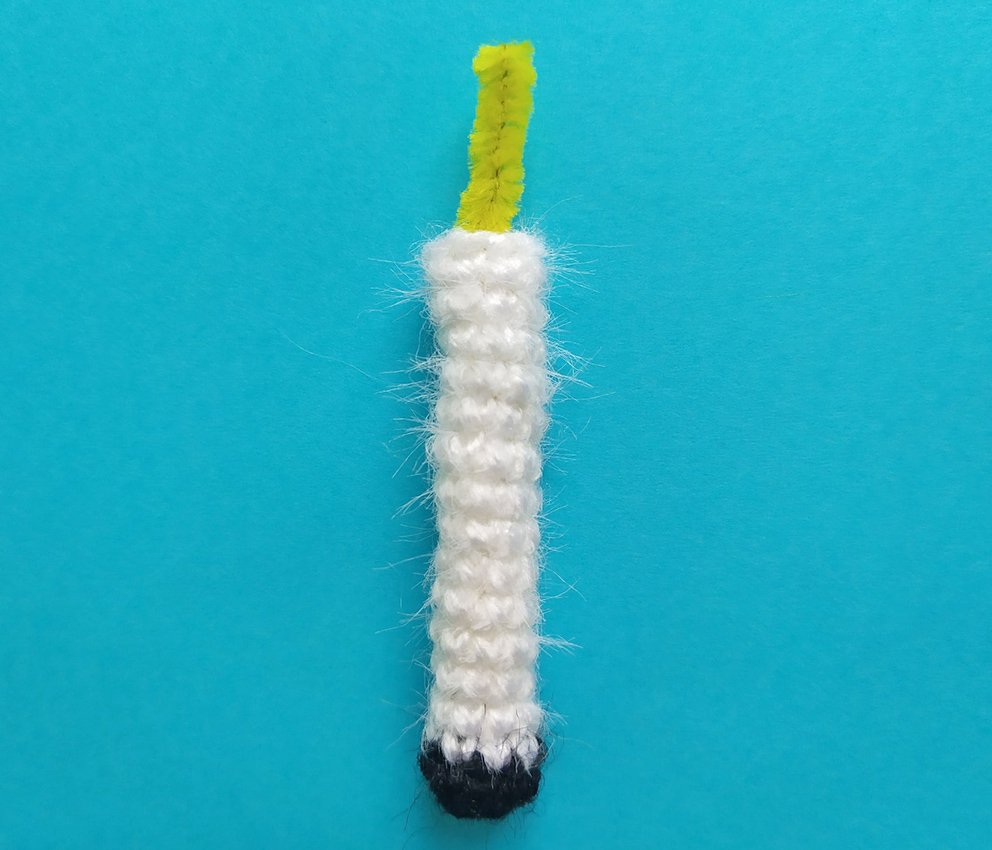
Fasten off, cut off. Do not add hollow fiber. You may insert a piece of wire in the tail (optional).
Head
Stuff as you go.
1) 6 sc in a Magic Ring
2) 6 inc (12)
3) (1 sc, inc) х 6 times (18)
4) (2 sc, inc) х 6 times (24)
5) (3 sc, inc) х 6 times (30)
6) (4 sc, inc) х 6 times (36)
7) (5 sc, inc) х 6 times (42)
8) (6 sc, inc) х 6 times (48)
9-13) 48 sc
14) (7 sc, inc) х 6 times (54)
15) (8 sc, inc) х 6 times (60)
16-19) 60 sc
20) (4 sc, dec) х 10 times (50)
21) (3 sc, dec) х 10 times (40)
22) (2 sc, dec) х 10 times (30)
23) (1 sc, dec) х 10 times (20)
24) 10 dec (10)
25 incomplete) 3 dec
Pull off the loops. Cut the thread, hide the end.
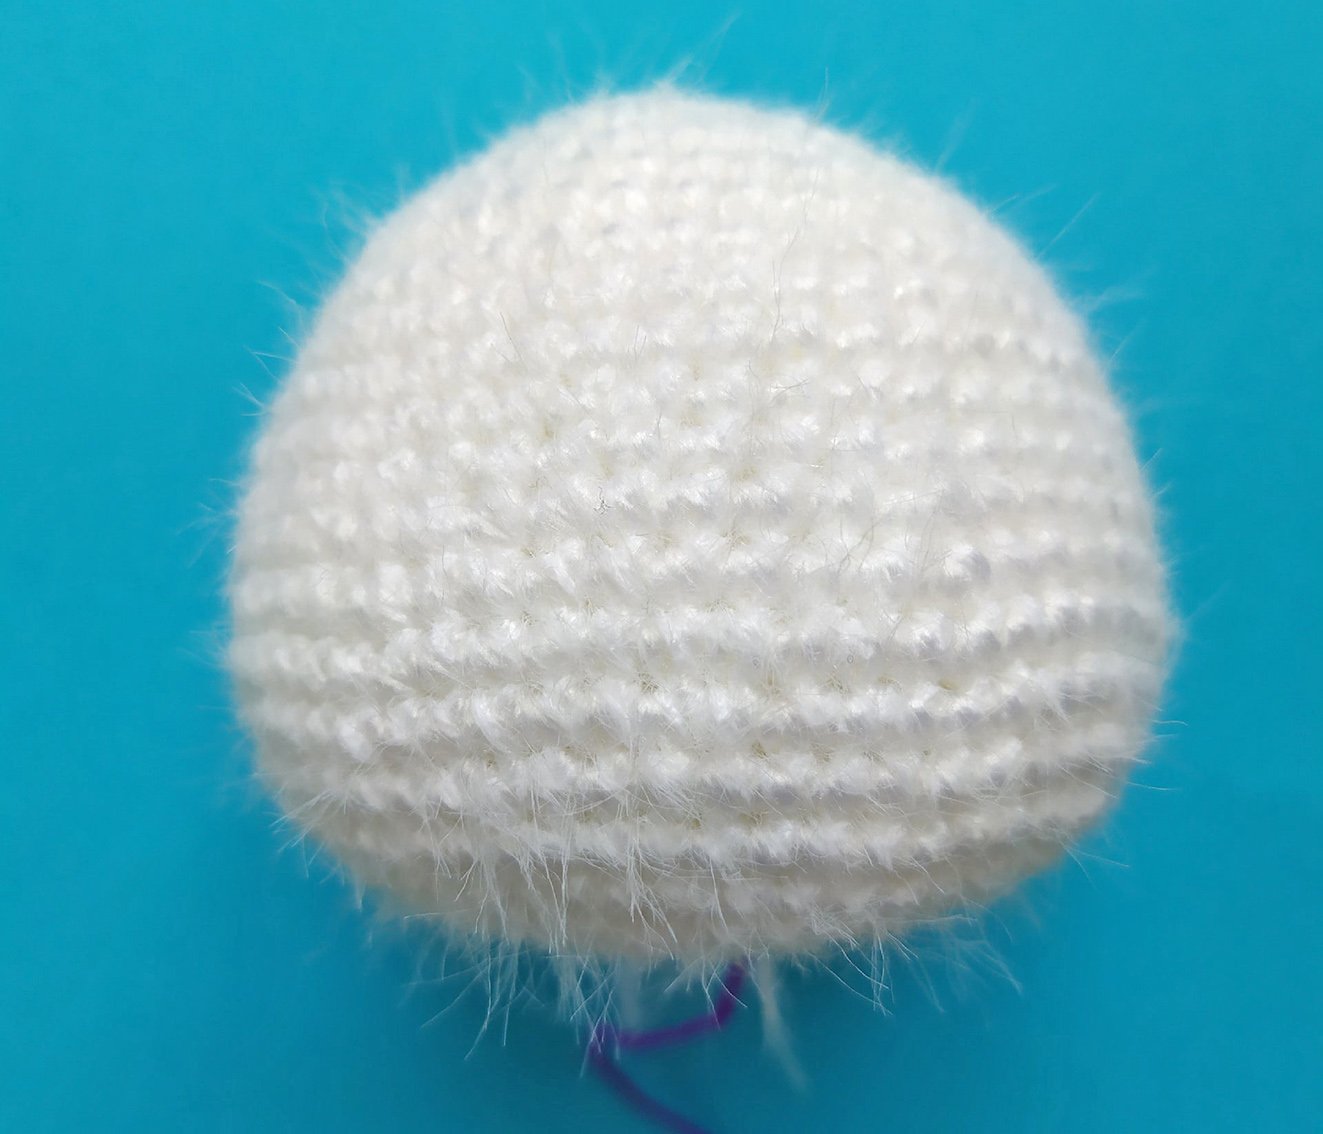
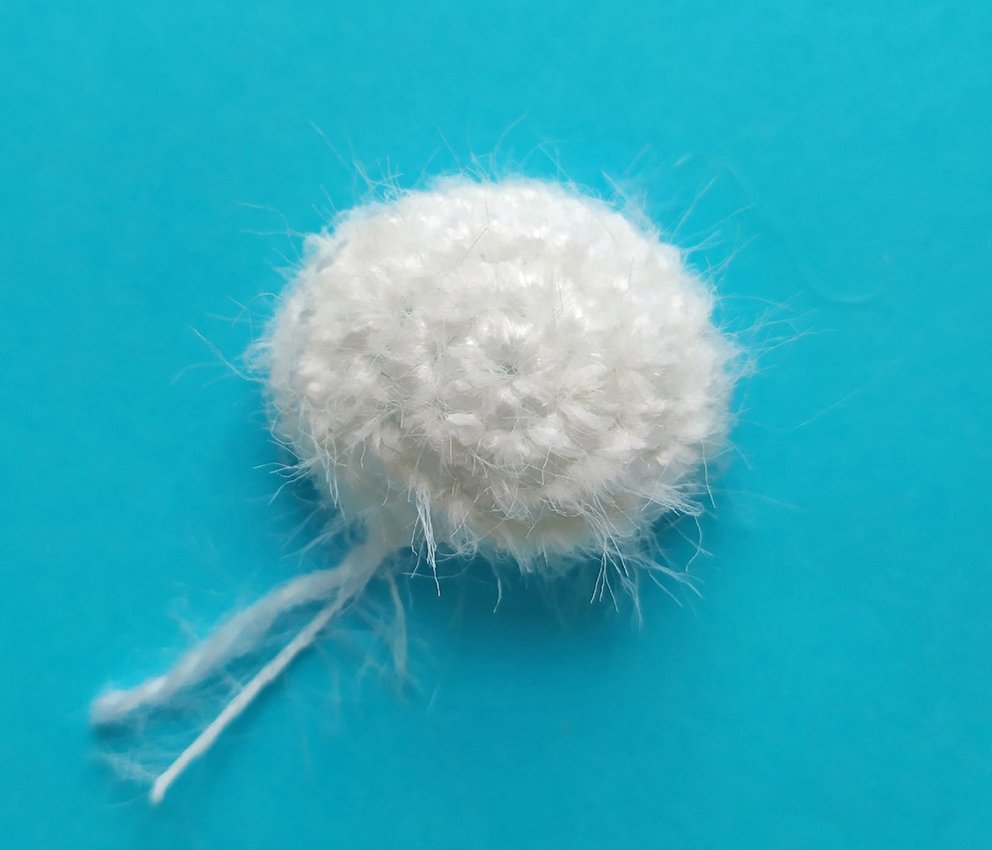
Muzzle
1) 7 sc in a Magic Ring
2) 7 inc (14)
3) (1 sc, inc) х 7 times (21)
4-5) 20 sc, 1 sl st (21)
Fasten off, cut off.
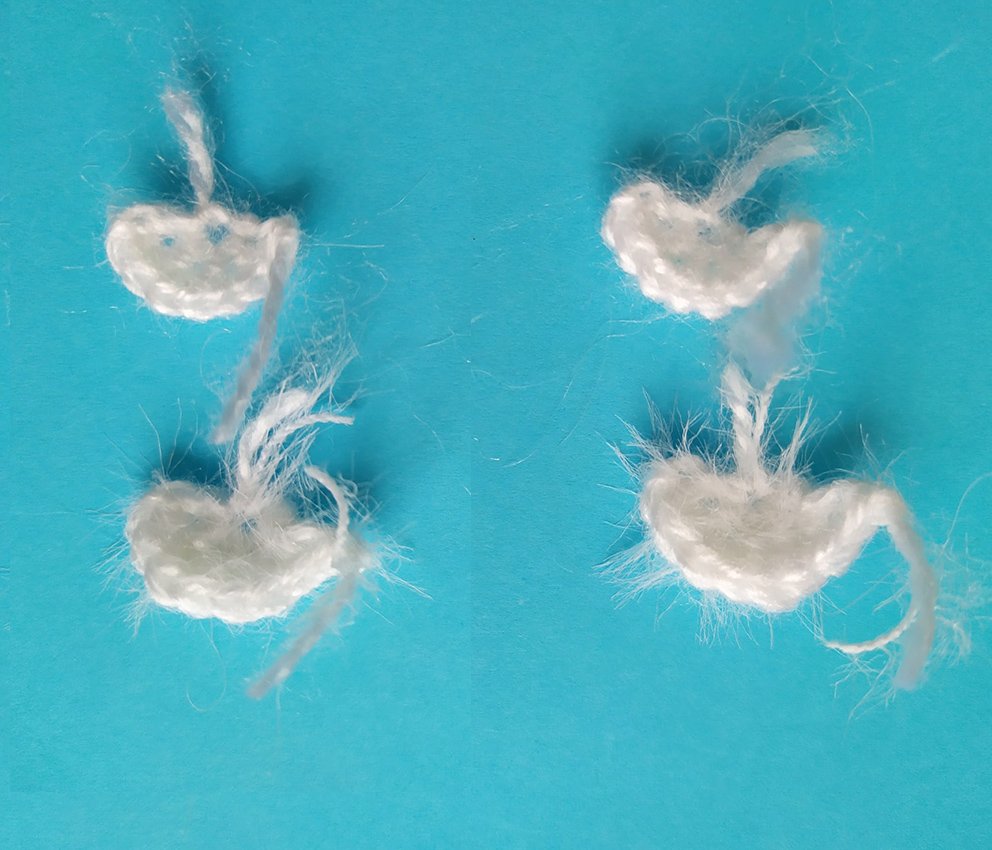
Ear (make 4)
If you are crocheting a red tiger cub, crochet 2 parts with white colour yarn and 2 parts with red colour yarn.
1) 2 ch, starting from 2nd ch from hook: 4 sc, ch, turn (4)
2) 4 inc (8)
Fasten off, cut off.
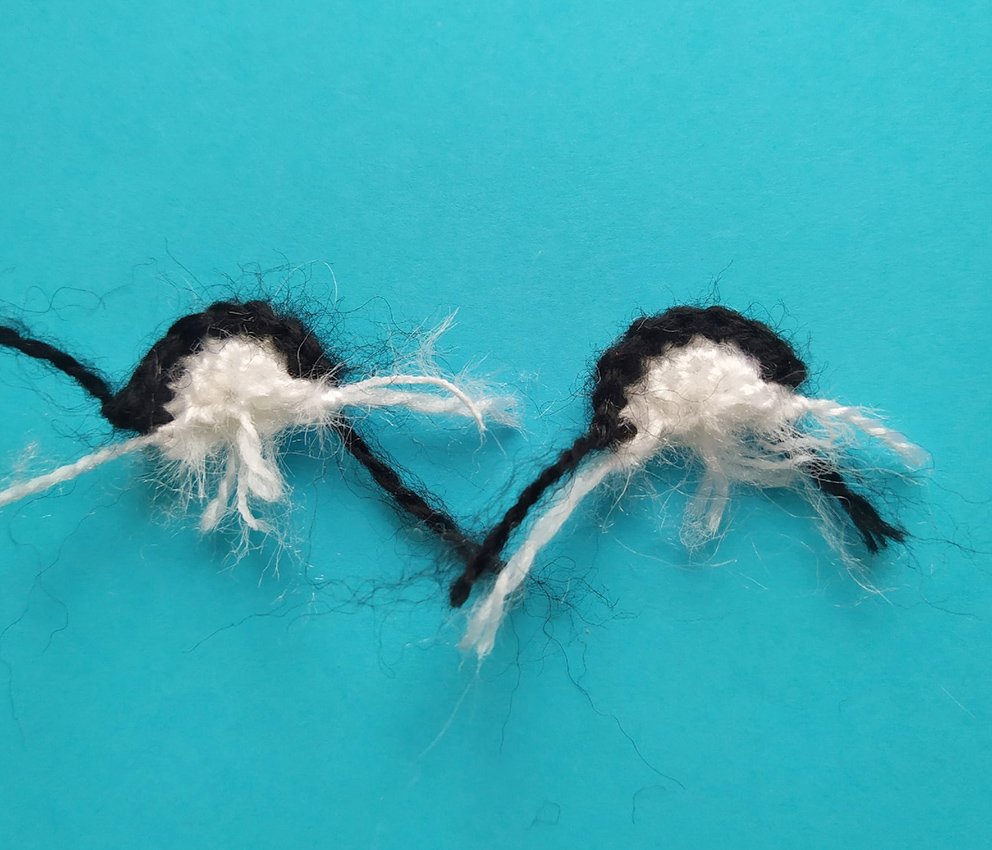
Join ears for each pair together and work sc around the edge (use black colour yarn).
Legs (make 2)
Stuff as you go.
1) 6 sc in a Magic Ring
2) 6 inc (12)
3-6) 12 sc
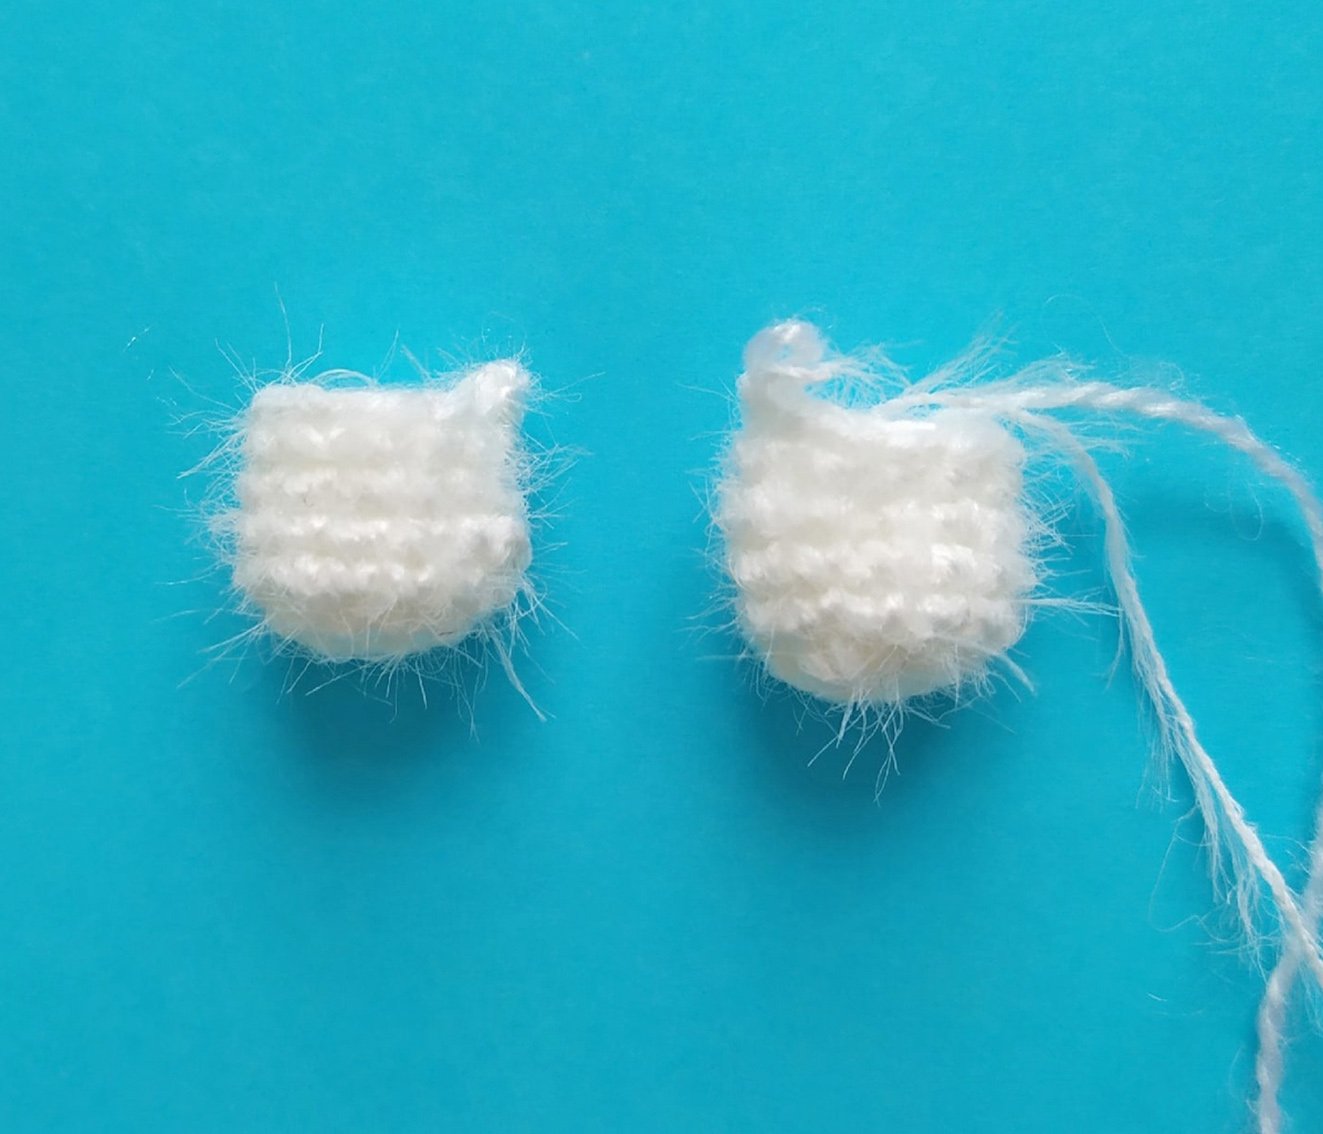
Fasten and cut off thread of Part 1, do not cut thread of Part 2, continue crocheting the body.
Body
7) work 4 ch, attach 2nd leg, work into loops of the leg: 2 sc, inc, 6 sc, inc, 2 sc, continue along the of chain: 4 sc, work into loops of the 1st leg: 2 sc, inc, 6 sc, inc, 2 sc, continue along the other side of chain: 4 sc (36)
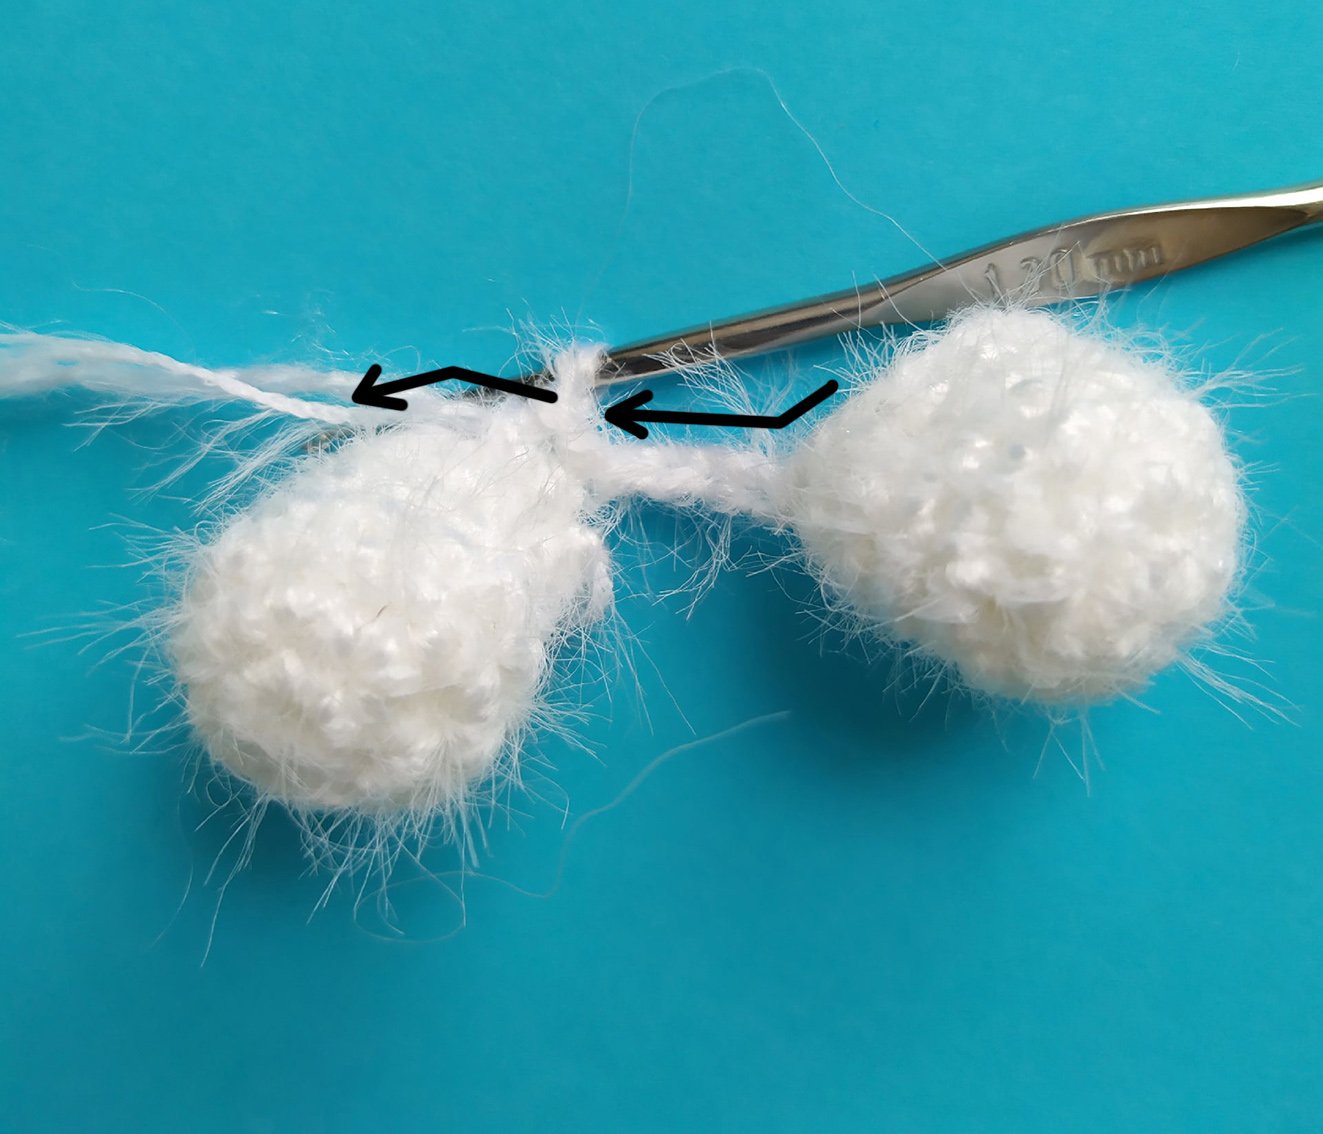
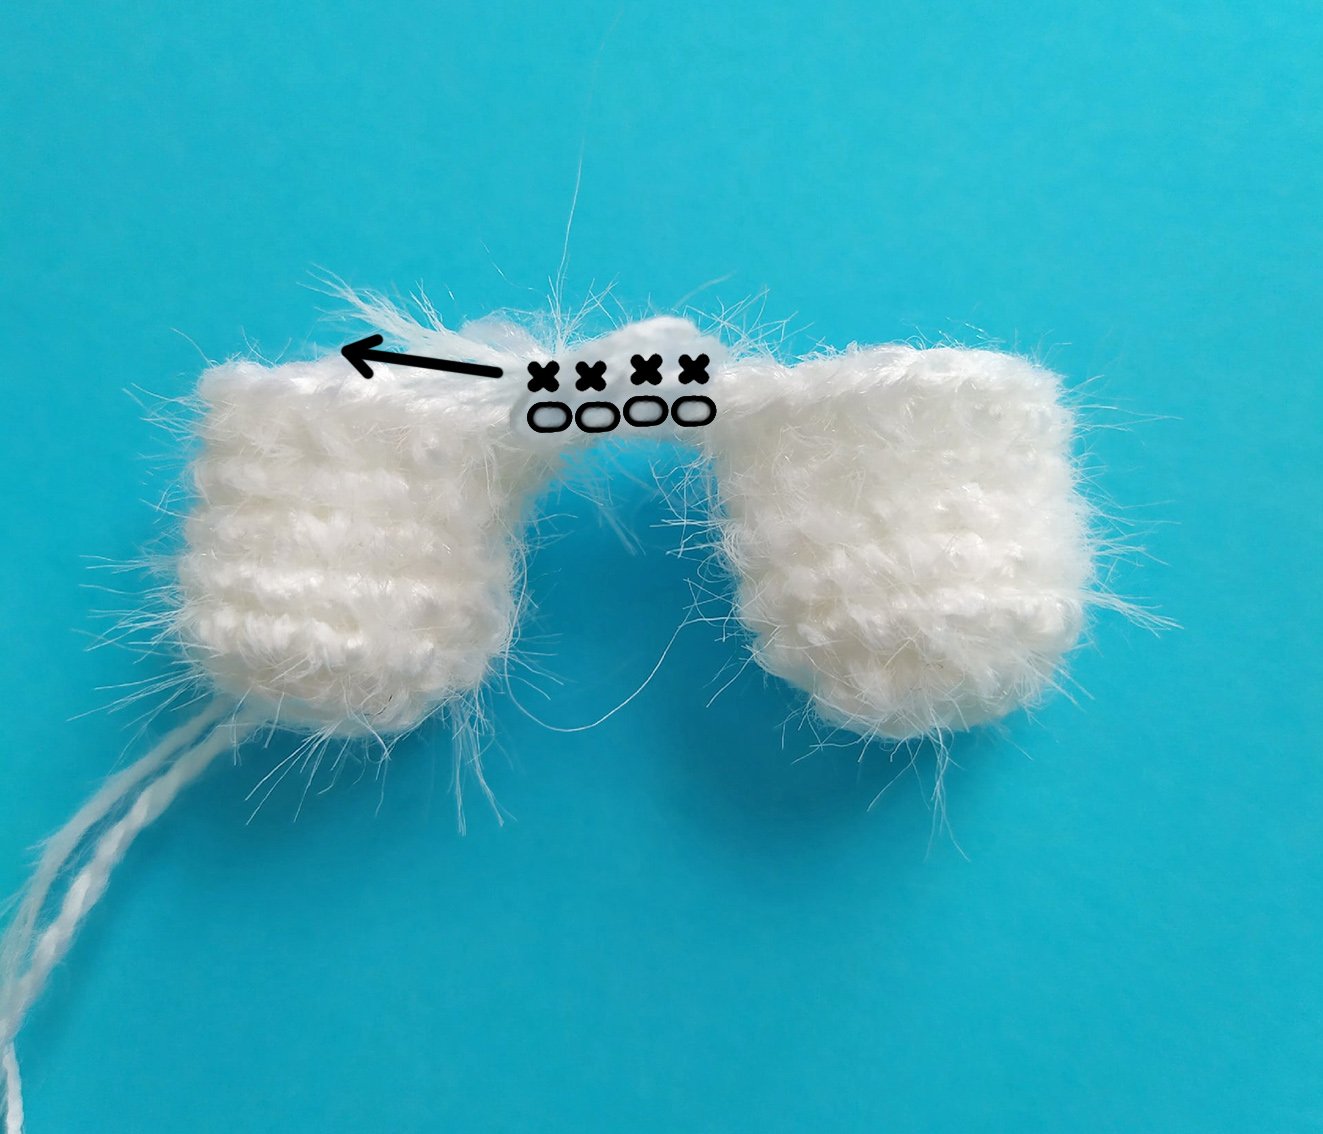
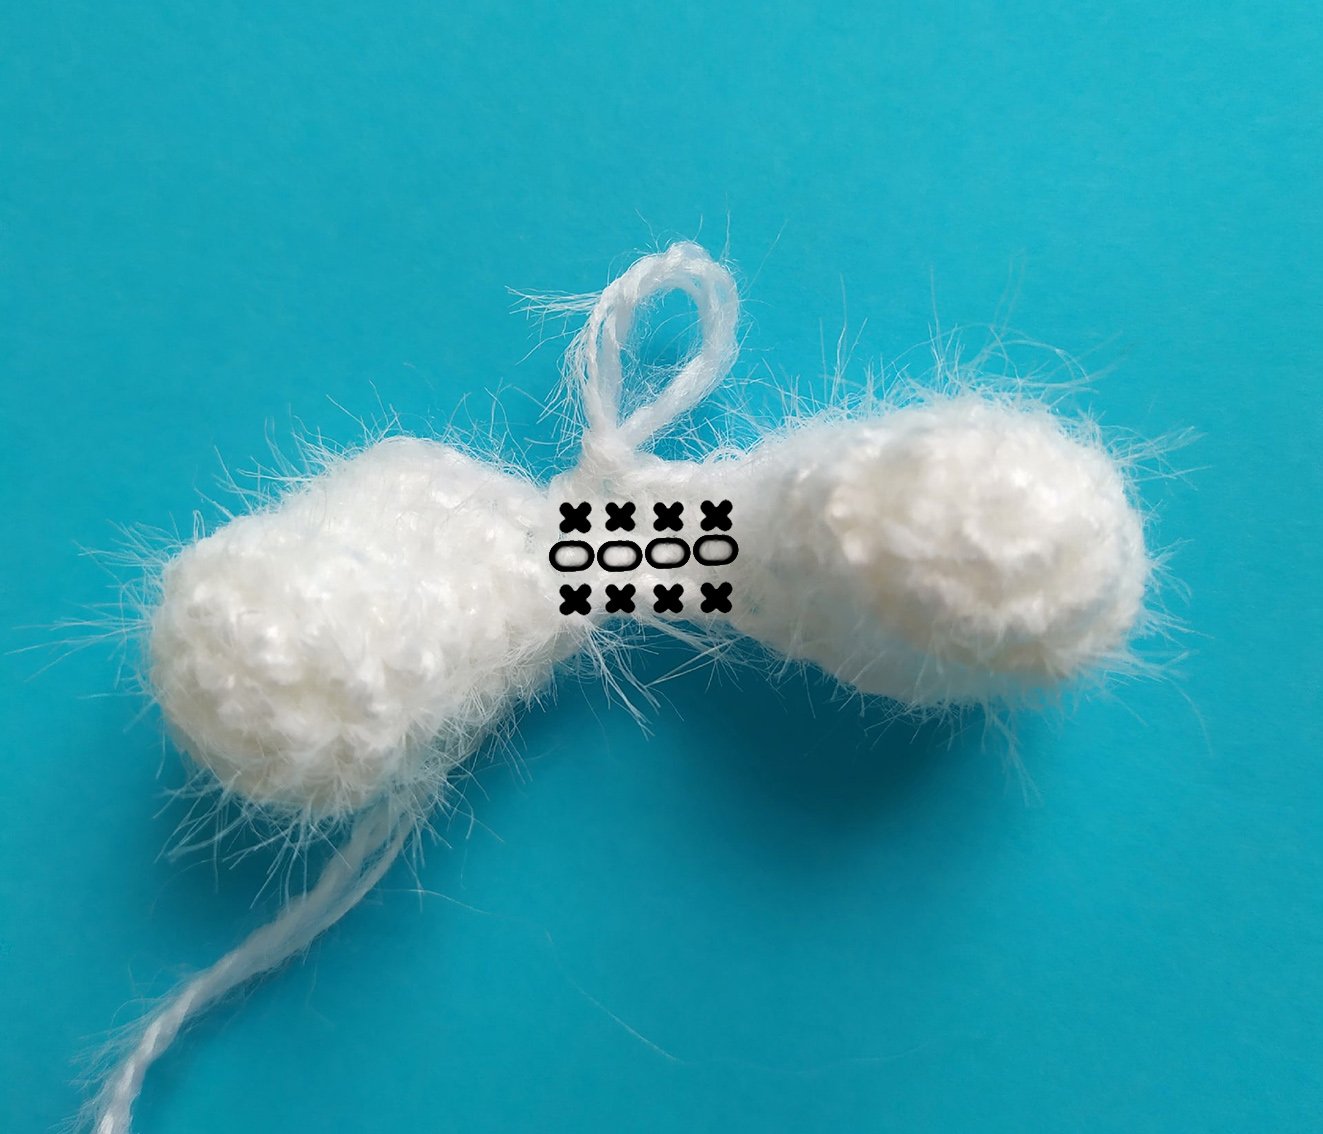
8) (5 sc, inc) х 6 times (42)
9-12) 42 sc
13) (5 sc, dec) х 6 times (36)
14-15) 36 sc
16) (4 sc, dec) х 6 times (30)
17-18) 30 sc
19) (3 sc, dec) х 6 times (24)
20-21) 24 sc
22) (5 sc, dec) х 3 times, 3 sc (21)
23) 21 sc
24) dec, 8 sc, dec, 9 sc (19)
25) 19 sc
26 incomplete) 4 sc, 1 sl st
Fasten off, cut off.
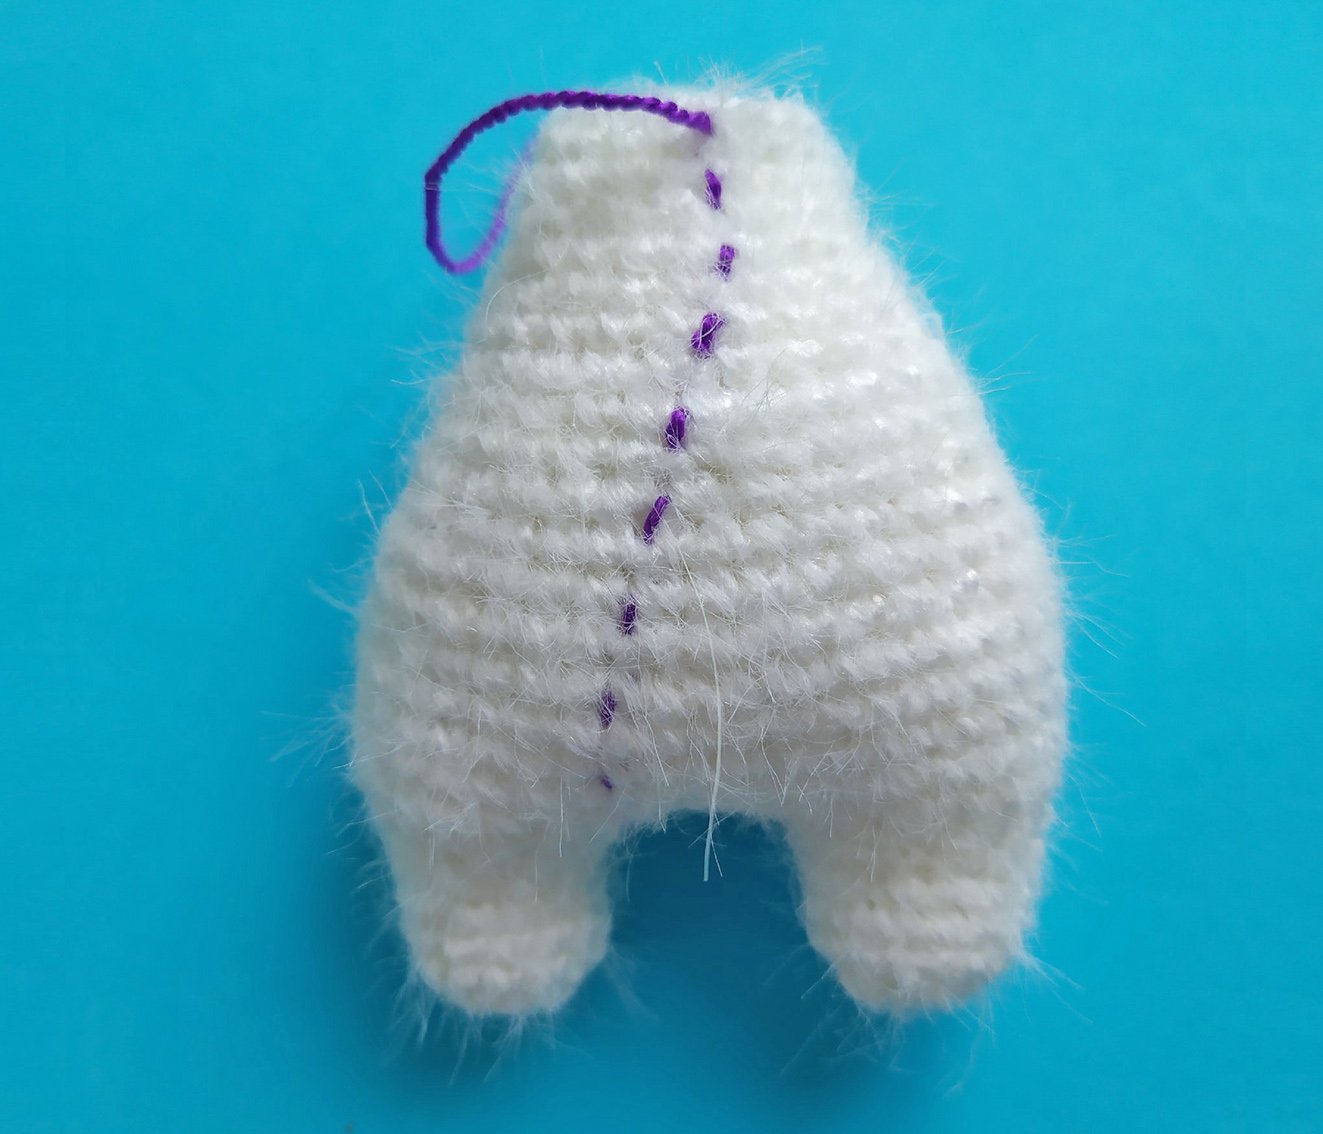
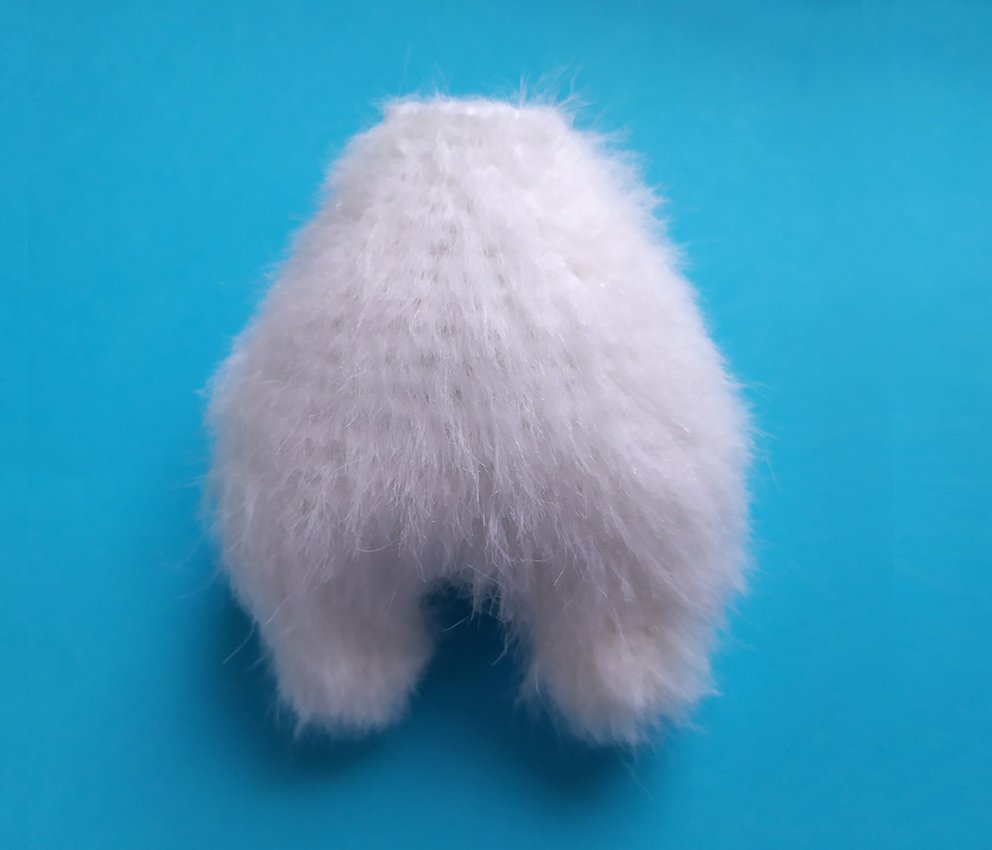
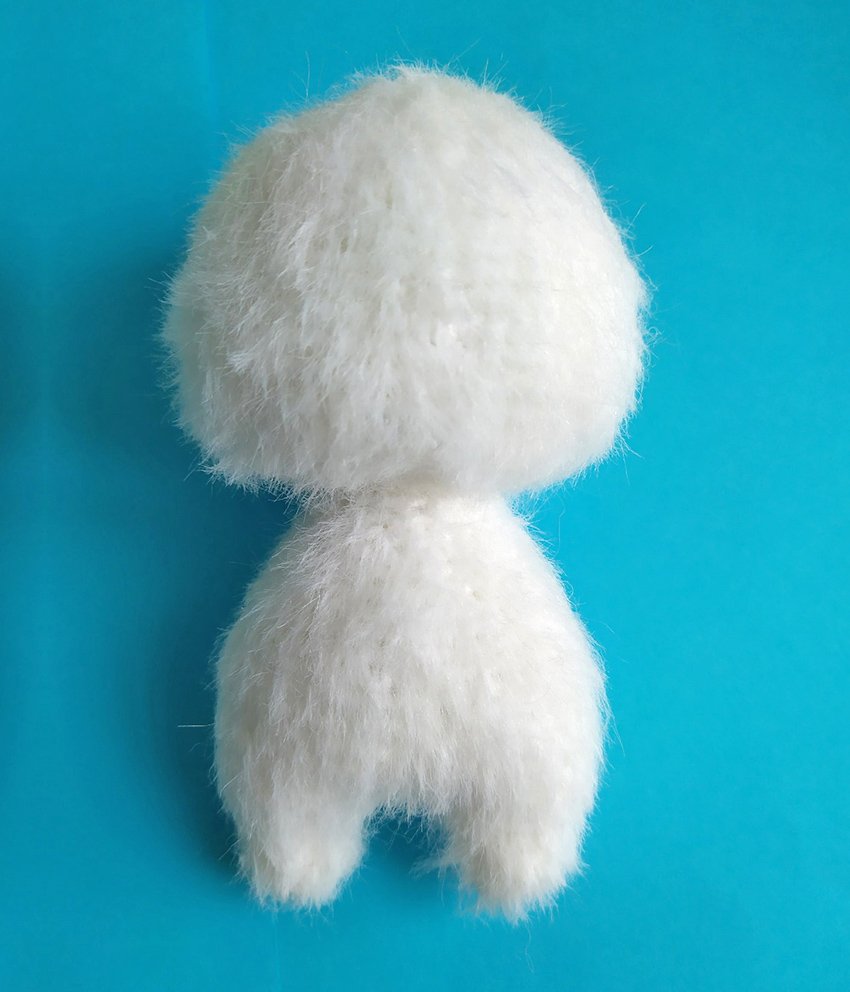
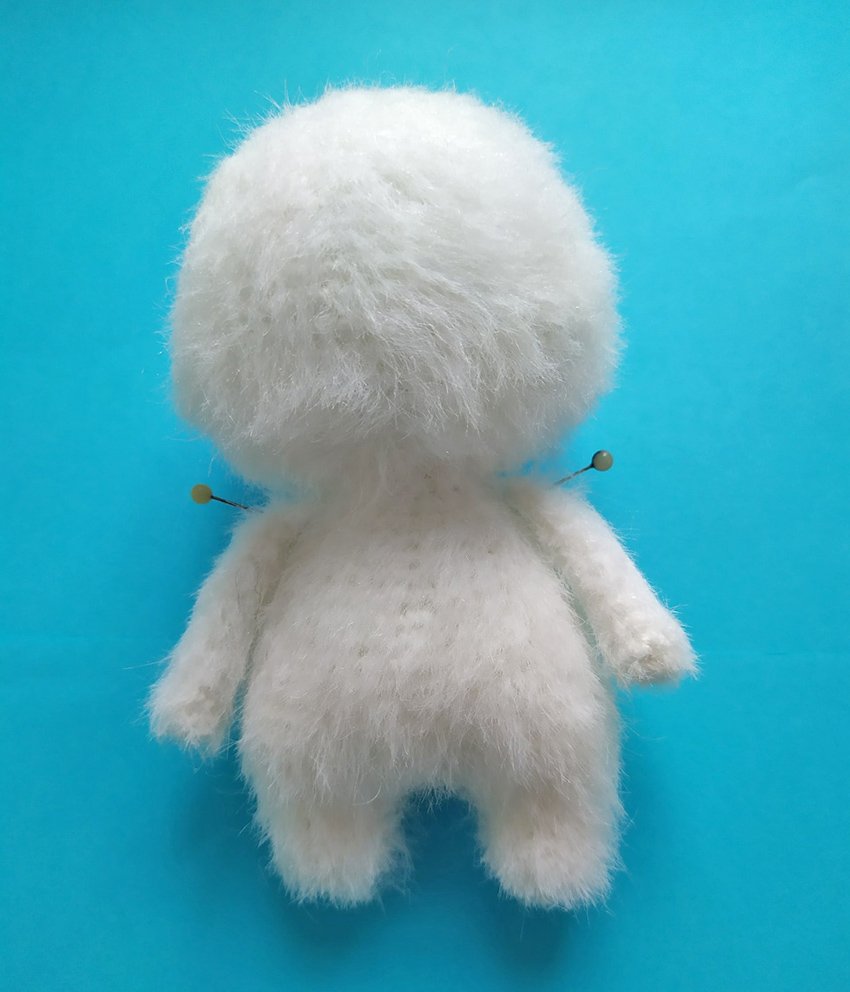
Sew the head to the body. Attach and sew on the arms.
Attach the muzzle to the head.
The top edge should be in line with Rnd 15. Sew it on with hidden stitches and stuff a little as you go.
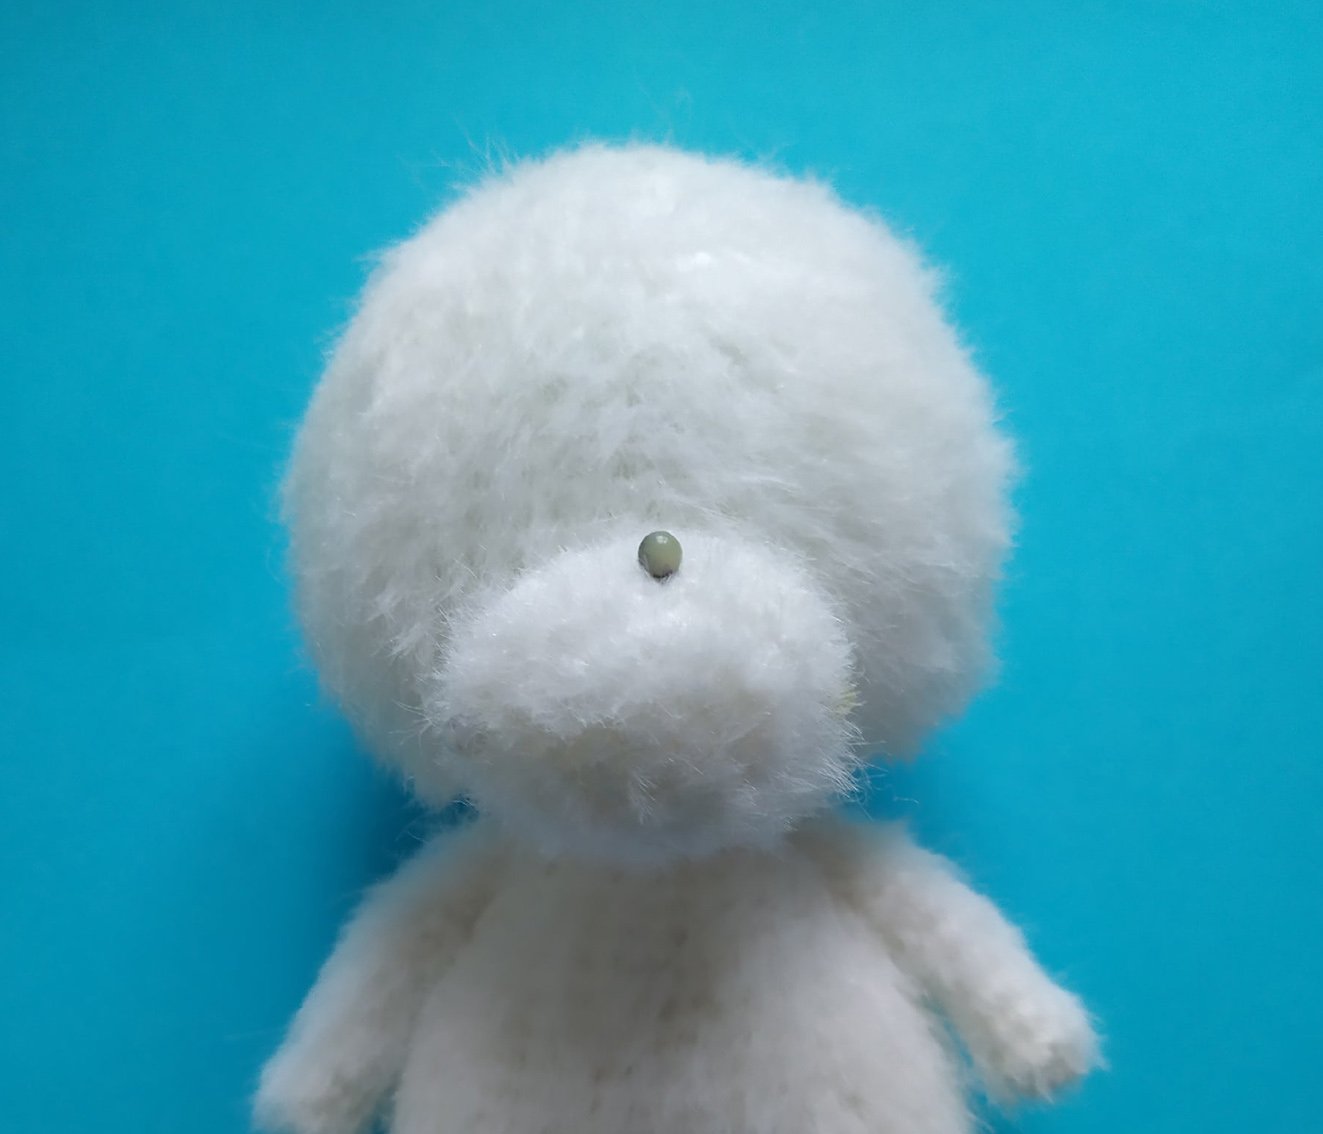
Find the spots 1, 2, 3, 4 for sculpting. See the photo. Point 1 is 1 round below the amigurumi ring.
Prepare a long needle and a strong black thread for sculpting. You may start at any point on the neck, make a short half-a-loop stitch and fasten the thread, take the needle out in spot 1.
Insert the needle into spot 2 (thread runs over the work), take the needle out in spot 1 (thread runs inside the head). Tighten the thread, help with the fingers to keep it in place. Repeat the tightening once more.
Insert the needle into spot 3 (thread runs over the work), take the needle out in spot 1. Tighten the thread, help with the fingers to keep it in place. Repeat the tightening once more.
Insert the needle into spot 4 (thread runs over the work), take the needle out in spot 1 (Tighten the thread, help with the fingers to keep it in place. Repeat the tightening once more.
Make a short stitch and a knot.
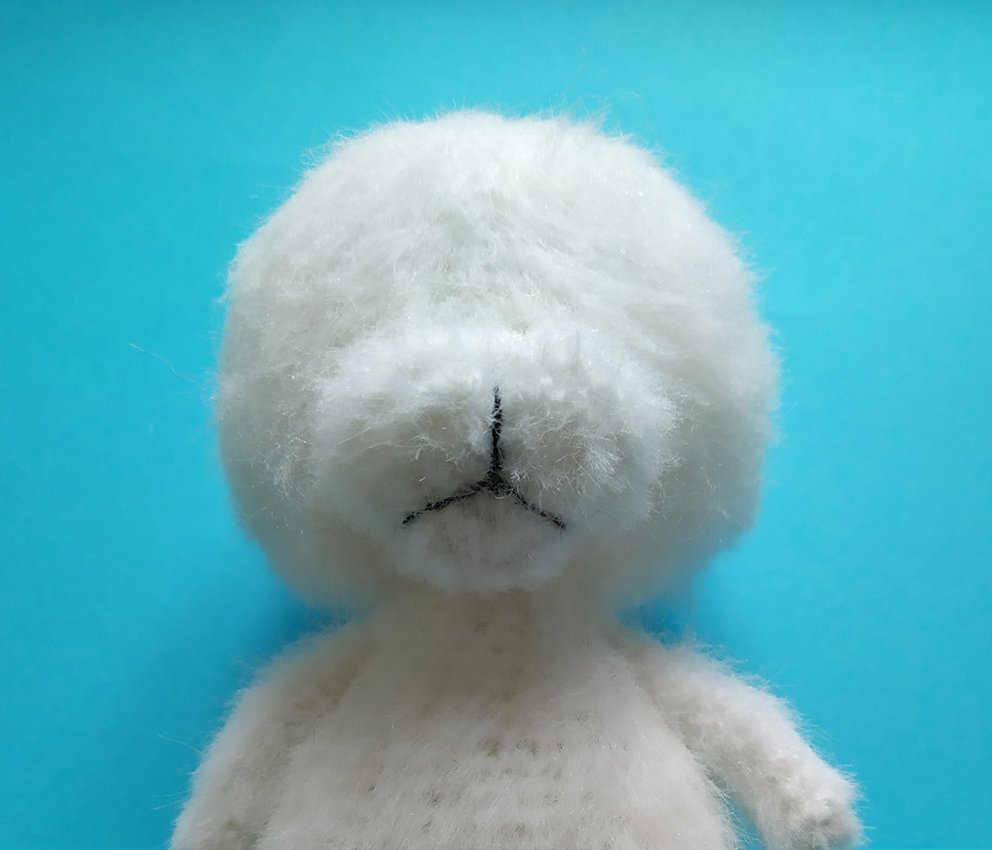
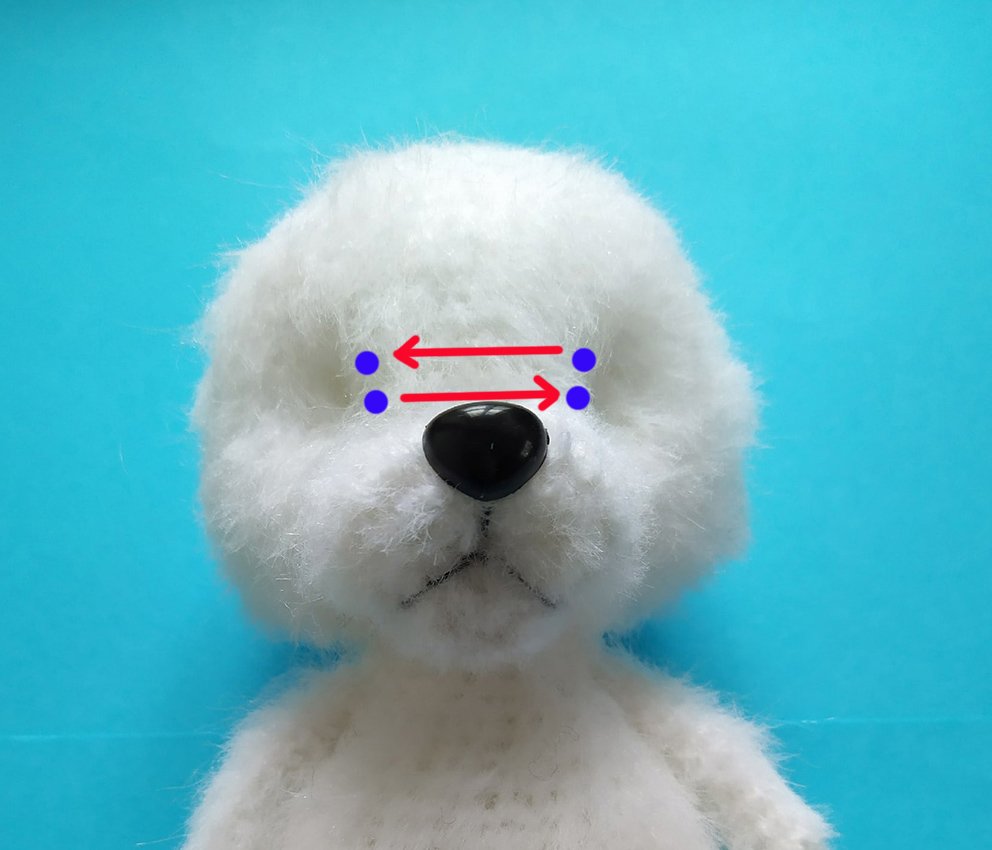
Find the points for sculpting for eyes. See the photo.
The distance between spots 1 and 2, 3 and 4 is 2 stitches.
The distance between spots 2 and 3 is 8 stitches.
The distance between spots5 and 6 is 1 stitch.
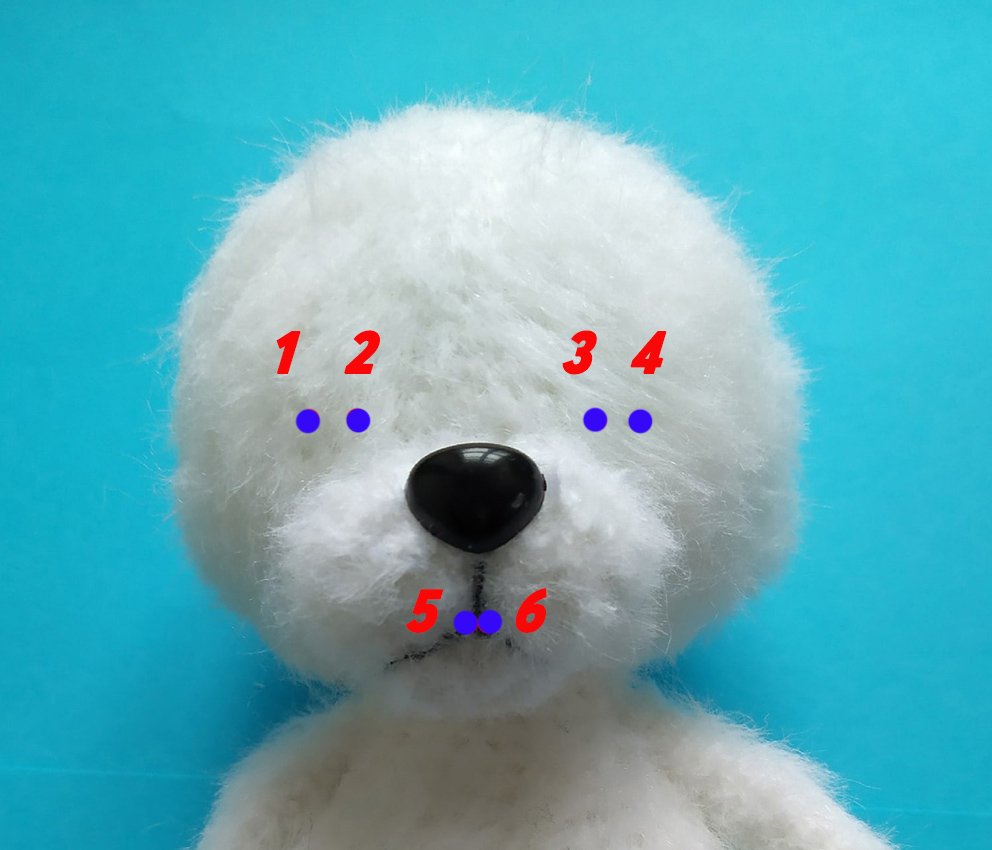
You may start at any point on the neck, make a short half-a-loop stitch and fasten the thread, take the needle out in spot 5.
Insert the needle into spot 6, take the needle out in spot 2 (thread runs inside the head).
Insert the needle into spot 1, take the needle out in spot 5 (thread runs over the head).
Tighten the thread, help with the fingers to keep it in place. Make a short stitch and a knot. Repeat the tightening once more.
Repeat sculpting for the second eye socket. Spots #6-3-4-5. Hide the end.
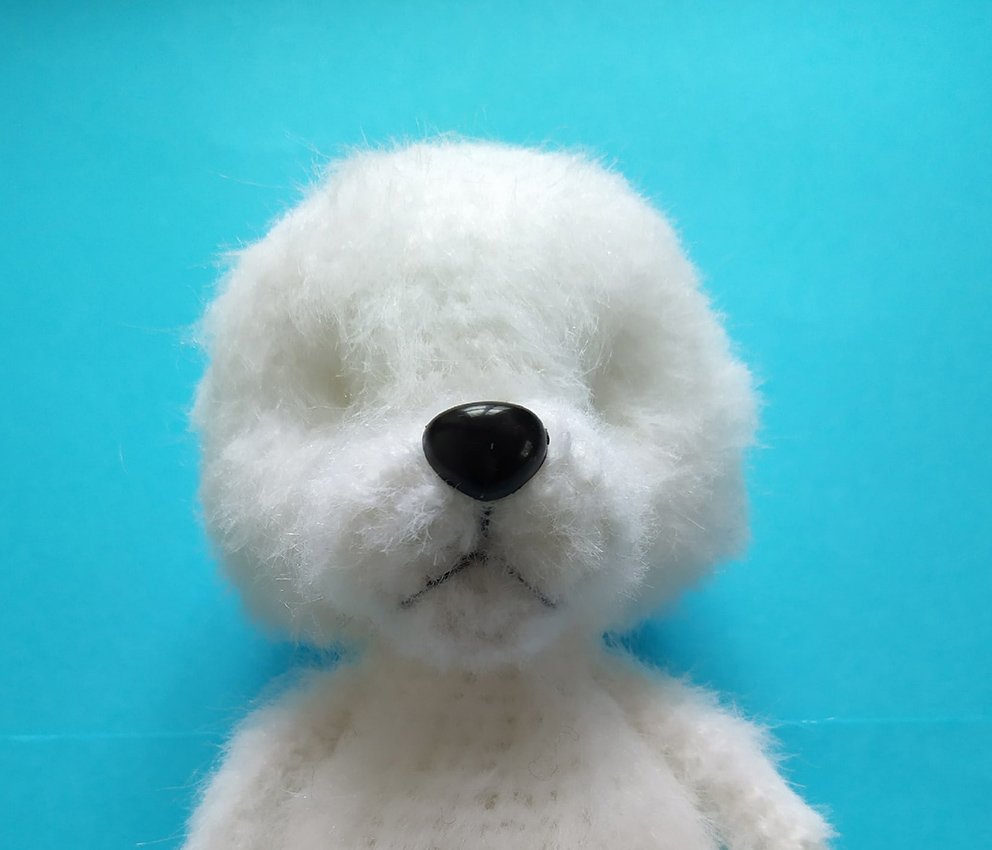
Form the bridge of the nose in the same way
Glue on the nose. Glue on the eyes. Embroider the eyelids with black thread.
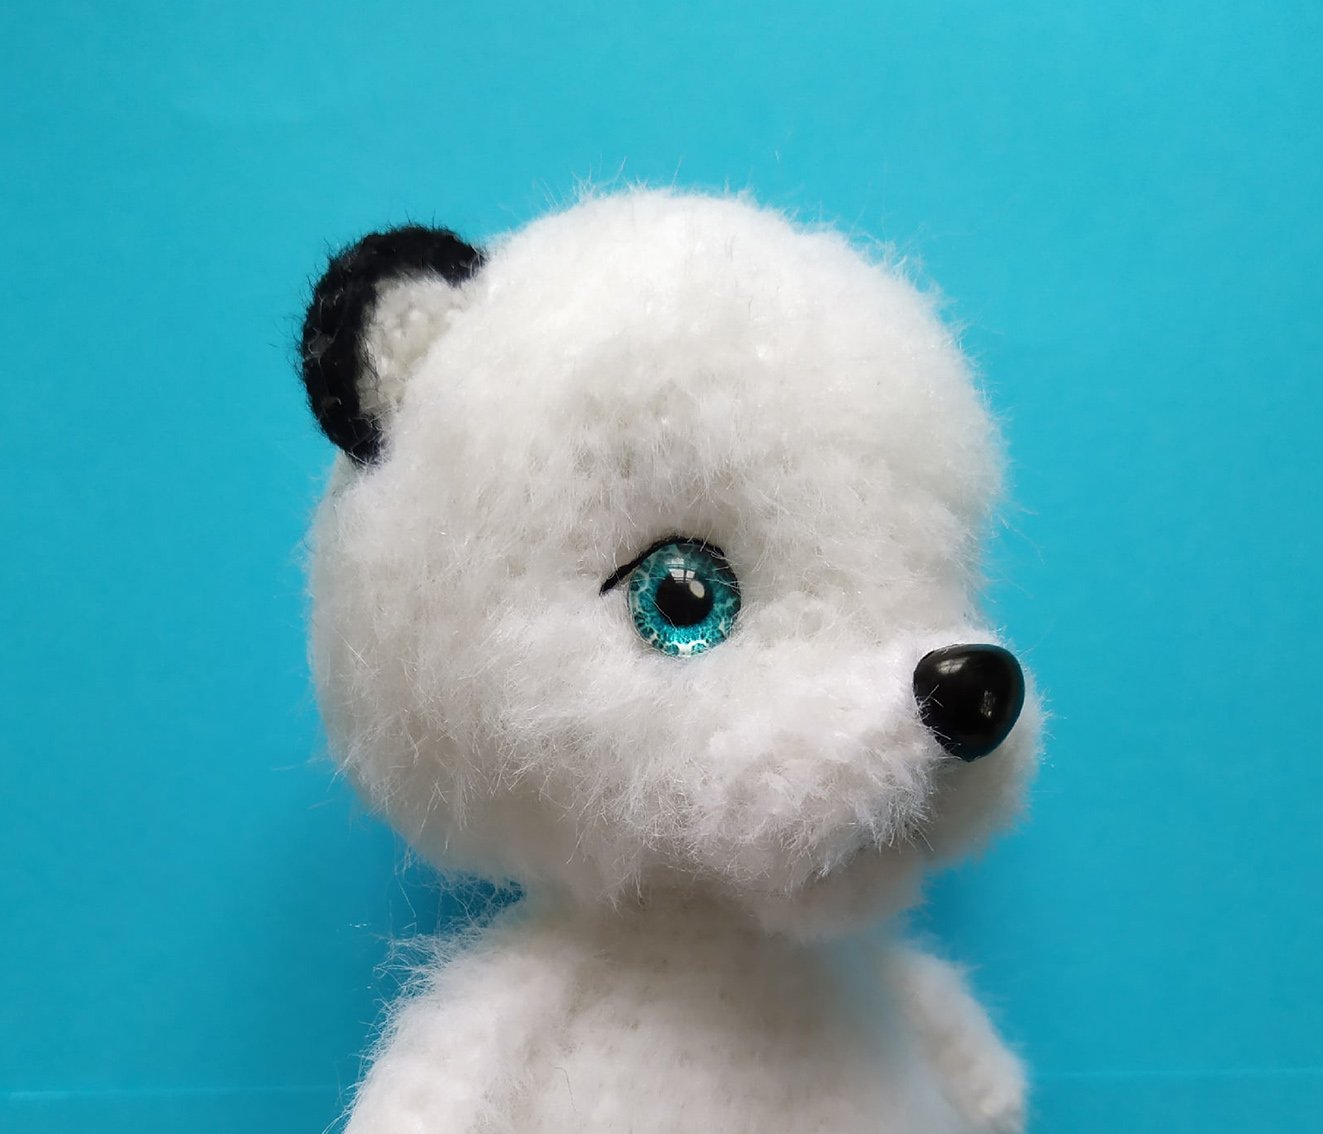
Attach the ears to the head and sew them on.
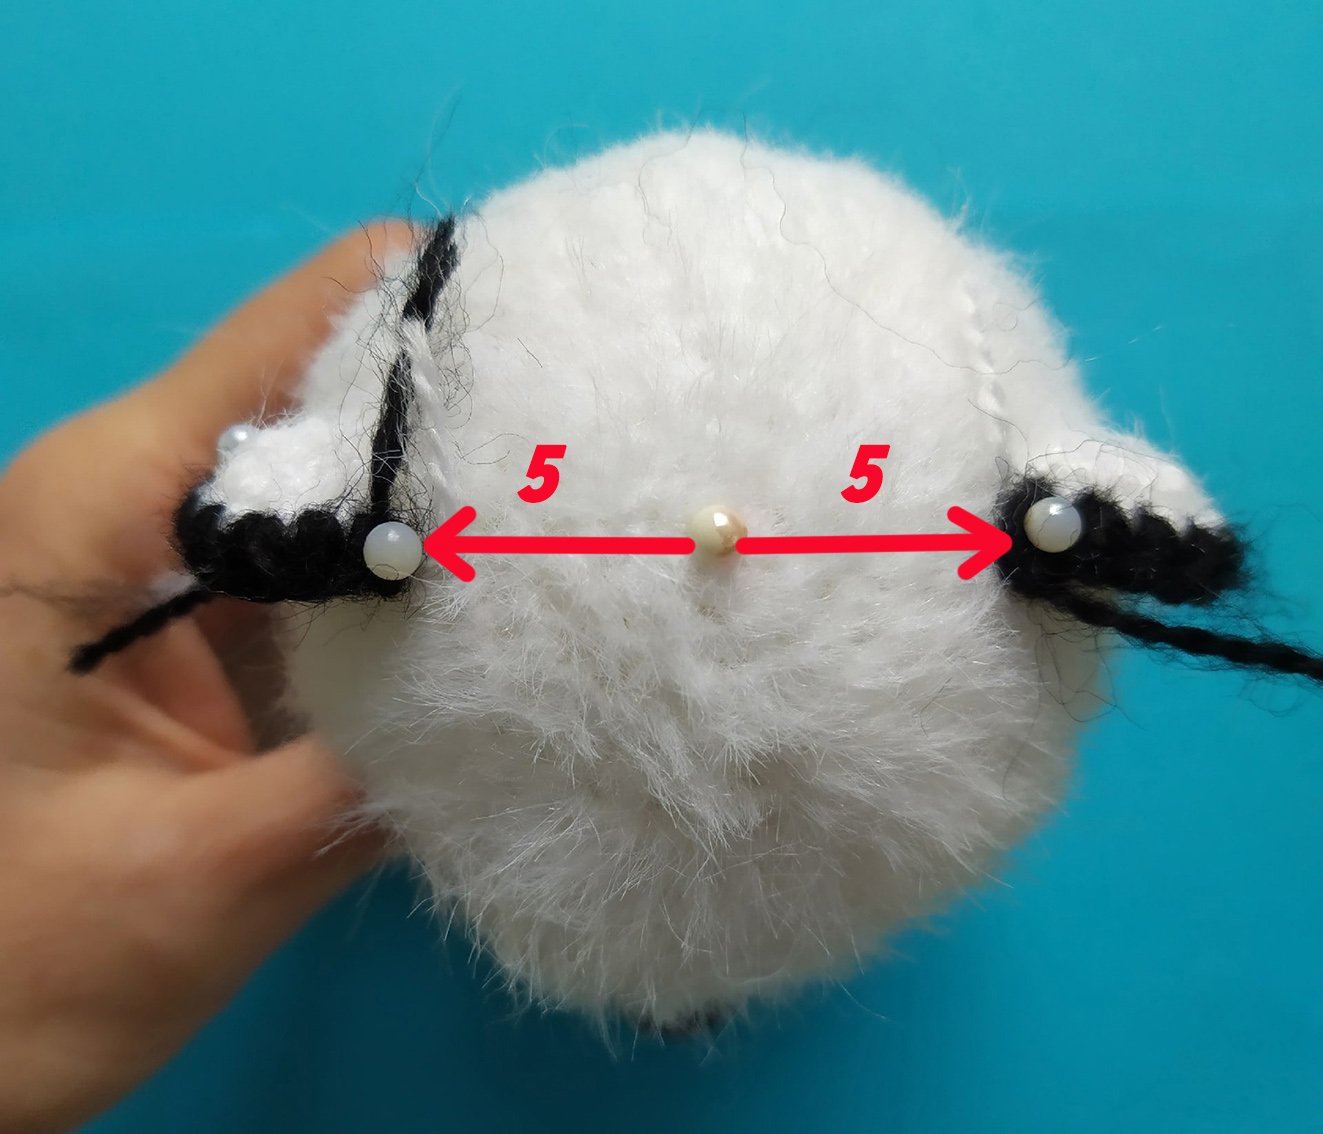
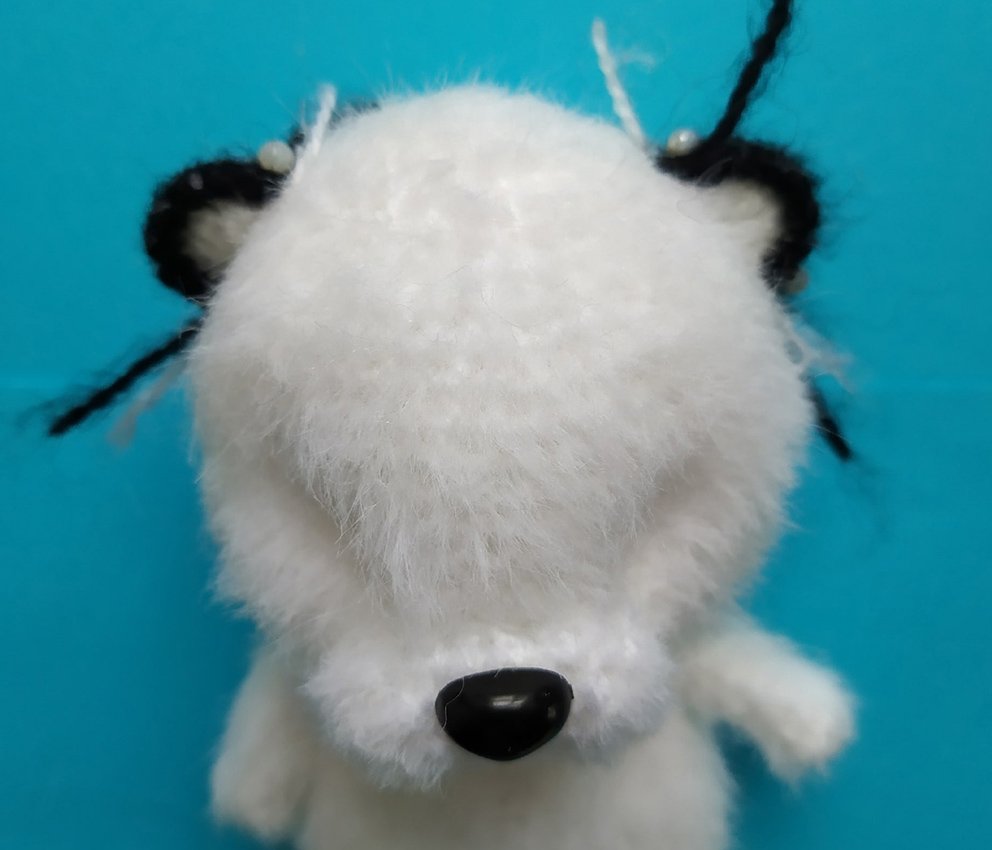
Sew the tail.
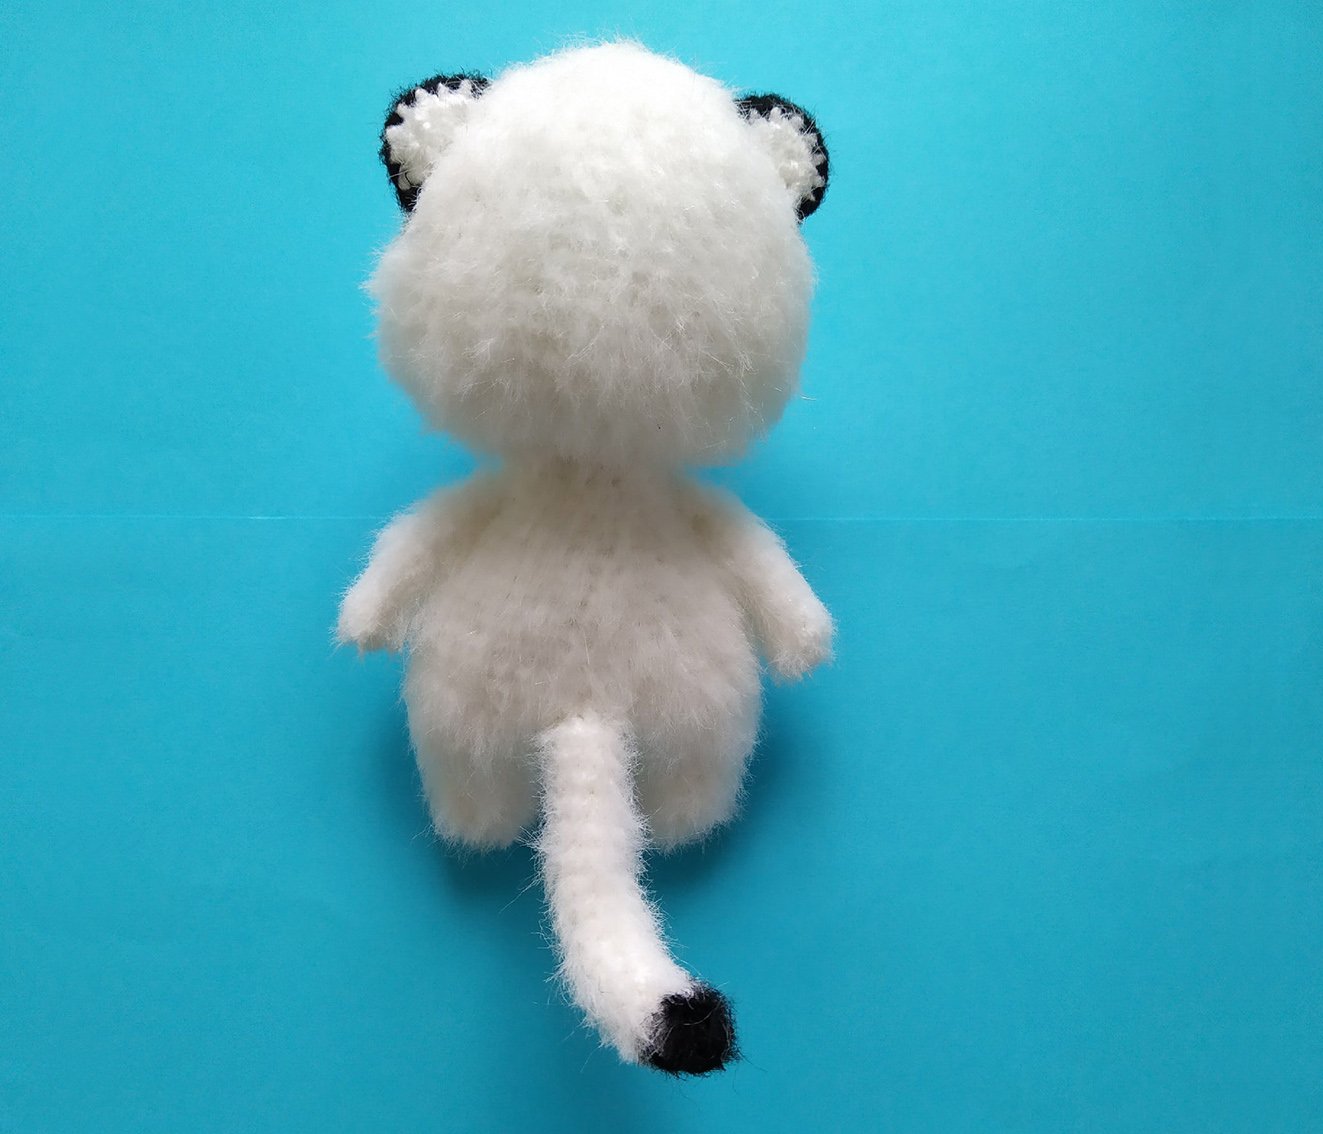
To draw tiger stripes, take a black acrylic marker pen. You may crochet a little sample and try to draw the stripes on this piece of sample first. Let the stipes dry properly. Brush the toy from top to bottom before you start making the stripes.
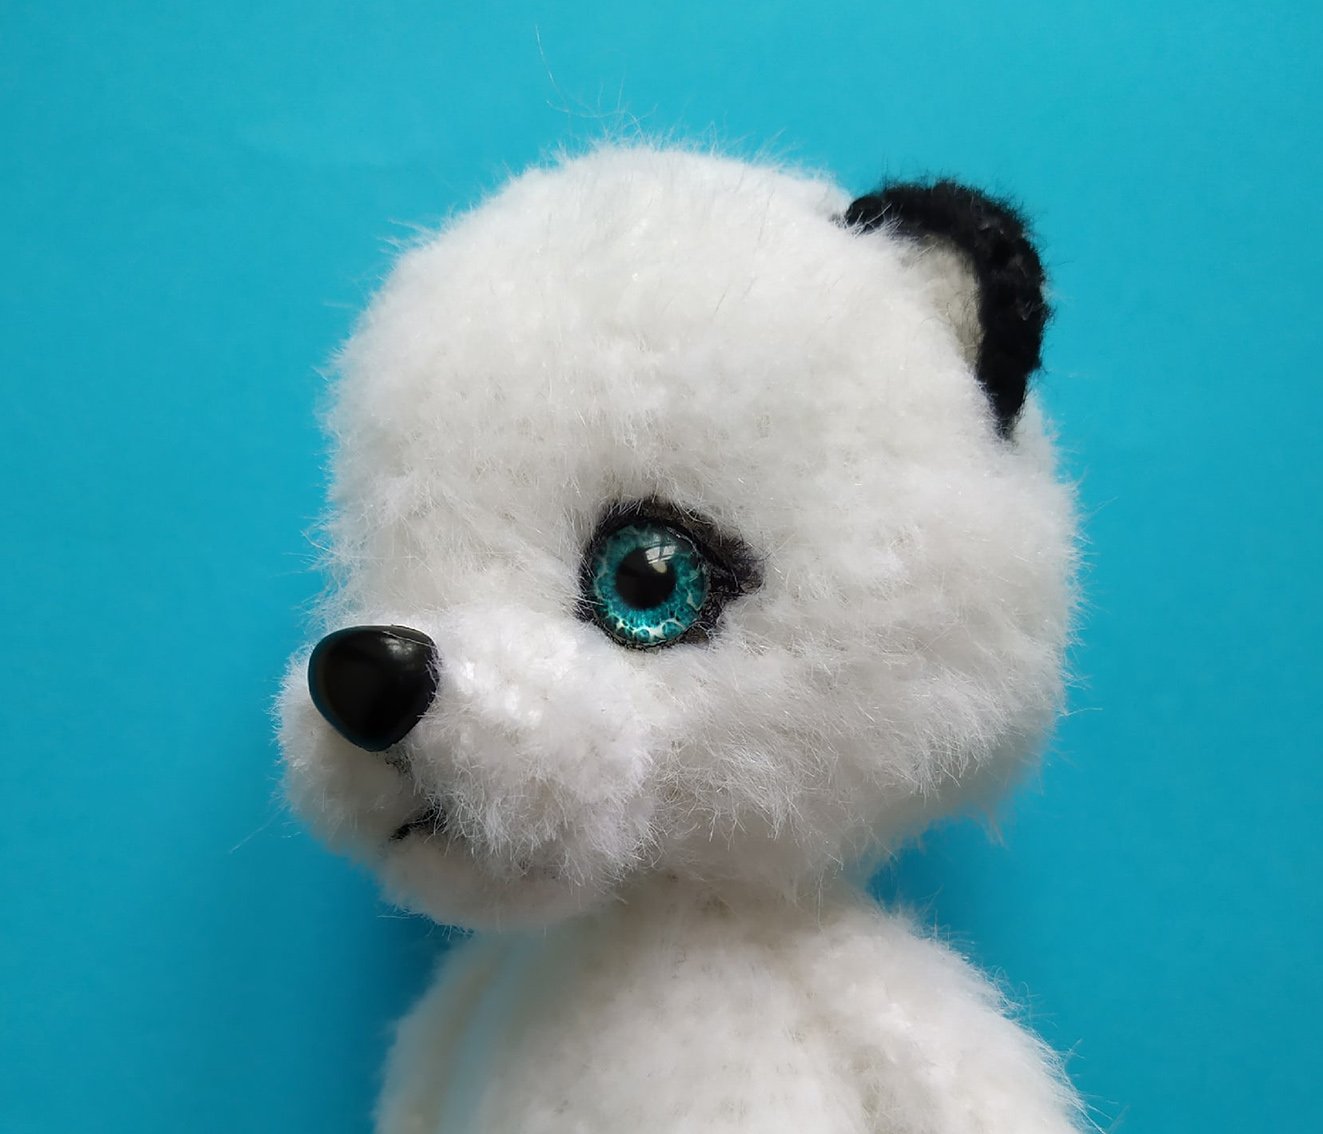
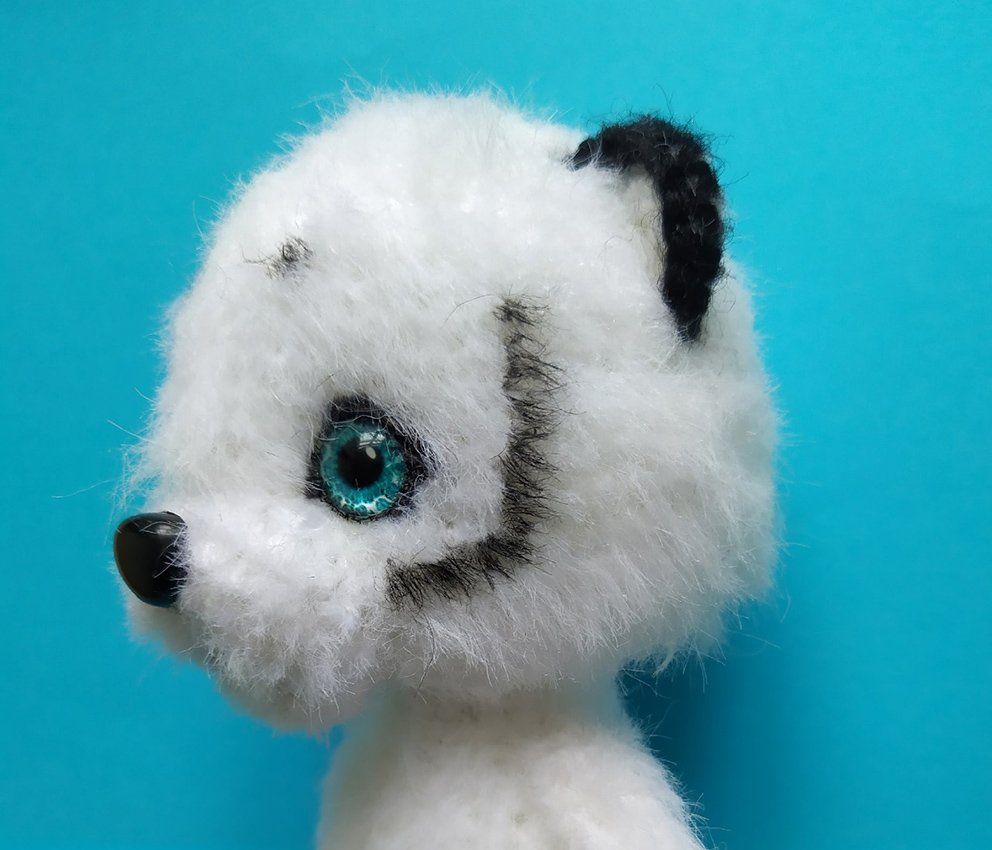
Draw spots around the eyes. Draw the eyebrows.
Draw the stripes in stages. See photos for guidance.
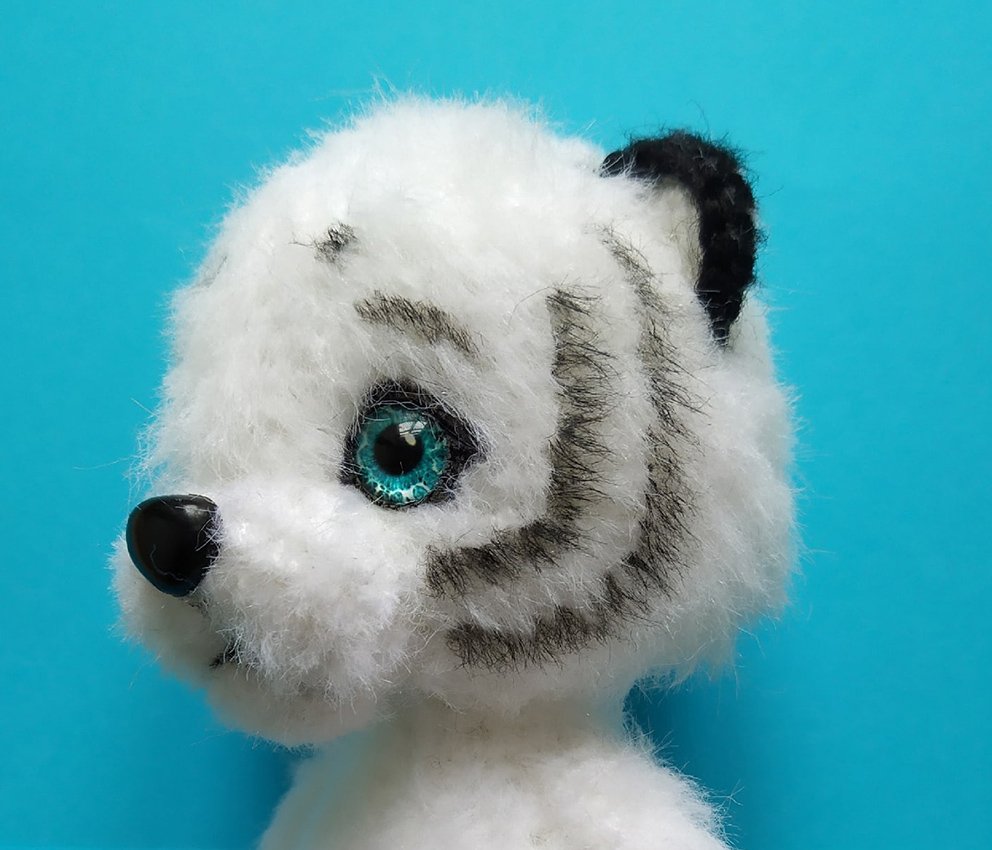
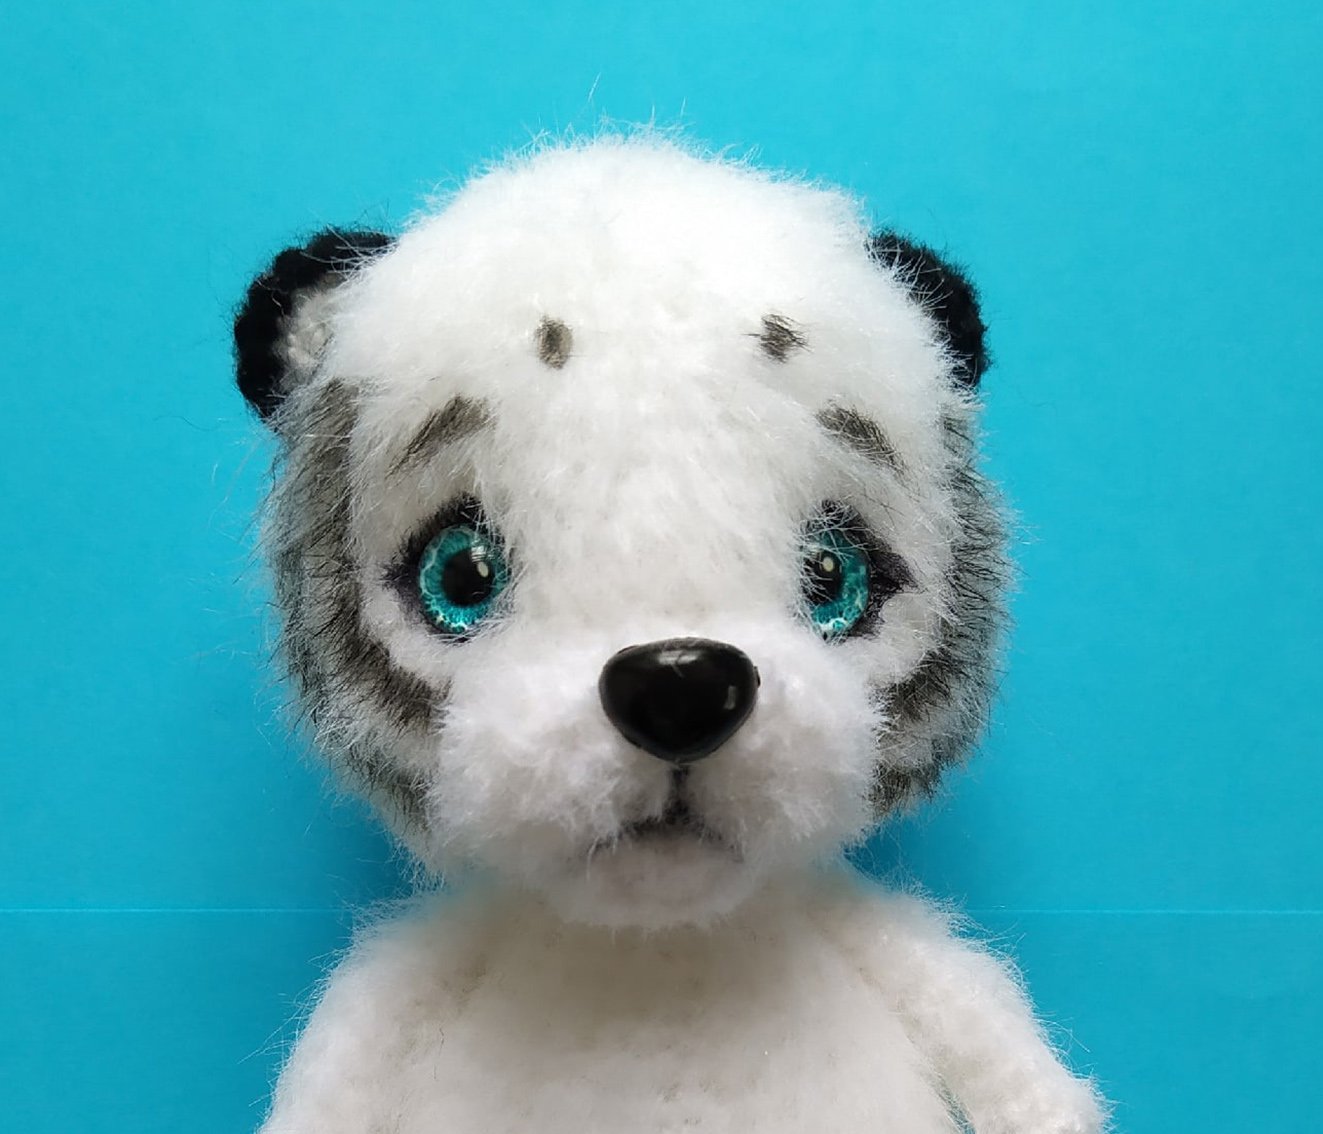
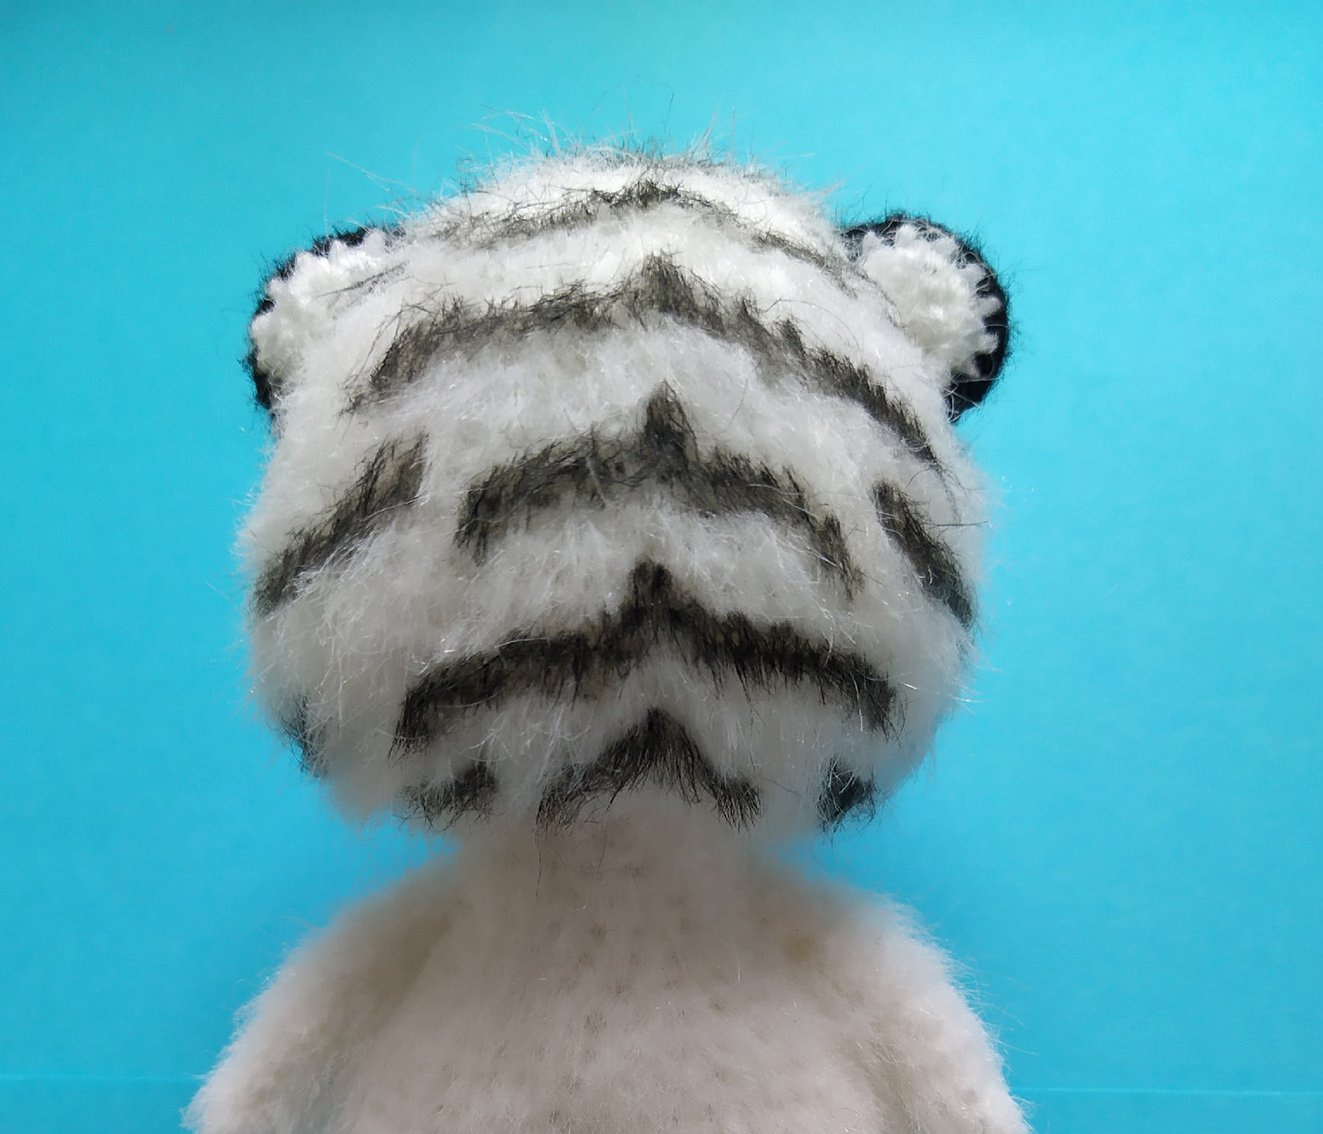
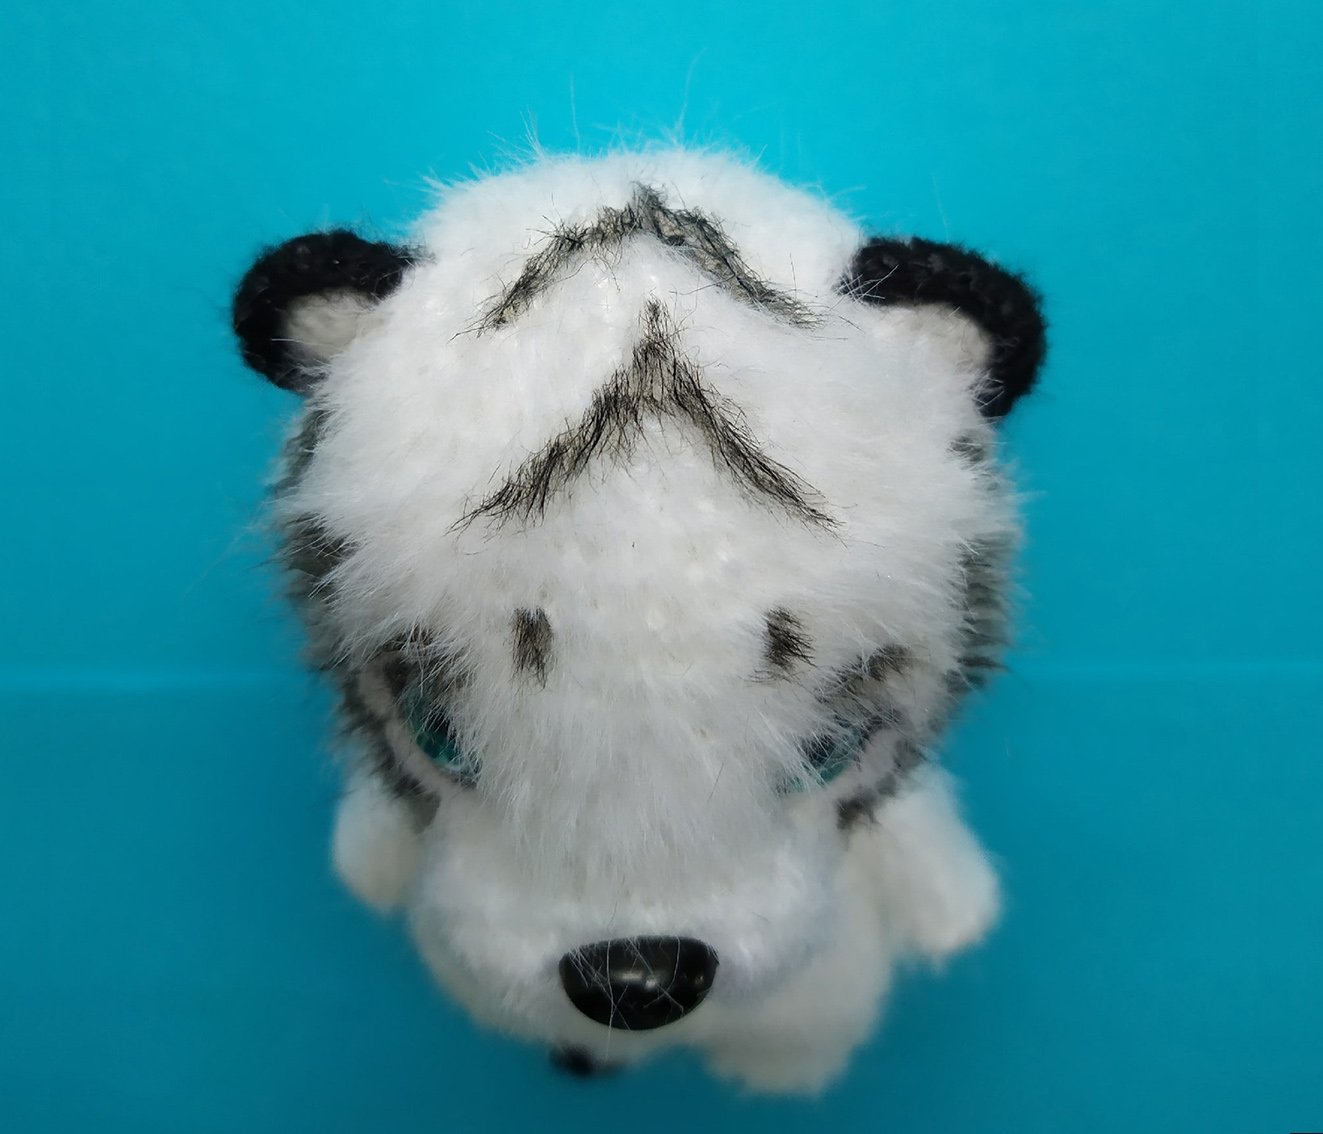
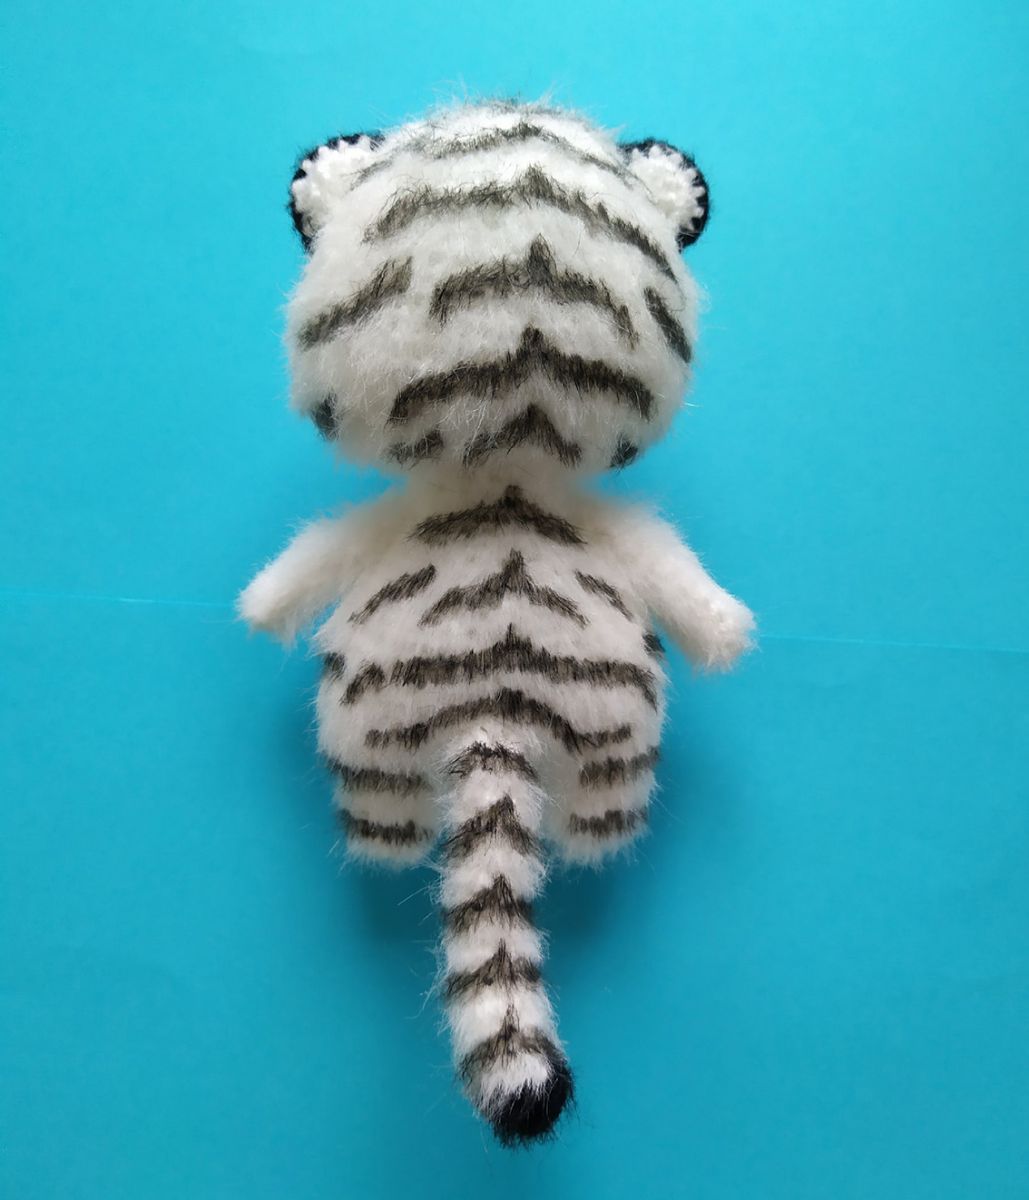
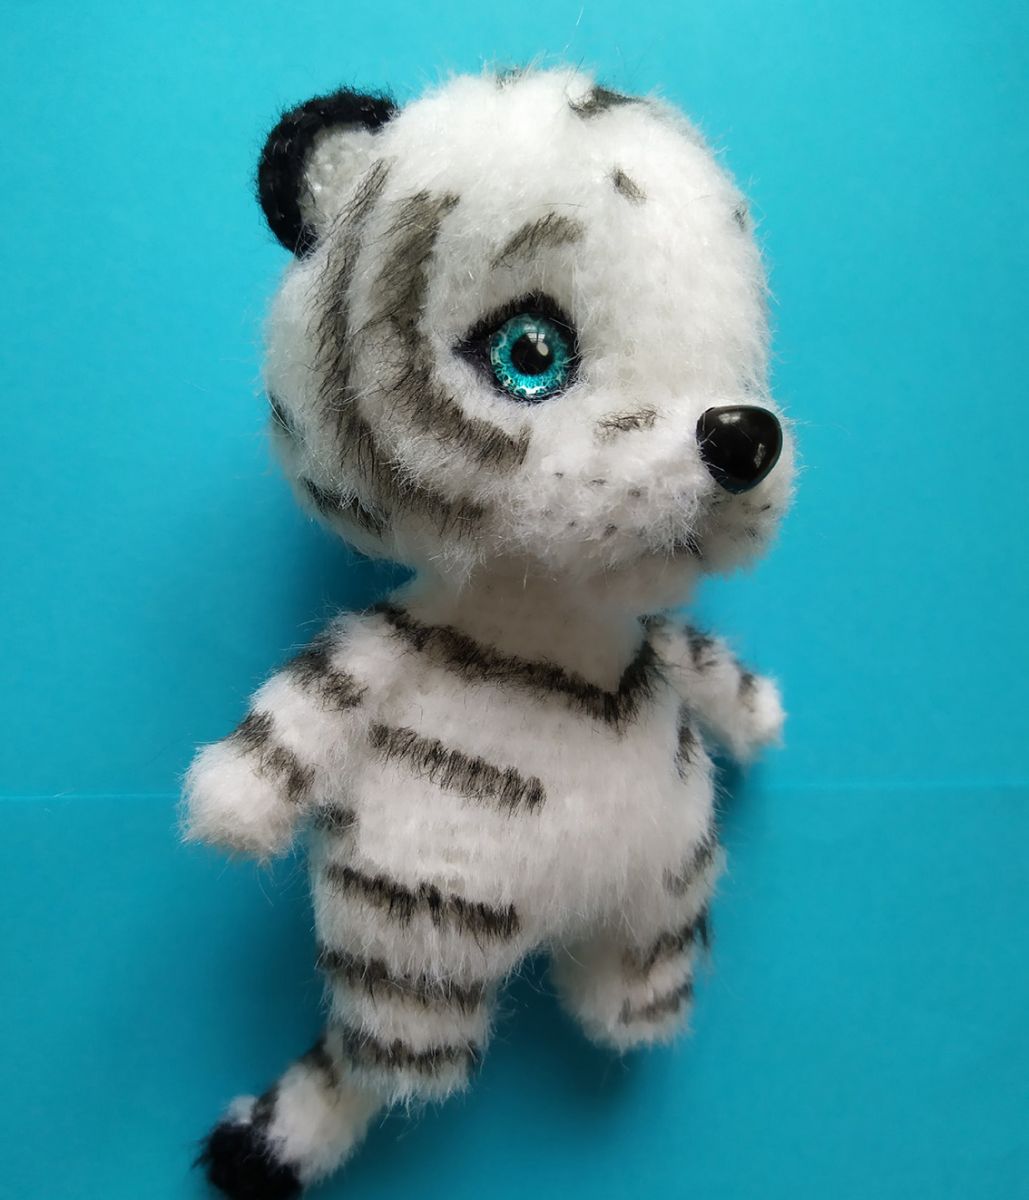
Draw dots on the muzzle.
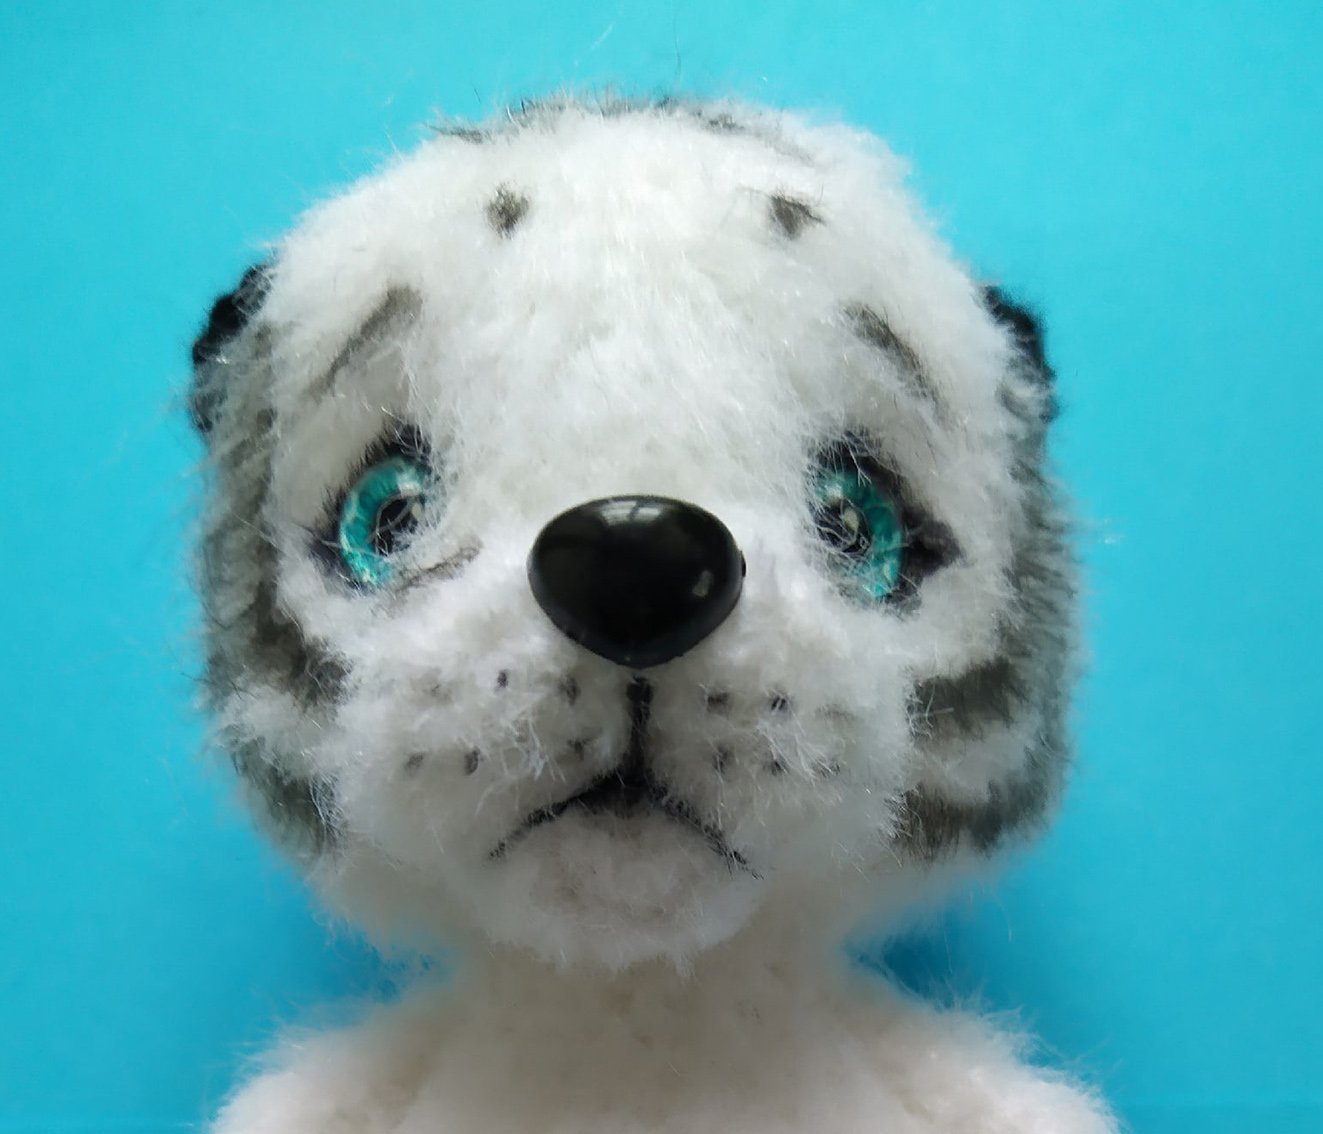
The tiger cub is completed! Wishing you luck in the new year!
.jpg)


